Choose the Green Family First
Decide whether the apartment's green will lean yellow and olive, grey and sage, blue and mineral, or deep and forested. Compare candidates beside fixed flooring, stone, tile and large upholstery because those materials reveal undertones more reliably than a white sample card. Build a small family with a pale background, a middle architectural tone and one dark anchor. They should relate without matching exactly, allowing rooms to respond to their own light and function.
Read Green in the Apartment's Real Light
Map direct sun, cool borrowed light and rooms that depend mostly on lamps. A yellow-based green may become warmer and more olive in afternoon sun, while a blue-green can appear steely in a north-facing room. Exterior brick, trees and neighboring walls also cast color through windows. Test large movable boards through a full day and across connecting doorways, then repeat the test after sunset under the actual bulbs that will remain.
Build a Value Map From Sage to Forest
Assign pale, middle and deep greens by visual weight rather than using equal amounts. Sage can carry broad walls, olive may define built-ins or a dining zone, and forest green can anchor a study, cabinet run or upholstered piece. Leave deliberate neutral pauses so each value remains legible. One large dark surface often supplies enough depth for several connected rooms, while many small dark-green objects can make the same apartment feel cluttered.
Create a Whole-Home Green Rhythm
Choose where green will be dominant, secondary and absent. A muted living room might lead to a timber-and-white kitchen with green cabinetry, a neutral hall and a more immersive bathroom. Repeat one undertone, timber or metal finish across those spaces rather than copying the same paint everywhere. The sequence should include arrival, emphasis and visual rest, especially in apartments where several rooms are visible from one position.
Give Sage and Olive Different Jobs
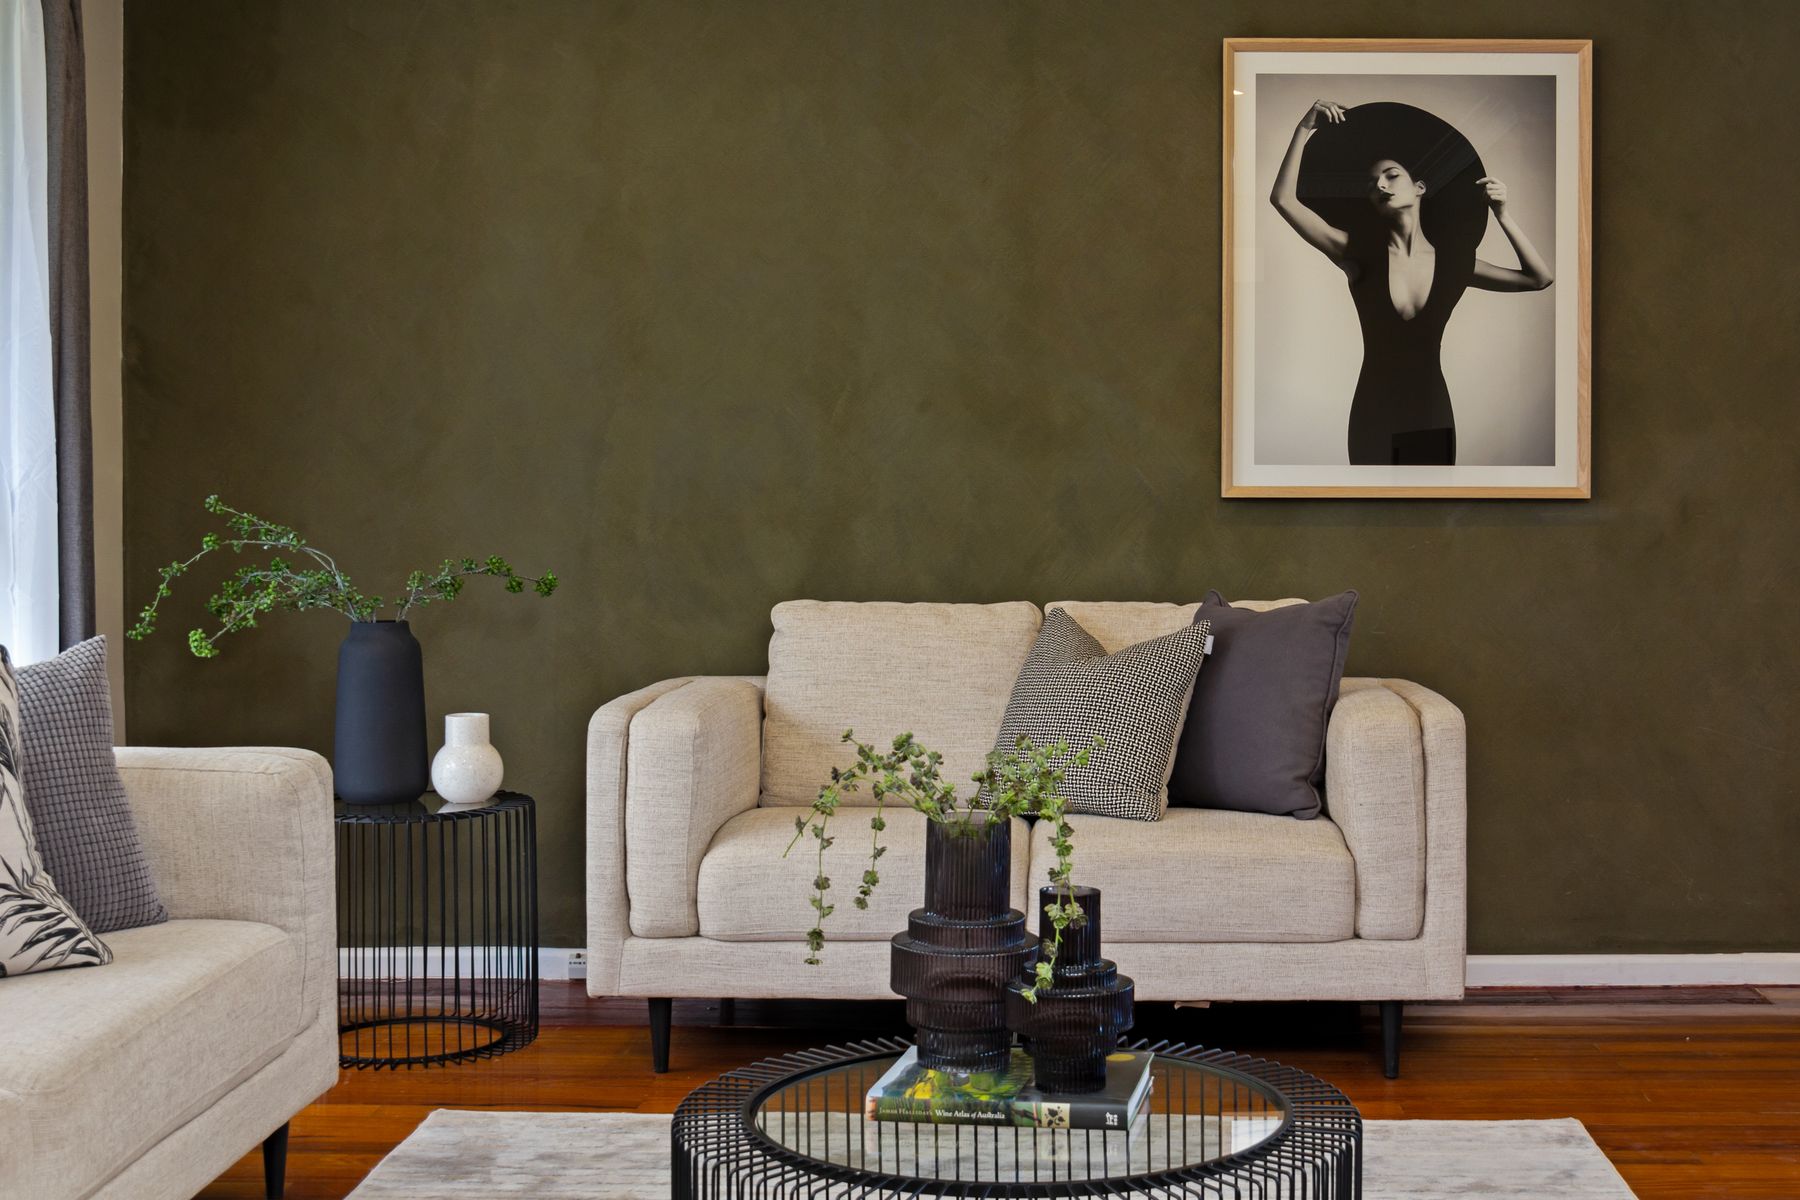
Use sage where the scheme needs a soft backdrop for art, textiles or brighter accents. Olive is usually warmer and denser, making it effective on built-ins, dining rooms, studies and rooms intended to feel enveloping. They can coexist if their yellow-grey balance is compatible, but avoid placing two near-matching versions side by side without a clear value difference. Let one lead and use the other as a lighter or darker relation, not a competing trend.
Use Color Drenching Where Enclosure Helps
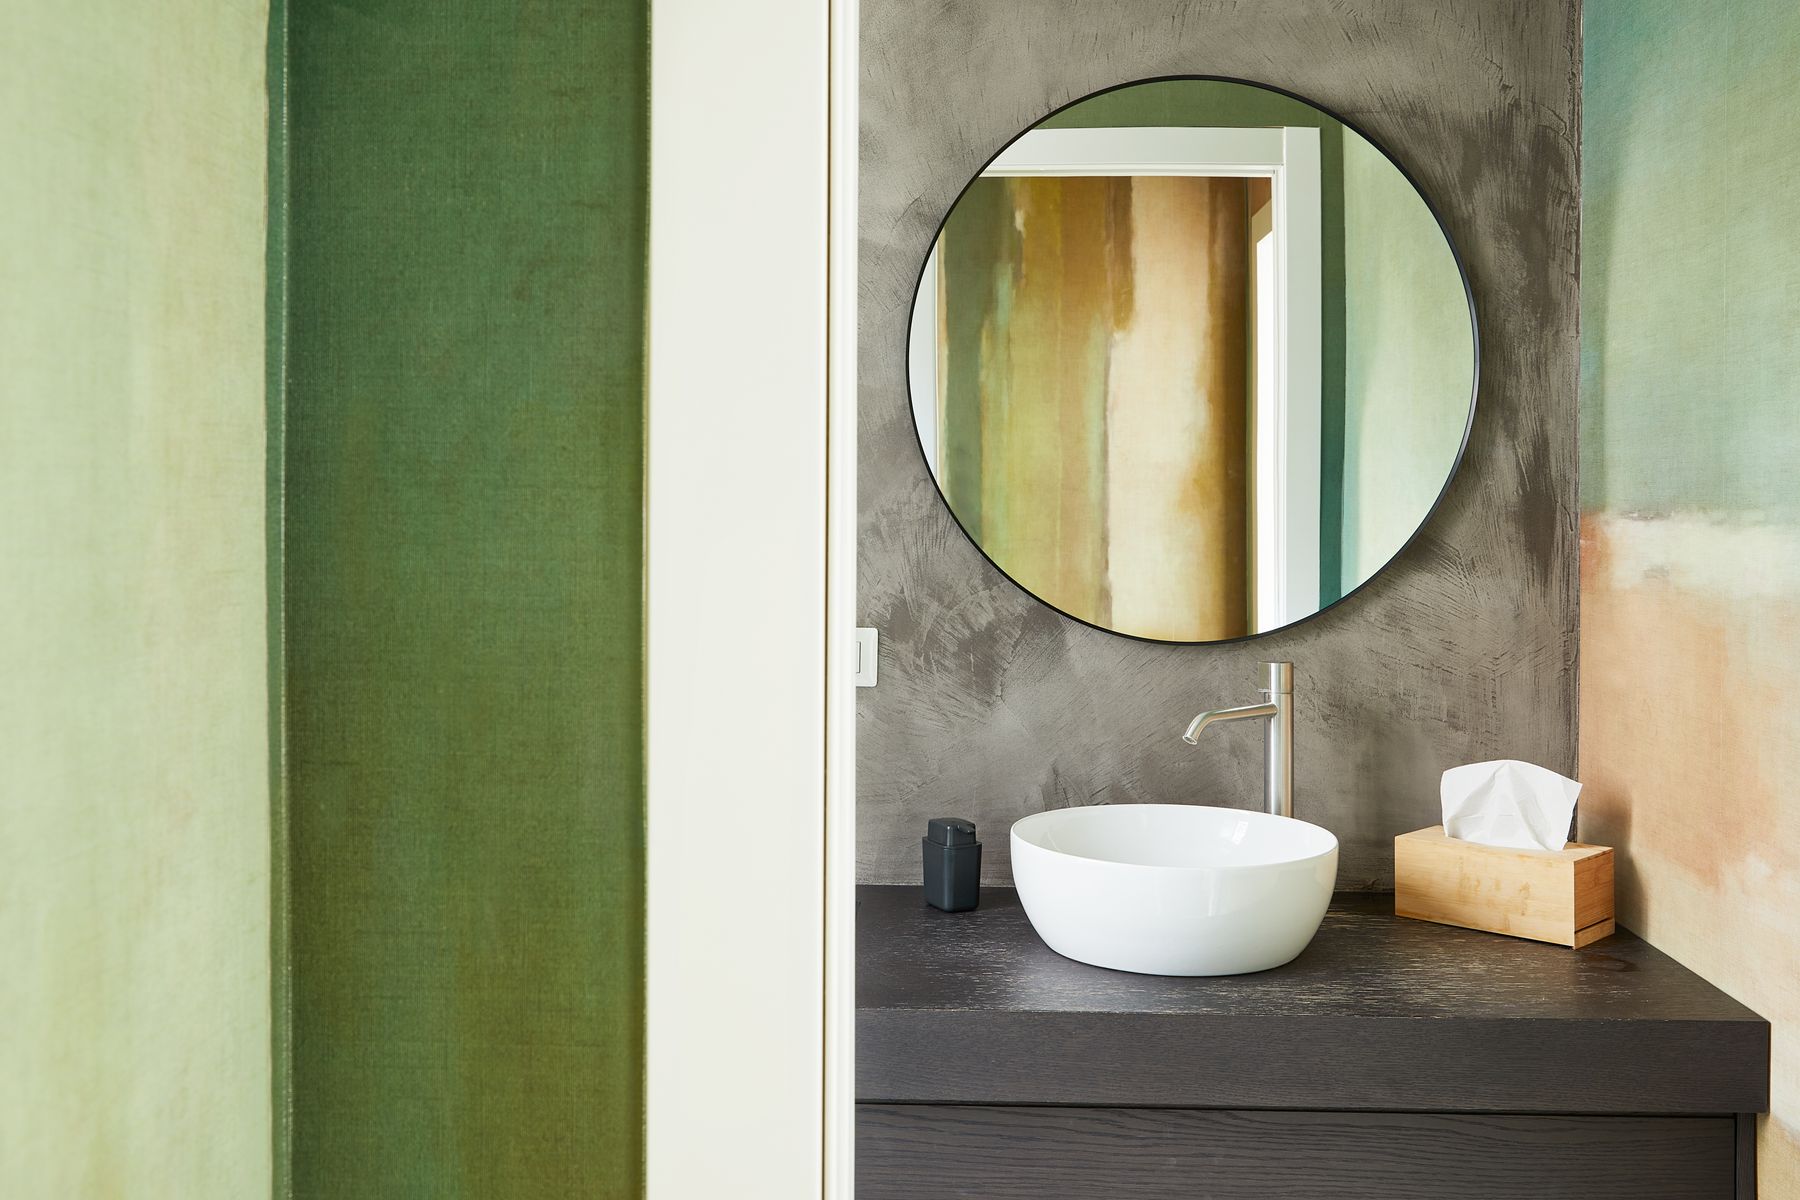
Painting walls, trim, doors and sometimes the ceiling in one green family can soften awkward architecture and make a small room feel intentional. It suits studies, bedrooms, internal halls and compact rooms where focus or intimacy is useful. Vary sheen to reveal profiles and protect high-touch surfaces, and test the ceiling separately because green reads darker overhead. In a large shared room, material breaks and lighter circulation may be more comfortable than complete saturation.

Use Timber as the Strongest Natural Partner
Choose a leading wood family and repeat it in flooring, shelving, dining furniture or a vanity. Light oak keeps sage fresh, walnut adds sophistication to olive, and dark stained wood can make forest green feel architectural rather than rustic. Woods do not need to match exactly, but their undertones should form a deliberate range. Use one or two substantial applications instead of trying to warm the scheme with many small wooden objects.
Let Stone Carry Quiet Movement
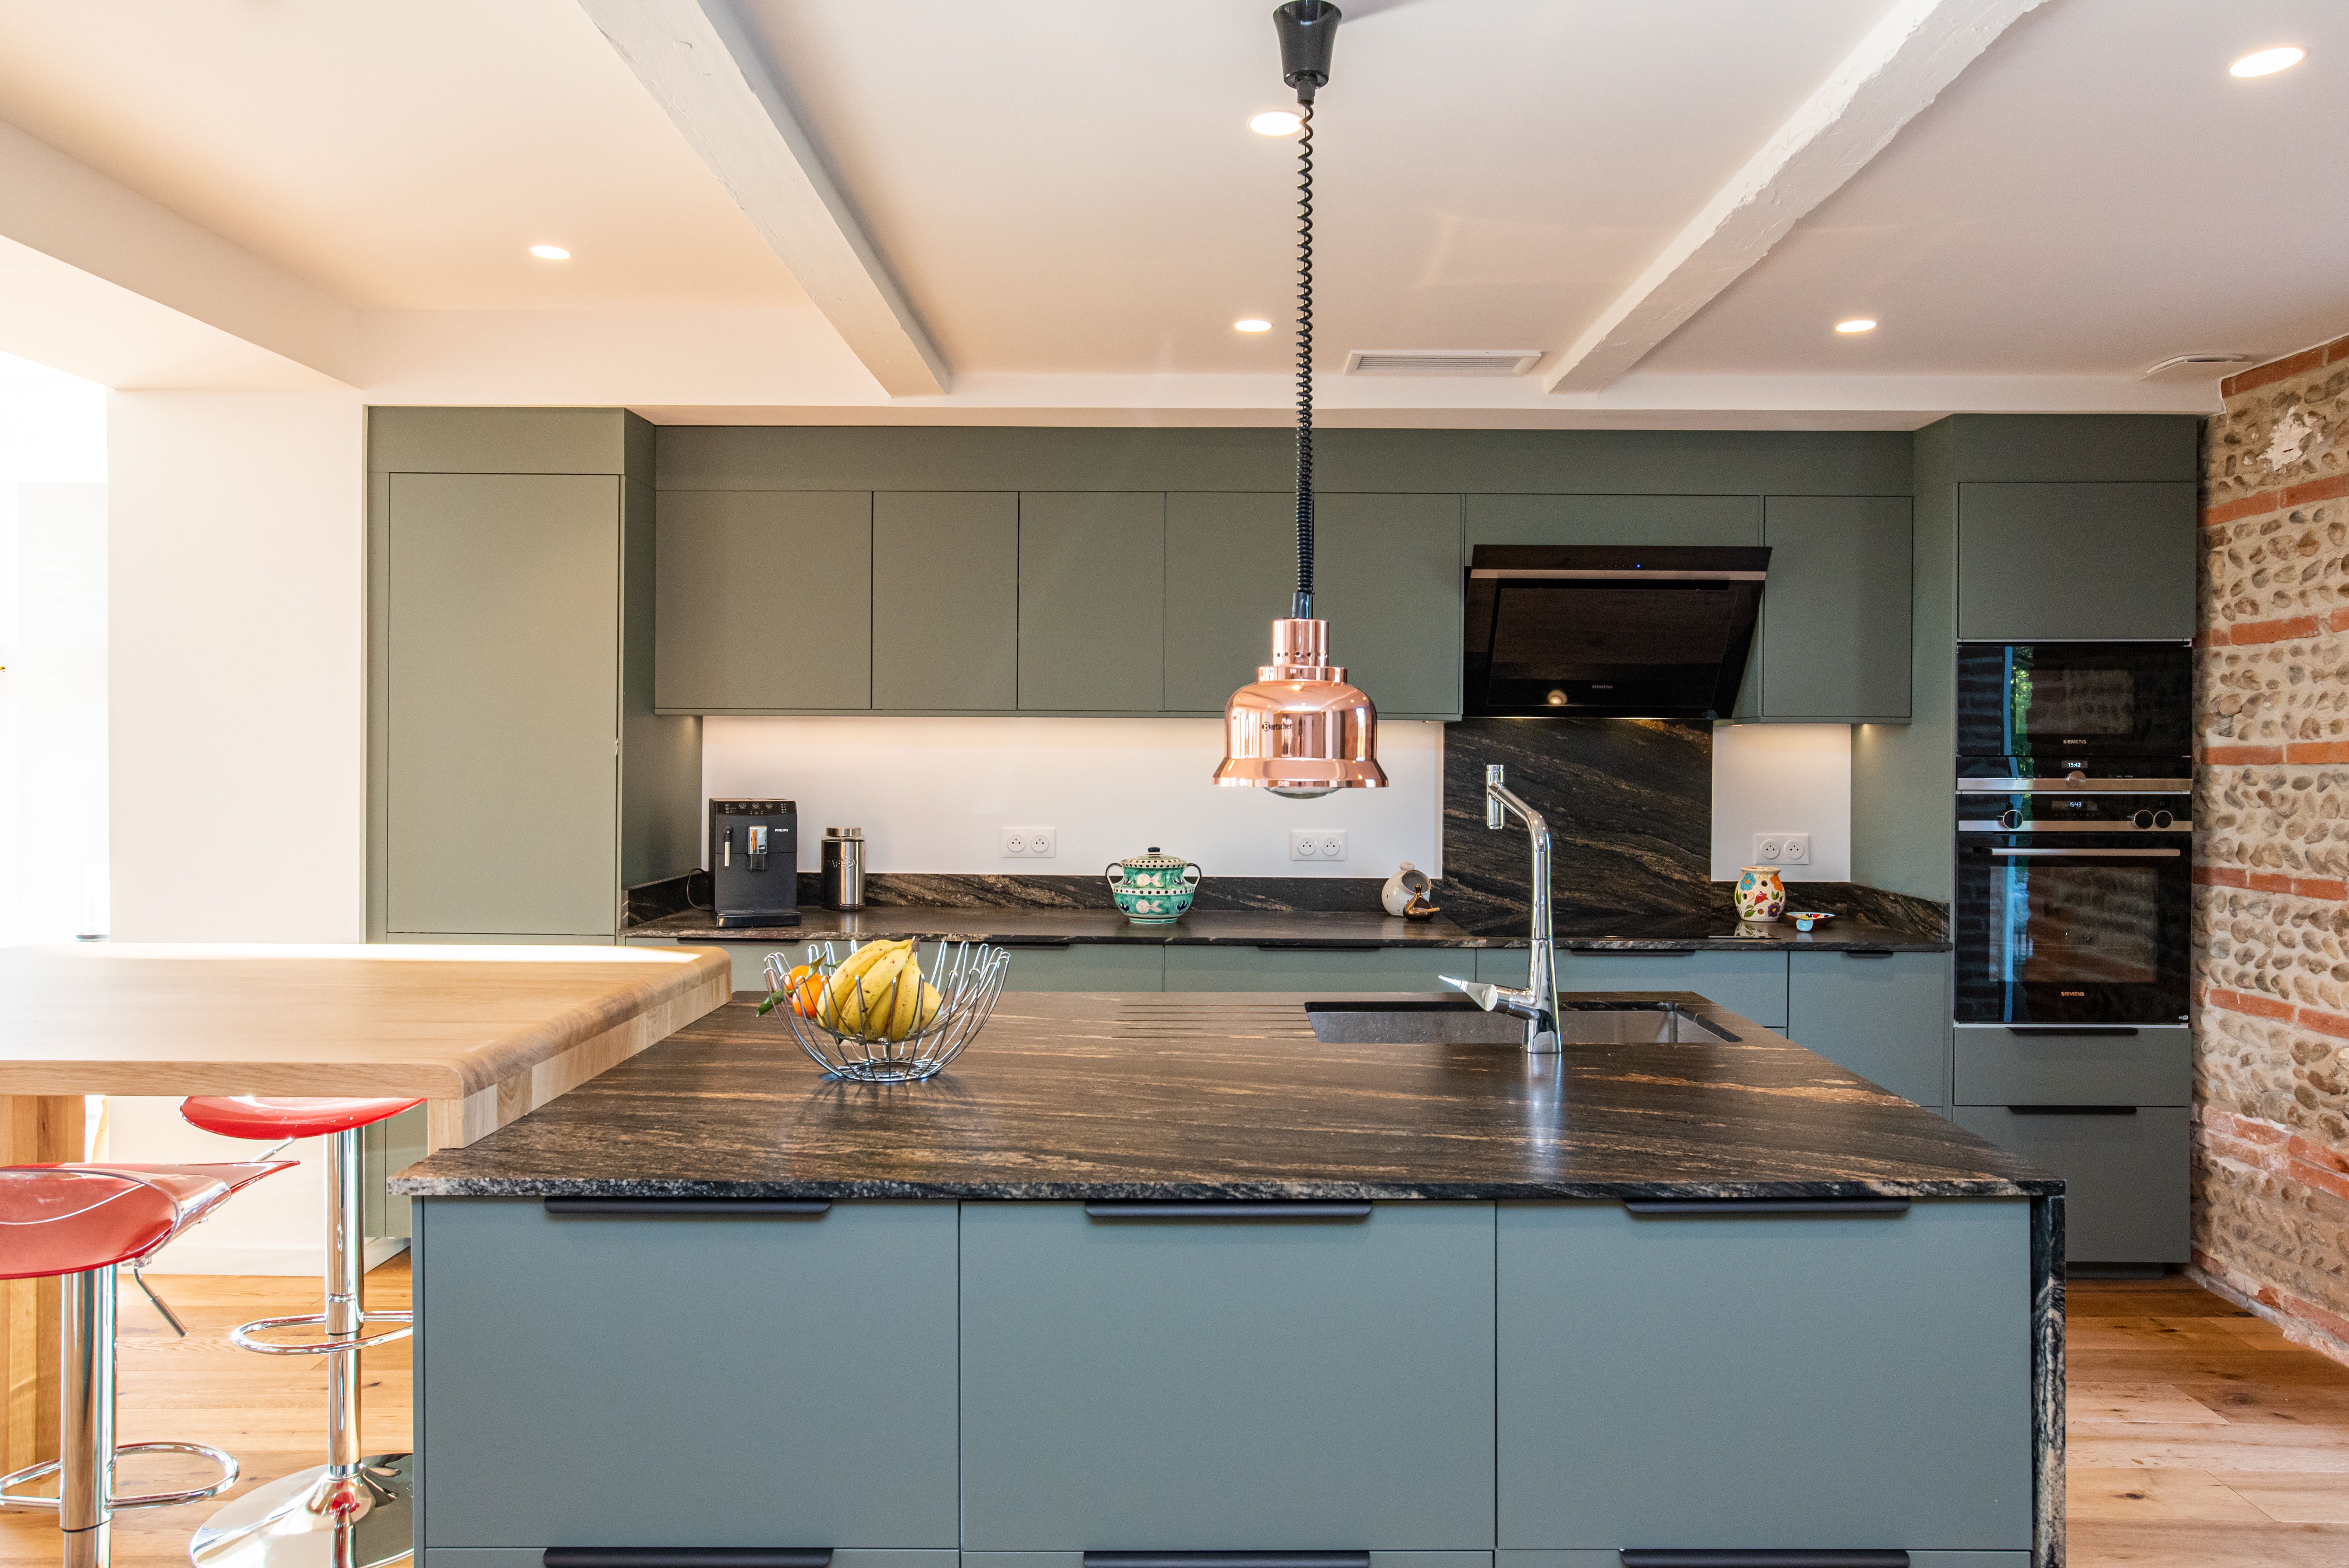
Select stone by undertone and pattern scale. Warm limestone, creamy quartz, soapstone, terrazzo and veined marble each change whether green feels earthy, crisp or formal. A strong green cabinet run usually benefits from a calmer surface, while pale sage can support more visible veining. Review full slabs or repeated tile layouts, since small samples conceal pattern density and seam placement. Use the same stone sparingly in another room if it helps connect the apartment.
Choose Metal by Temperature and Reflectivity
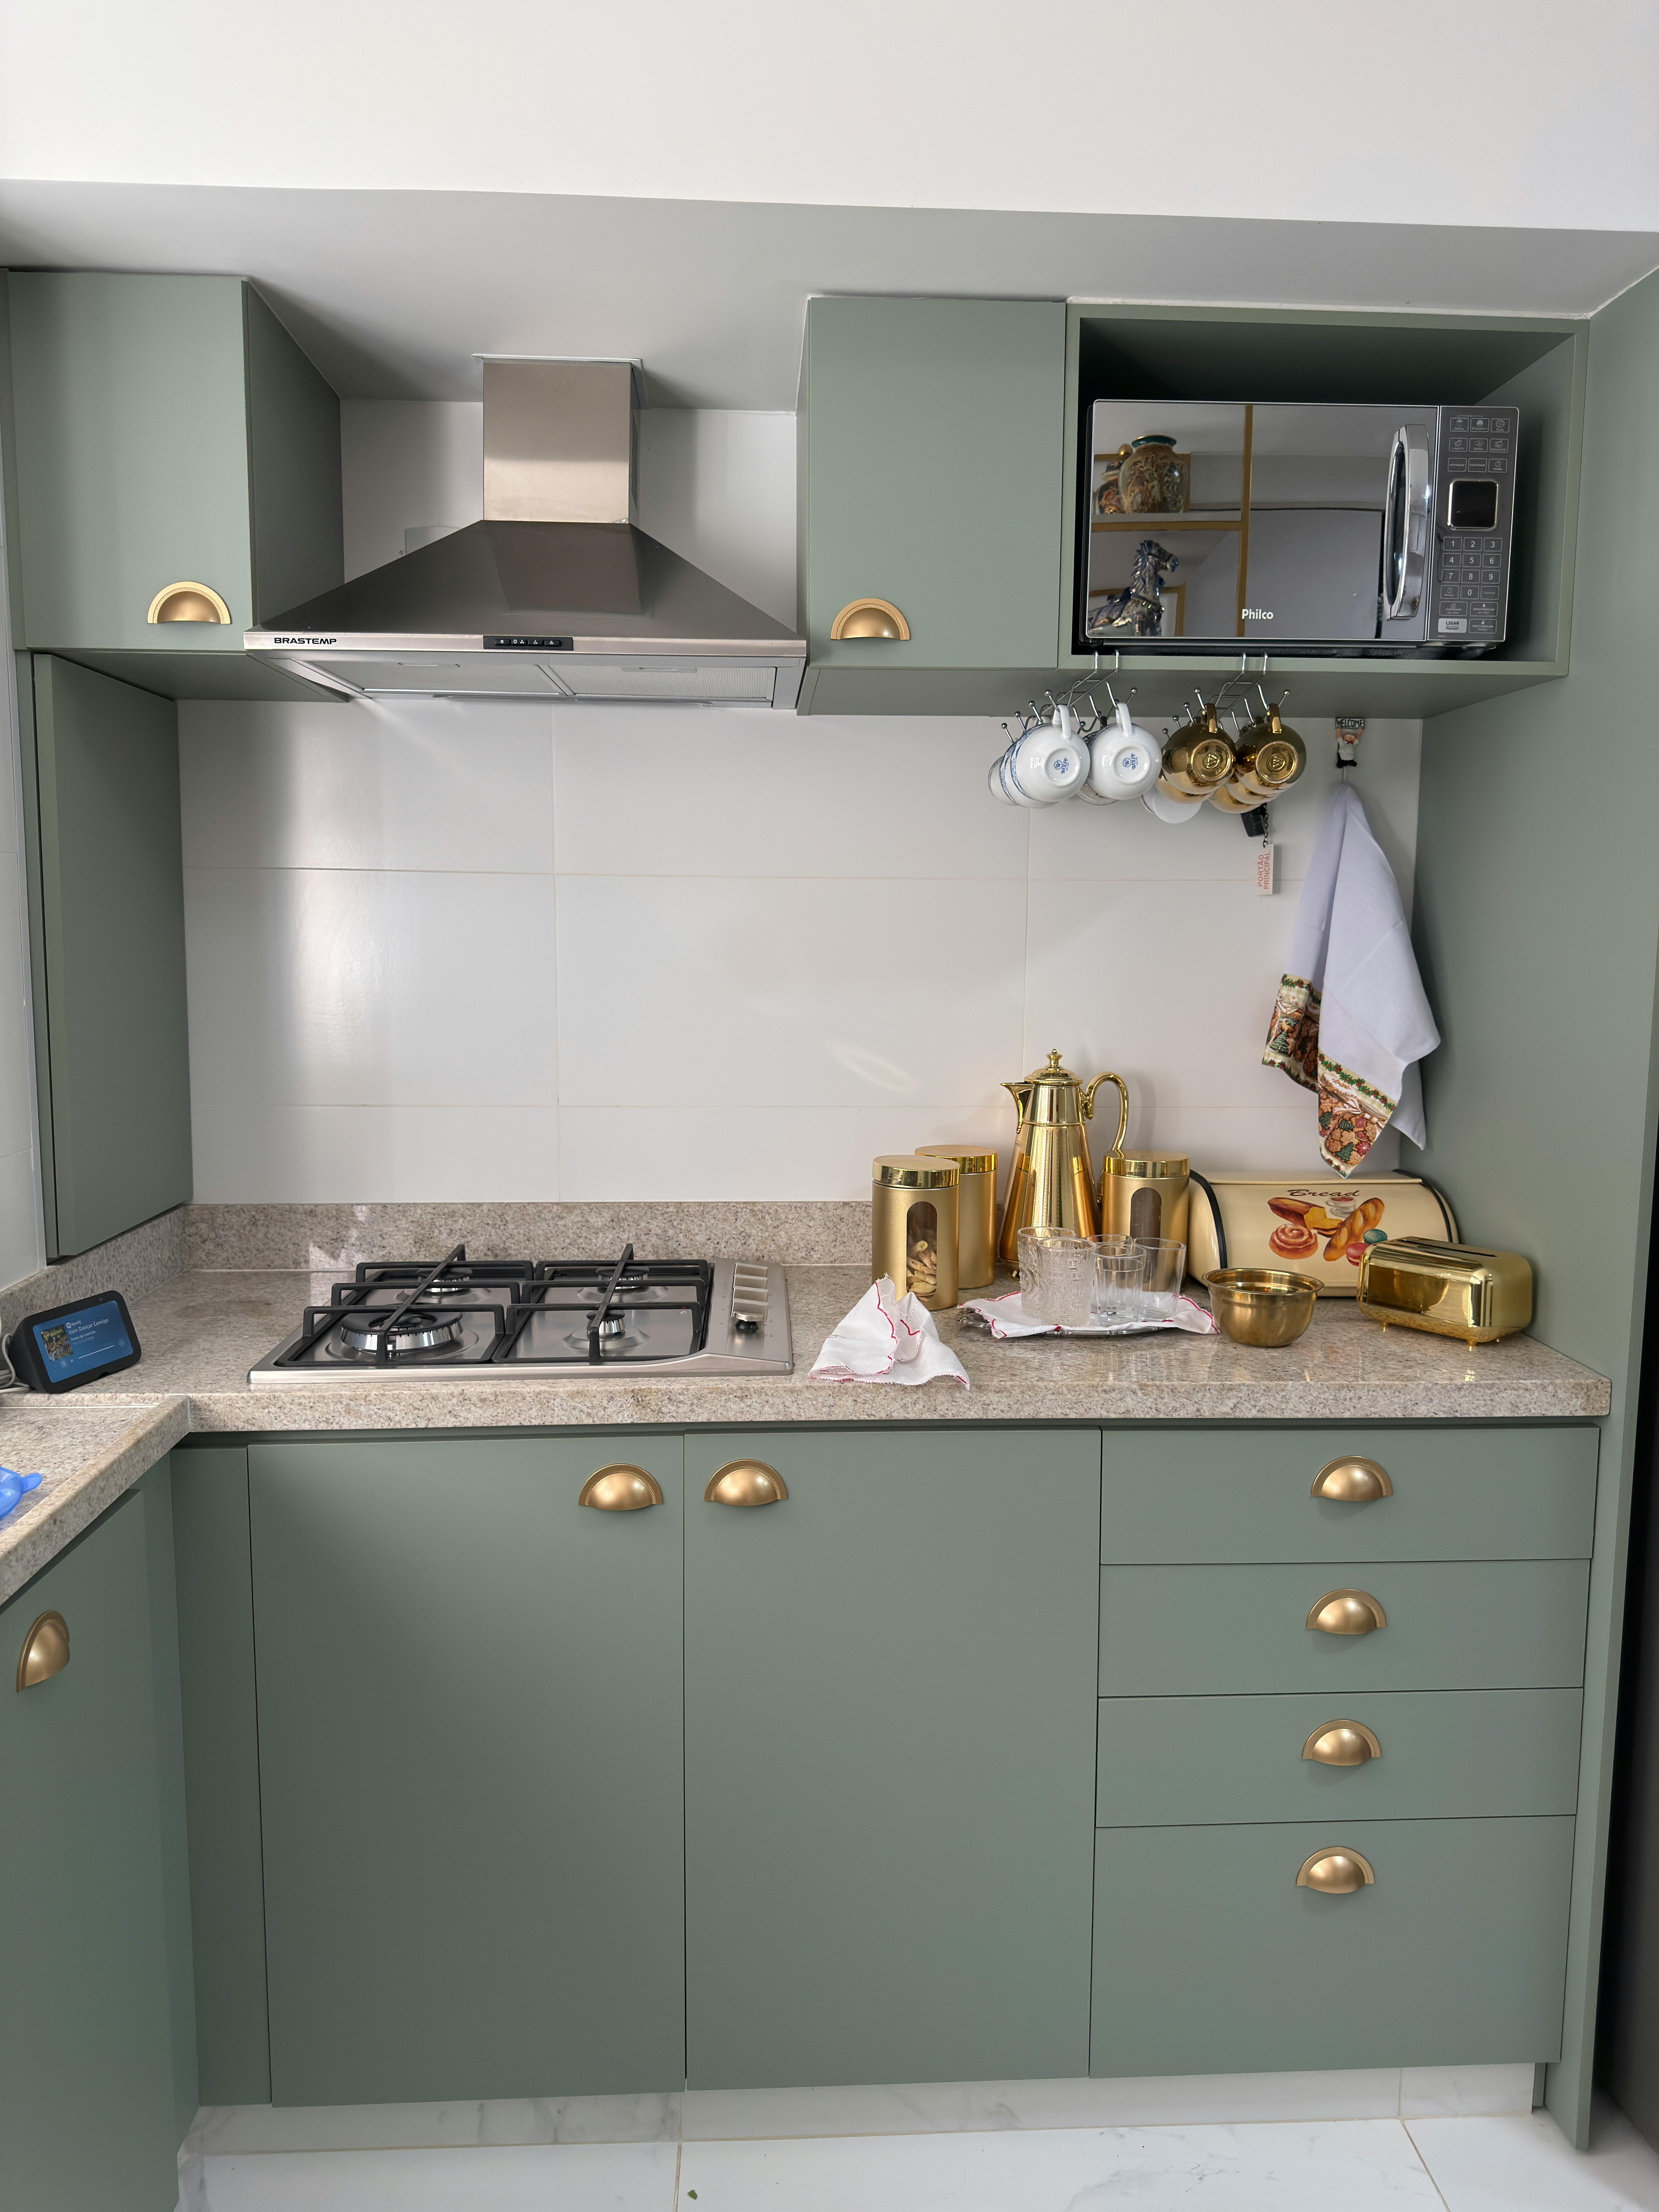
Brass, bronze and copper emphasize the warmth in olive and yellow-green; steel and nickel sharpen blue-green and sage; black provides graphic definition. Choose one leading finish for adjoining rooms, then allow appliances and specialist fixtures to remain practical rather than forcing a perfect match. Polished metal creates active highlights against dark green, while brushed finishes appear calmer. Distribute metal according to visual weight, not by repeating it on every handle and frame.
Use Pale Surfaces as Functional Relief
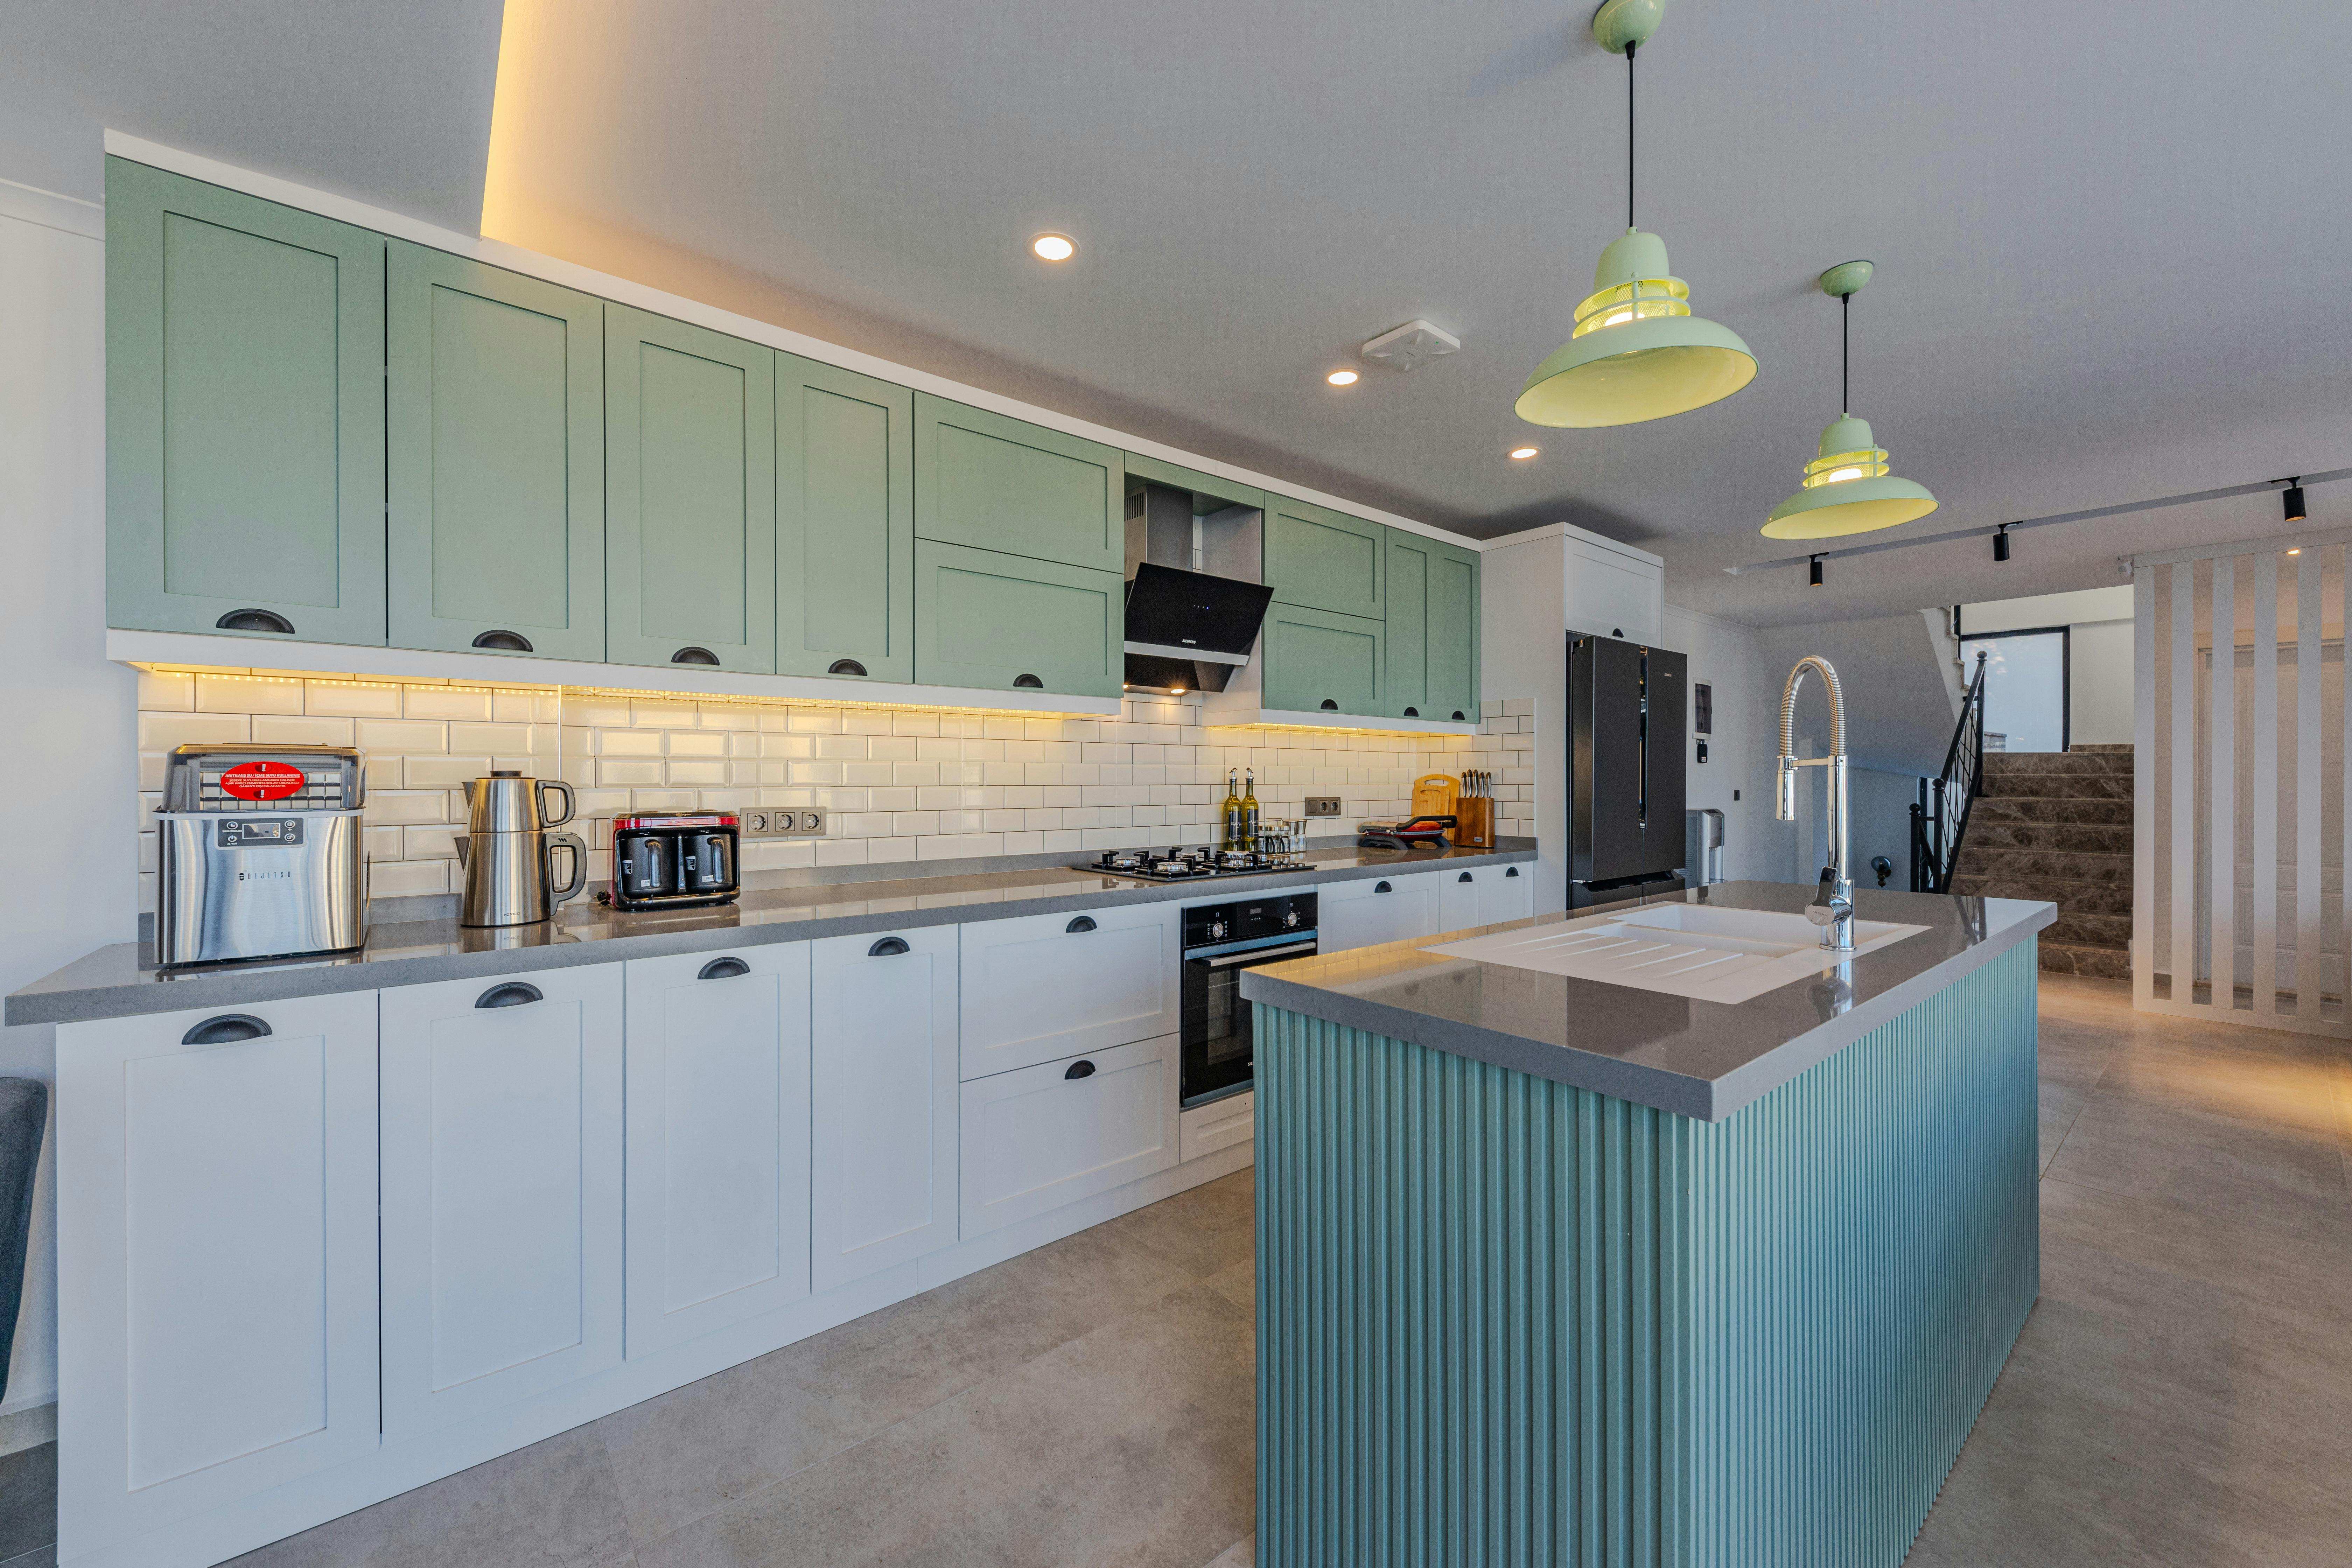
White, cream, pale stone and light tile can separate green cabinets from walls or floors and improve visibility at work surfaces. Match the pale tone to the green's undertone: a blue-white may make olive look muddy, while a warm cream can dull a cool mint. Use relief where it explains function or circulation rather than outlining every green element. In open plans, one repeated pale material can connect kitchen, dining and living zones.
Design Green for Evening Light
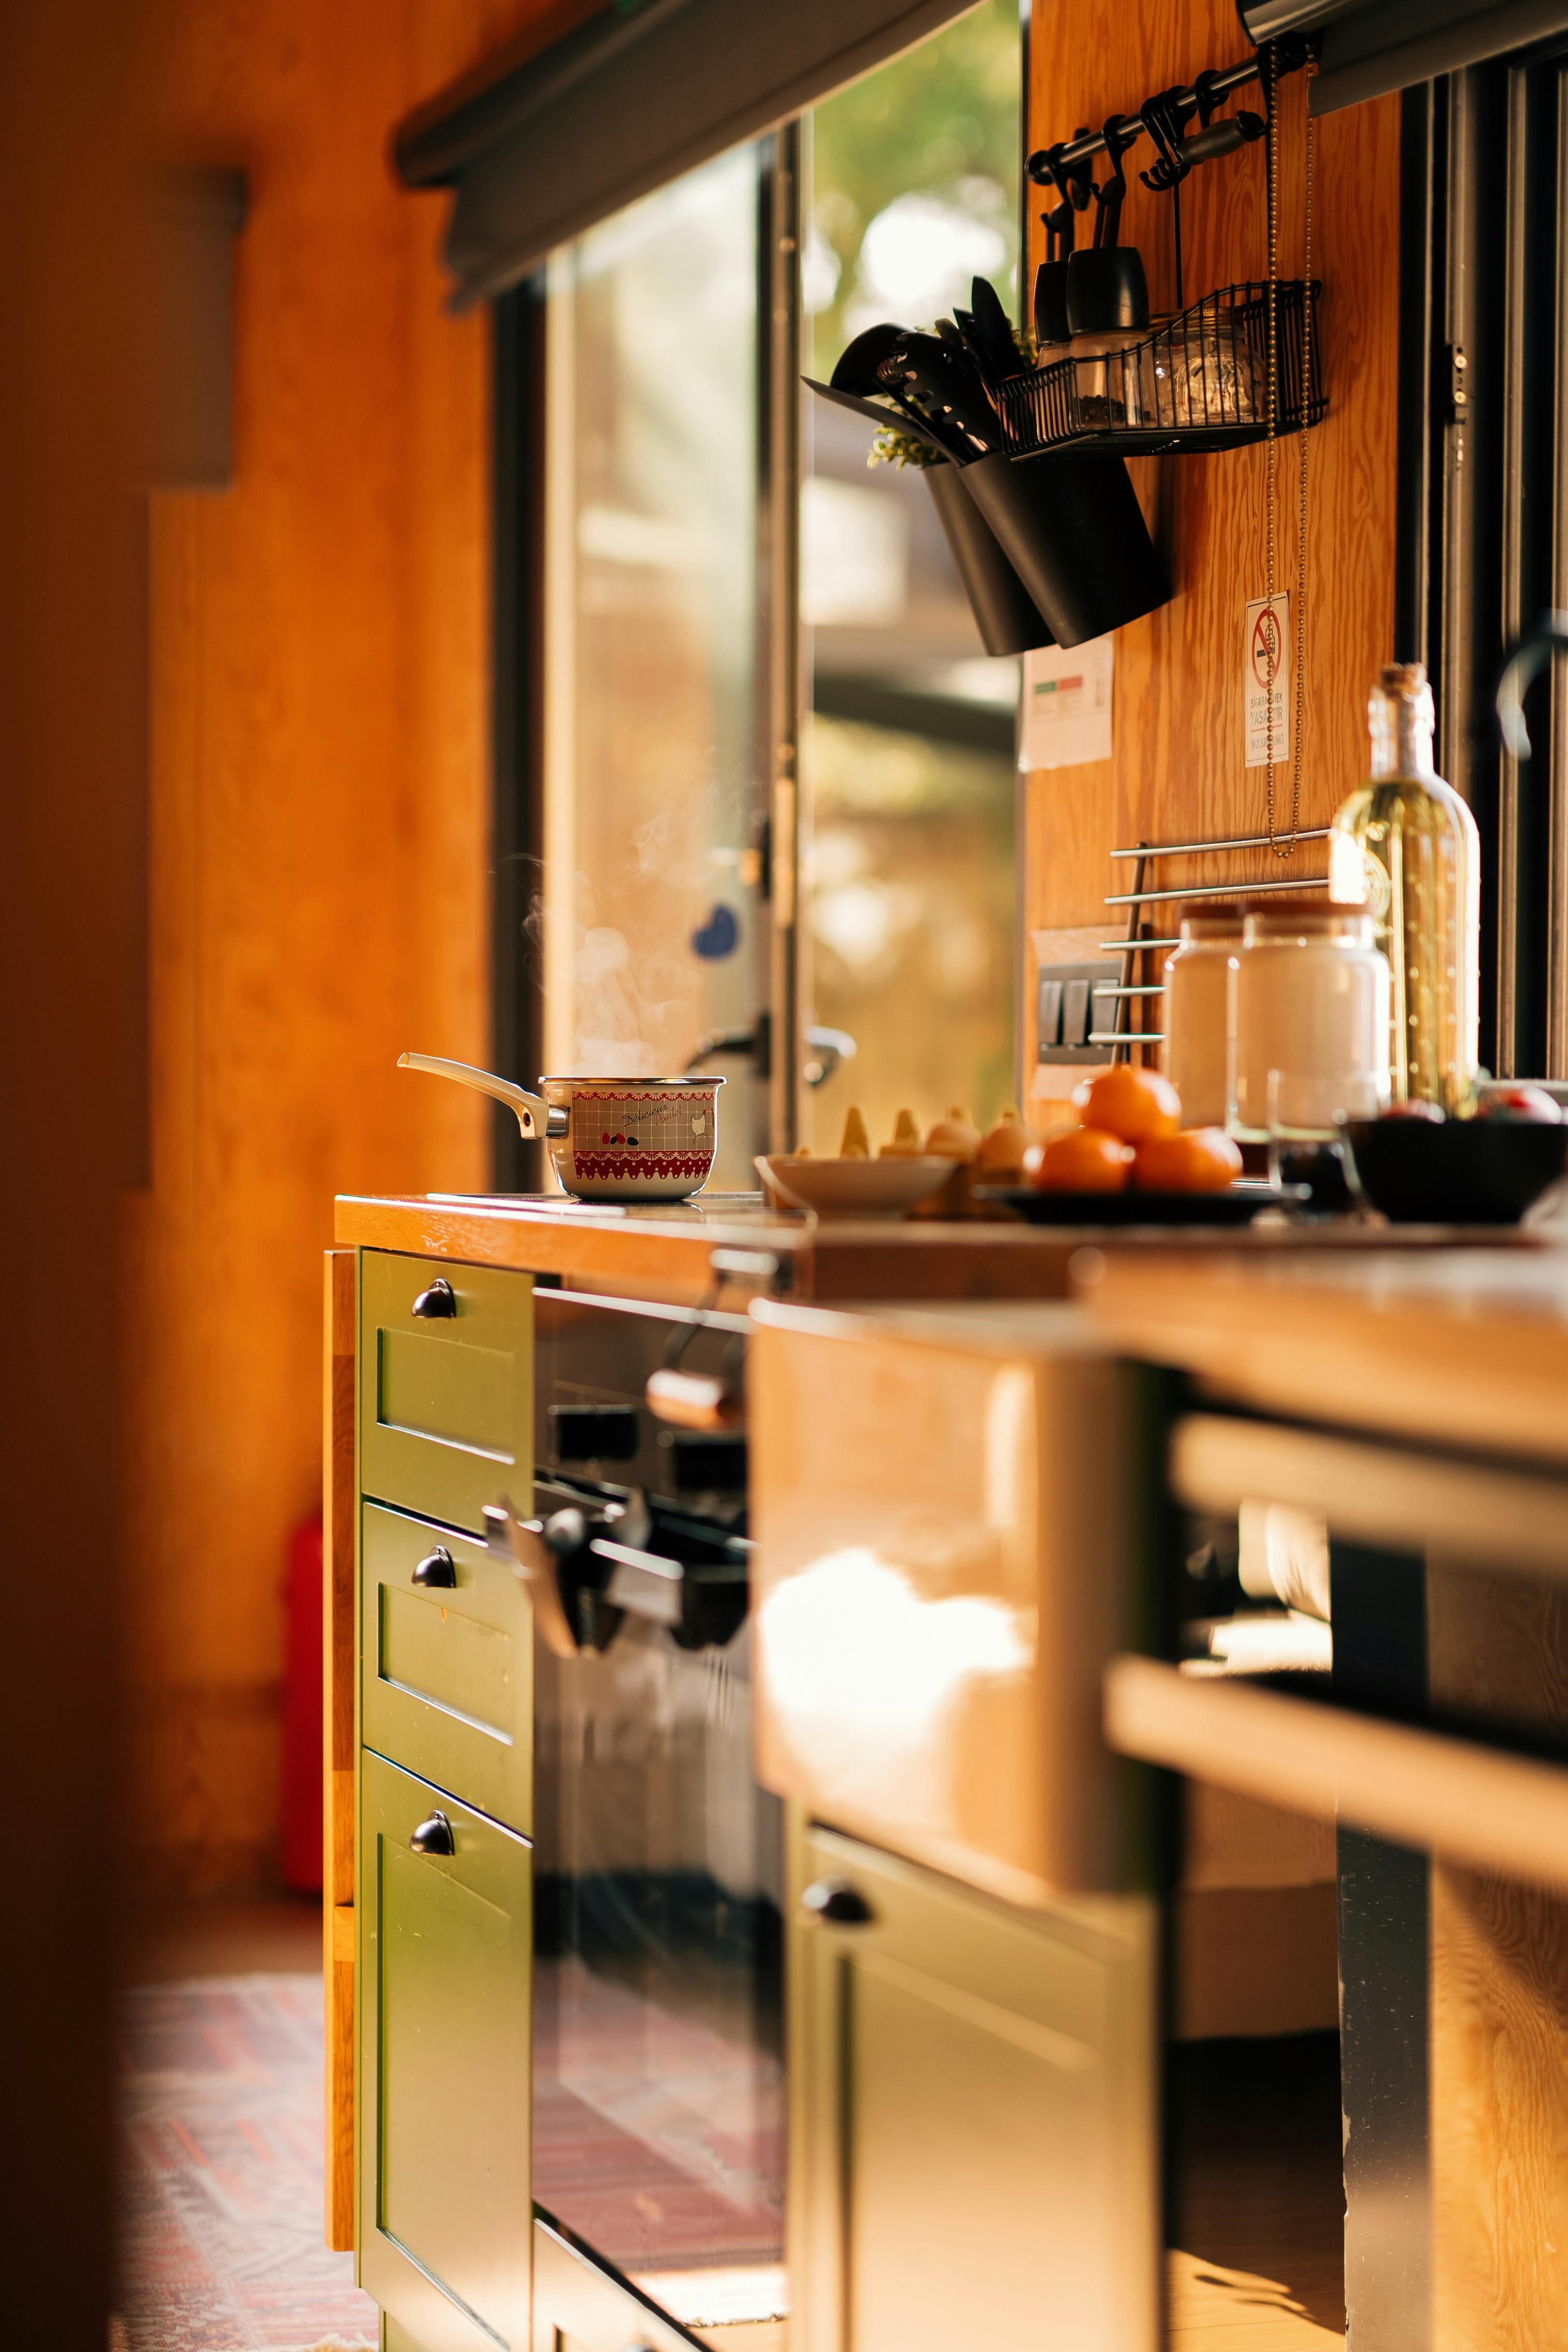
Use good color rendering and consistent lamp temperature across connected rooms. Very cool light can make olive lifeless, while excessively amber light may push sage toward khaki. Combine ambient, task and accent sources so deep green does not collapse into one dark plane. Table and floor lamps bring warmth below ceiling level, task light protects working accuracy, and grazing light reveals paneling or textured finishes without flooding the whole apartment.
Add Complementary Color With Discipline
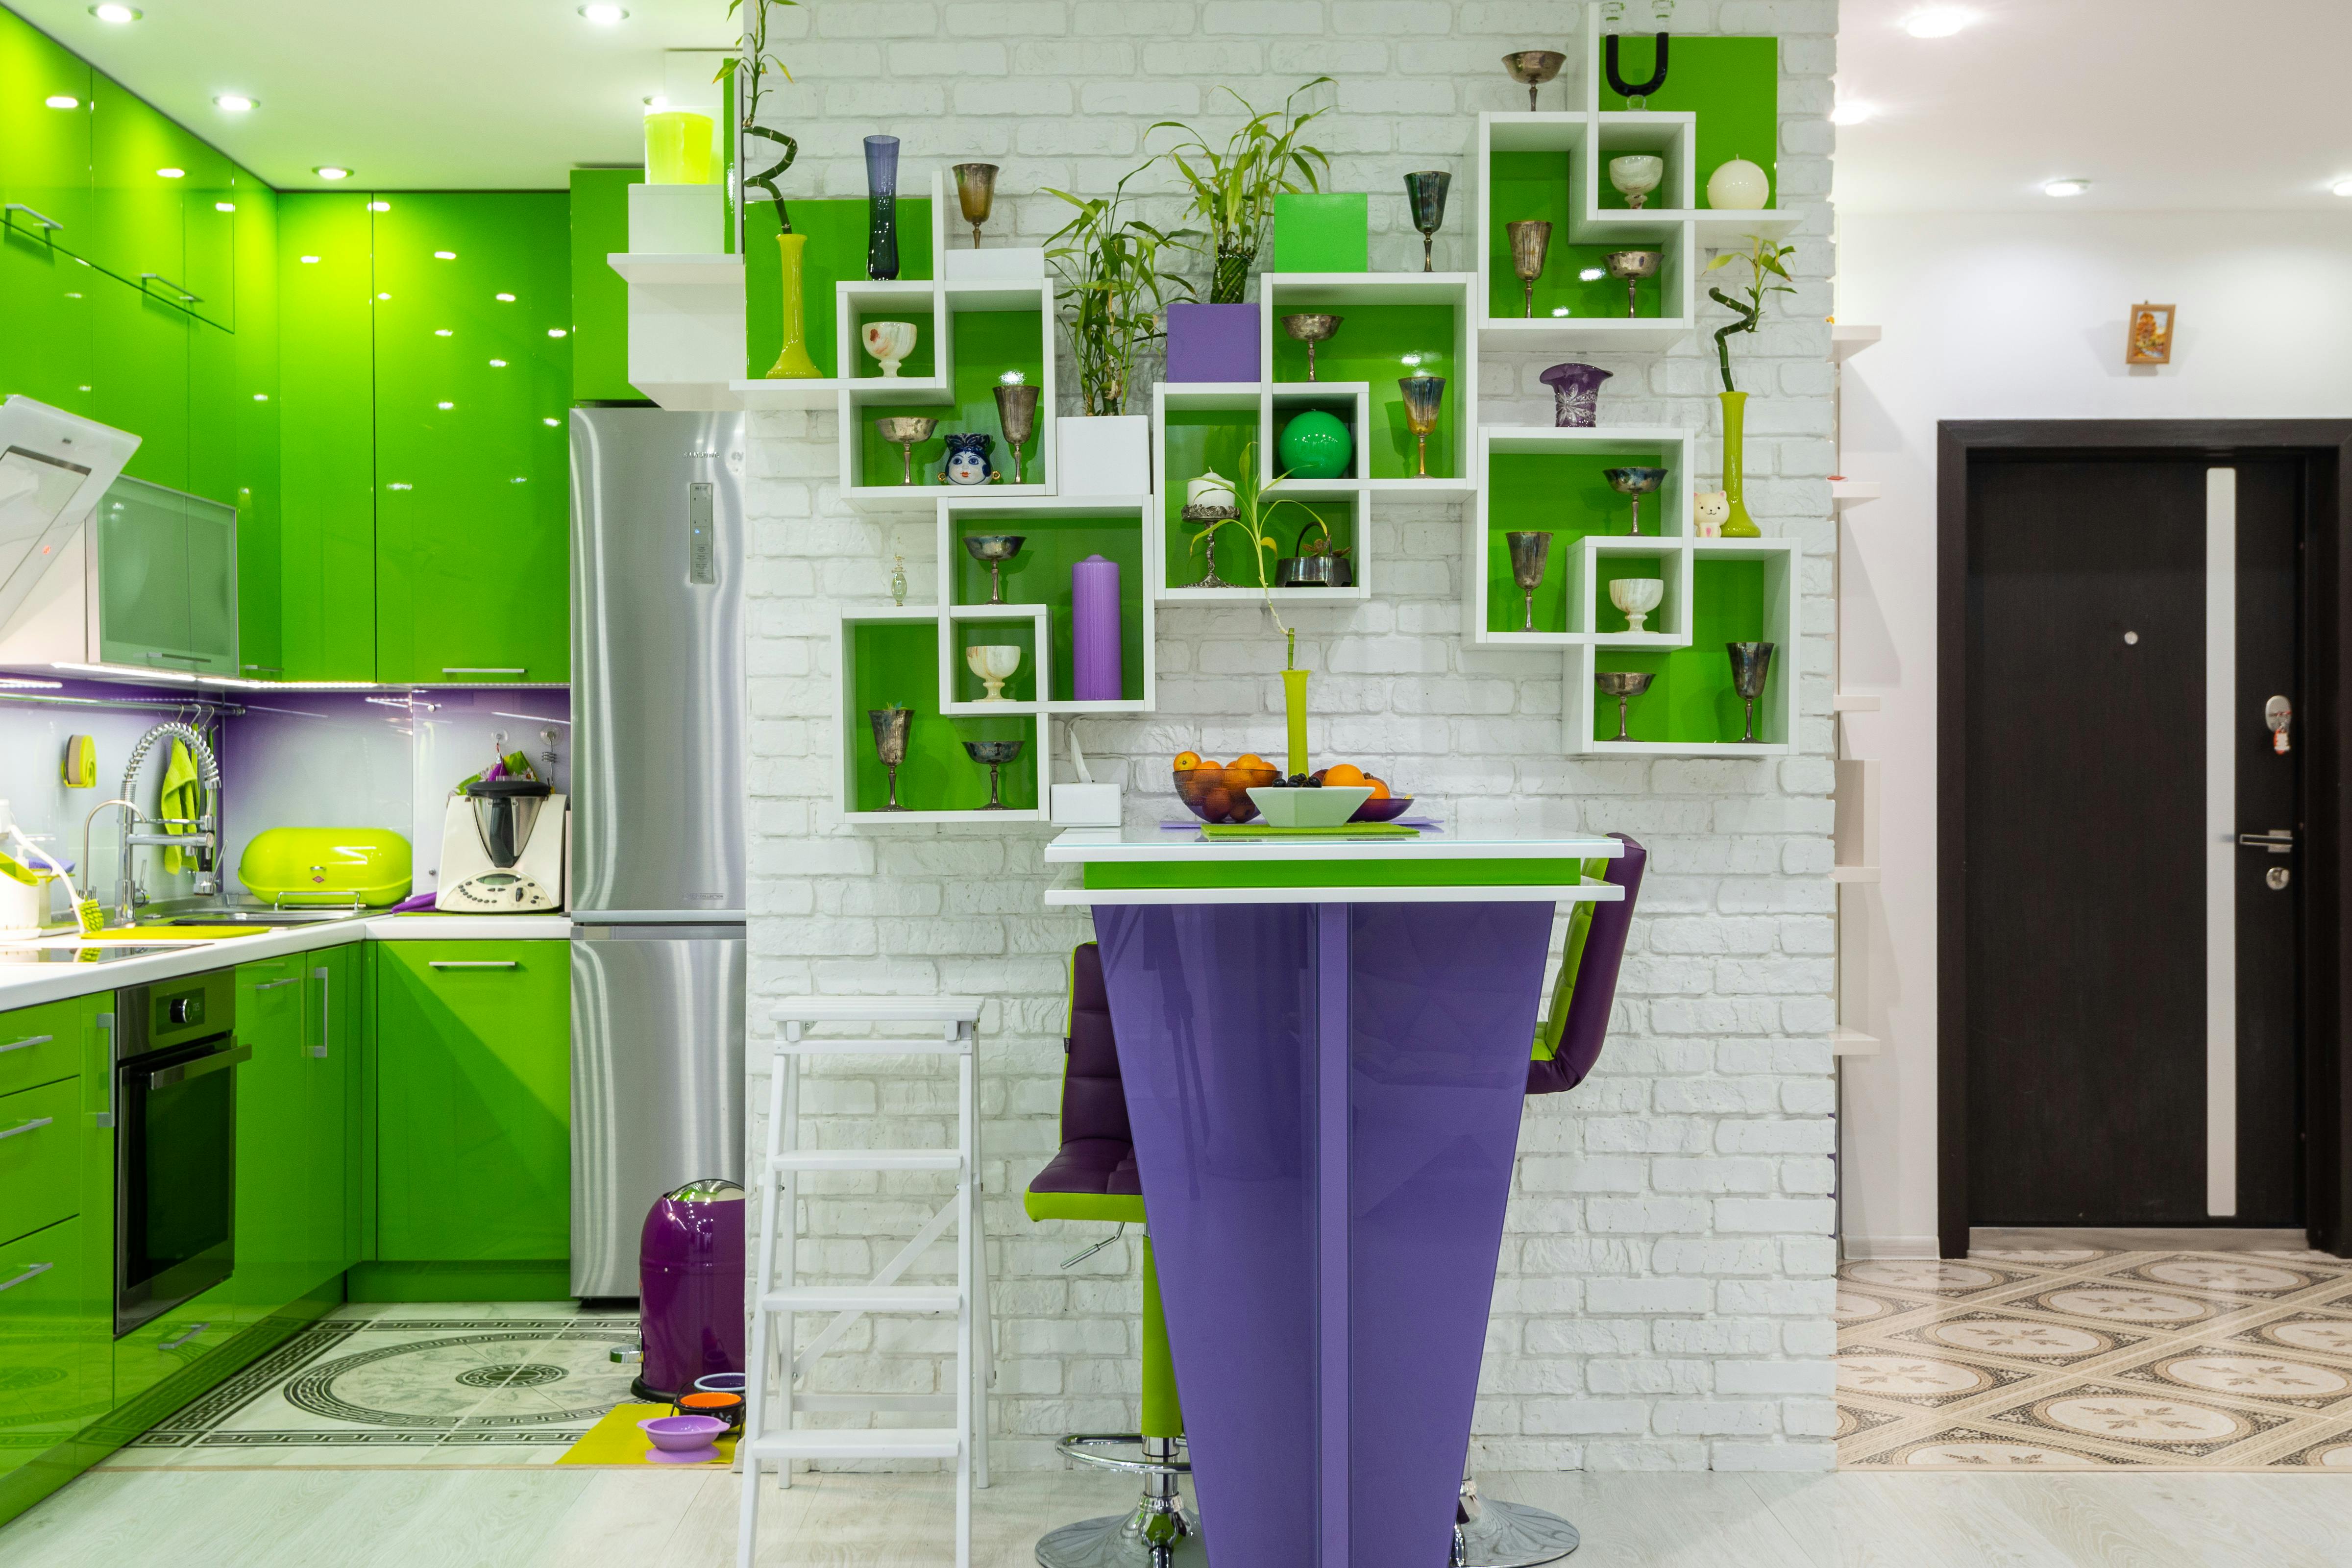
Muted pink, oxblood, plum, terracotta, ochre and violet can all animate green. Choose one family and introduce it at different intensities through a substantial chair, artwork, rug or a small group of textiles. Avoid distributing equal pops of several colors, which weakens green's role and makes rooms feel disconnected. A complementary accent works best when warm neutrals and natural materials still provide a quiet base around it.
Integrate Appliances and Dark Technology
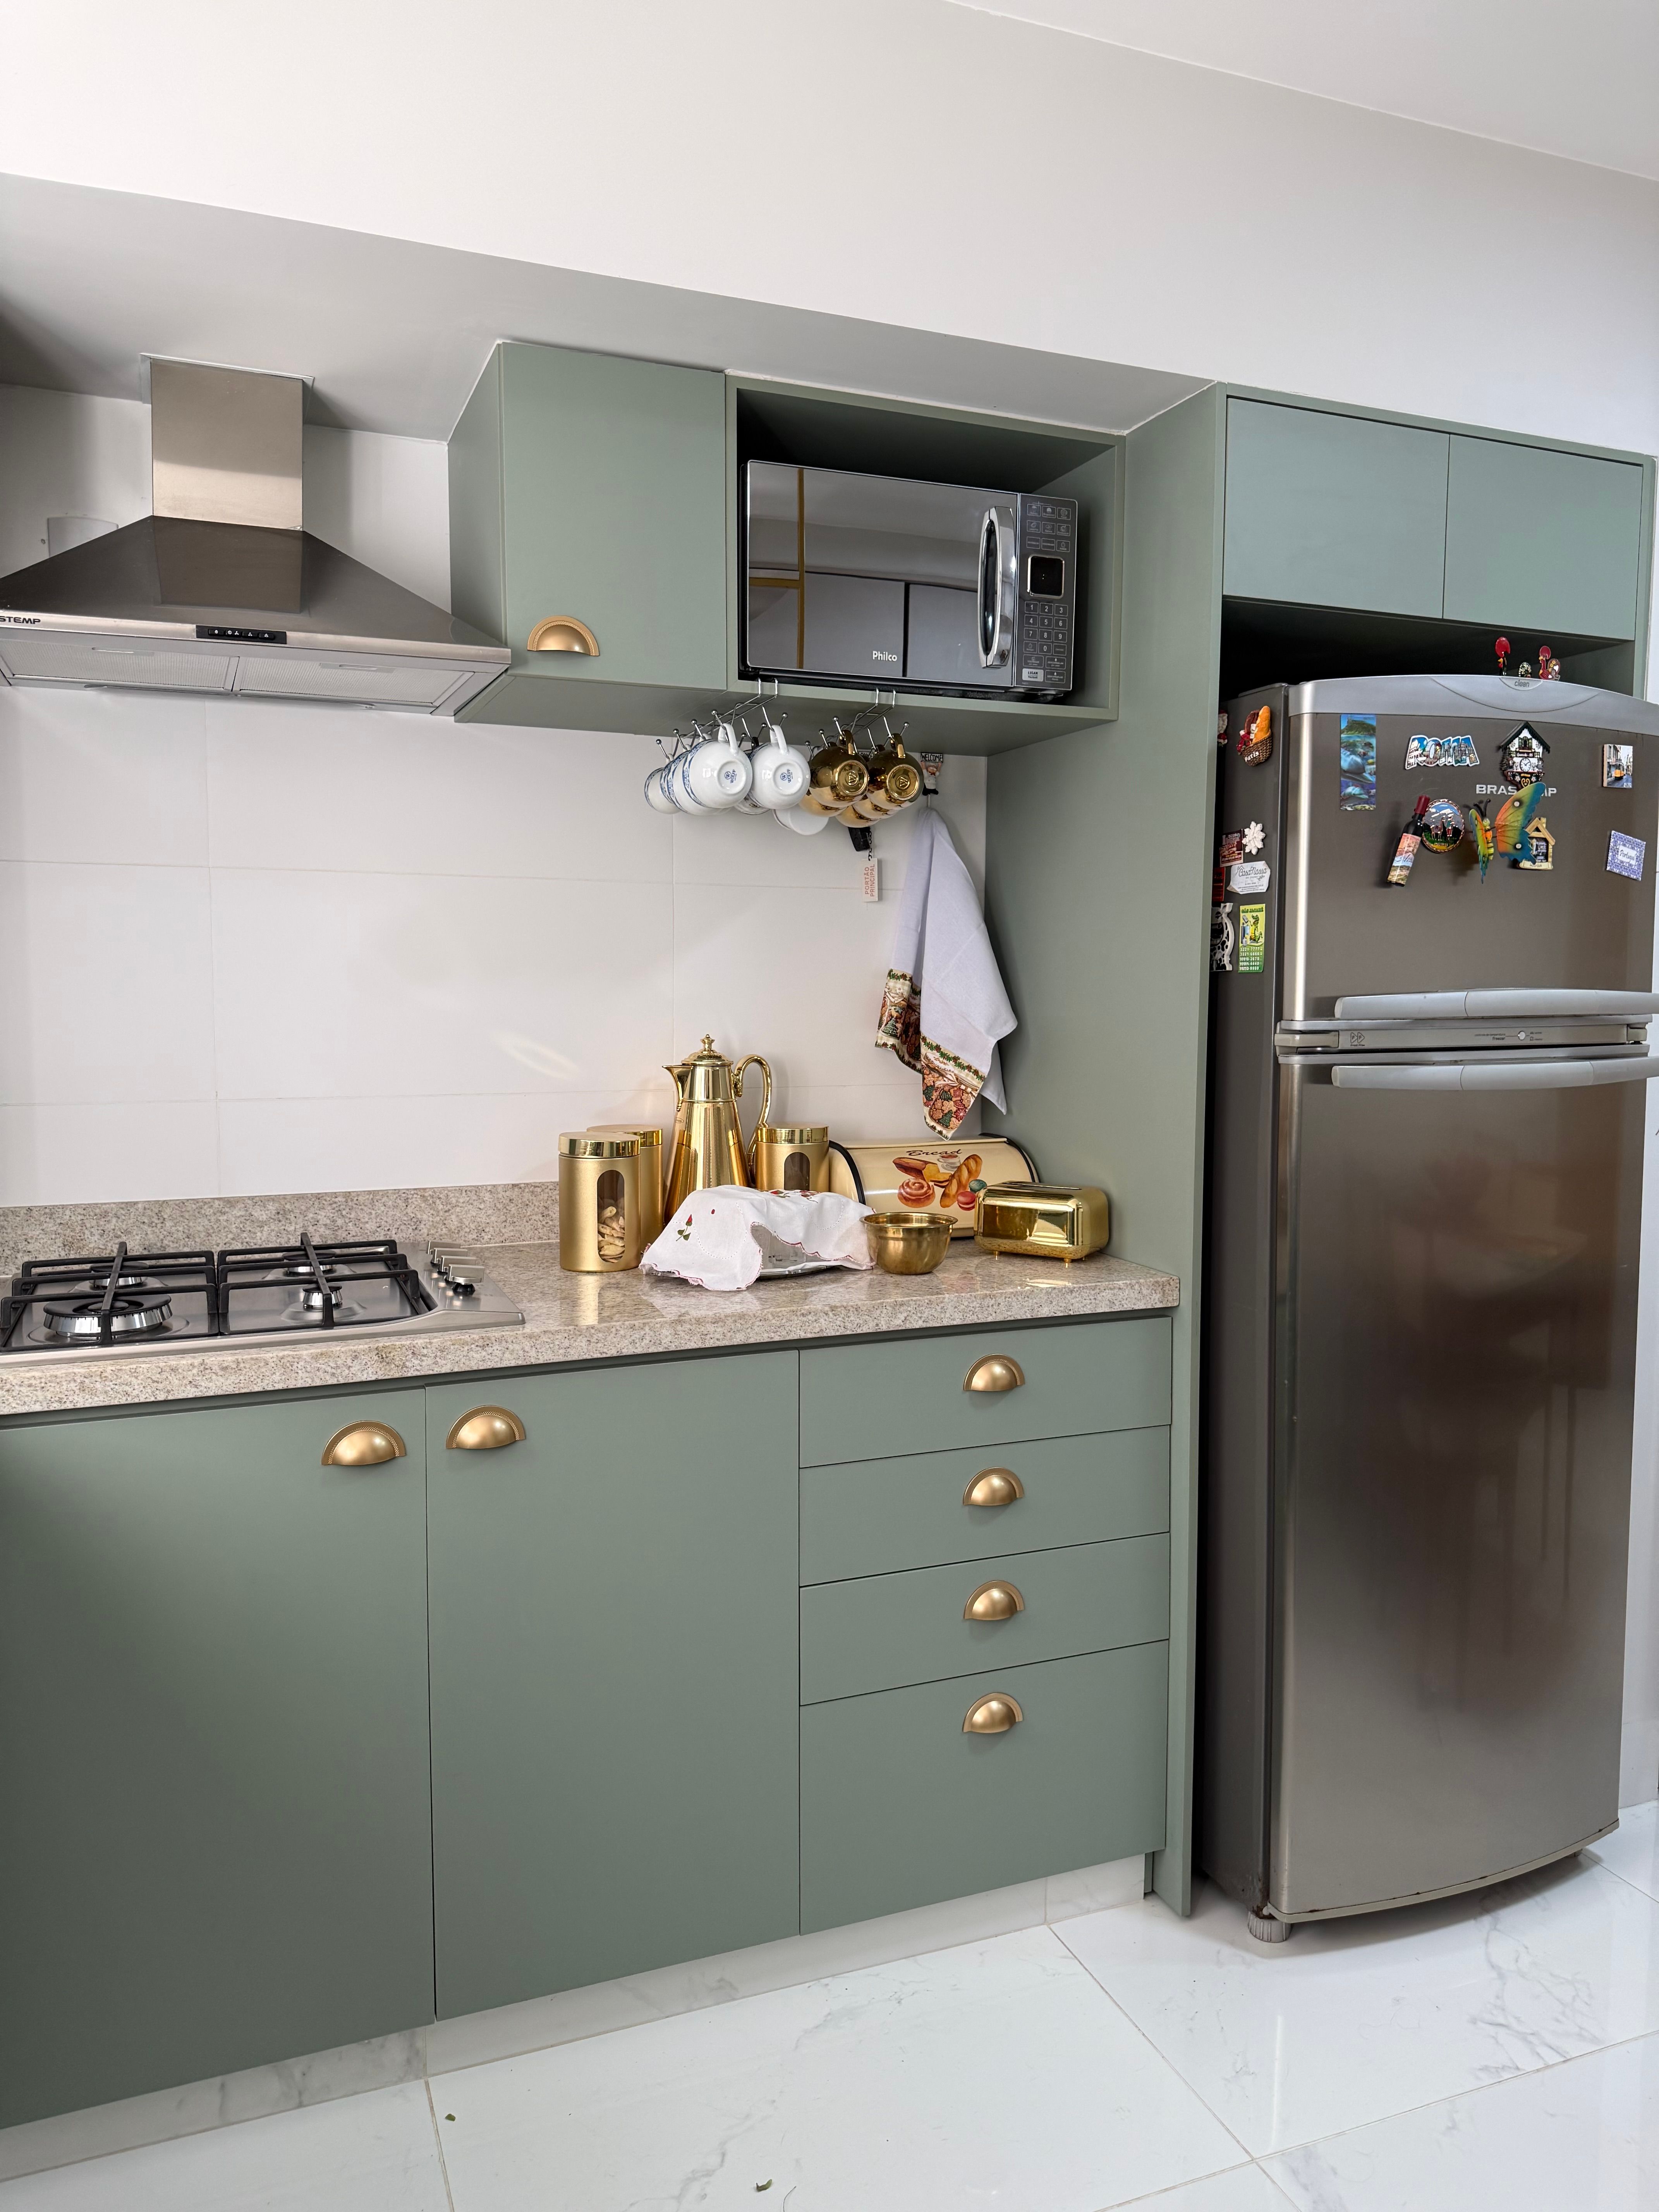
Stainless steel cools and sharpens green, black glass creates a deep reflective block, and integrated panels allow cabinetry to remain dominant. Choose the treatment according to appliance ventilation, access and replacement reality before appearance. In living areas, group television, speakers and cables into one resolved zone rather than scattering black rectangles across green walls. A darker green behind technology can reduce contrast, but controls and edges must remain easy to see.
Make Green Storage Architectural
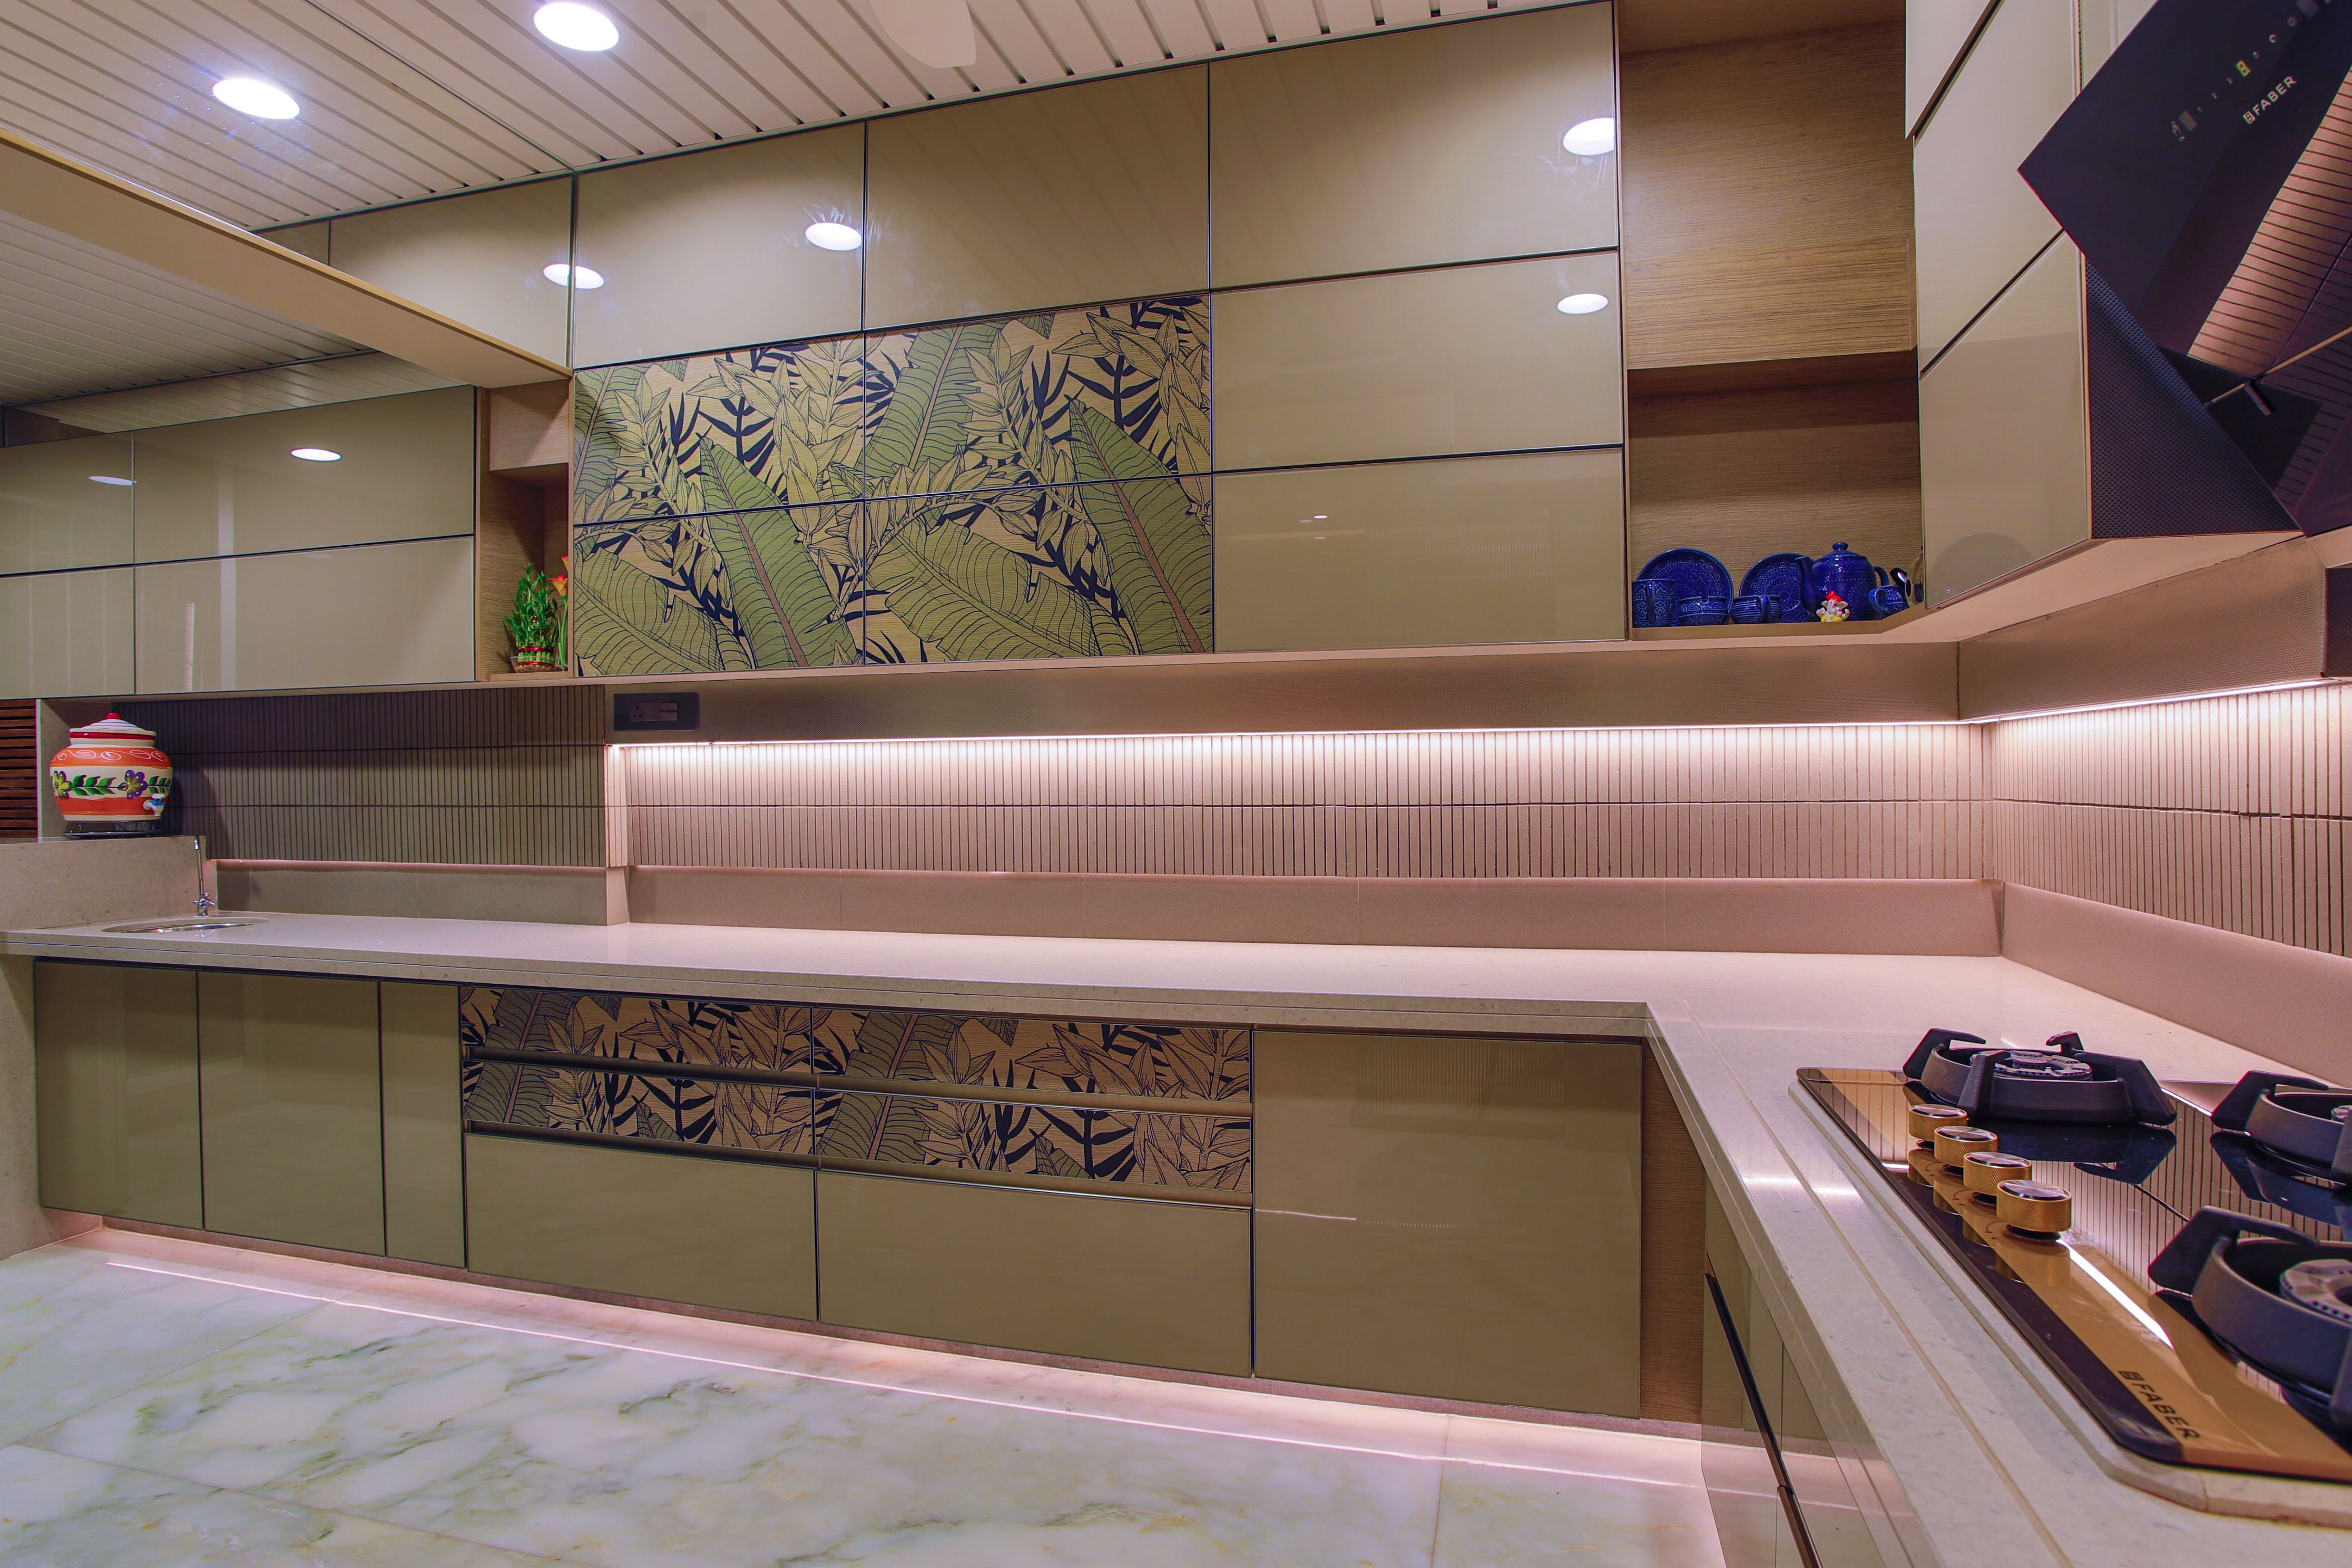
Use green on a concentrated built-in, cabinet run or wardrobe wall where color can unify necessary storage. Keep door proportions, reveals and hardware consistent so the elevation reads as architecture rather than separate boxes. Introduce an open niche, timber shelf or lit display only where it supports a recurring task or a tightly edited category. In a small apartment, one strong storage block creates more clarity than many freestanding green units.
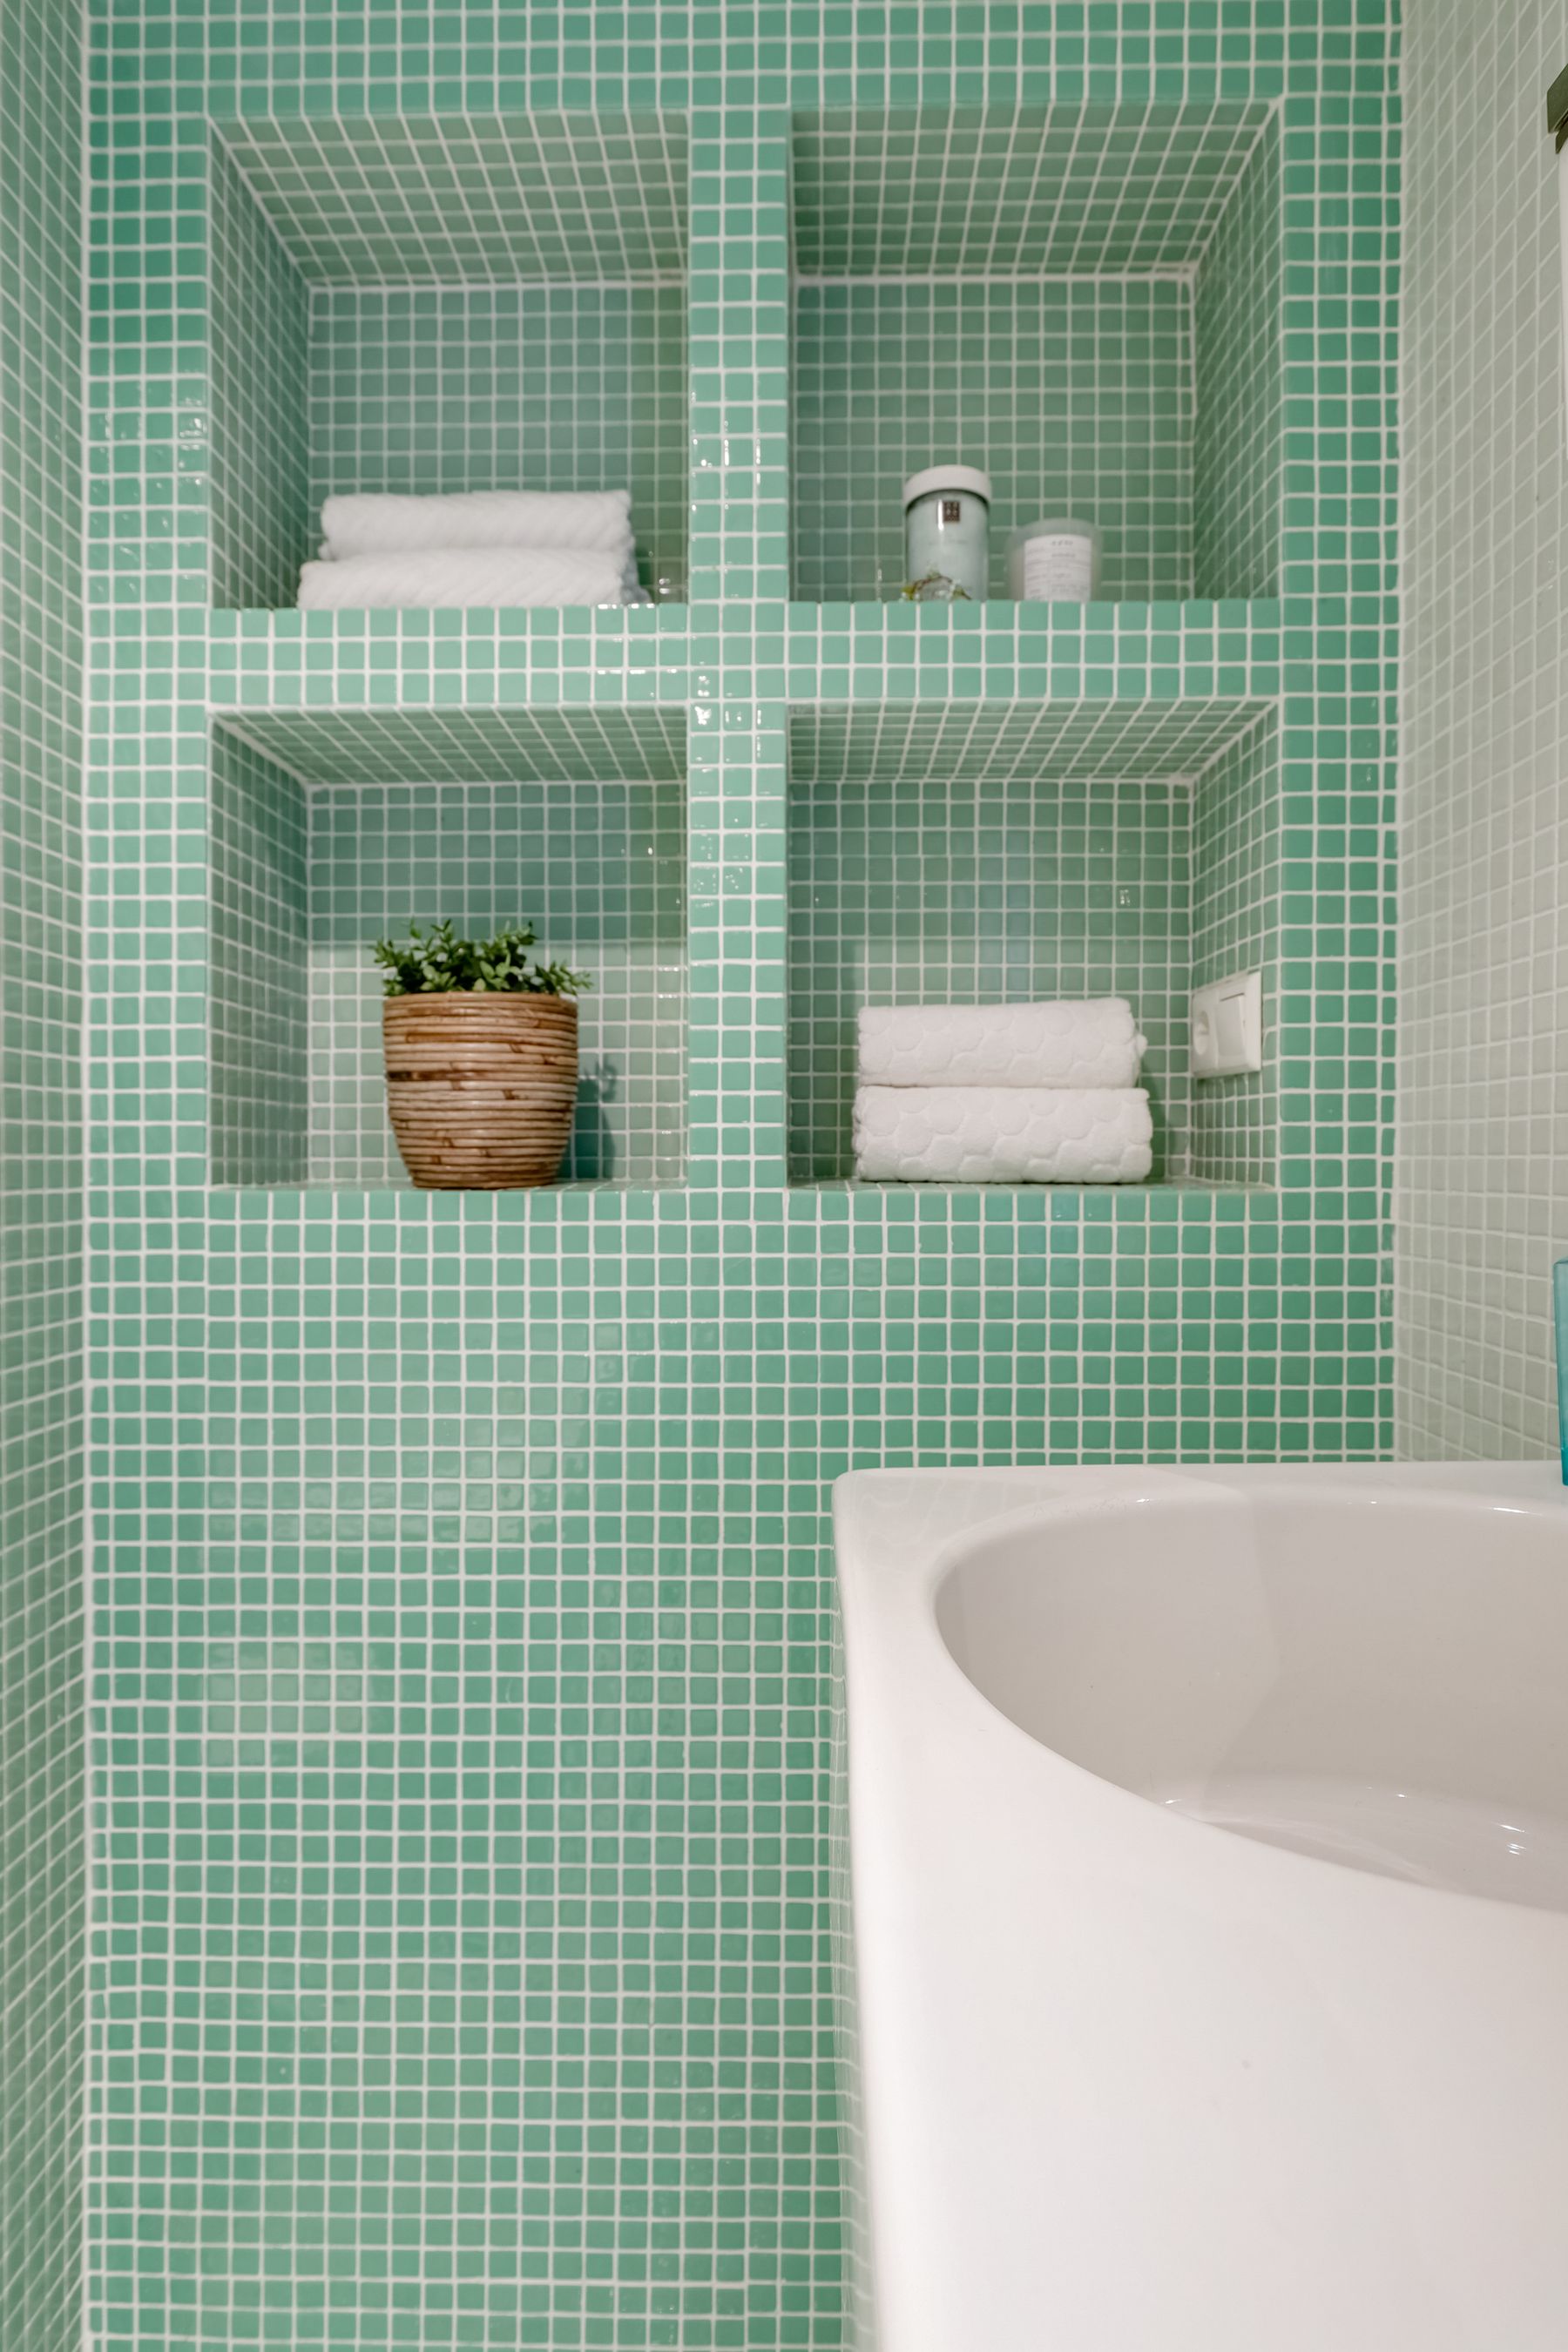
Match Tile Scale to the Room
Large tile creates broad green planes with fewer joints, while mosaics and small formats add texture, tonal variation and more maintenance. Match the unit to viewing distance and the architecture it must wrap. Choose grout deliberately: closer in value for continuity or slightly contrasting to reveal scale. Glossy tile multiplies highlights in a compact room; matte tile is quieter but still needs appropriate slip and cleaning performance for its location.
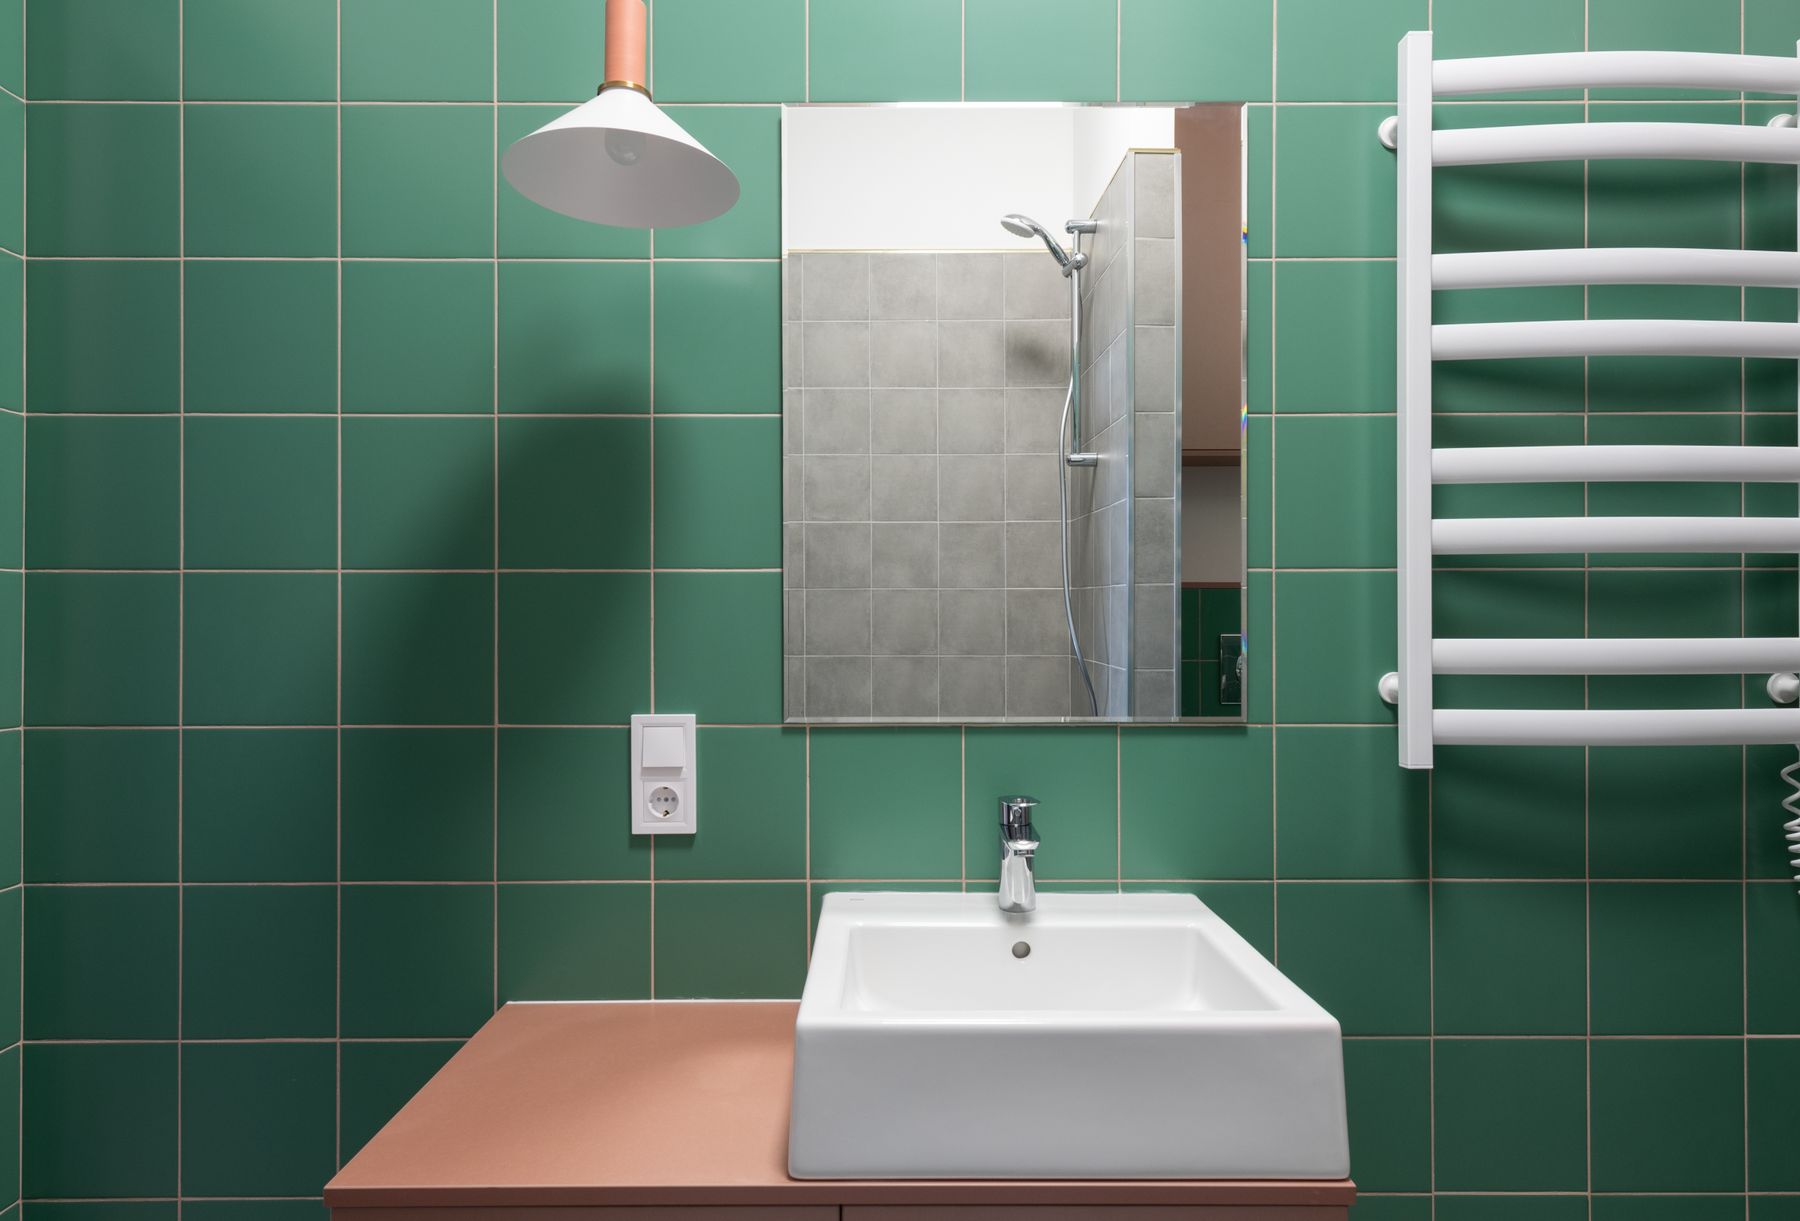
Use White as a Precise Counterpoint
White sanitaryware, trim and worktops provide useful separation from green, yet an extremely blue white can make olive appear dirty and a creamy white can yellow beside mint. Select the white alongside the final green, grout and artificial light. Use it where clarity matters rather than defaulting every ceiling, frame and fixture to the brightest available tone. Softer off-white often connects green more comfortably to timber and stone in living areas.
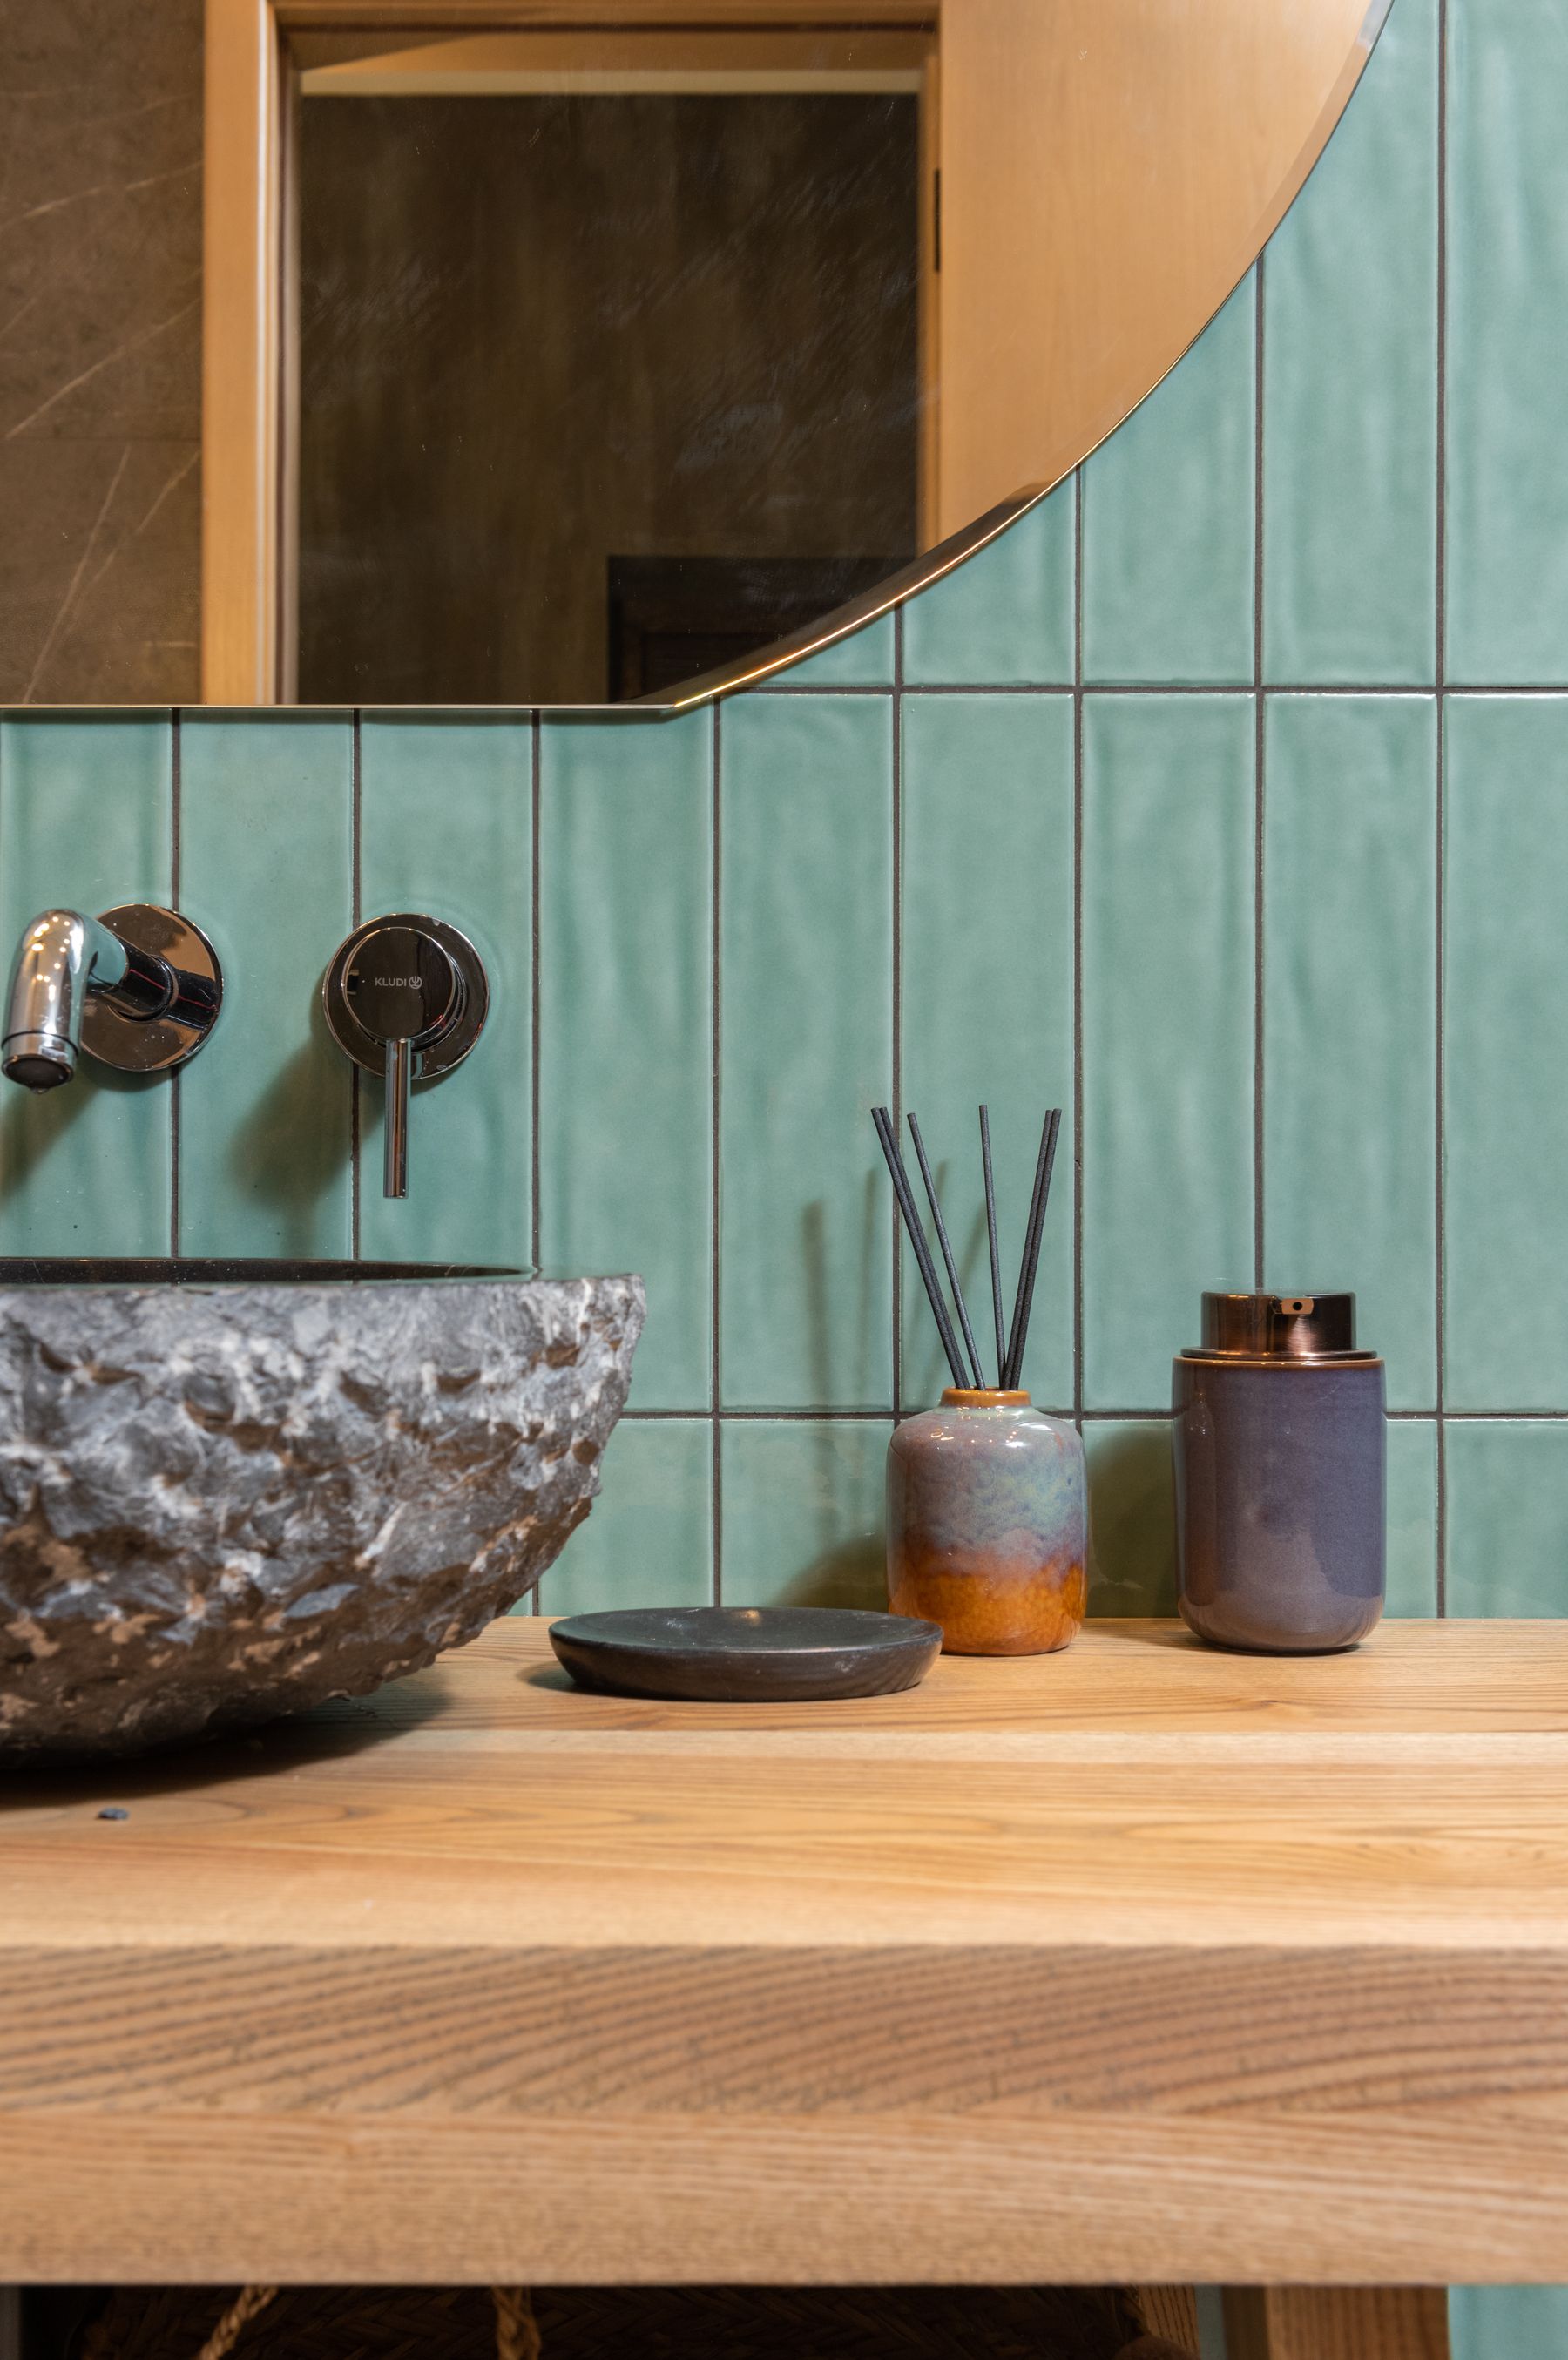
Pair Green With Earthy Stone and Wood
Use stone and wood for their grain, weight and durability rather than as symbolic natural accents. A stone basin, timber vanity, clay vessel or woven floor covering introduces variation that paint alone cannot supply. Keep the material count edited and give each enough surface area to register. Green already carries strong association with nature, so literal leaf motifs and many rustic textures are unnecessary unless the apartment's style genuinely calls for them.
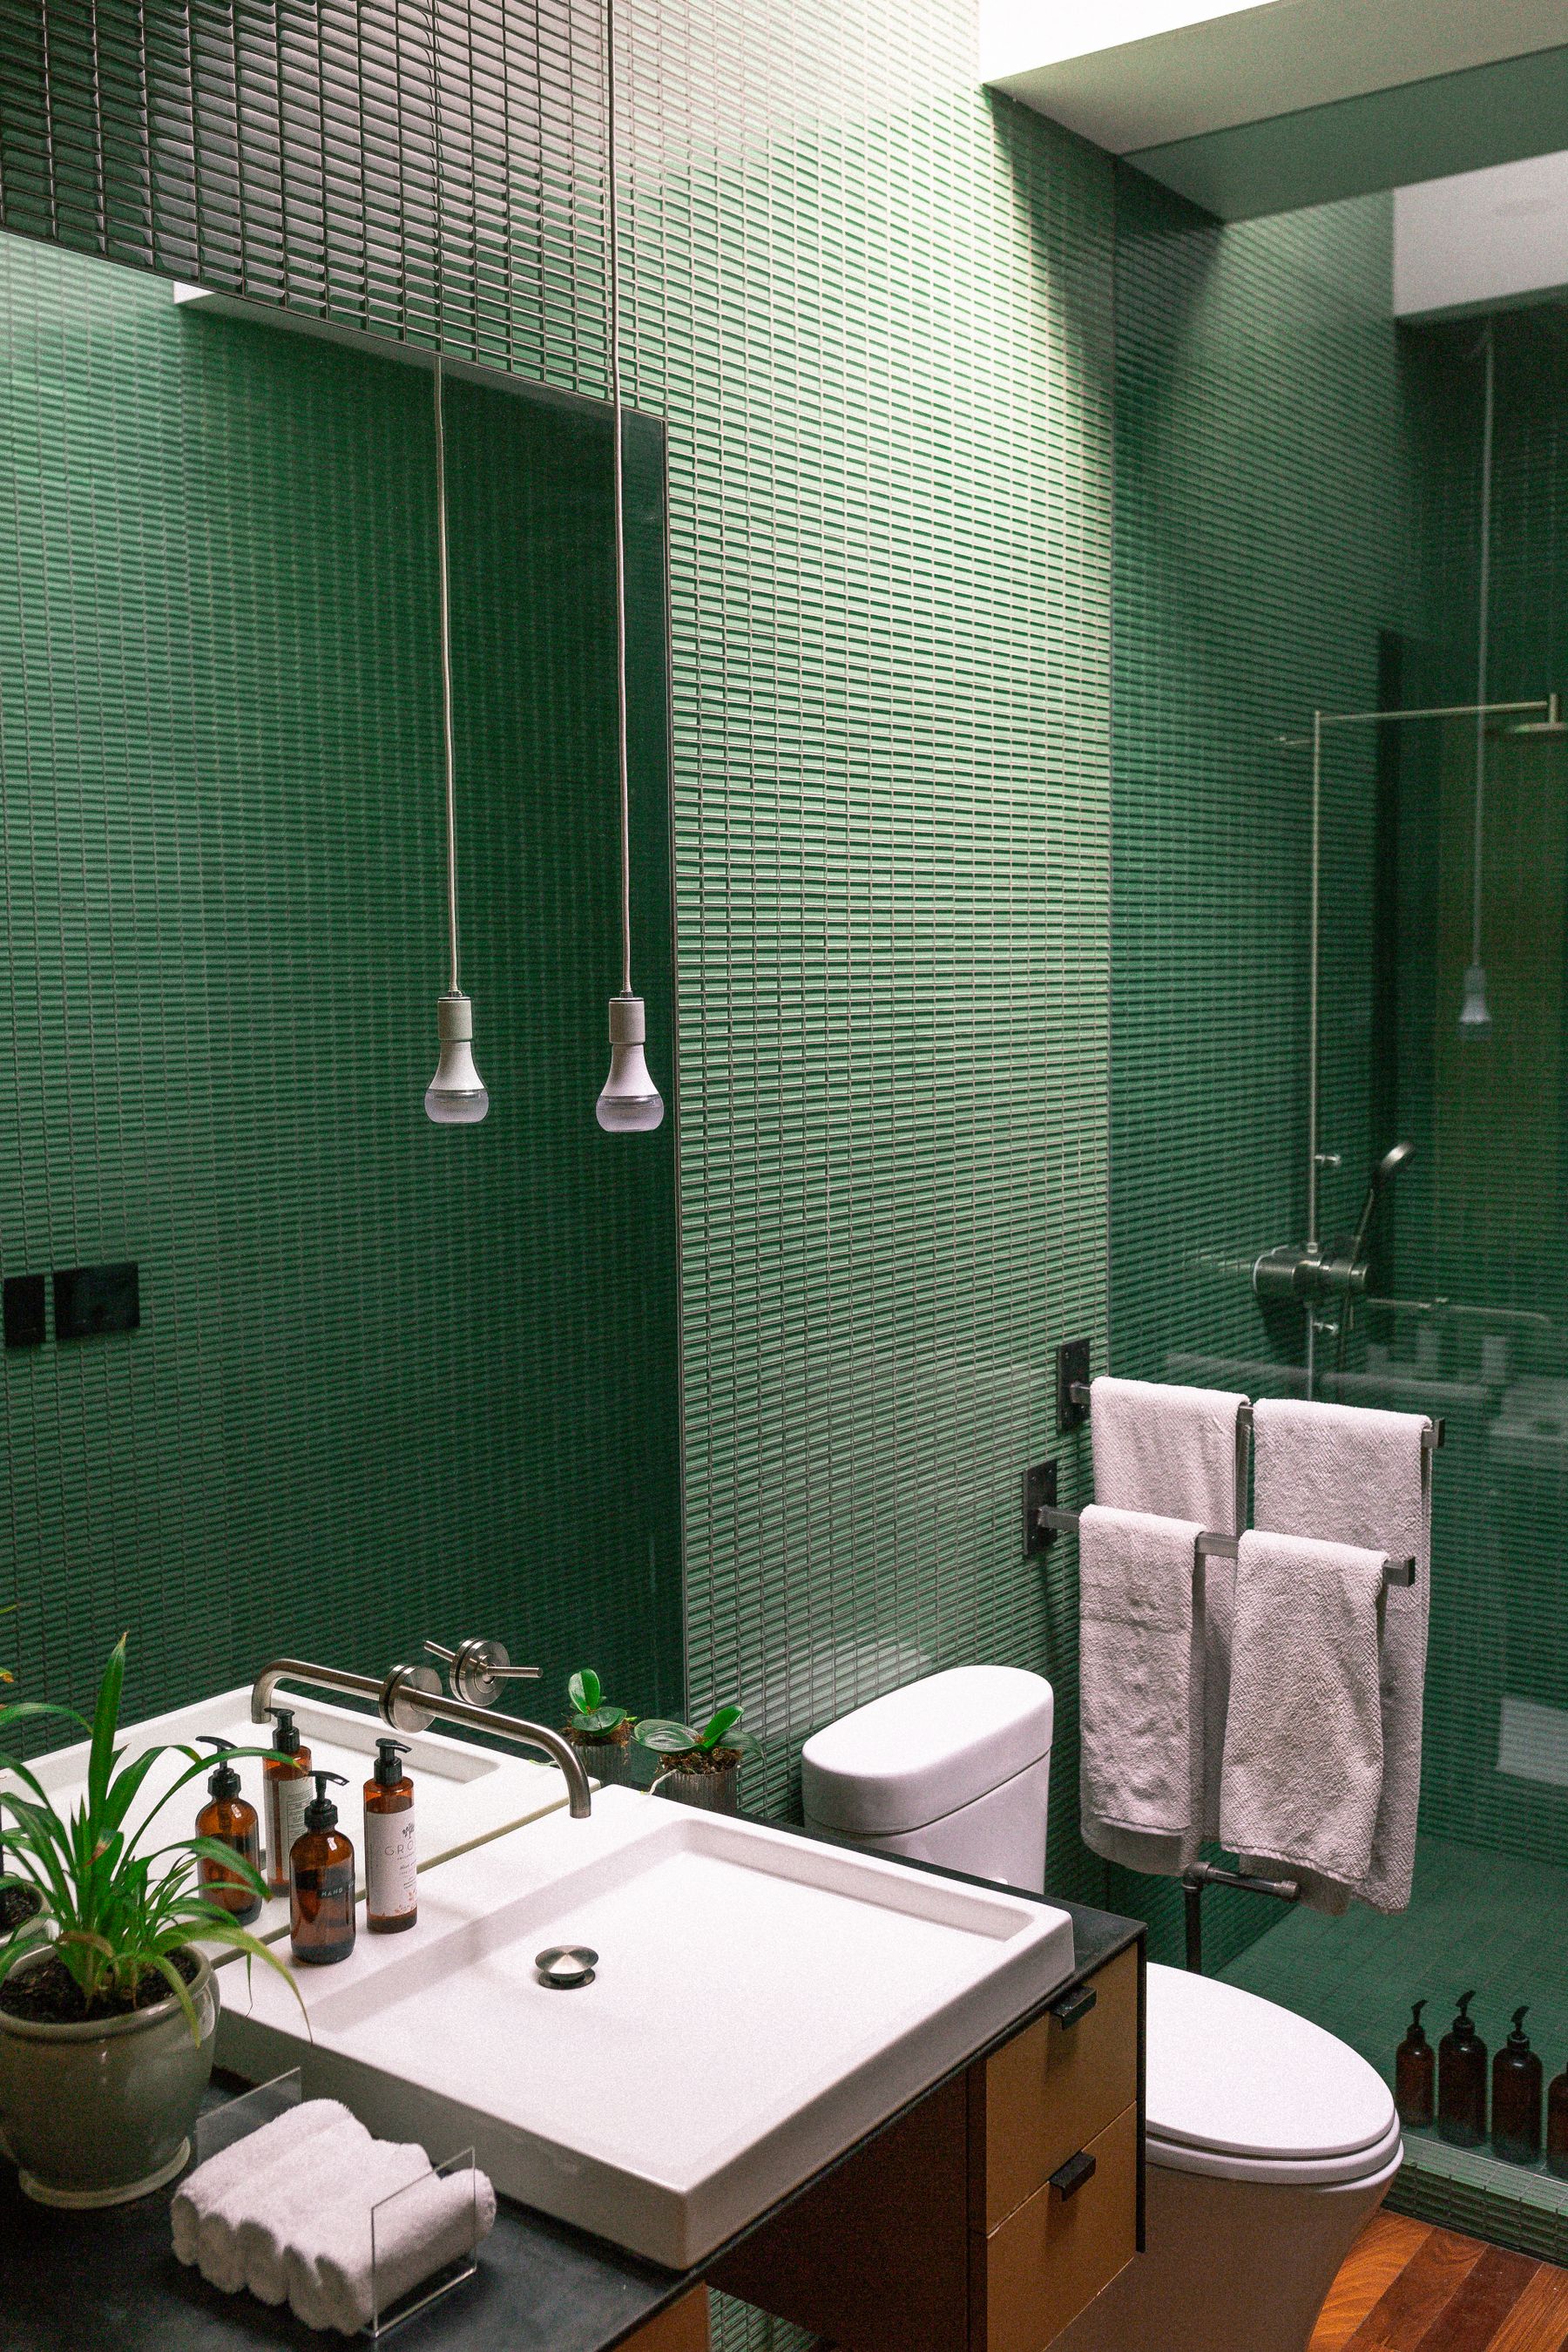
Treat Plants as Living Materials, Not Color Correction
Choose plants by actual daylight, humidity, temperature and care routine. Their greens will rarely match the walls, which is useful when the palette already has a clear hierarchy. Grouping a few healthy plants near suitable windows is stronger than placing one struggling plant in every room. Use pots and stands that belong to the timber, stone or metal language, and protect floors and cabinetry from water. Artificial plants should be selected and maintained with equal visual discipline.

Make One Green Object the Focal Point
In a mostly neutral apartment, use one substantial green object such as a sofa, cabinet, bath, headboard or dining table as the color anchor. Give it enough visual space and repeat its undertone only lightly elsewhere. The piece should be comfortable, durable and proportionate before its color is considered; replacing a poor functional choice is expensive once the whole palette depends on it. Keep nearby surfaces calmer so the focal object retains its purpose.
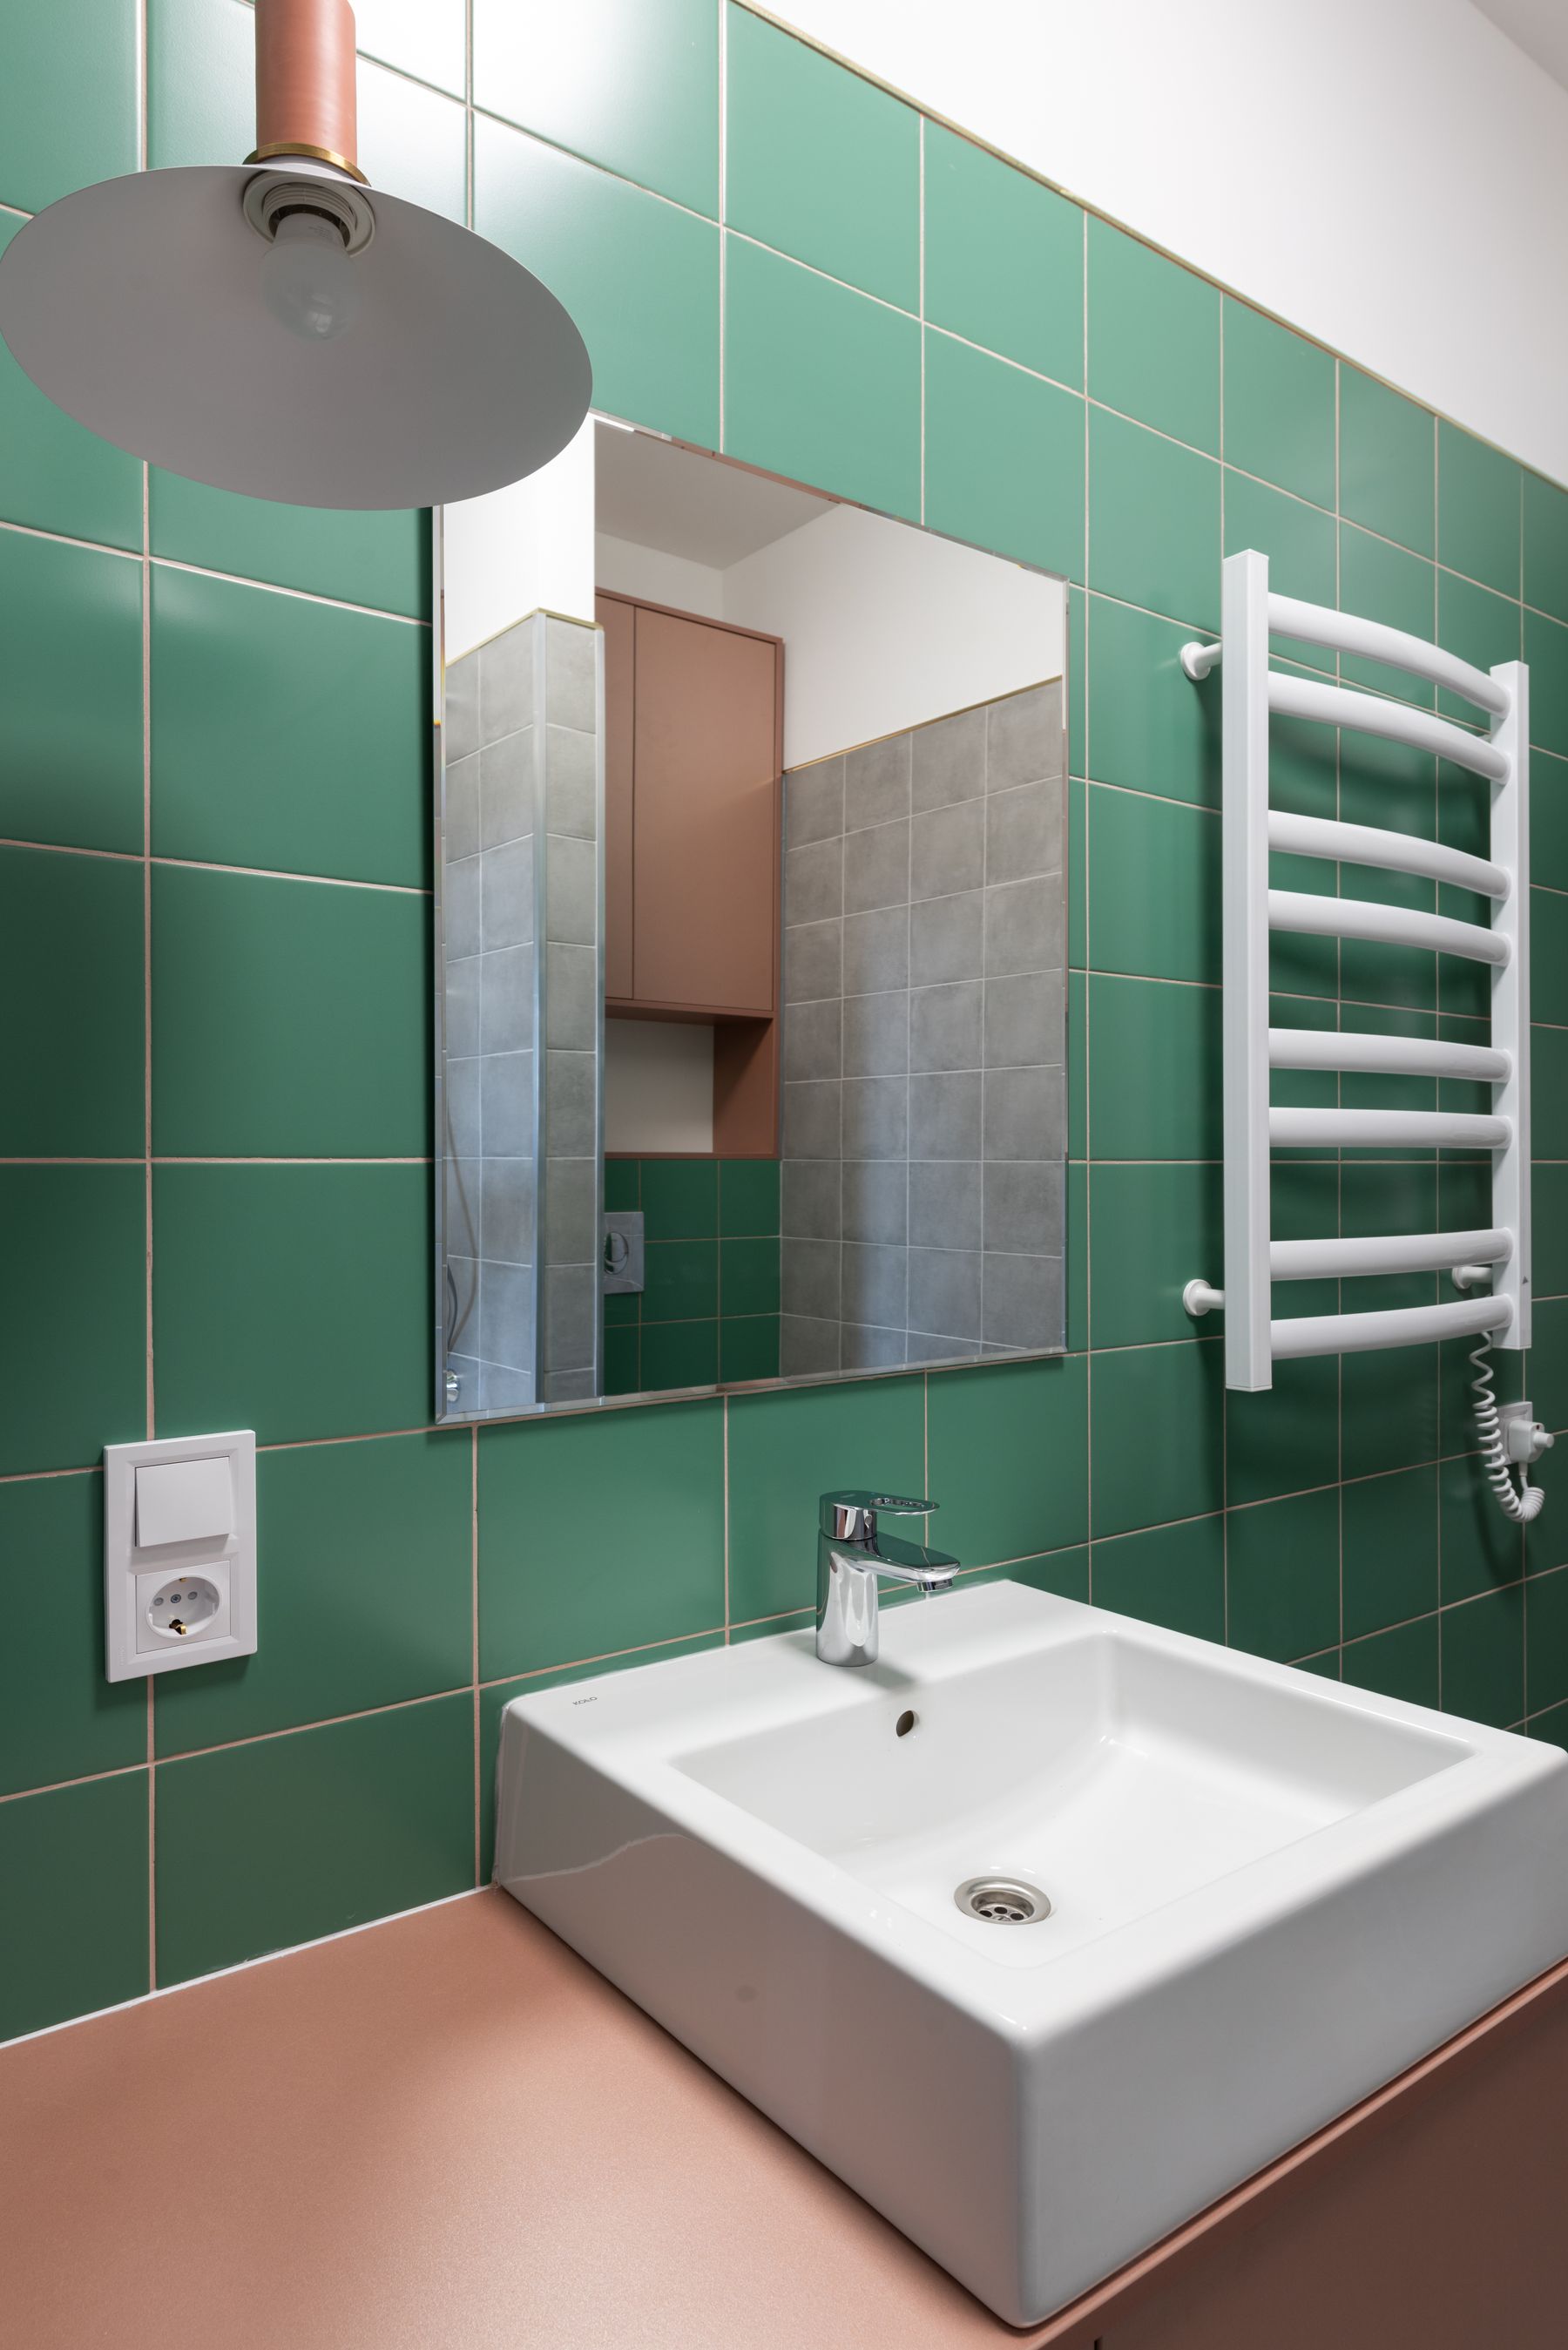
Use Pink and Red as Controlled Warmth
Dusty pink, clay red, oxblood and muted coral sit opposite green strongly enough to create life and warmth. Use them on one counter, chair, rug, artwork or curtain rather than as a trail of tiny matching accents. Lower saturation usually produces a more livable relationship than bright complementary colors. Connect the pairing with timber, cream or stone so it belongs to the apartment's material system rather than reading as a two-color graphic exercise.
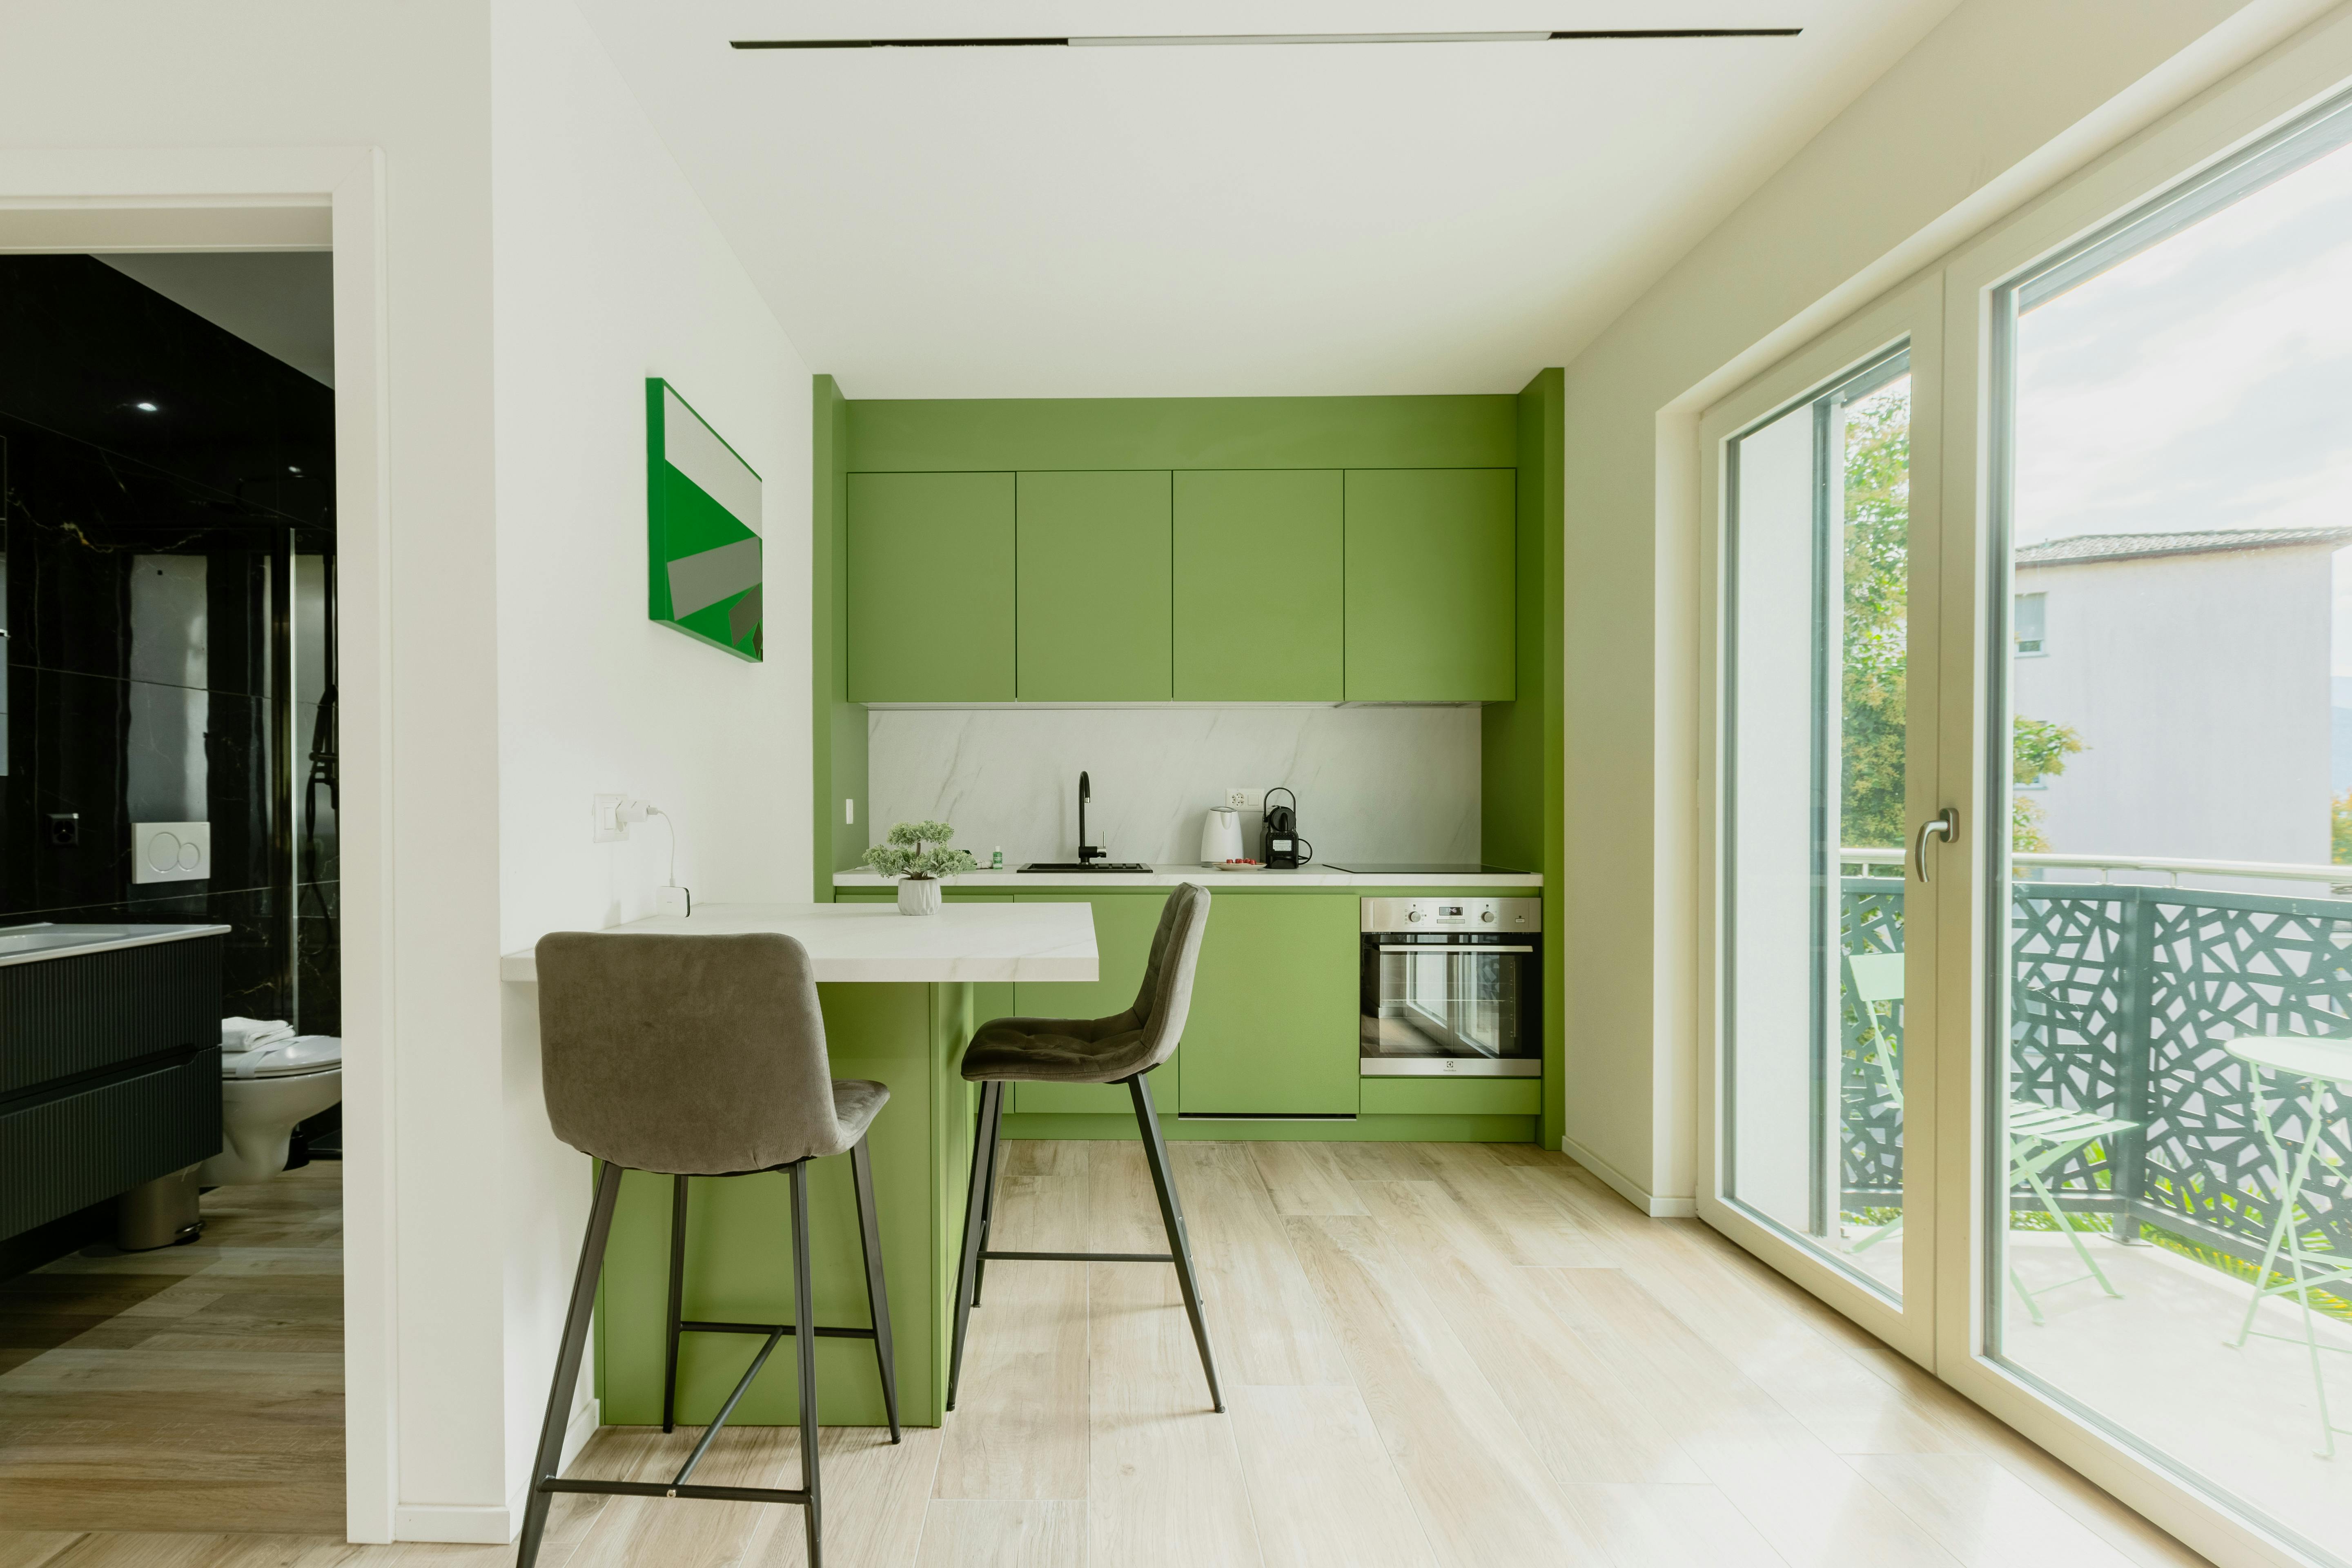
Make the Kitchen a Green Anchor
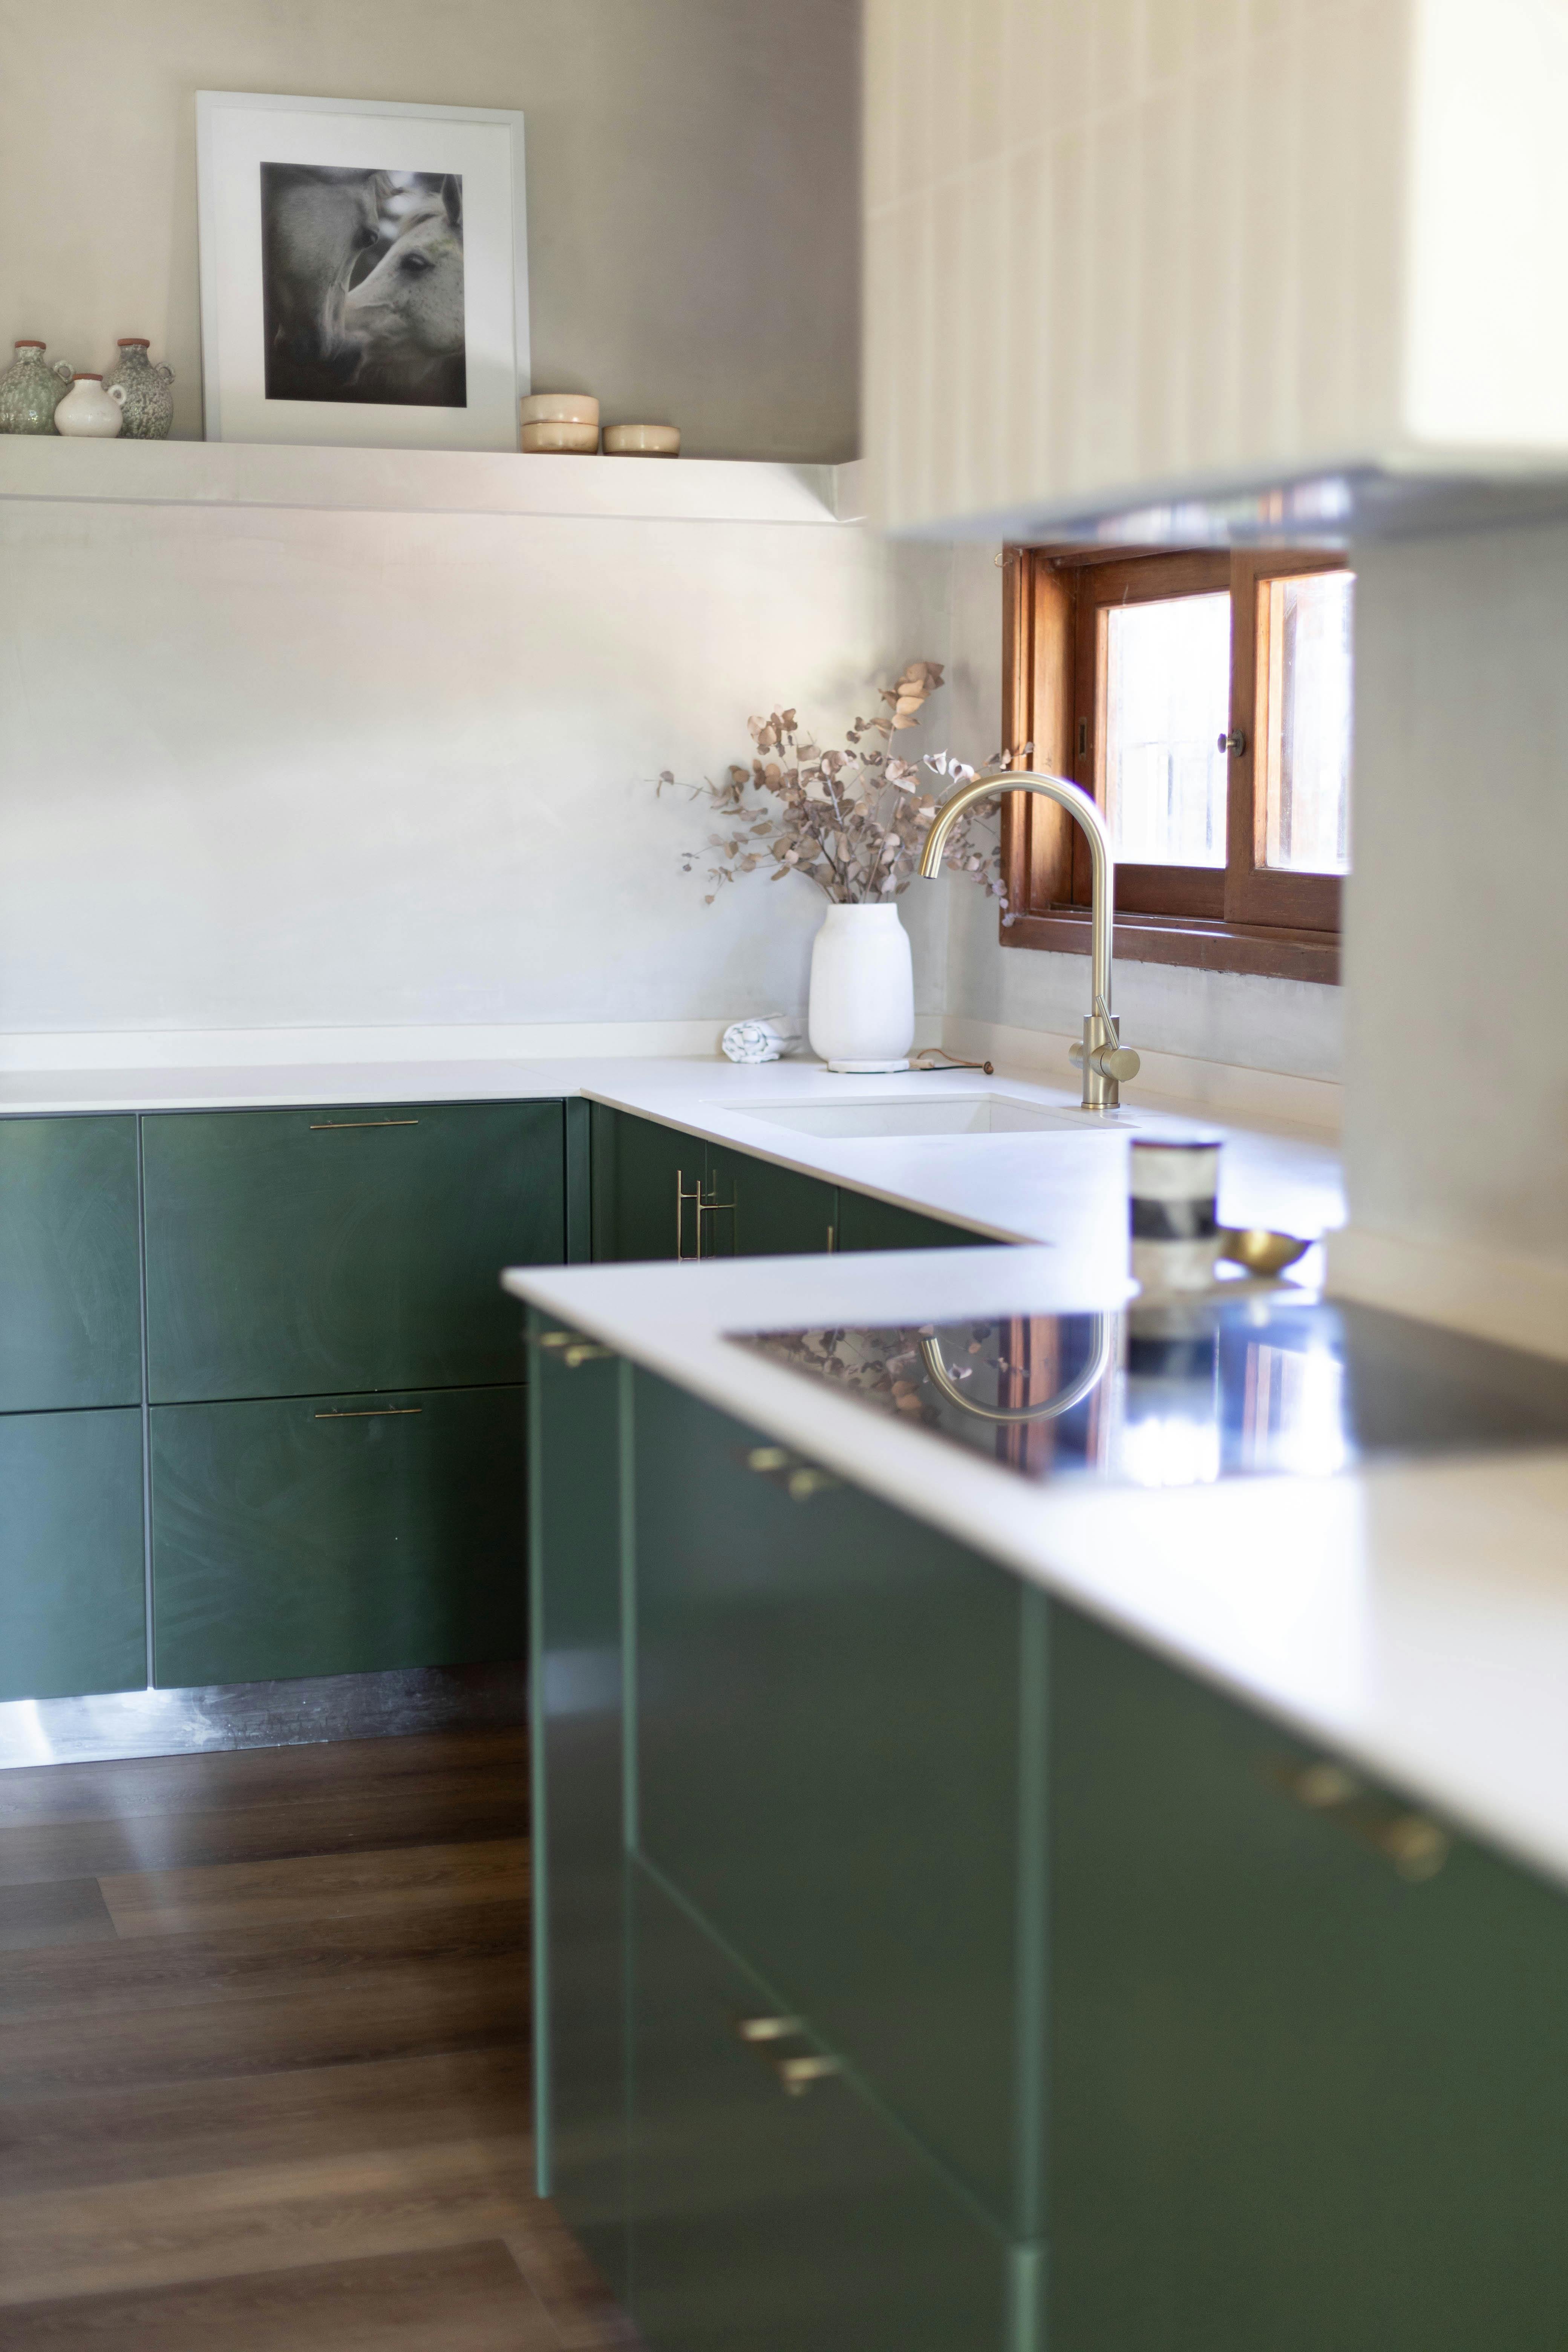
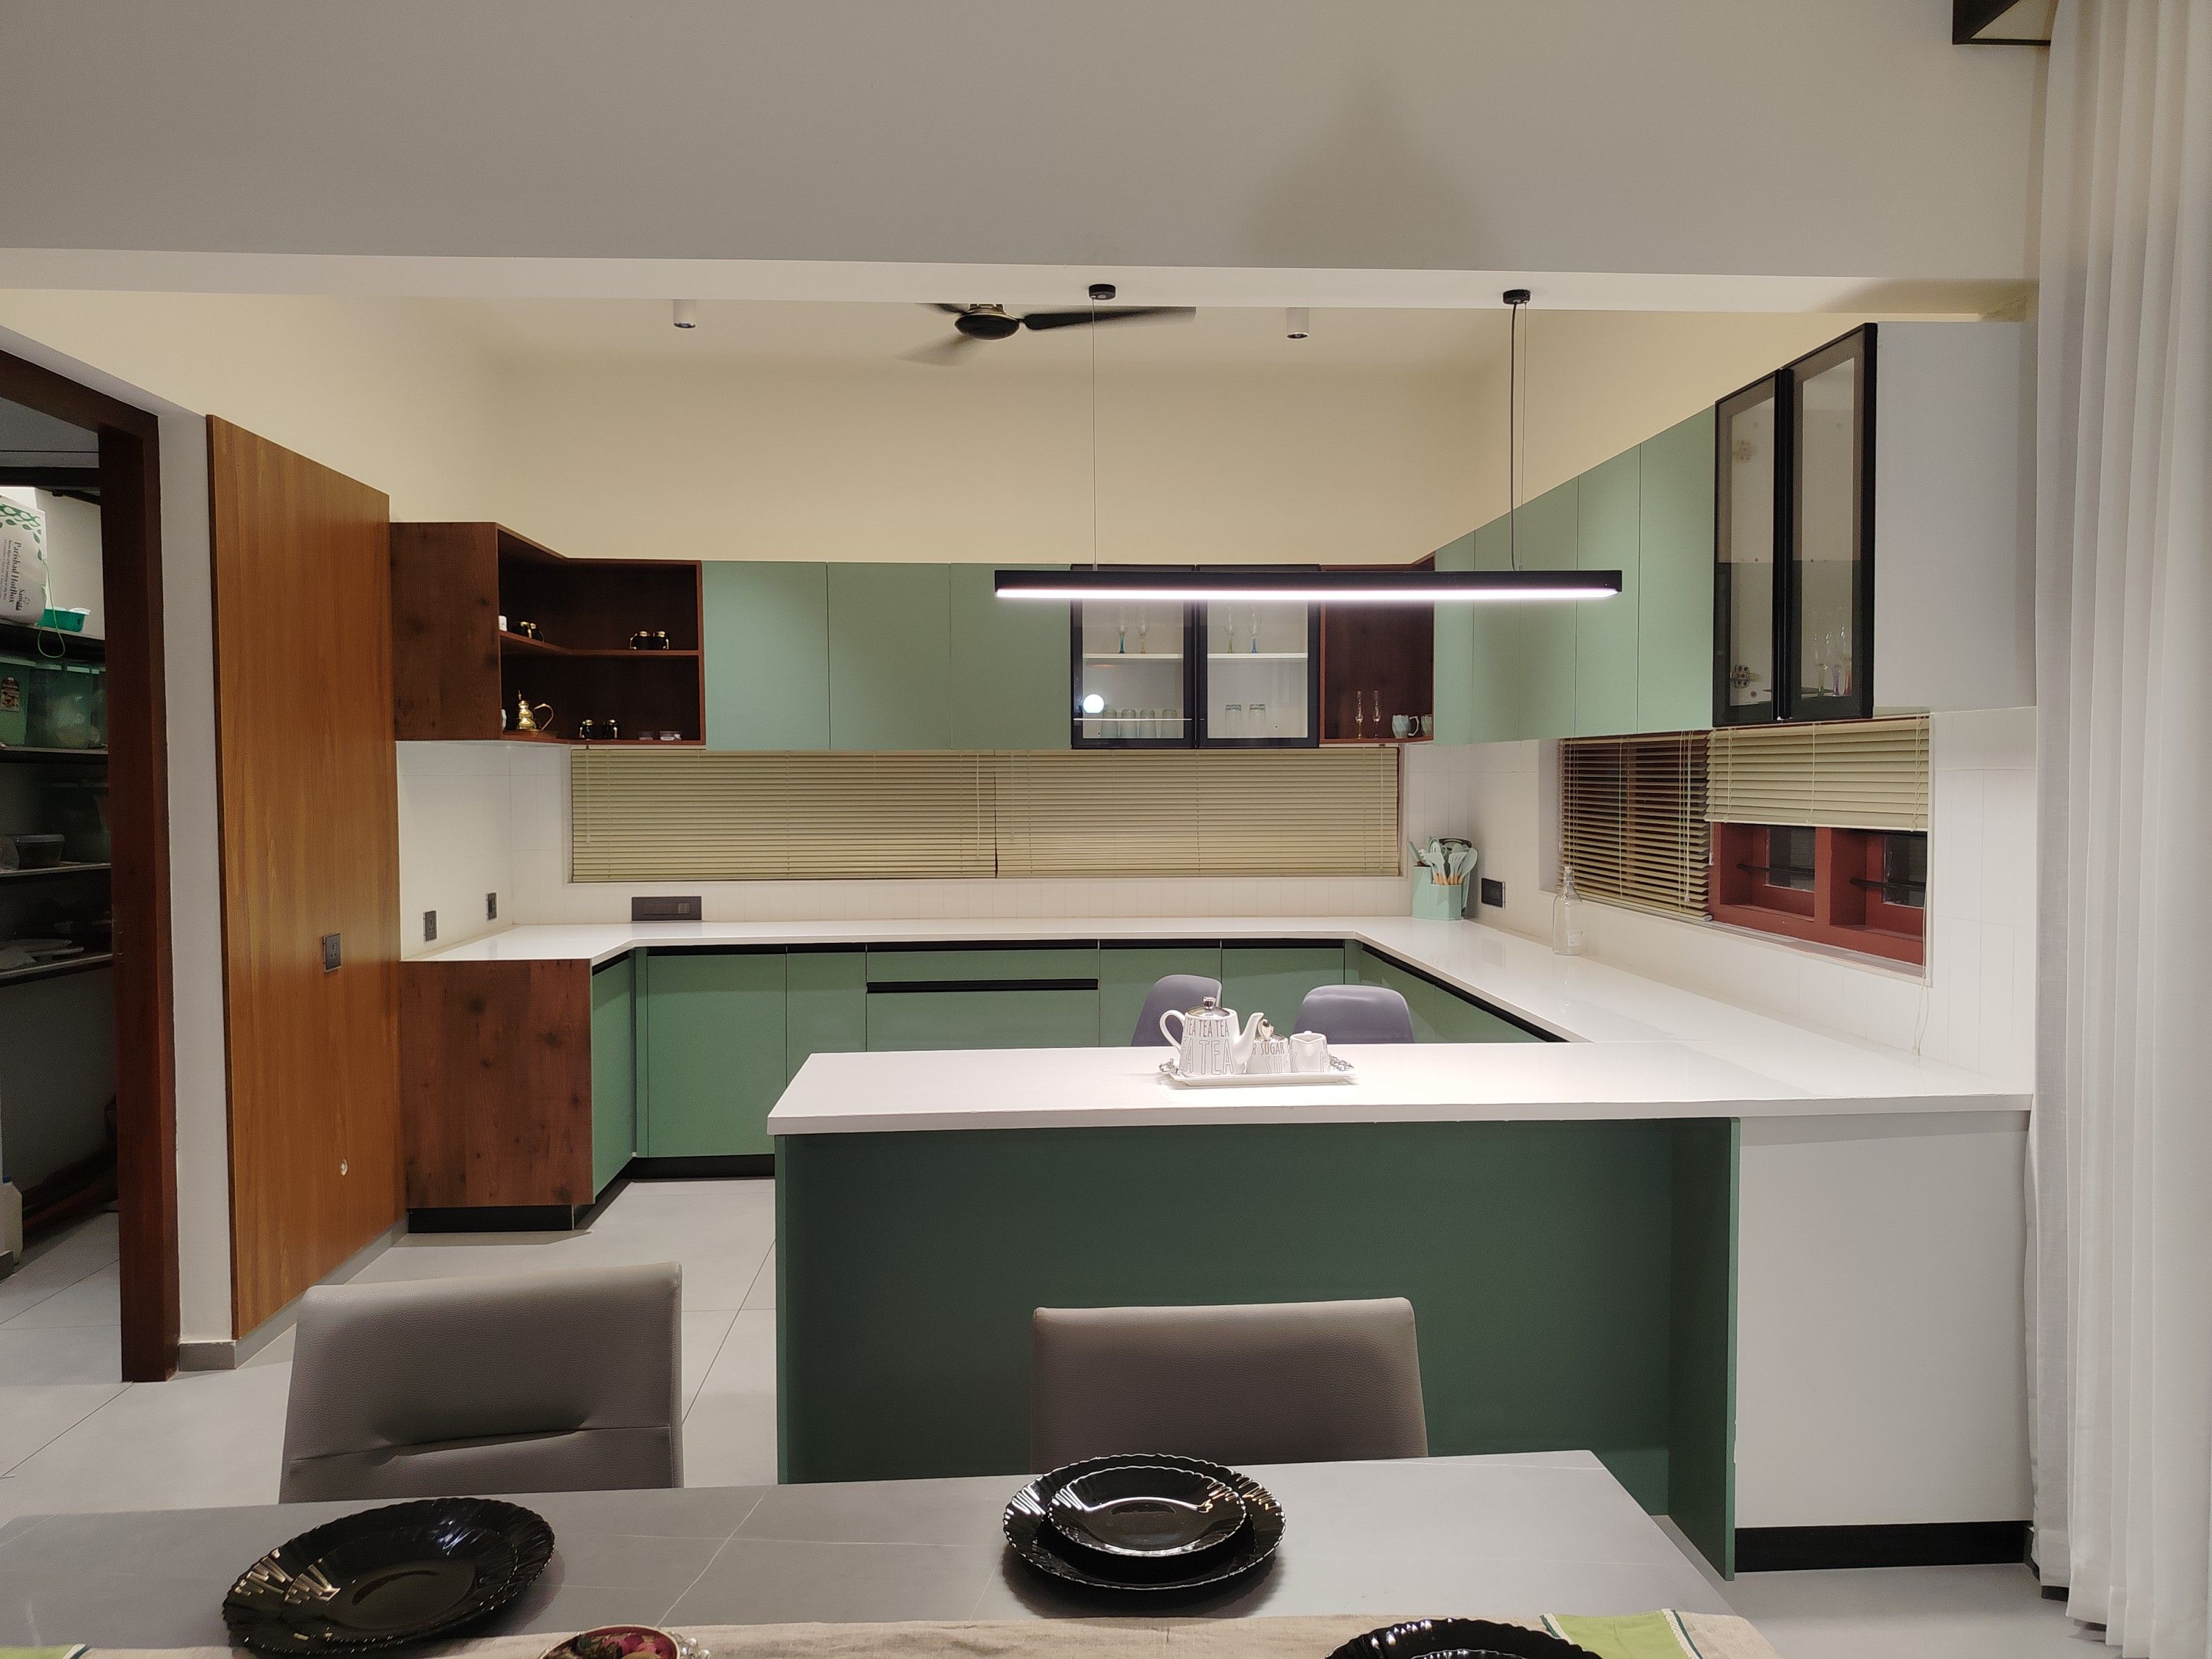
Apply green to an island, lower cabinets, tall storage or the full cabinet run according to how visible the kitchen is from living space. Repeat the undertone in art or textiles beyond the kitchen rather than matching every nearby object. Worktops, splashbacks and floors need enough value contrast for safe preparation. Select cabinet sheen for cleaning and edge wear, because saturated color makes fingerprints, chips and uneven touch-ups more visible.
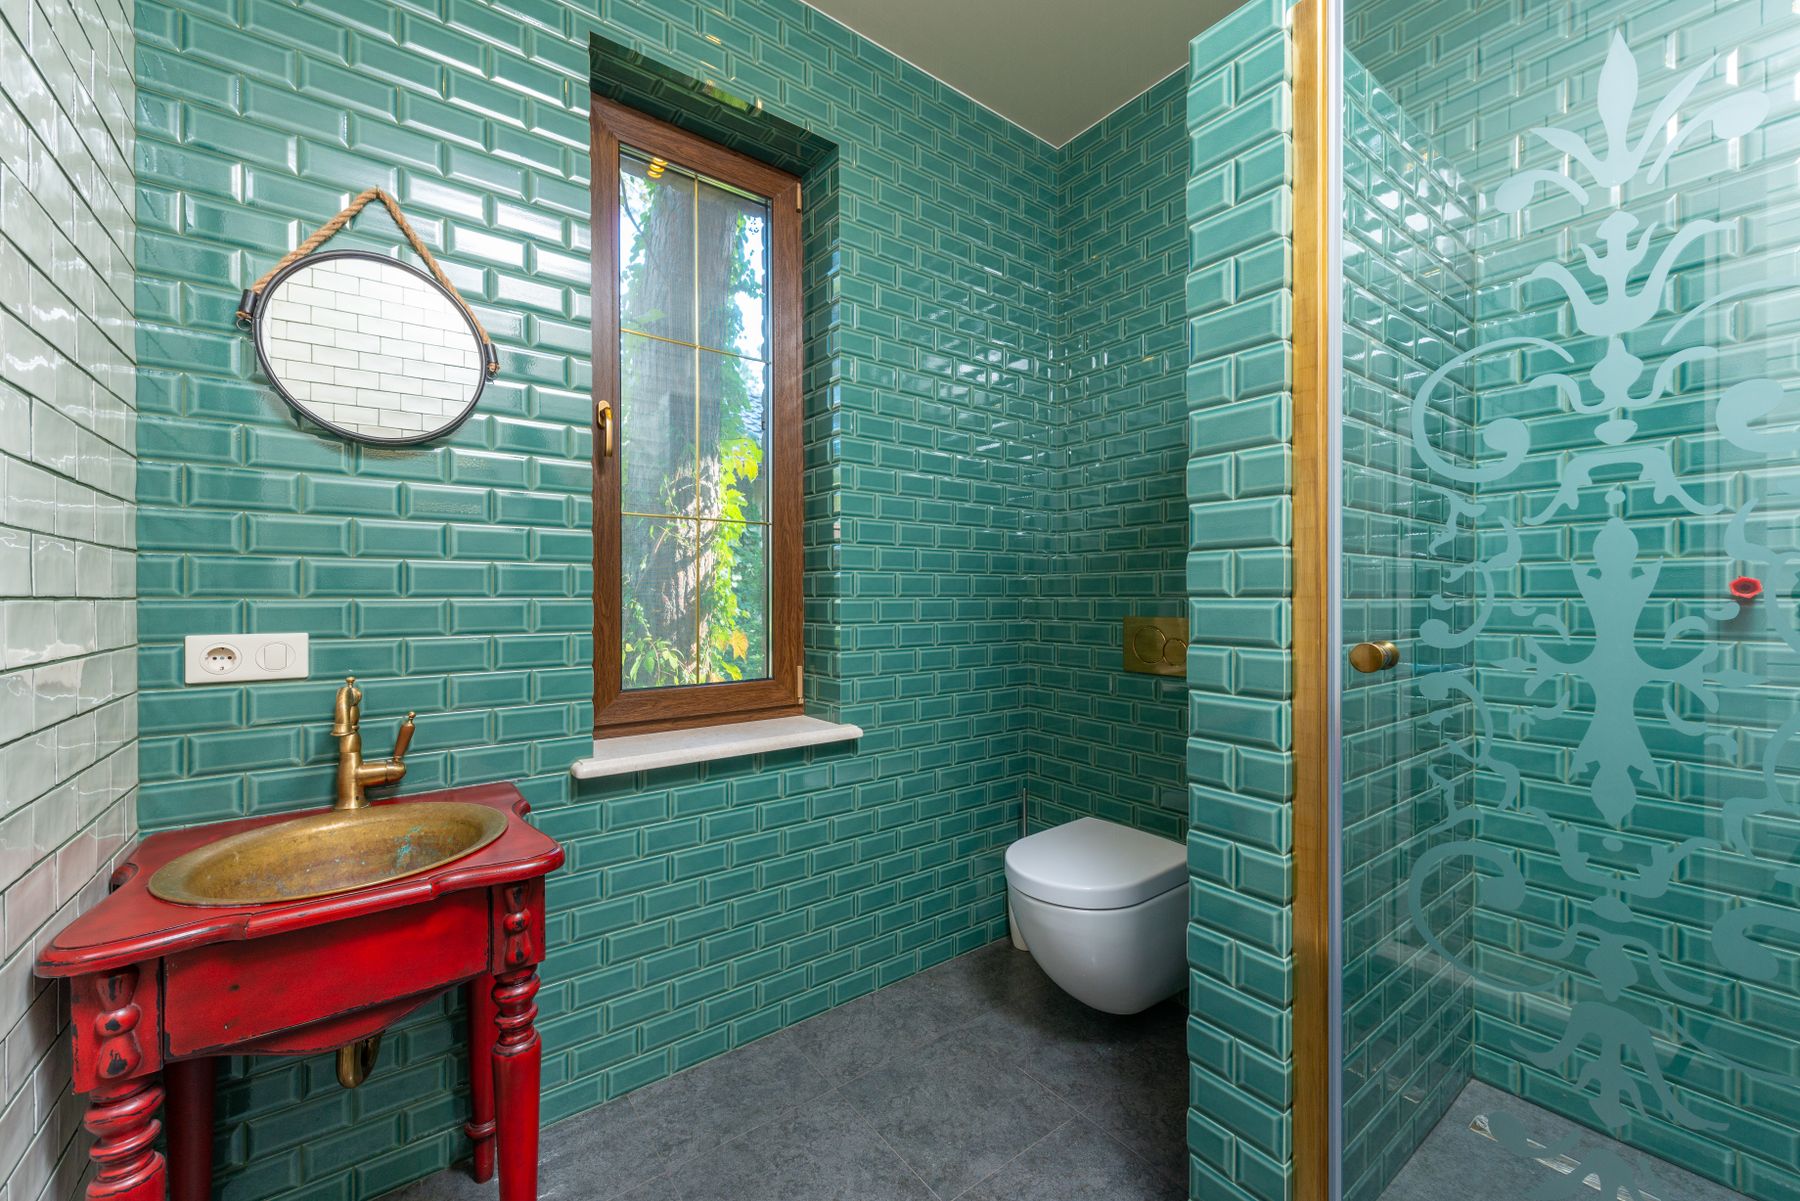
Give the Bathroom Its Own Green Logic
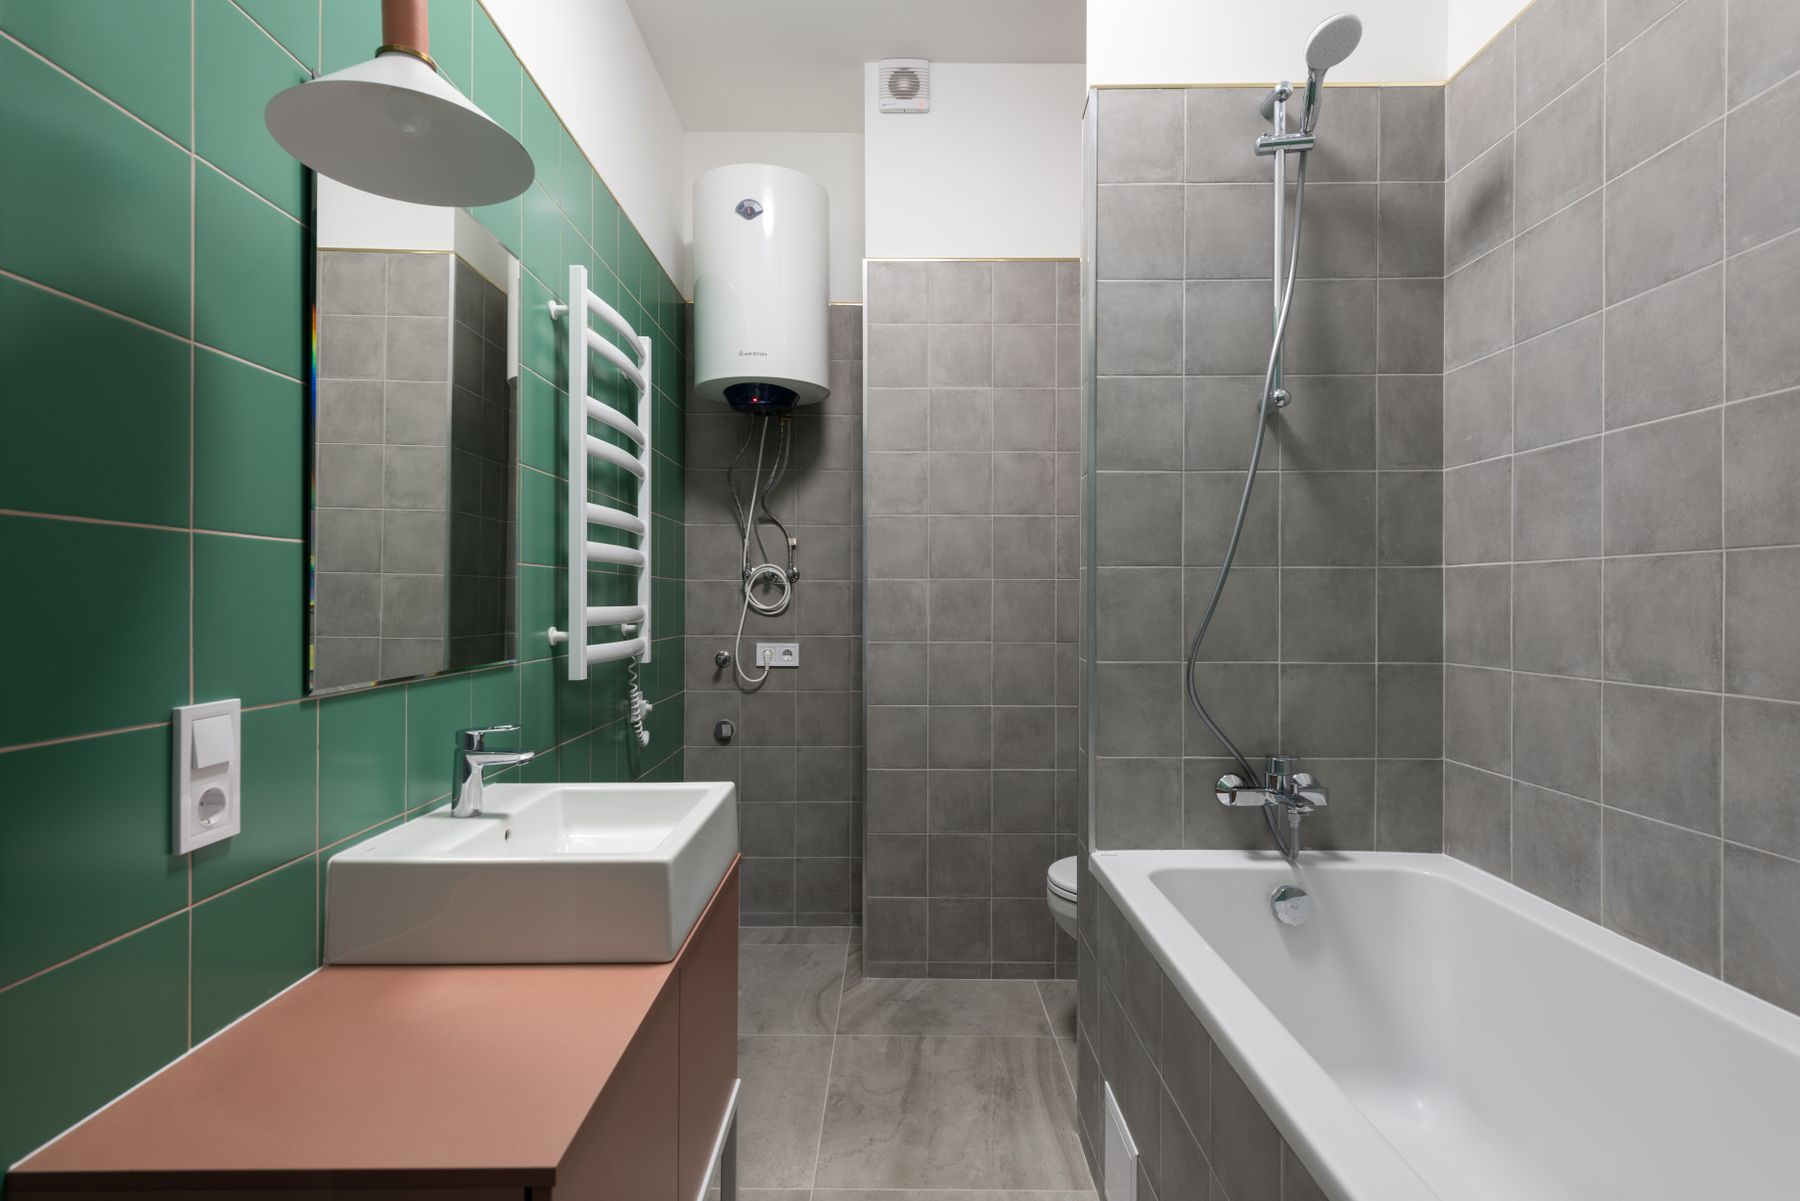
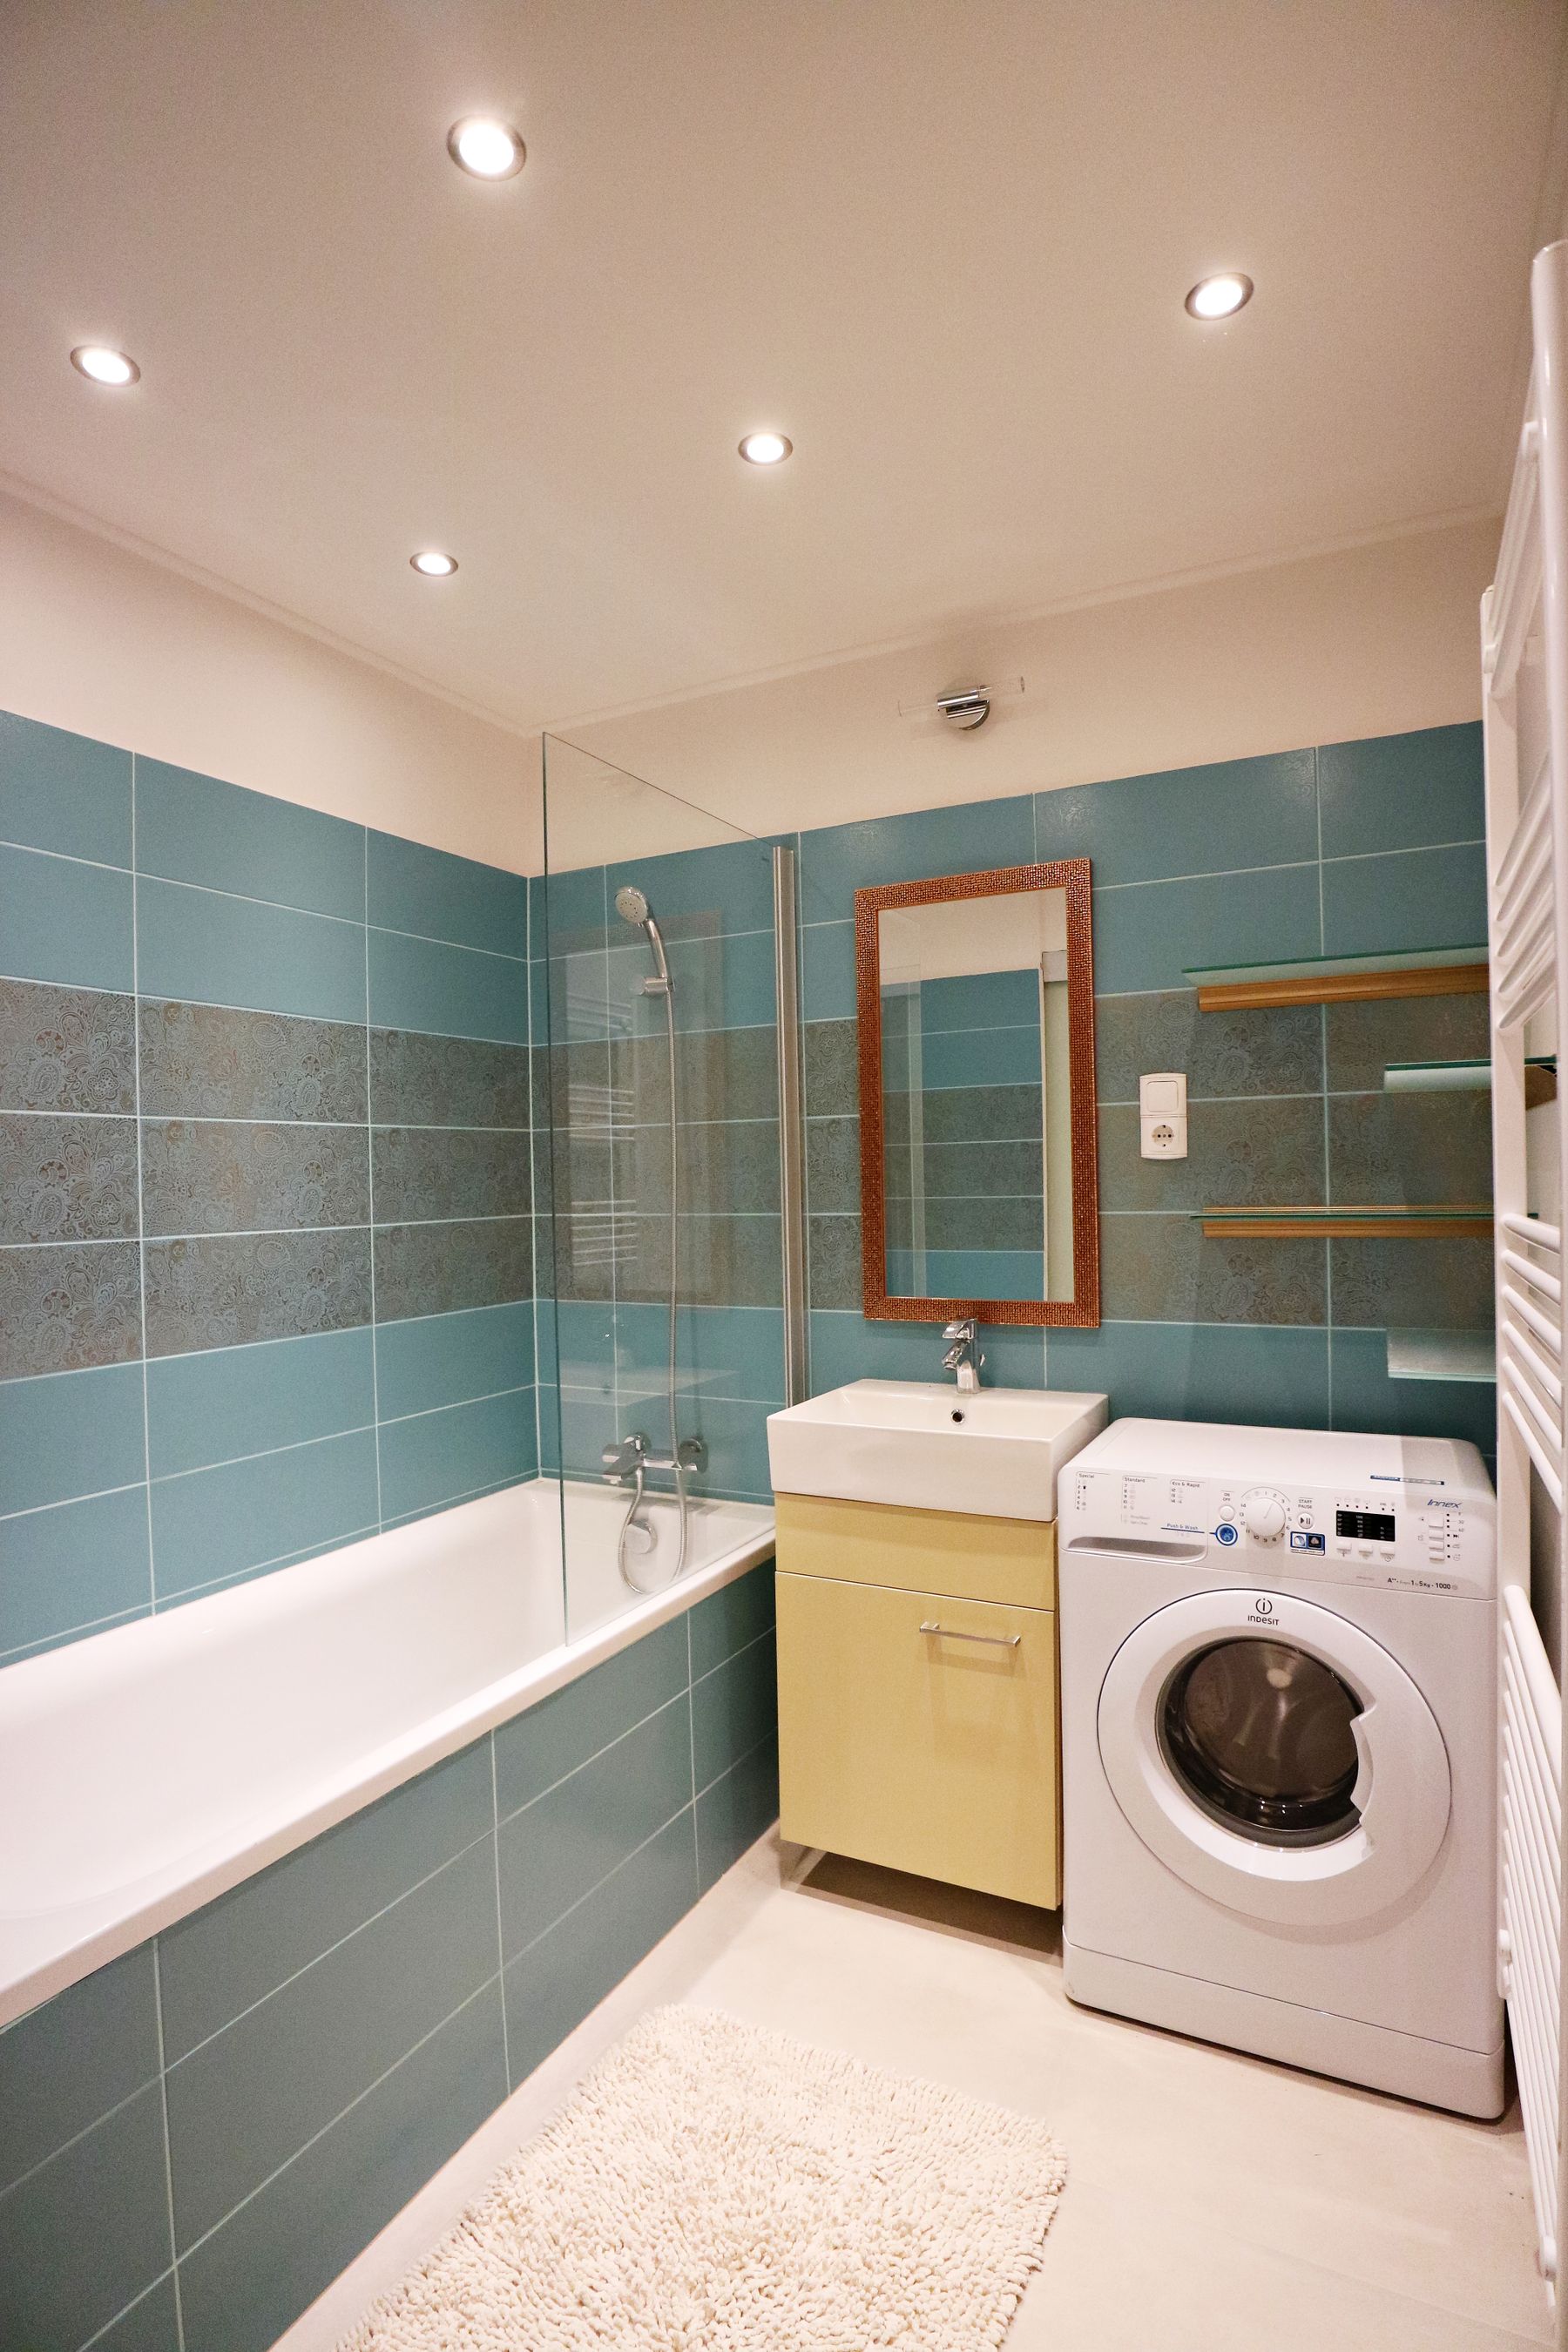
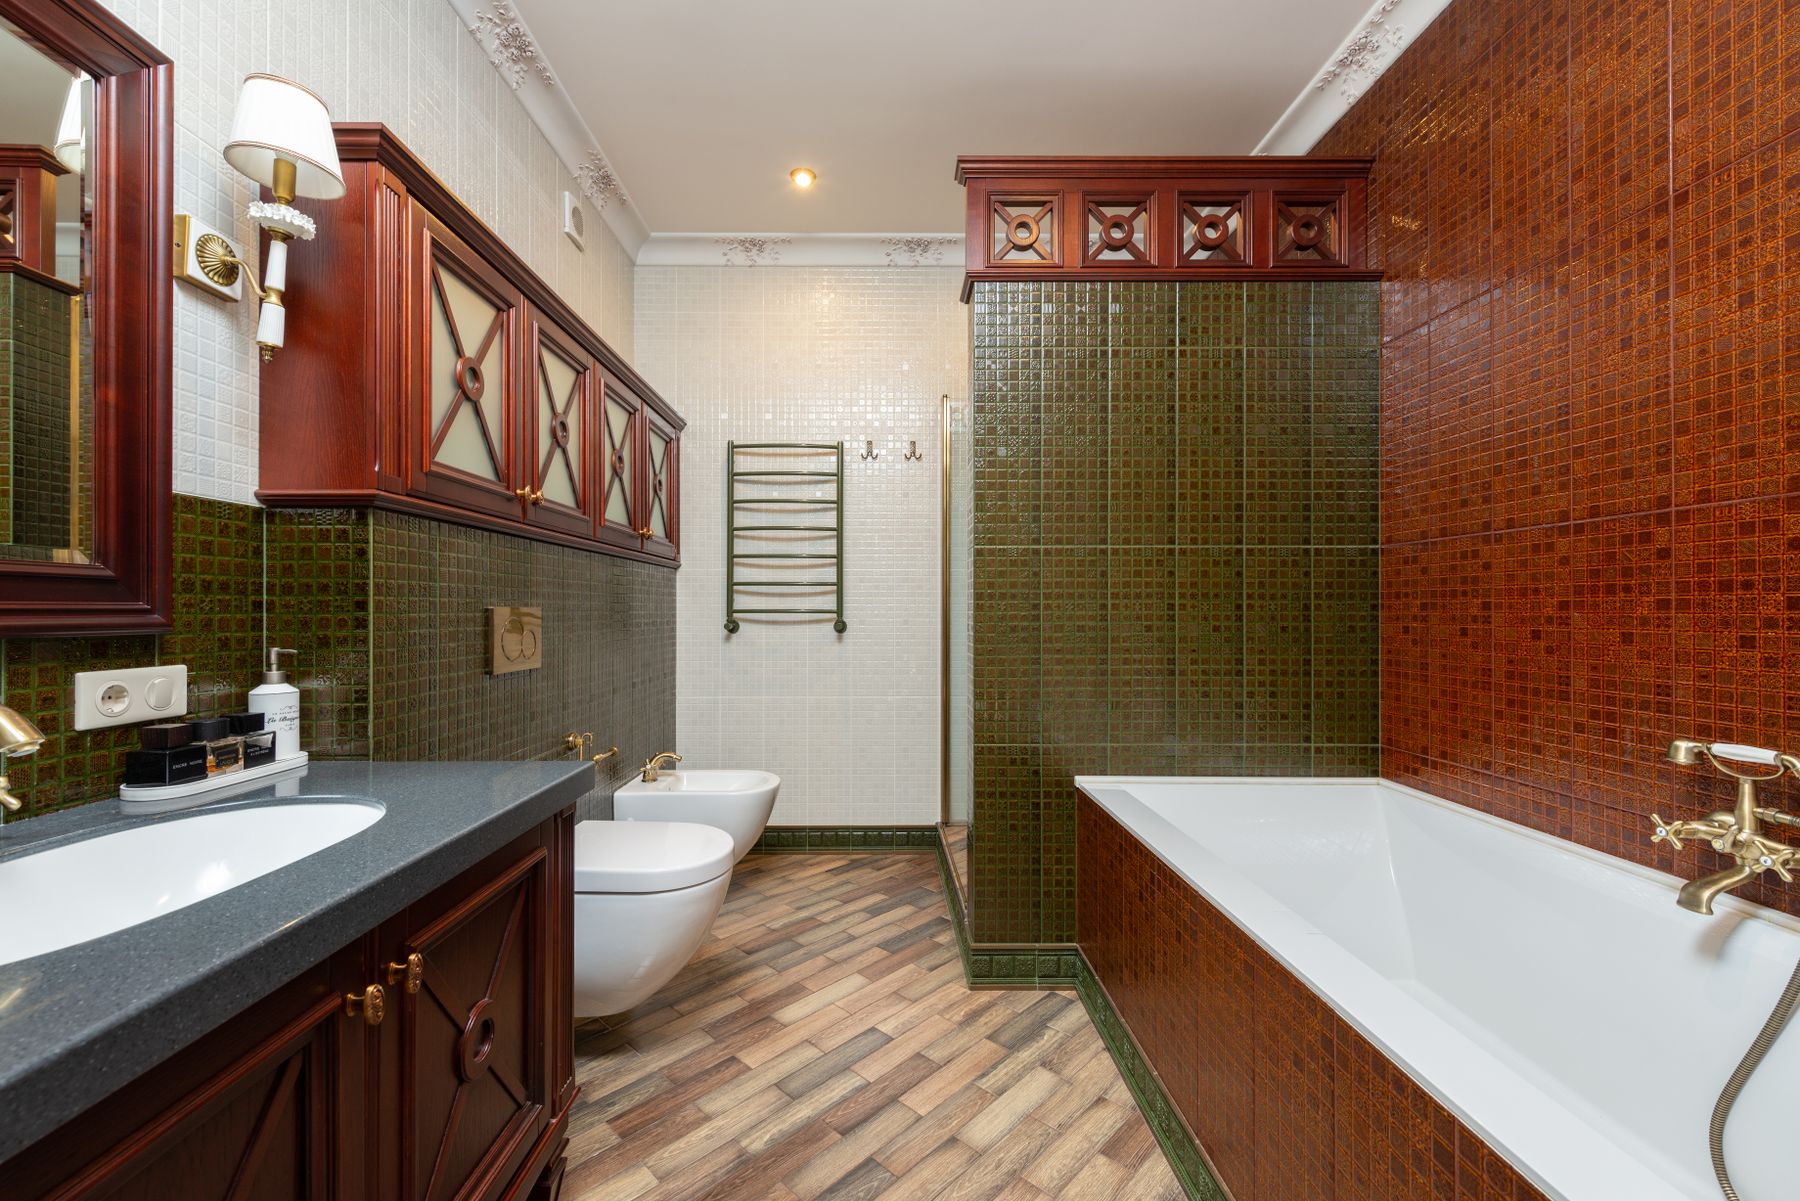
Choose whether green belongs to tile, painted dry walls, a vanity or one concentrated bathing zone. Coordinate sanitaryware, grout, stone and metal with the green before installation, and use moisture-rated products where required. A bathroom can carry a deeper or brighter green than adjacent rooms if one undertone or material repeats beyond the doorway. Ventilation, accessible seals and cleanable joints matter more than adding extra green accessories.
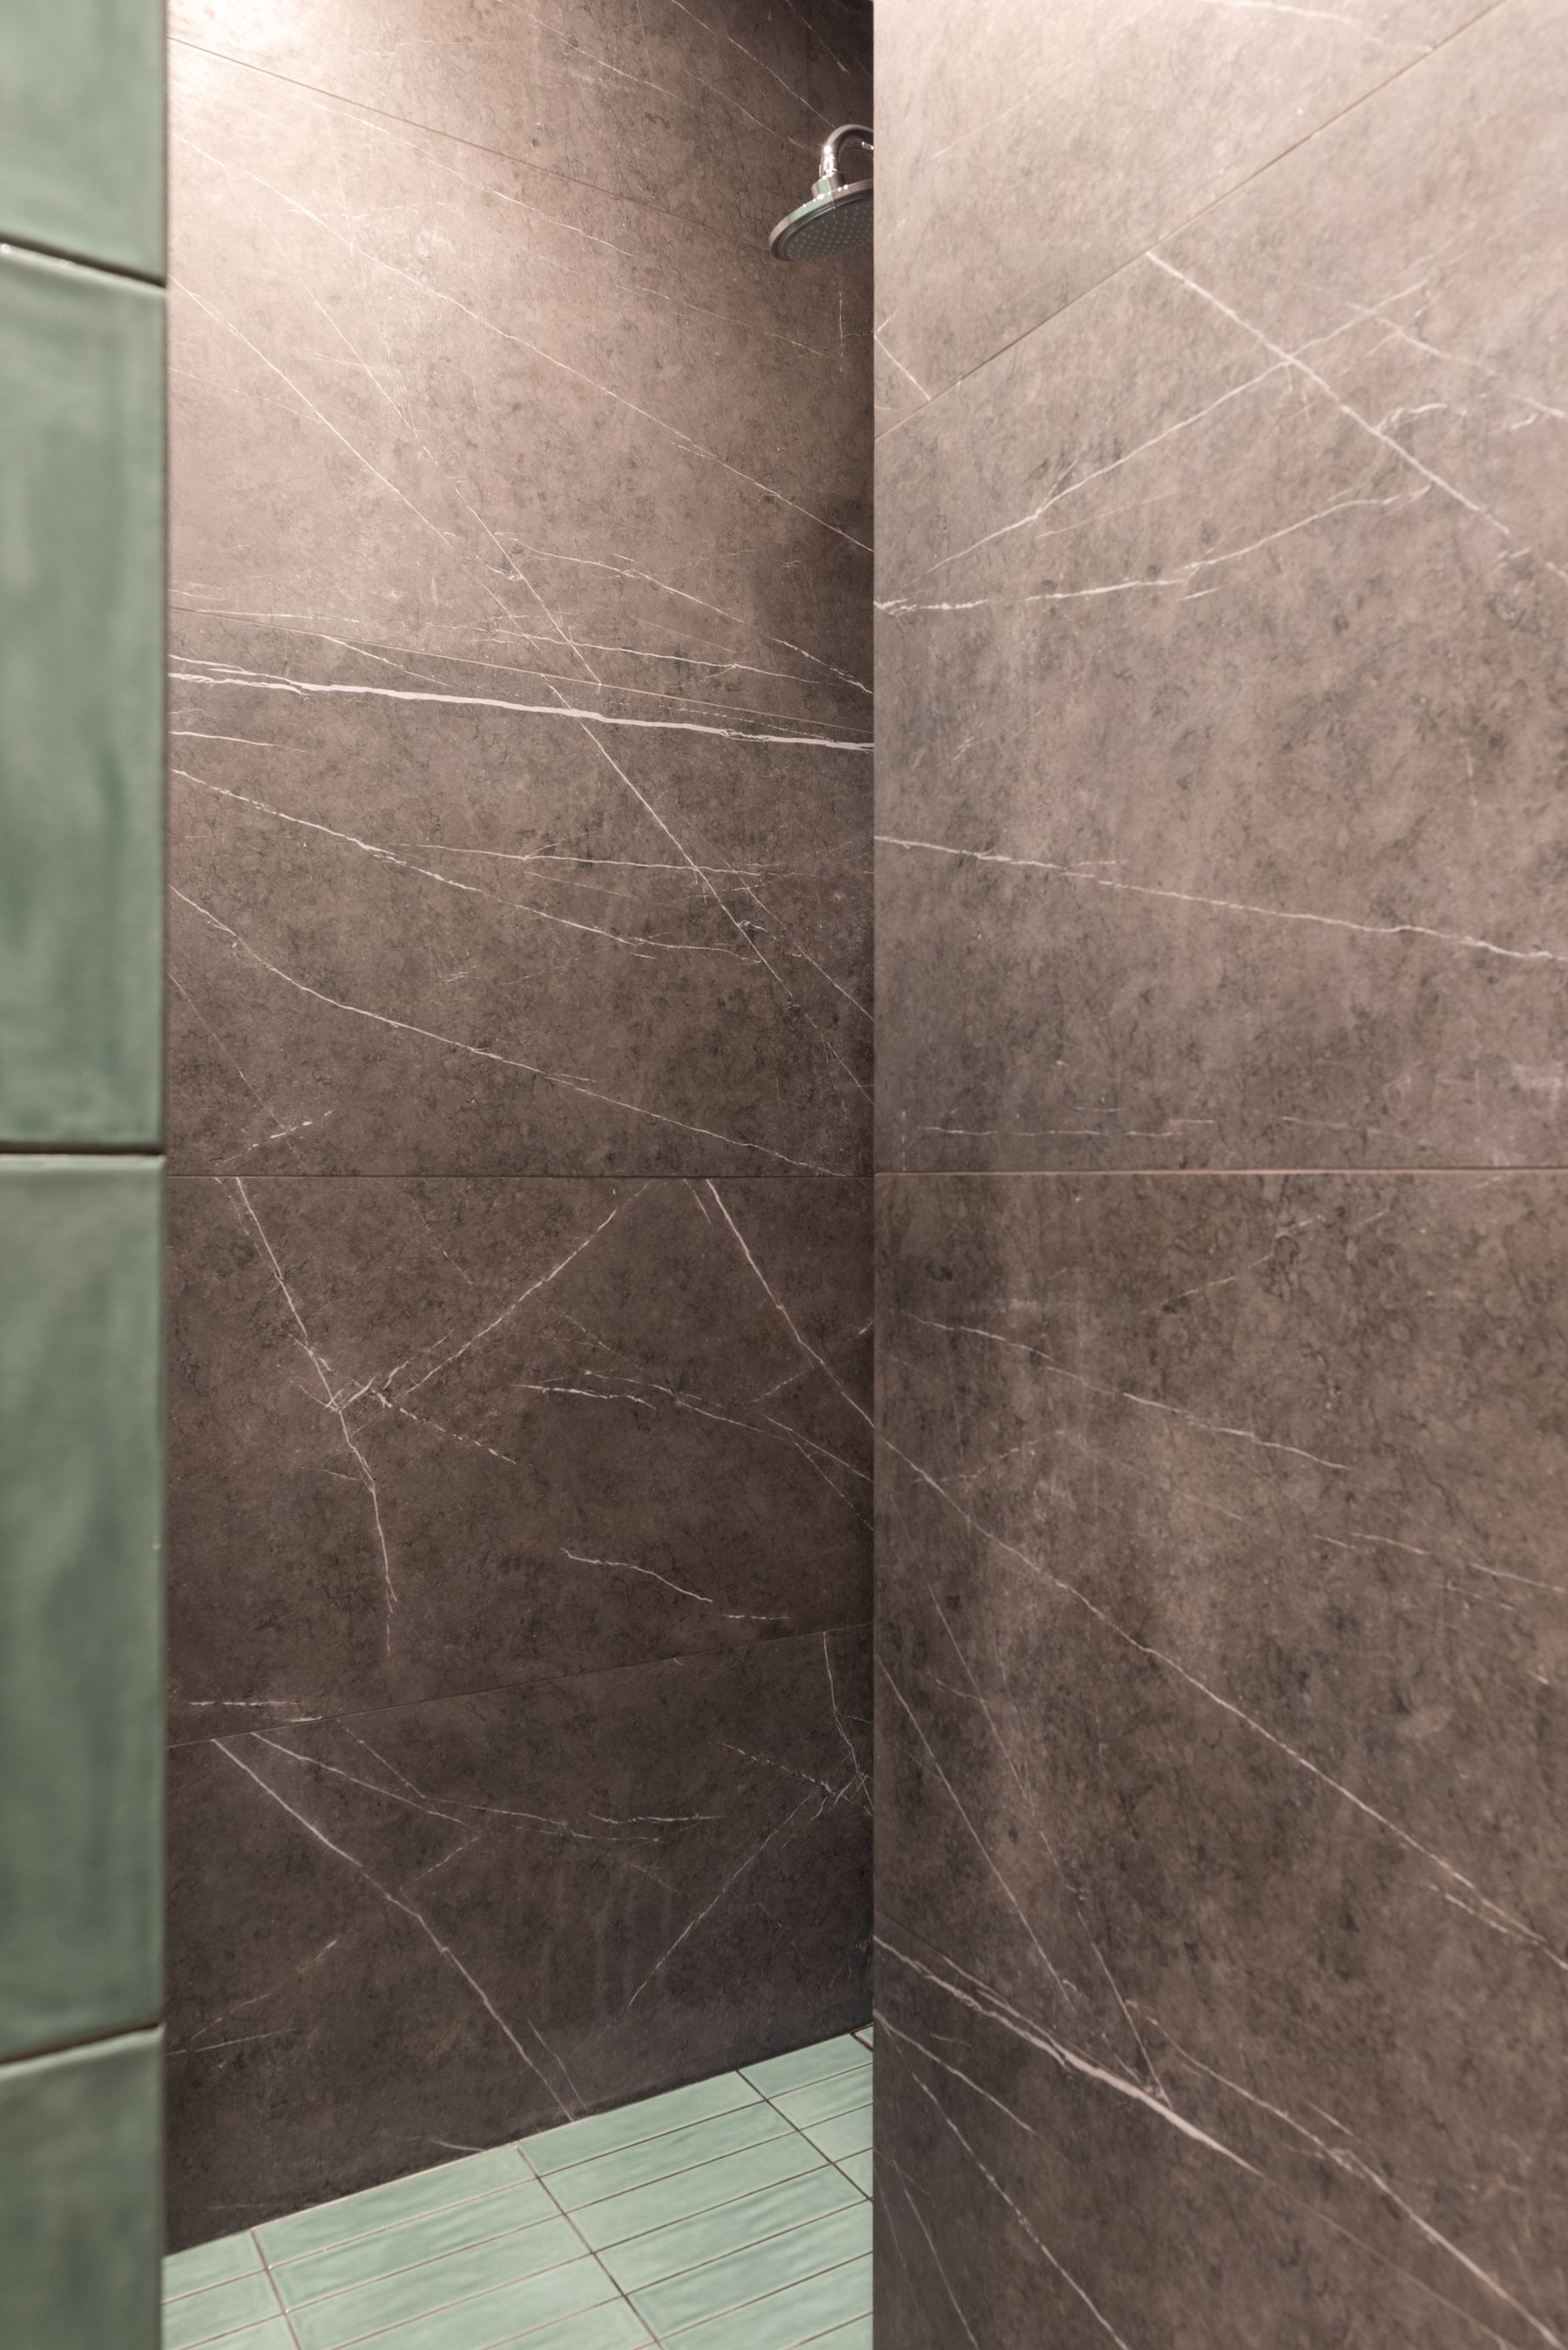
Plan for Fading, Cleaning and Touch-Ups
Record paint brand, color, sheen and batch, retain spare tile and grout, and list approved cleaners for cabinetry and wet areas. Deep greens reveal dust, water marks and fingerprints, while pale sage exposes scuffs and mismatched touch-ups. Sun-facing paint, textiles and timber may change at different rates, so provide shading where fading matters. Design repaintable or replaceable color zones so the apartment can evolve without discarding its entire green system.