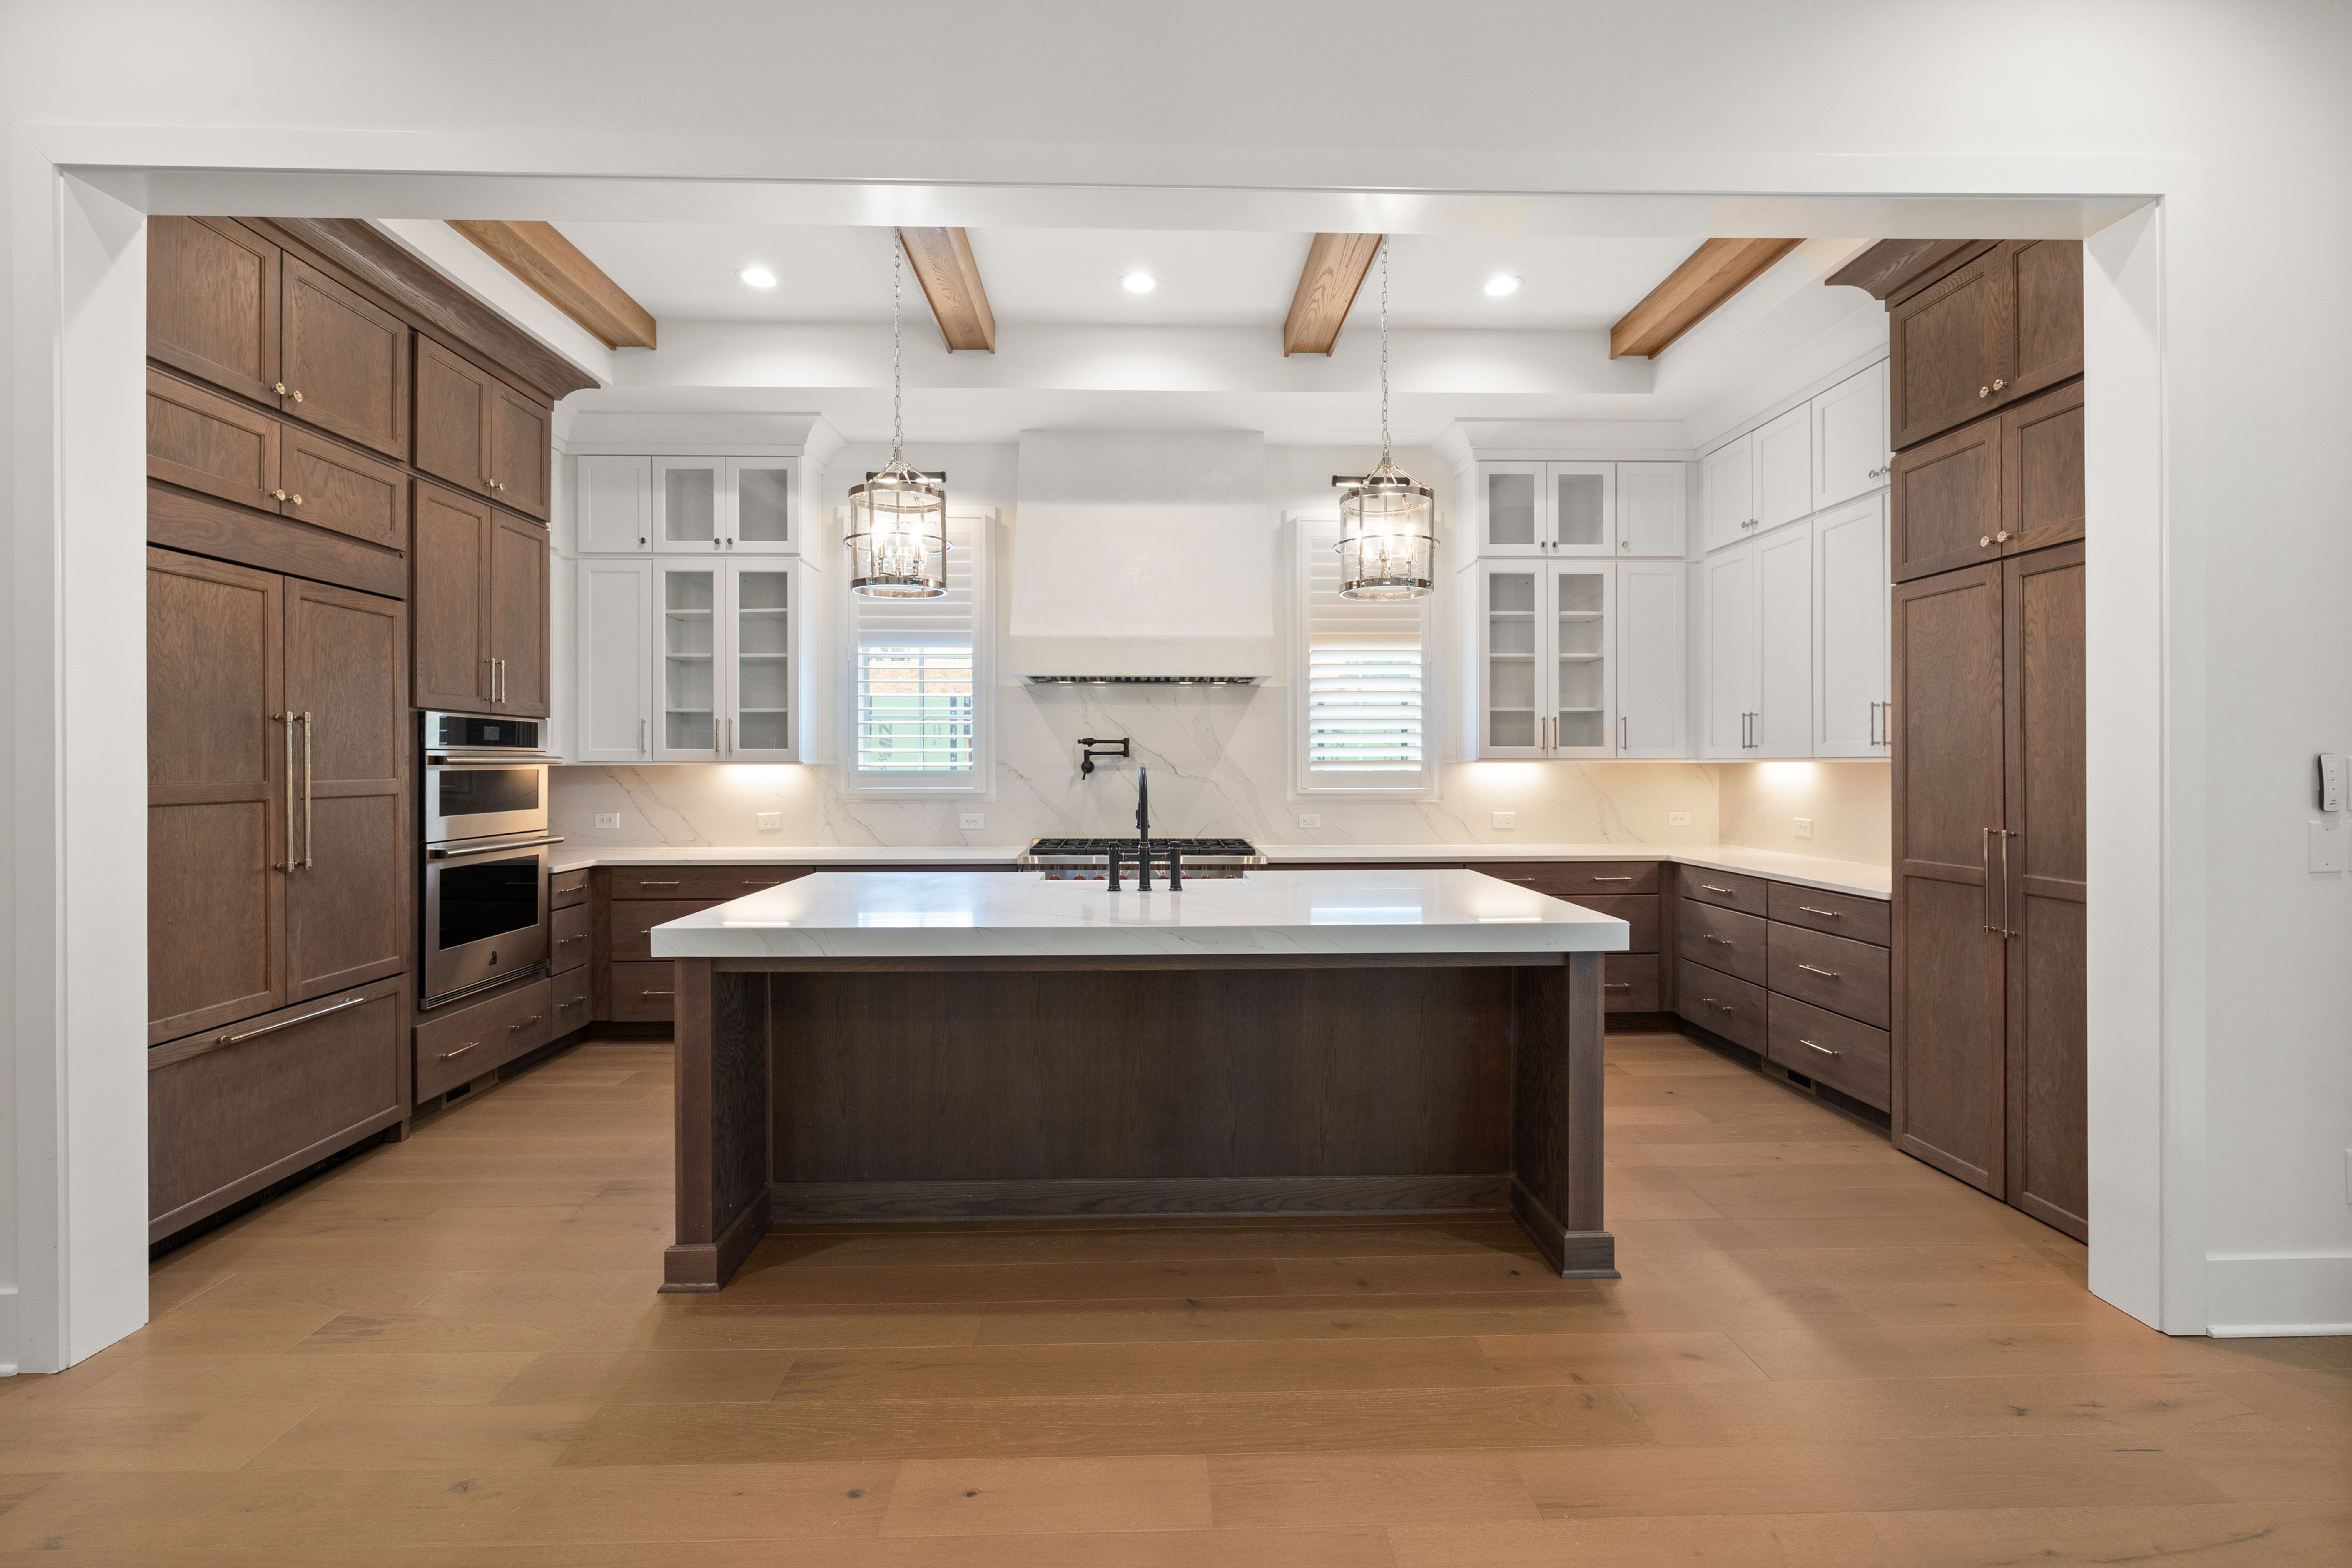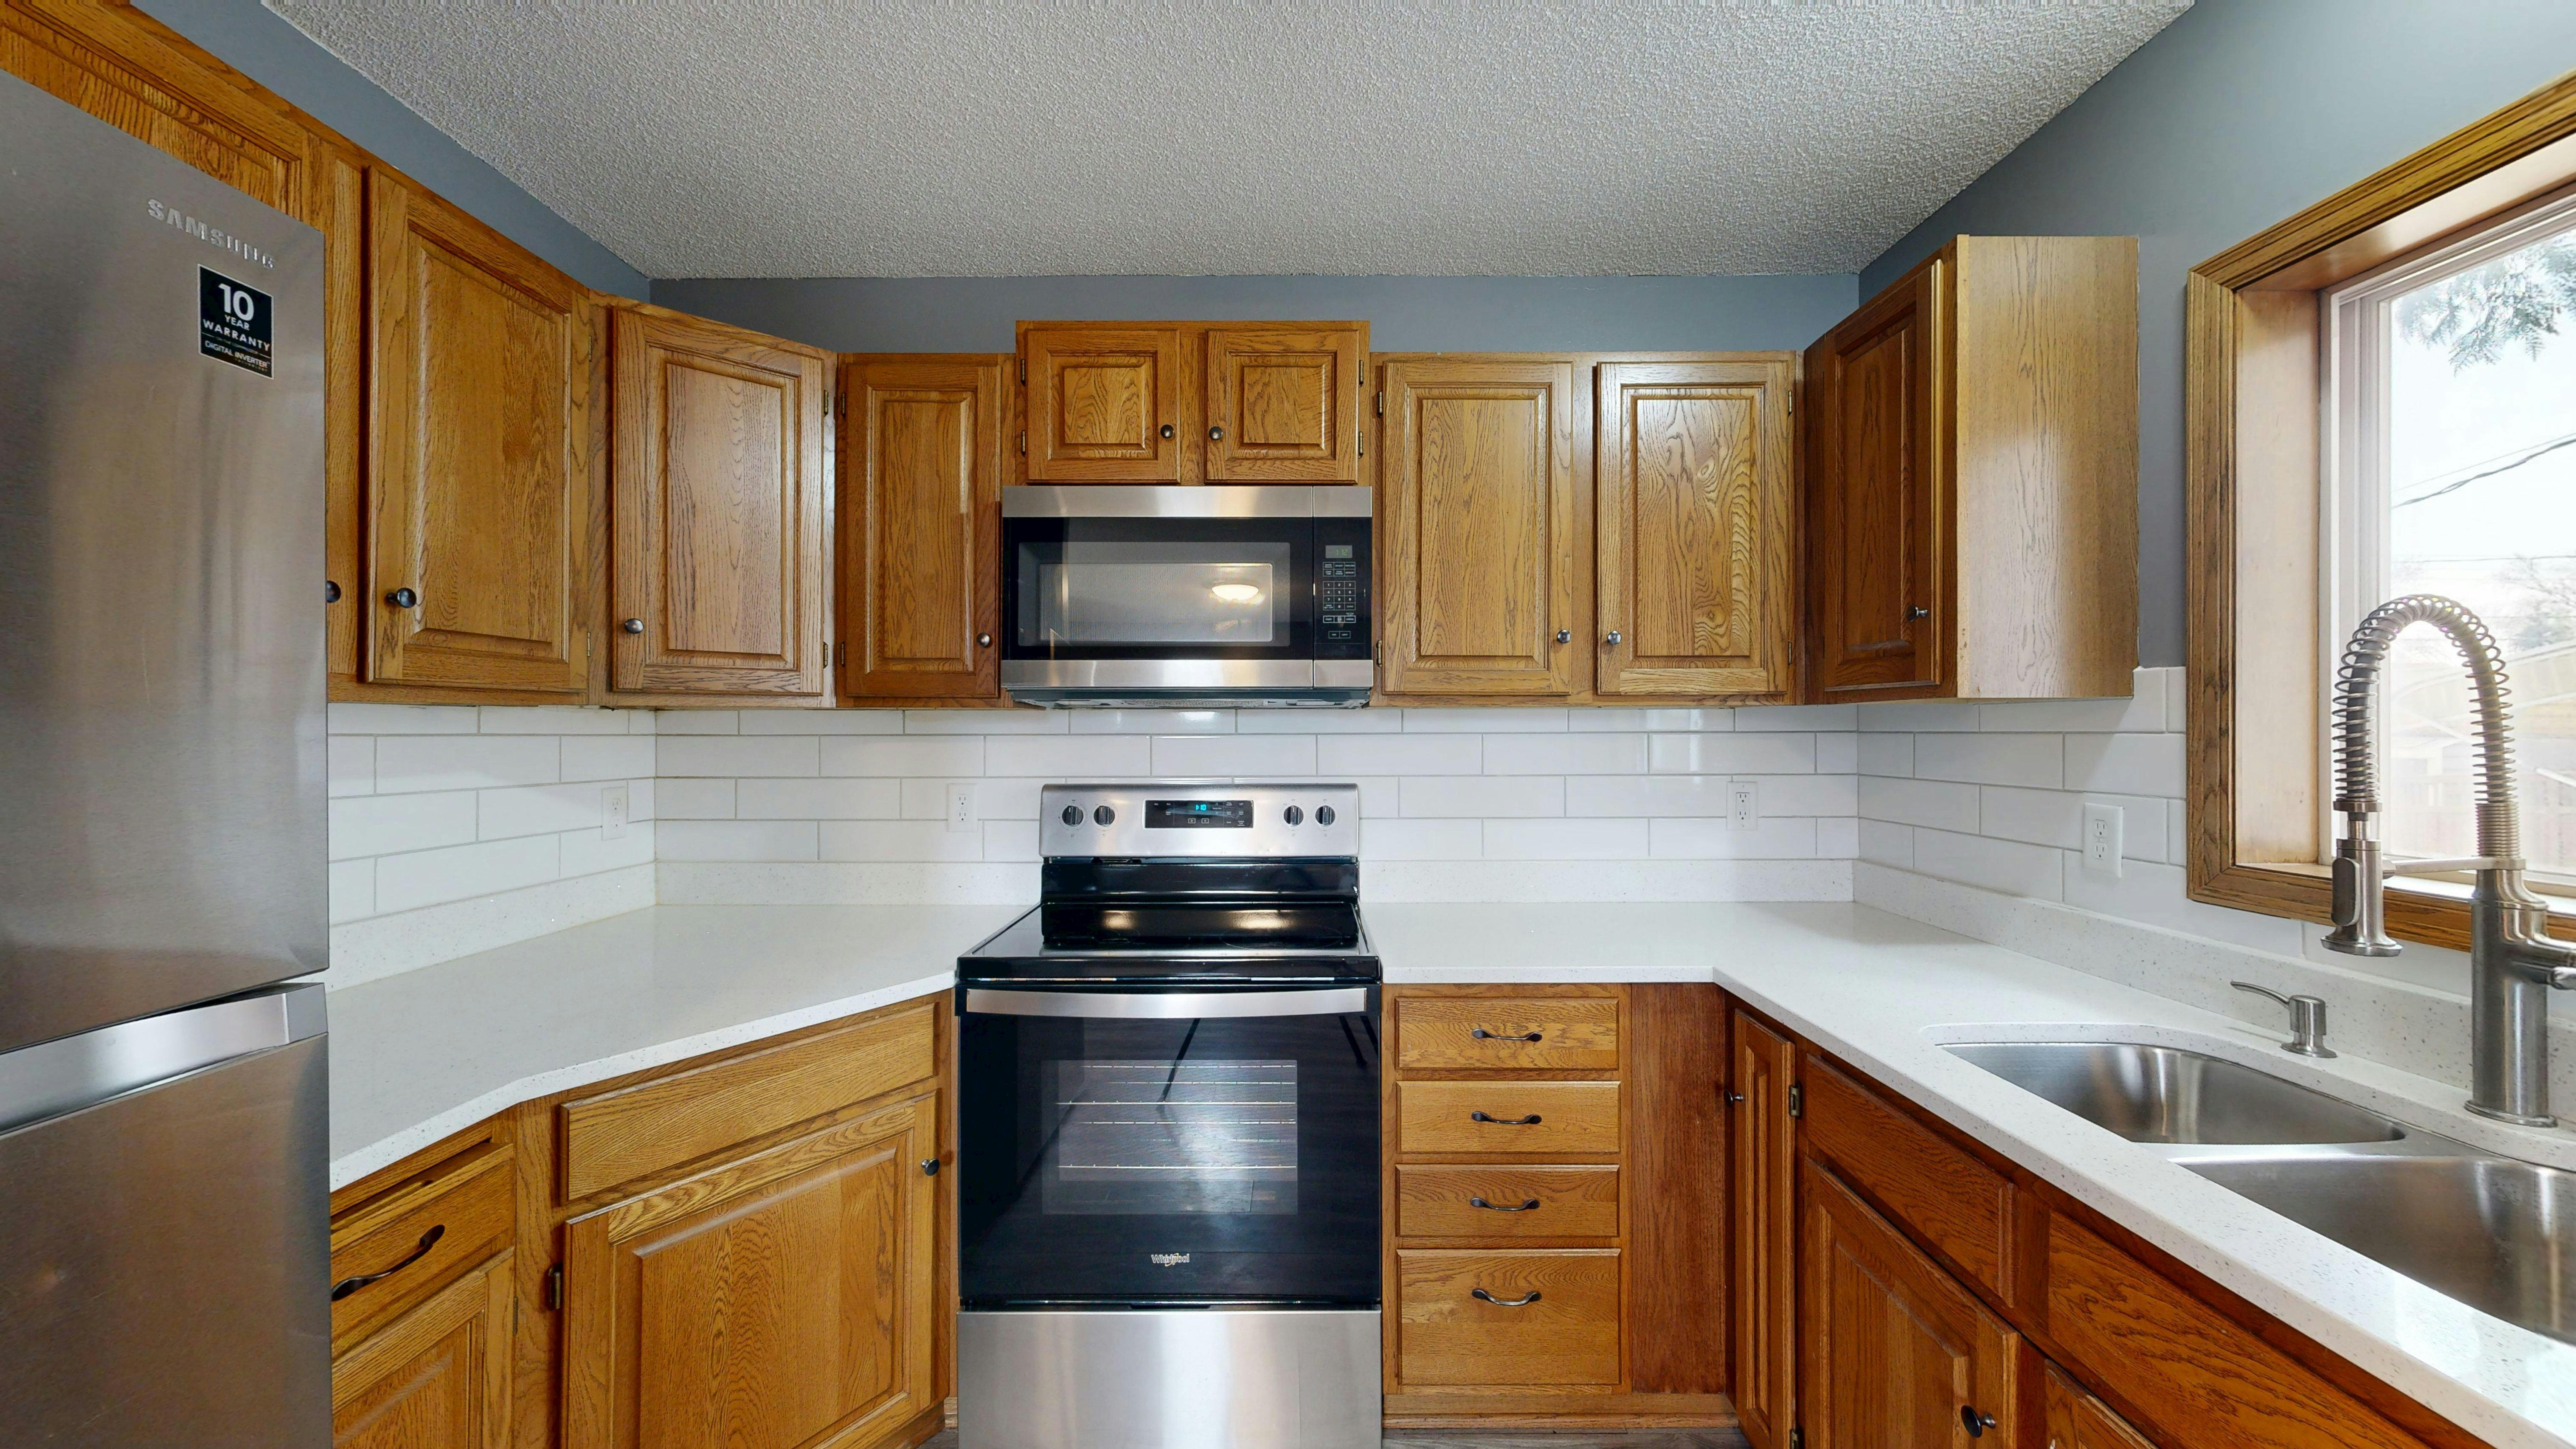
Start With Traffic, Spills and Cleaning
List the floor's real stresses: outdoor shoes, pets, moving chairs, cooking grease, water near the sink and the cleaning products used routinely. A material that tolerates one household may be frustrating in another. Ask how the surface handles standing water, abrasion and local repair, then compare those answers with the manufacturer's care requirements. Color and pattern matter, but they should not hide a mismatch between the floor and daily use.
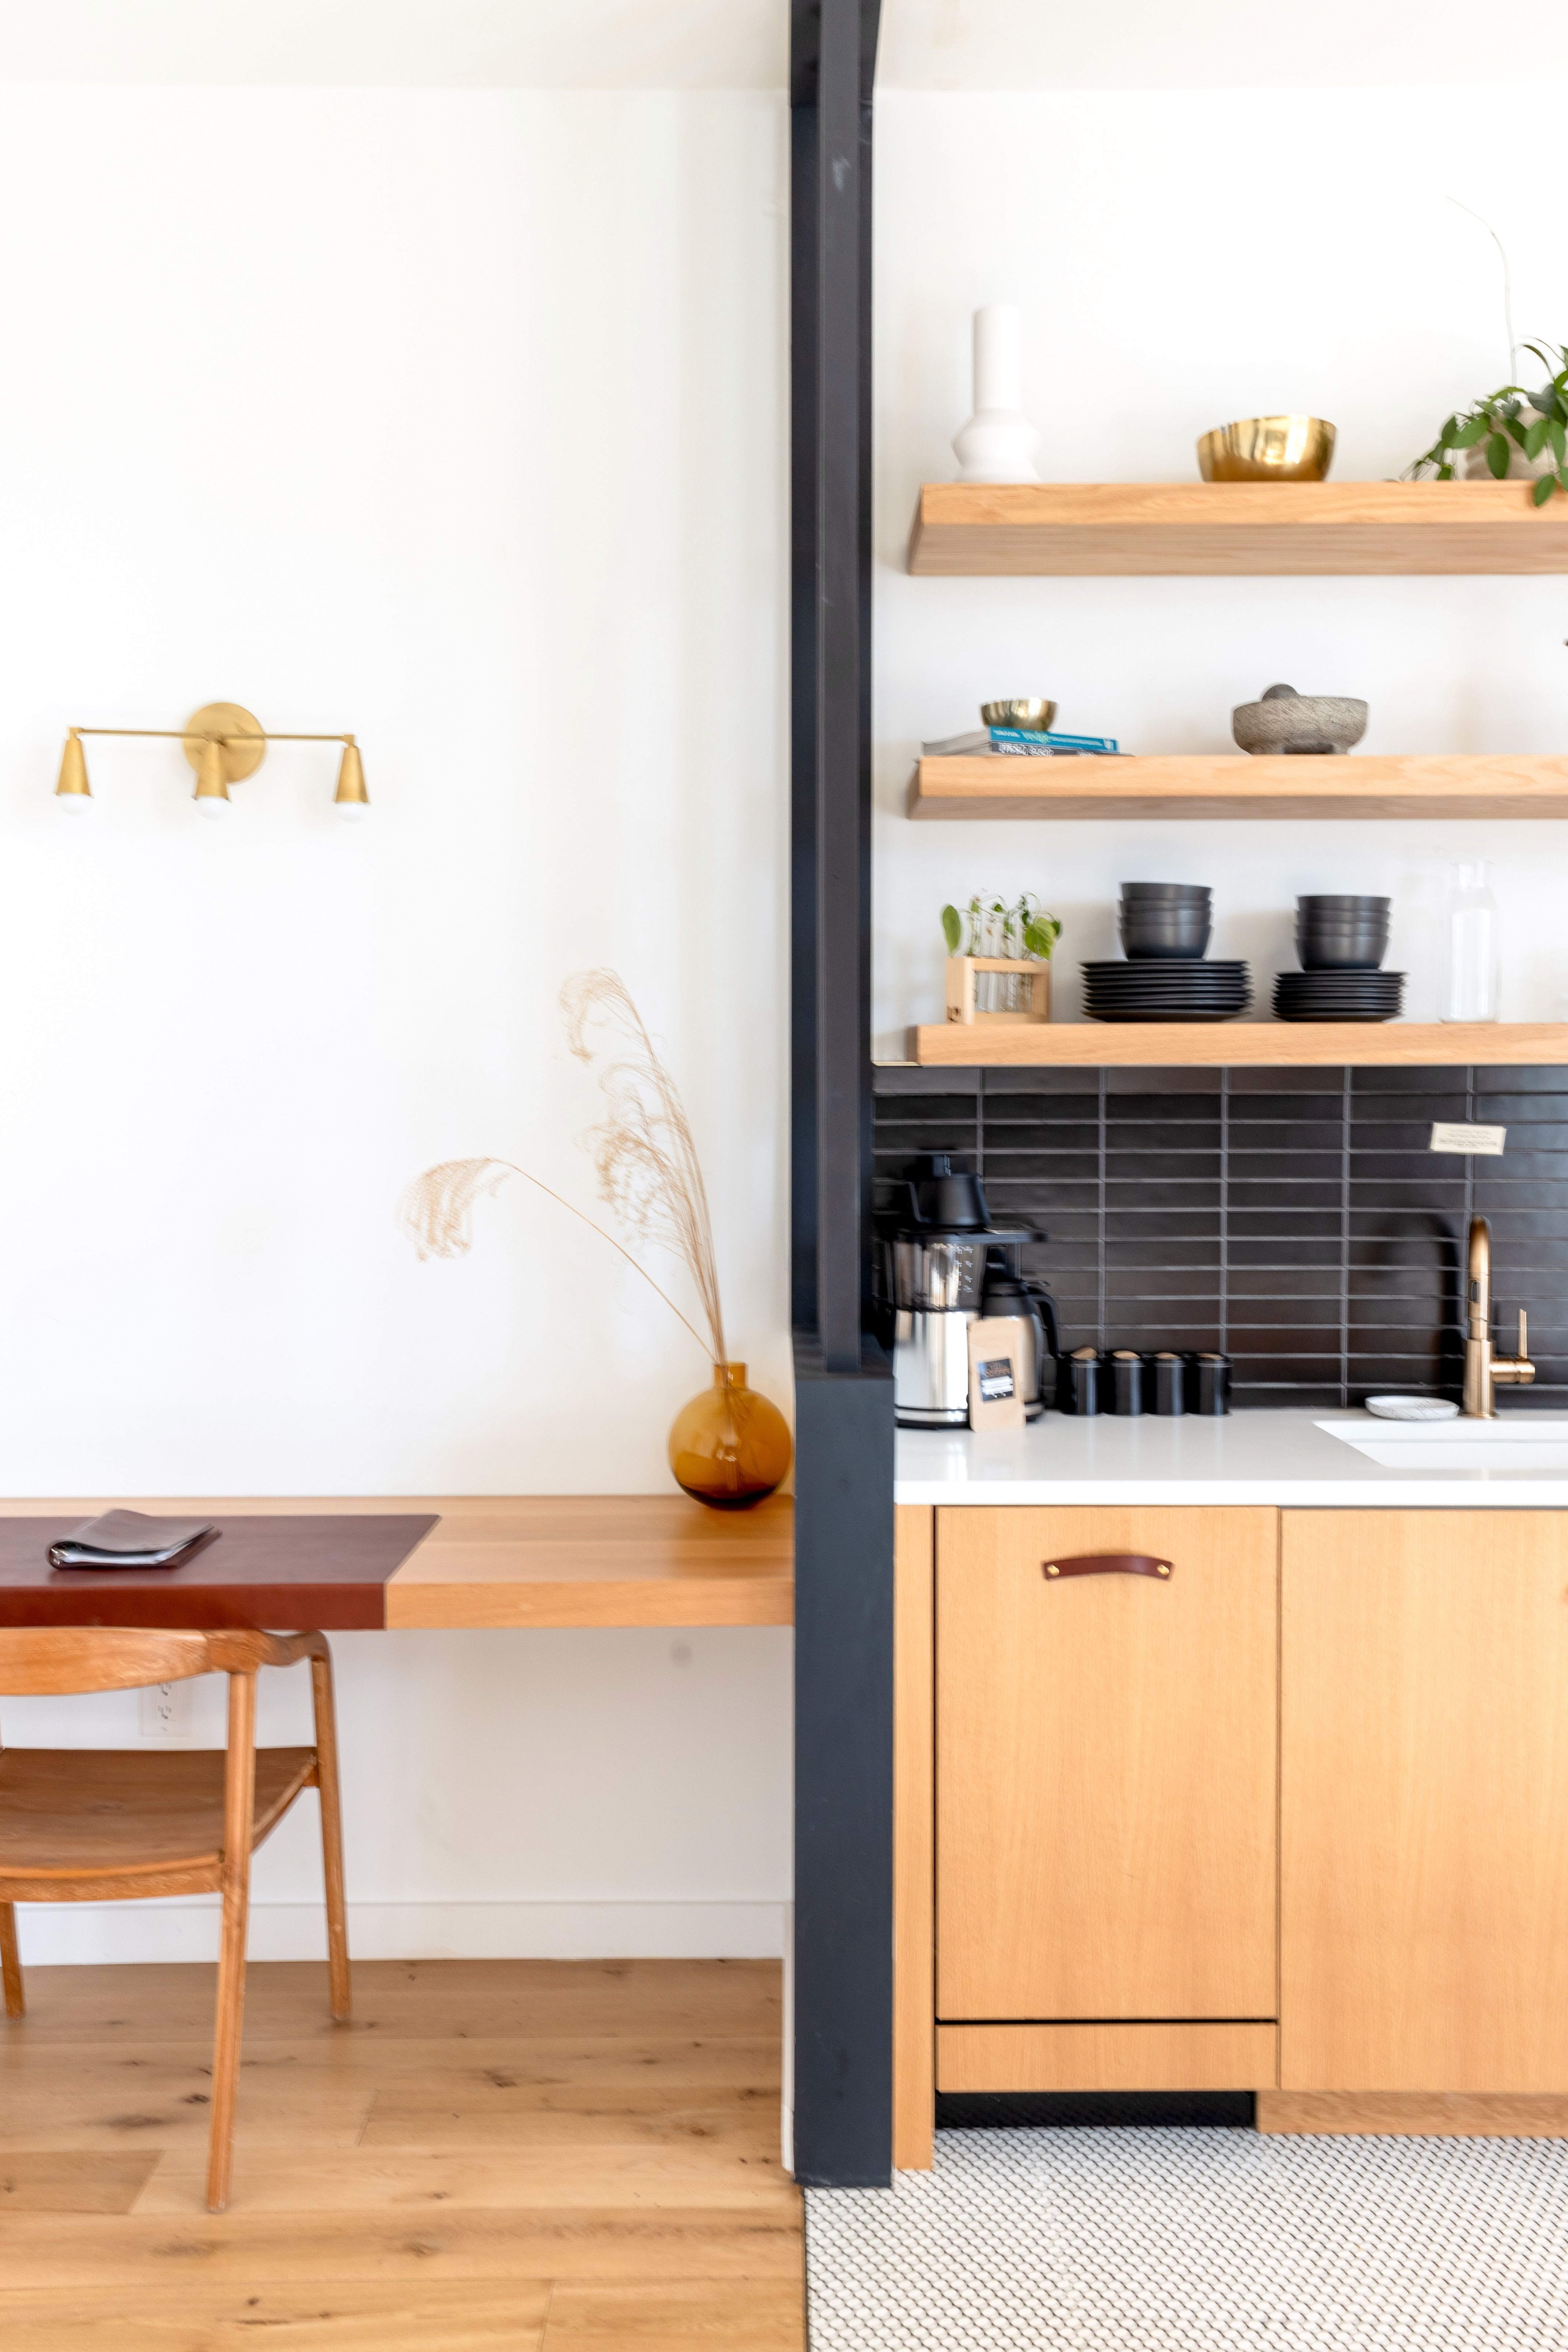
Use Wood to Connect an Open Plan
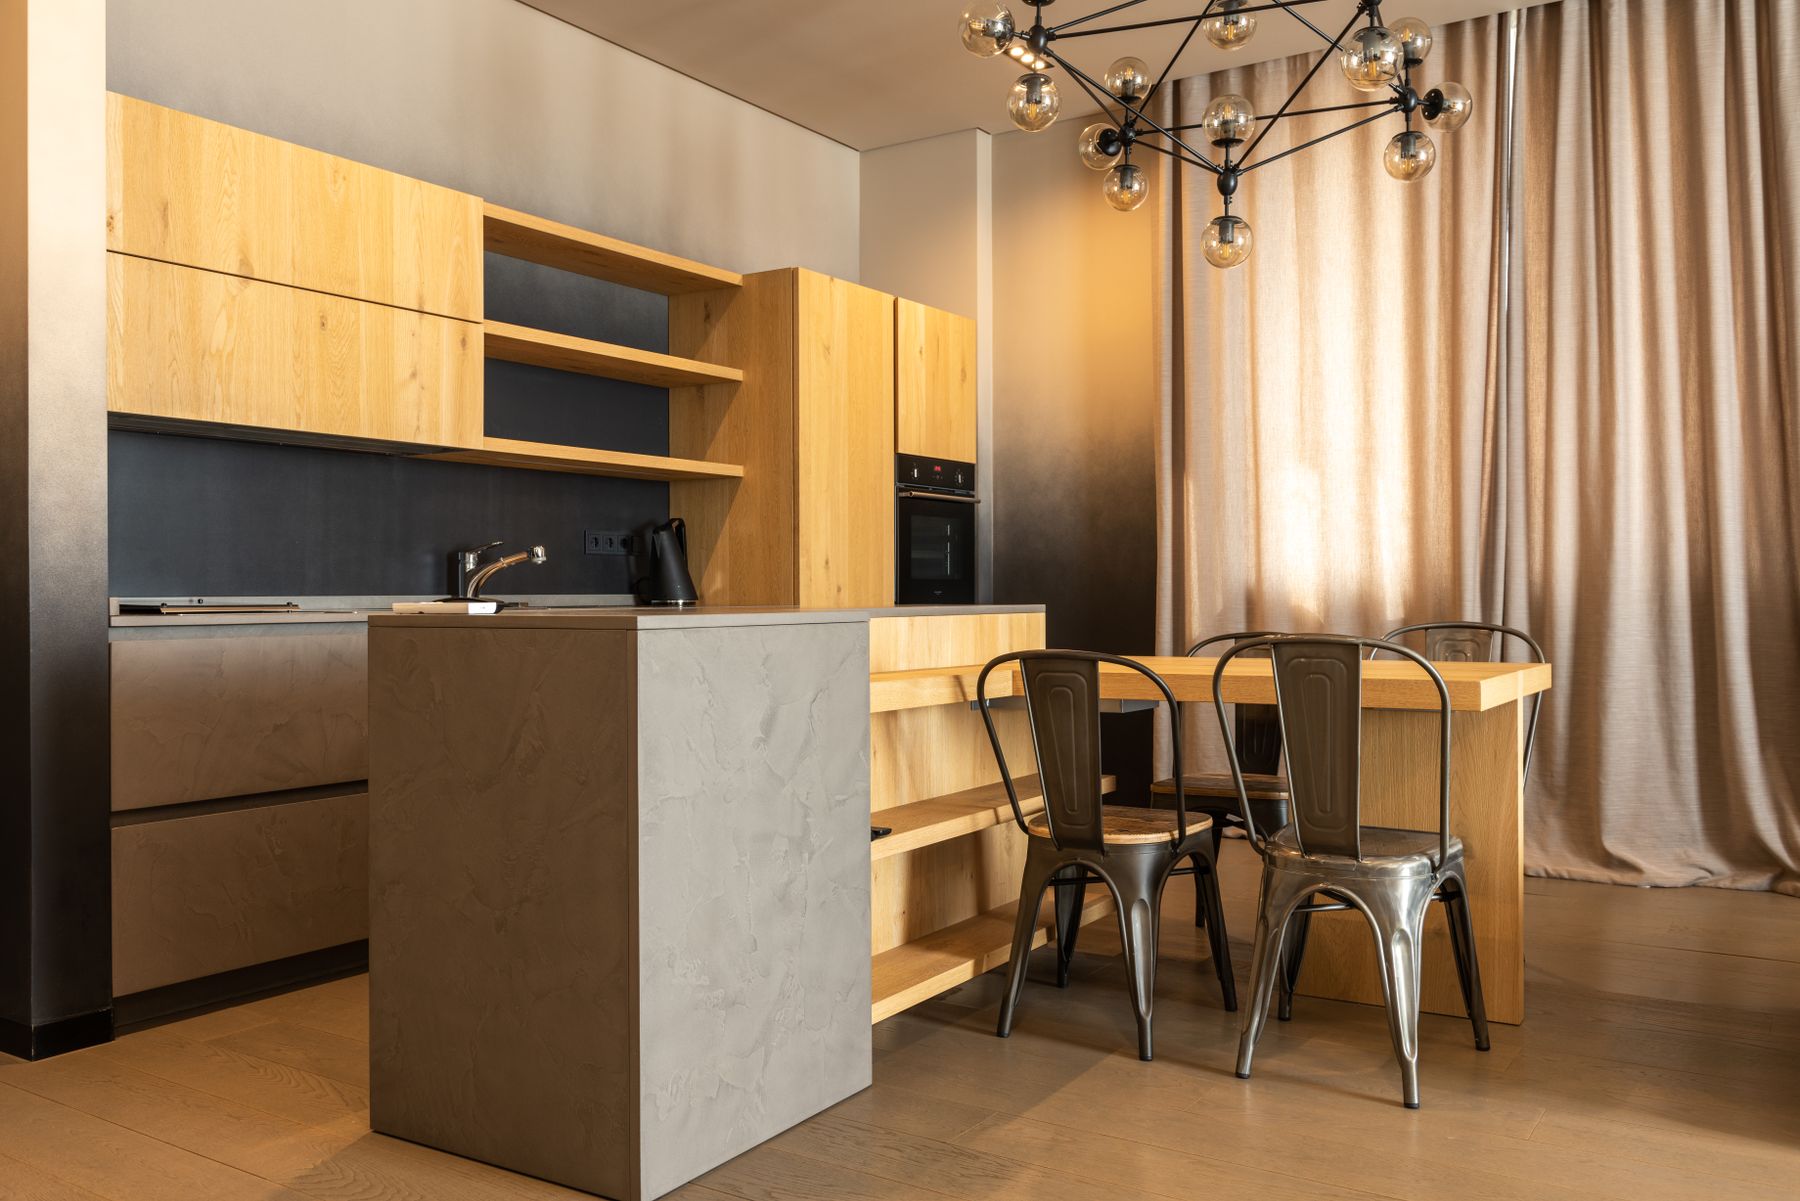
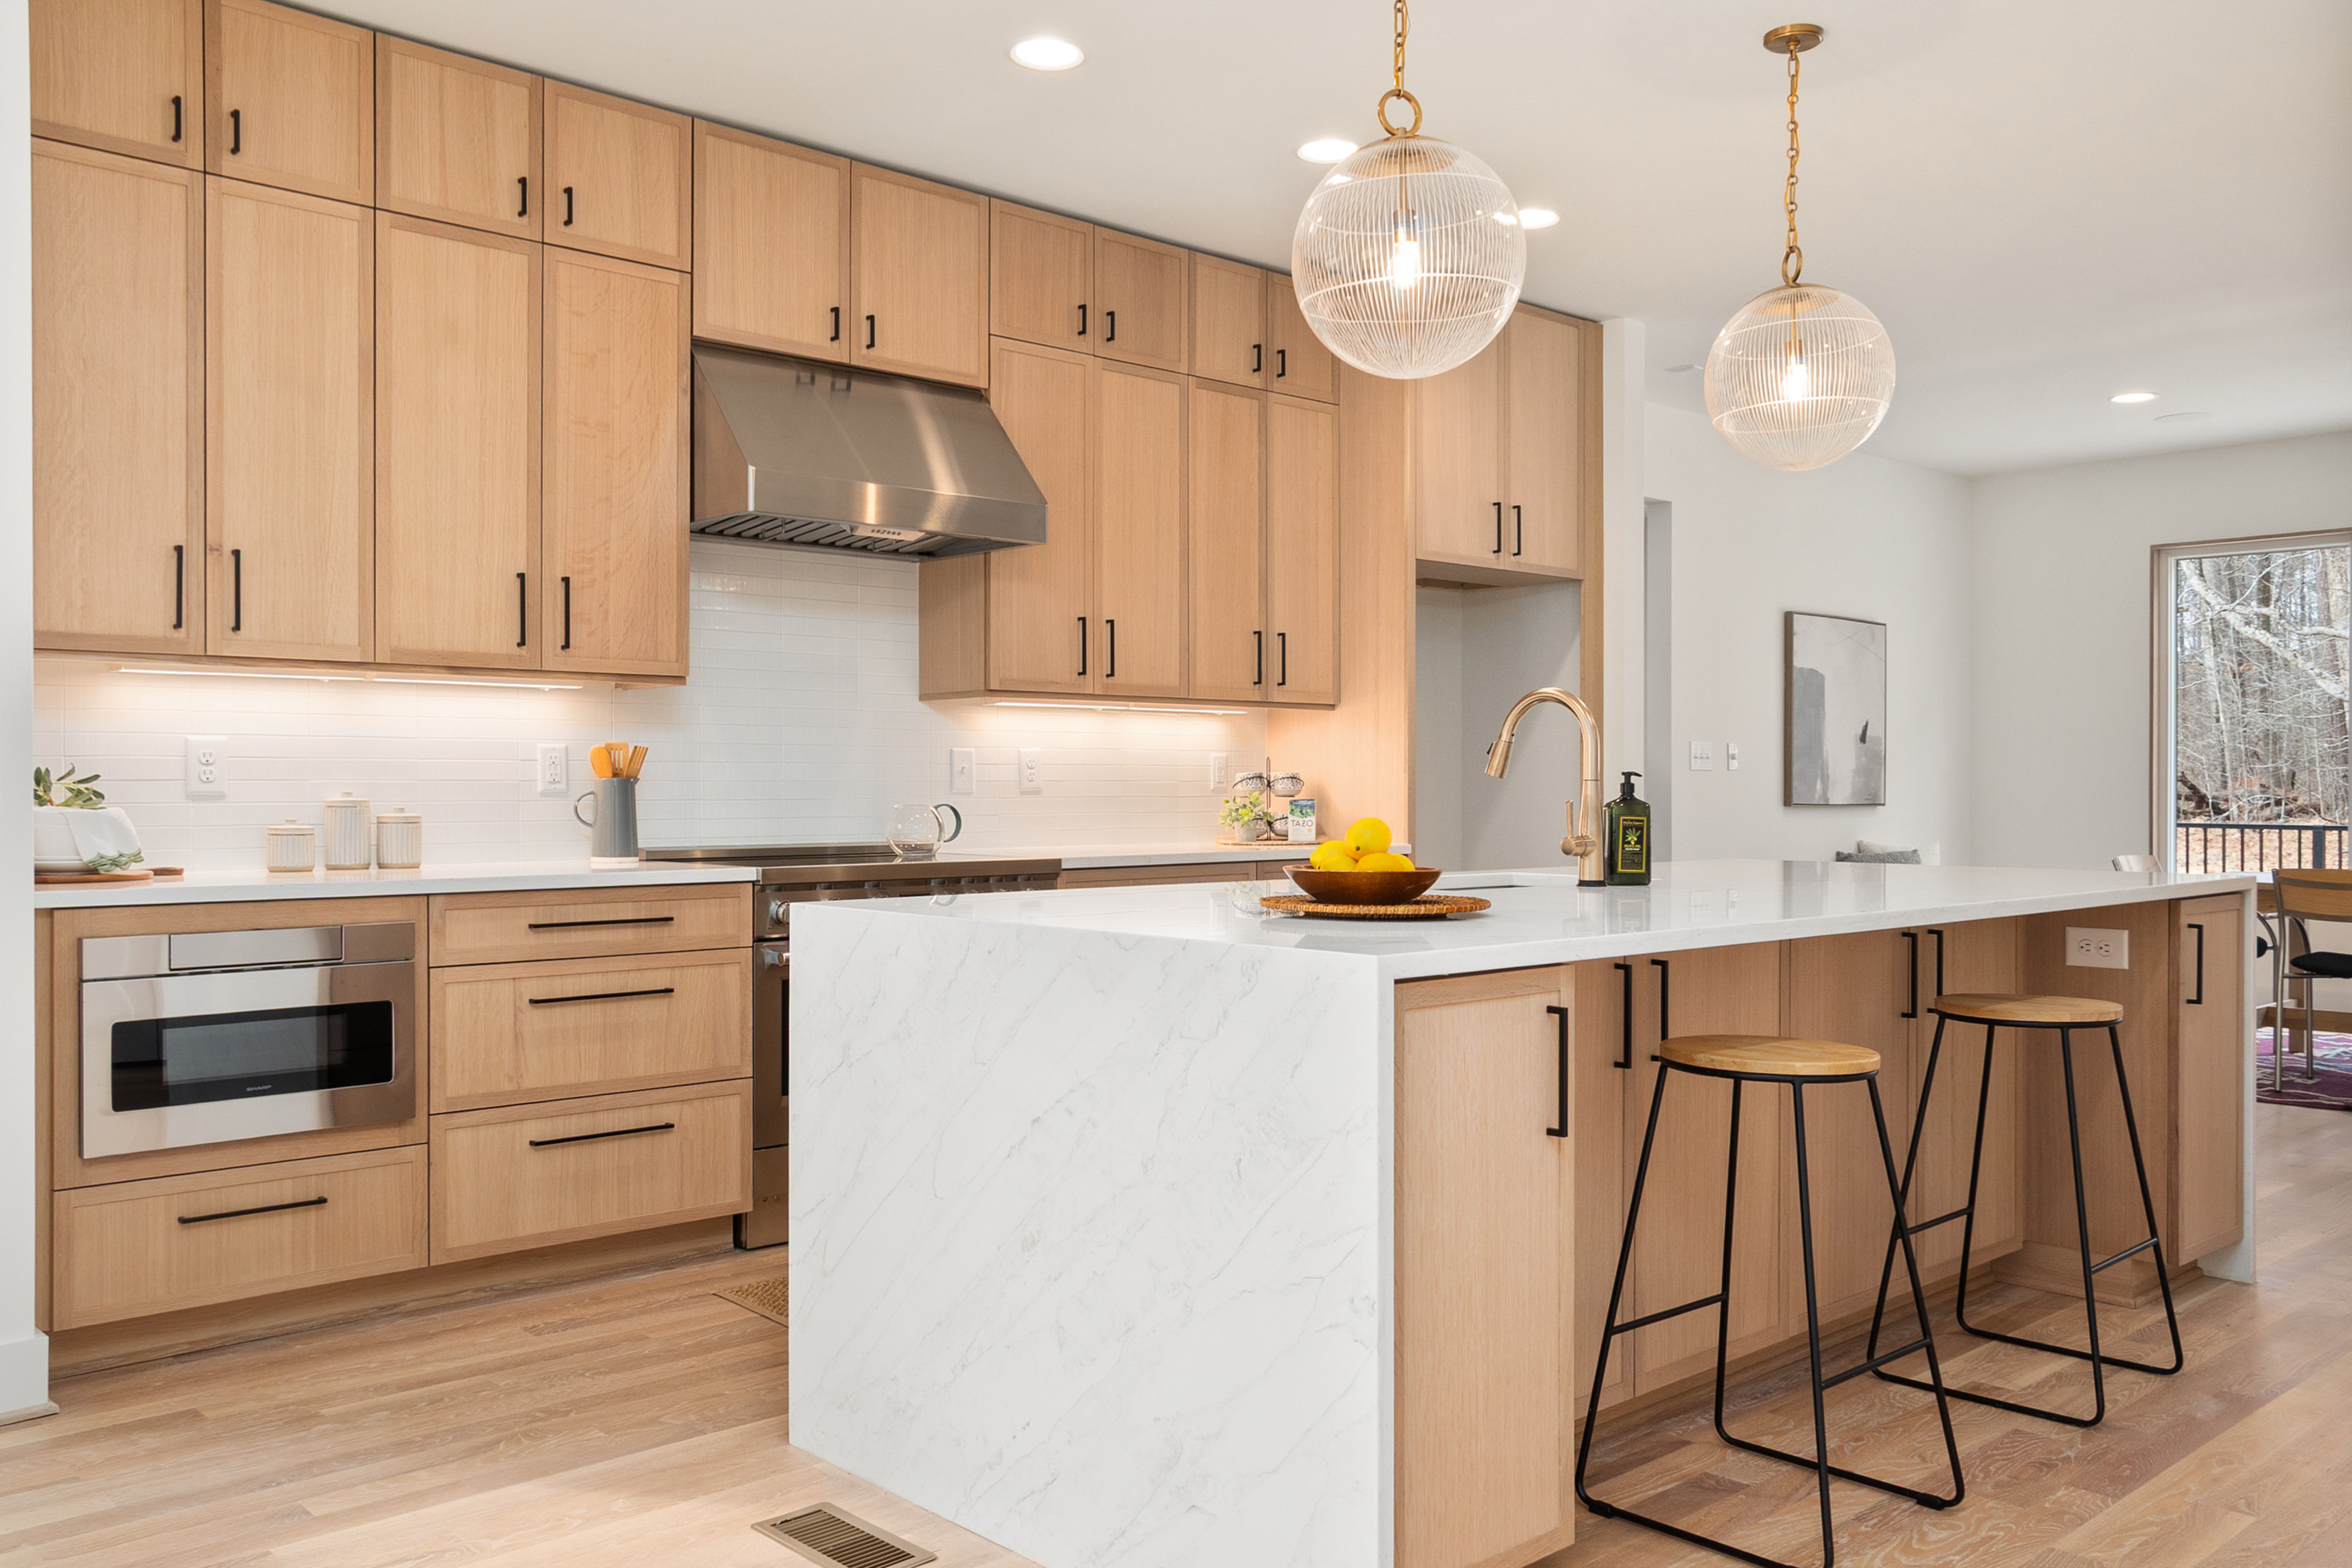
Wood flooring can make a kitchen feel continuous with dining or living areas, especially when the same board direction crosses the shared space. Species, finish, construction and installation method affect water response and movement, so verify suitability for the actual site. Avoid choosing only from a small color chip; boards vary across a larger area. Plan mats and cleaning as practical protection rather than relying on them to conceal a vulnerable installation.
Choose Tile From Performance and Joint Pattern
Ceramic, porcelain and other tile systems differ in performance, finish and installation requirements. Check the product's intended floor use, slip characteristics and care information rather than treating every tile as equivalent. Grout width and color affect the pattern and cleaning routine. Ask the installer to set out the grid from the room and cabinet geometry so narrow cuts do not collect awkwardly at the most visible edge.
Let Stone or Stone-Look Surfaces Stay Quiet
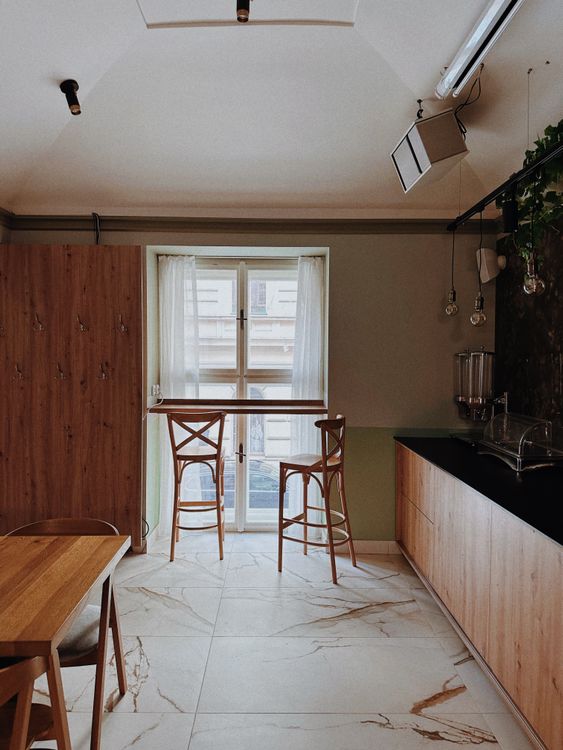
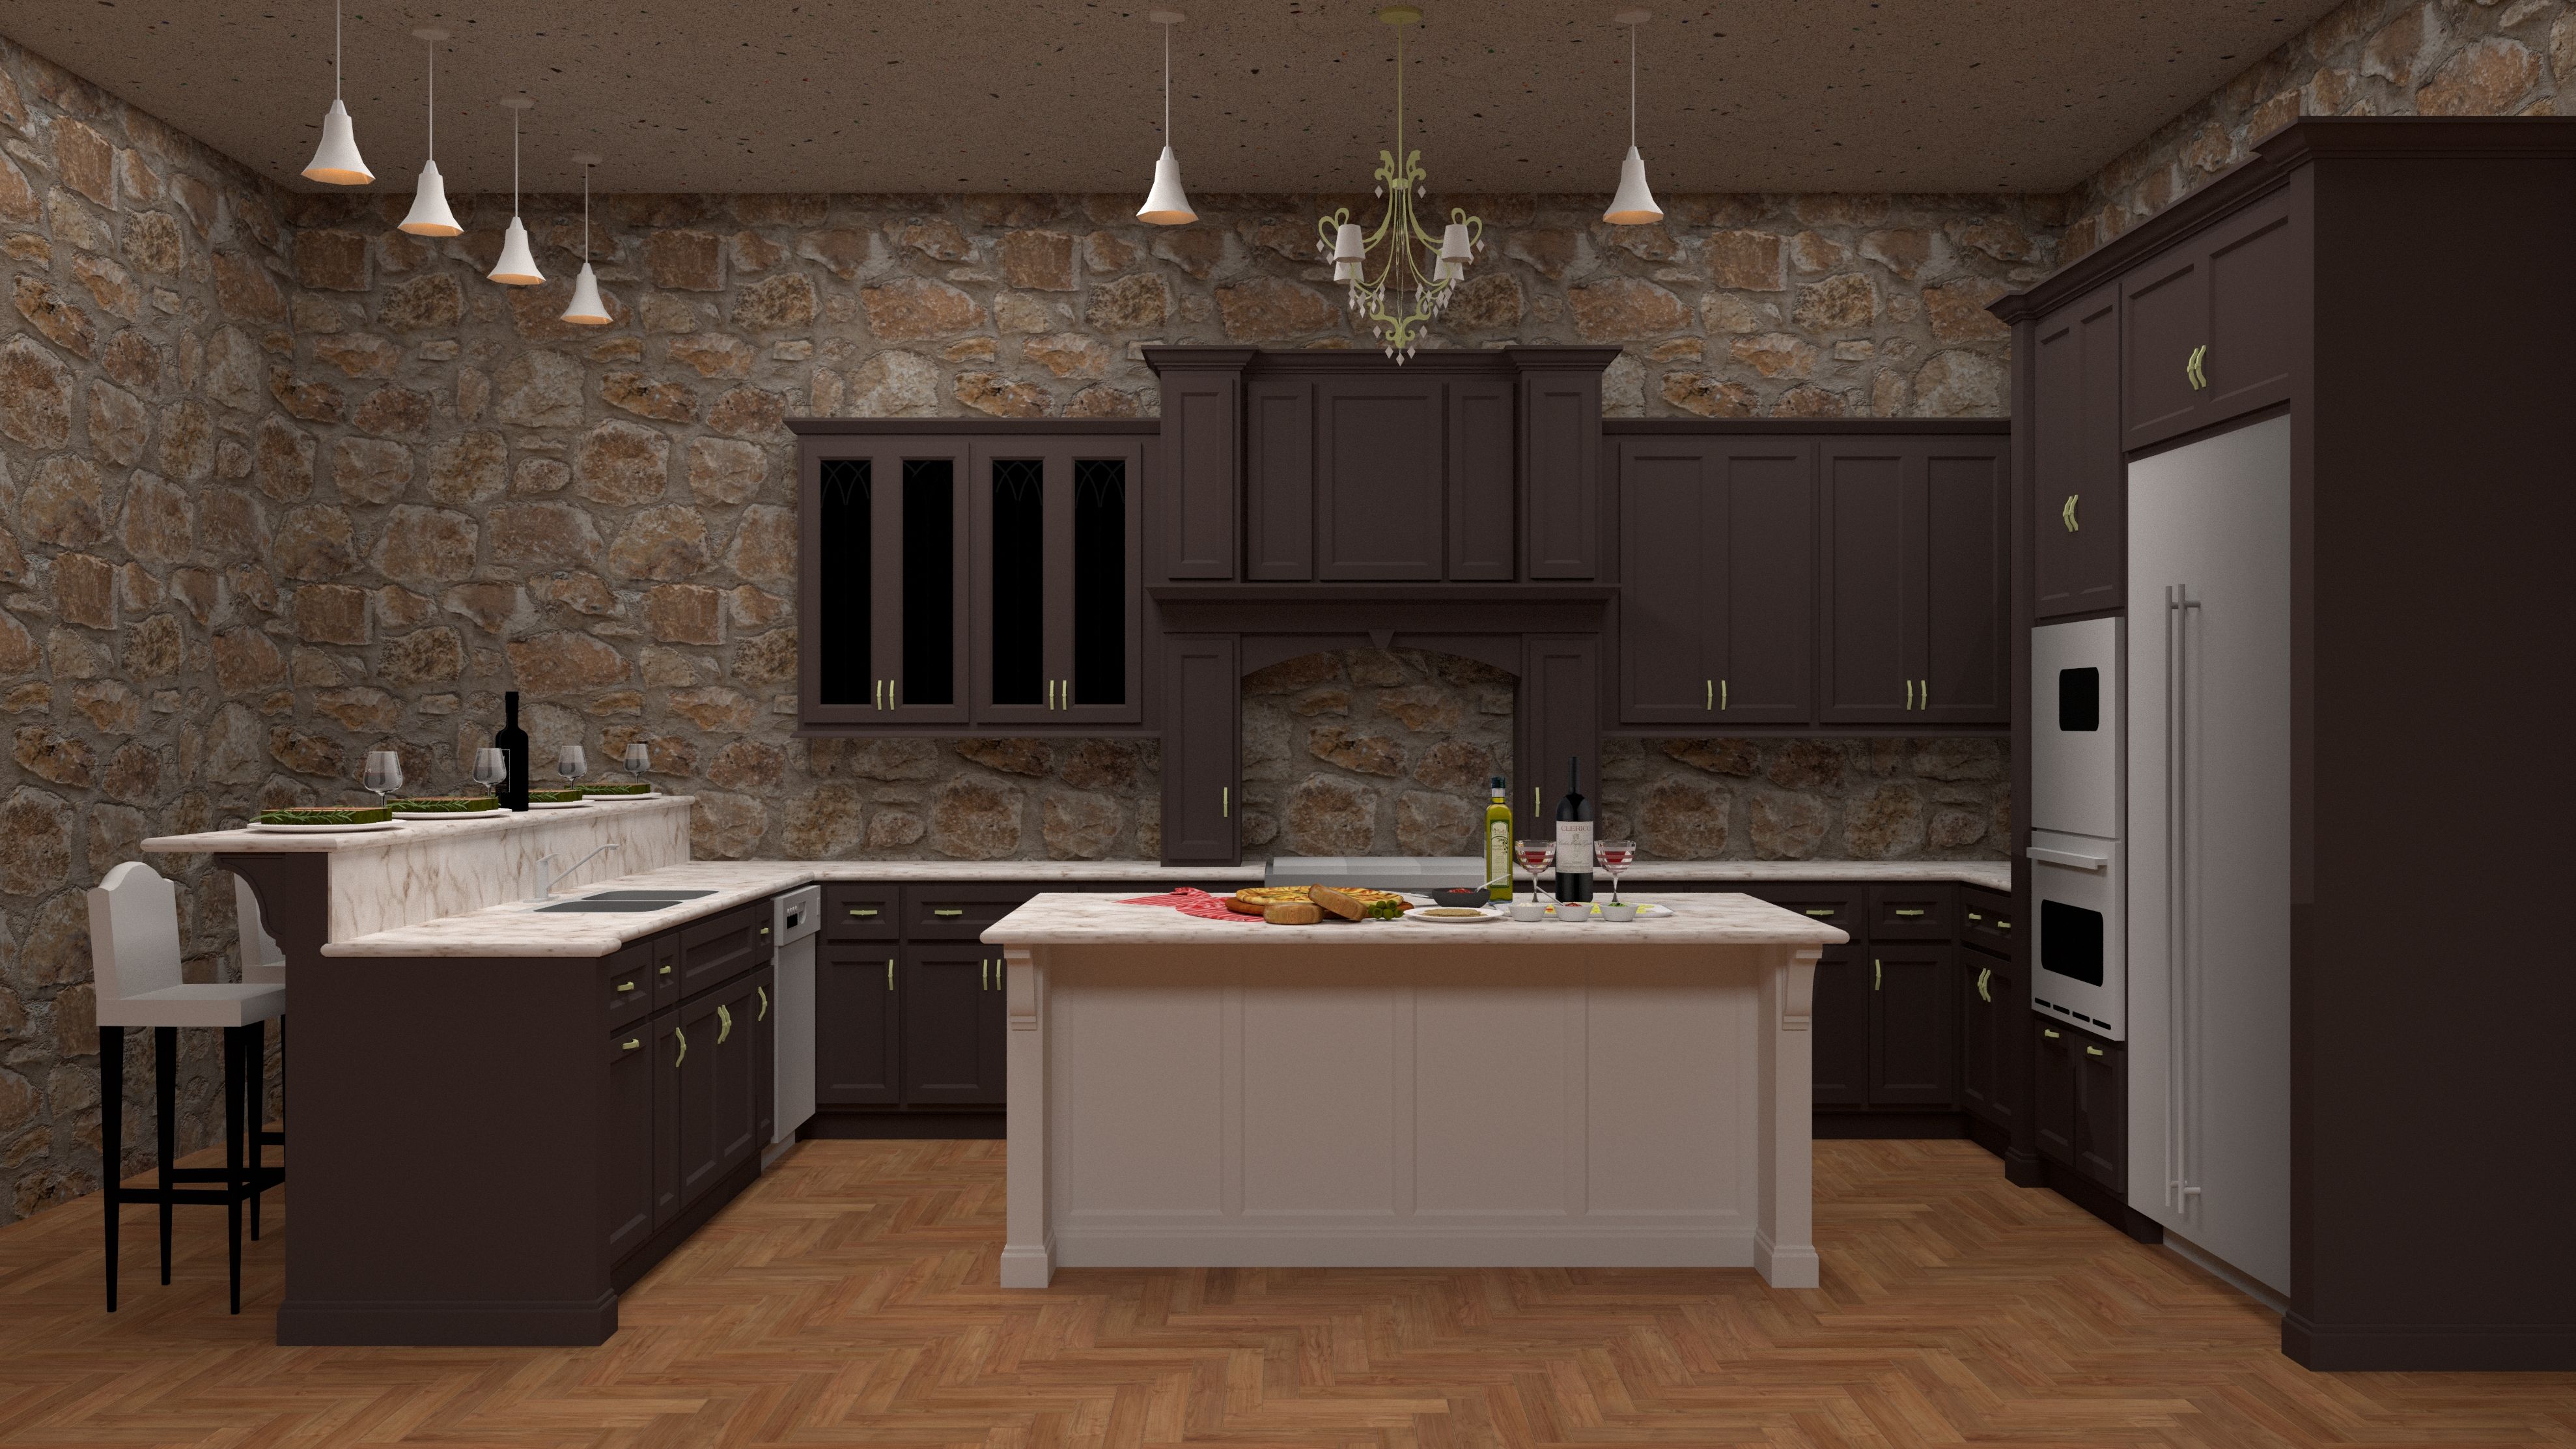
Natural stone and stone-look tile can give a kitchen a substantial base, but variation, porosity, edge detail and maintenance differ widely. A busy floor may compete with veined worktops or textured walls, while a quieter surface can hold several materials together. Confirm sealing and care needs for the exact product, and inspect multiple pieces when natural variation is part of the design. Large formats also depend on a suitably prepared substrate.
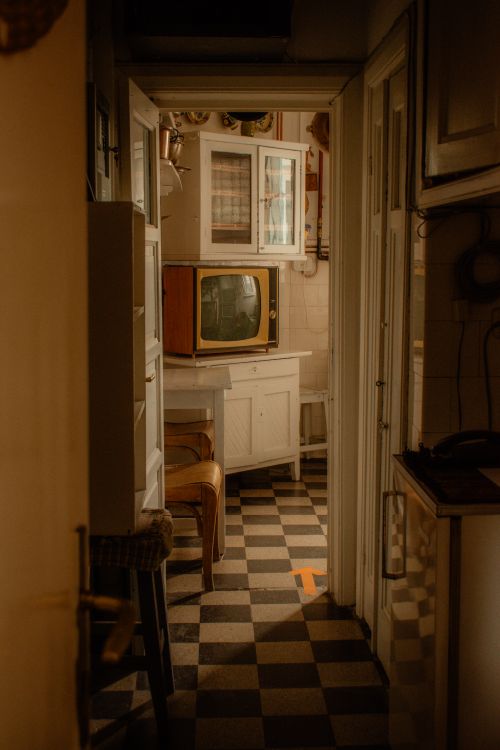
Use Checkerboard as Architecture, Not Decoration
A checkerboard floor can make a compact kitchen feel ordered and memorable when the tile scale relates to the room. Smaller checks create more movement; larger ones make fewer, stronger divisions. Plan where the pattern begins, how it meets cabinet plinths and what happens at thresholds. Softer contrast can suit a room already rich in color, while crisp black and white may become the dominant feature.
Coordinate Undertones With Cabinets
A grey floor may read blue, green or warm beige beside the cabinets; wood can shift from red to yellow depending on light and neighboring stone. Compare samples together in the room instead of naming each color separately. An exact match between wood cabinets and flooring can flatten the scheme, while a controlled difference often makes both materials clearer. Observe the combination under evening lighting before approving it.
Plan the Transition to the Next Room
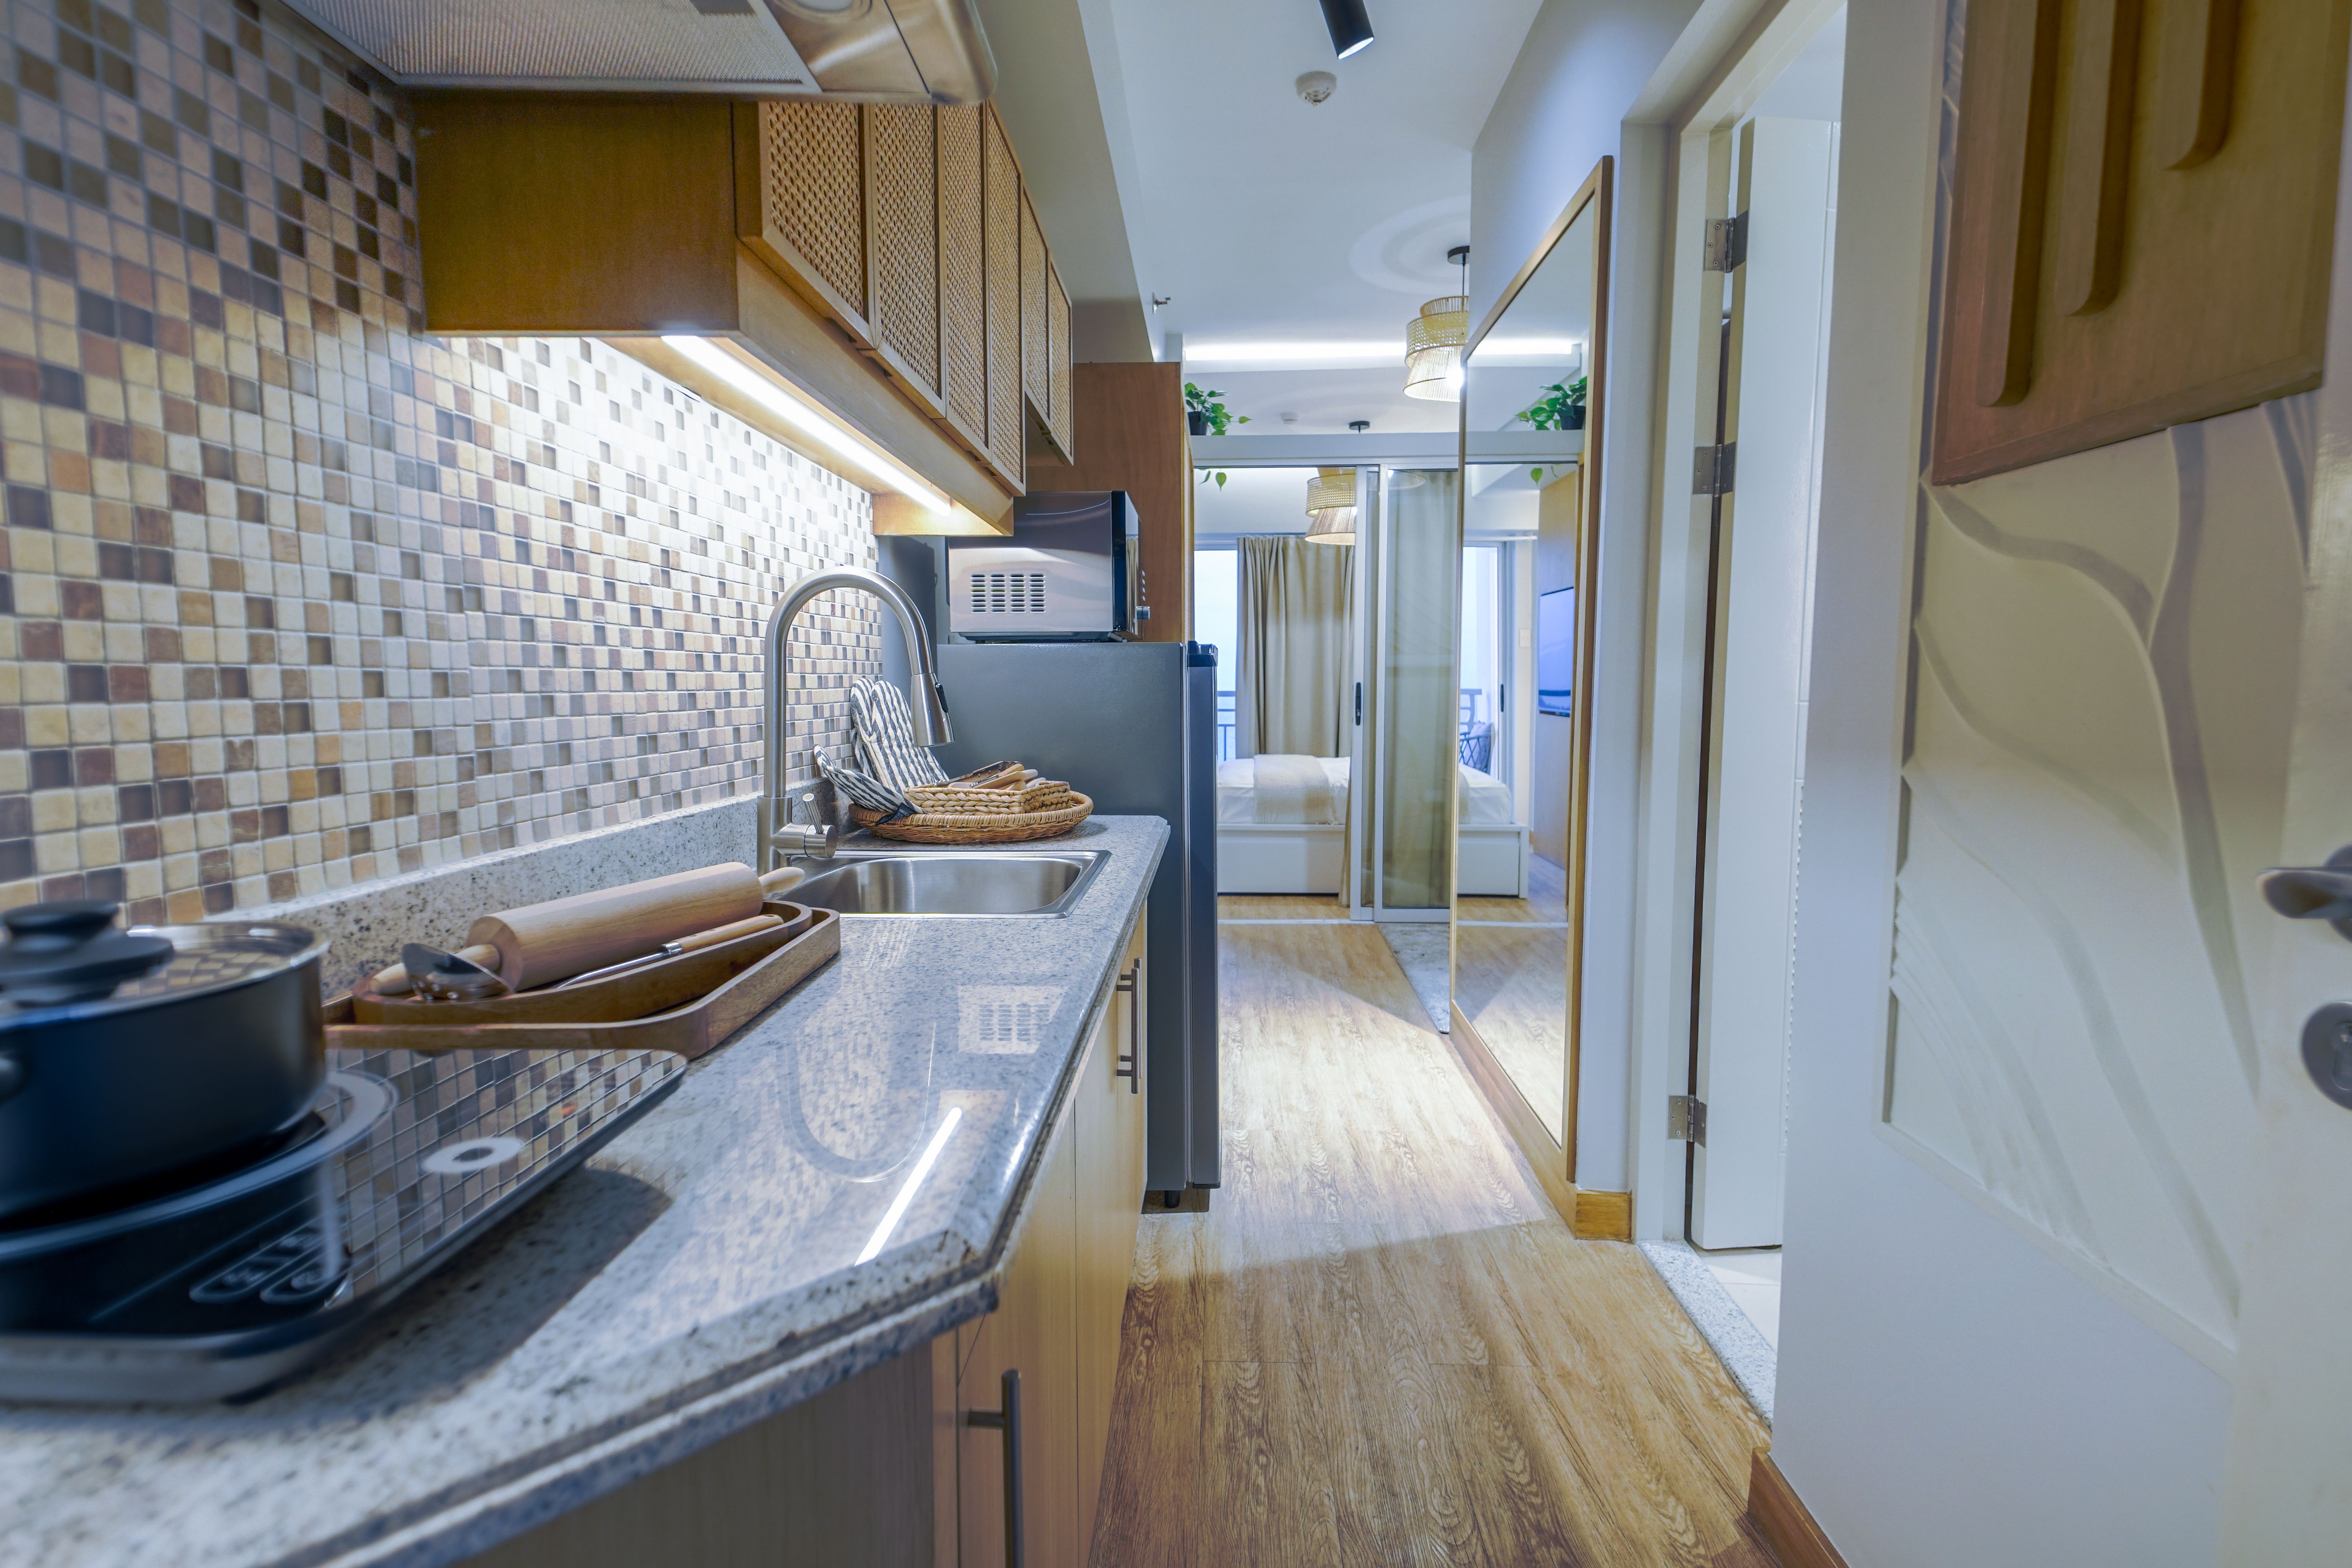
In an open plan, continuing one floor can simplify the view, while a deliberate change can mark the kitchen as a working zone. The junction needs a logical location and a compatible height, edge and movement strategy for both materials. Avoid placing an arbitrary strip through the middle of a doorway or main sightline. Coordinate substrate buildup and transition details with the installer before either floor is ordered.
Test Comfort, Sound and Repairability
Hard floors can feel stable and easy to clean but may amplify dropped objects and feel tiring during long cooking sessions. Softer or resilient systems have different denting, heat and maintenance considerations. Ask how a damaged board or tile can be replaced and whether spare material should be retained. Test a real sample underfoot and with chair movement; then verify compatibility with the substrate and any underfloor heating.