Begin With a Period Brief, Not a Shopping List
Decide whether the room should feel broadly early twentieth century, postwar, cottage-like or simply collected over time. The brief does not need to be historically exact, but it should explain why the basin, tile, mirror and metal belong together. Start with the feature that has the strongest presence from the doorway and allow one or two supporting details to echo it. This hierarchy prevents a vintage scheme from turning into a catalogue of unrelated reproductions.
Assess Original Features Before Removing Them
Original tile, a cast-iron bath, terrazzo floor or timber cupboard can be the room's hardest-to-replace asset, but age alone does not make it worth keeping. Check loose tile, cracked grout, corrosion, leaks, hidden damp and the condition of the substrate separately from surface patina. A sound feature may only need careful cleaning or local repair; a failing wet-area assembly may require rebuilding even if the visible finish is attractive. Photograph dimensions and junctions before demolition so any retained or recreated work fits the room's existing geometry.
Let a Characterful Basin Establish the Vanity Wall
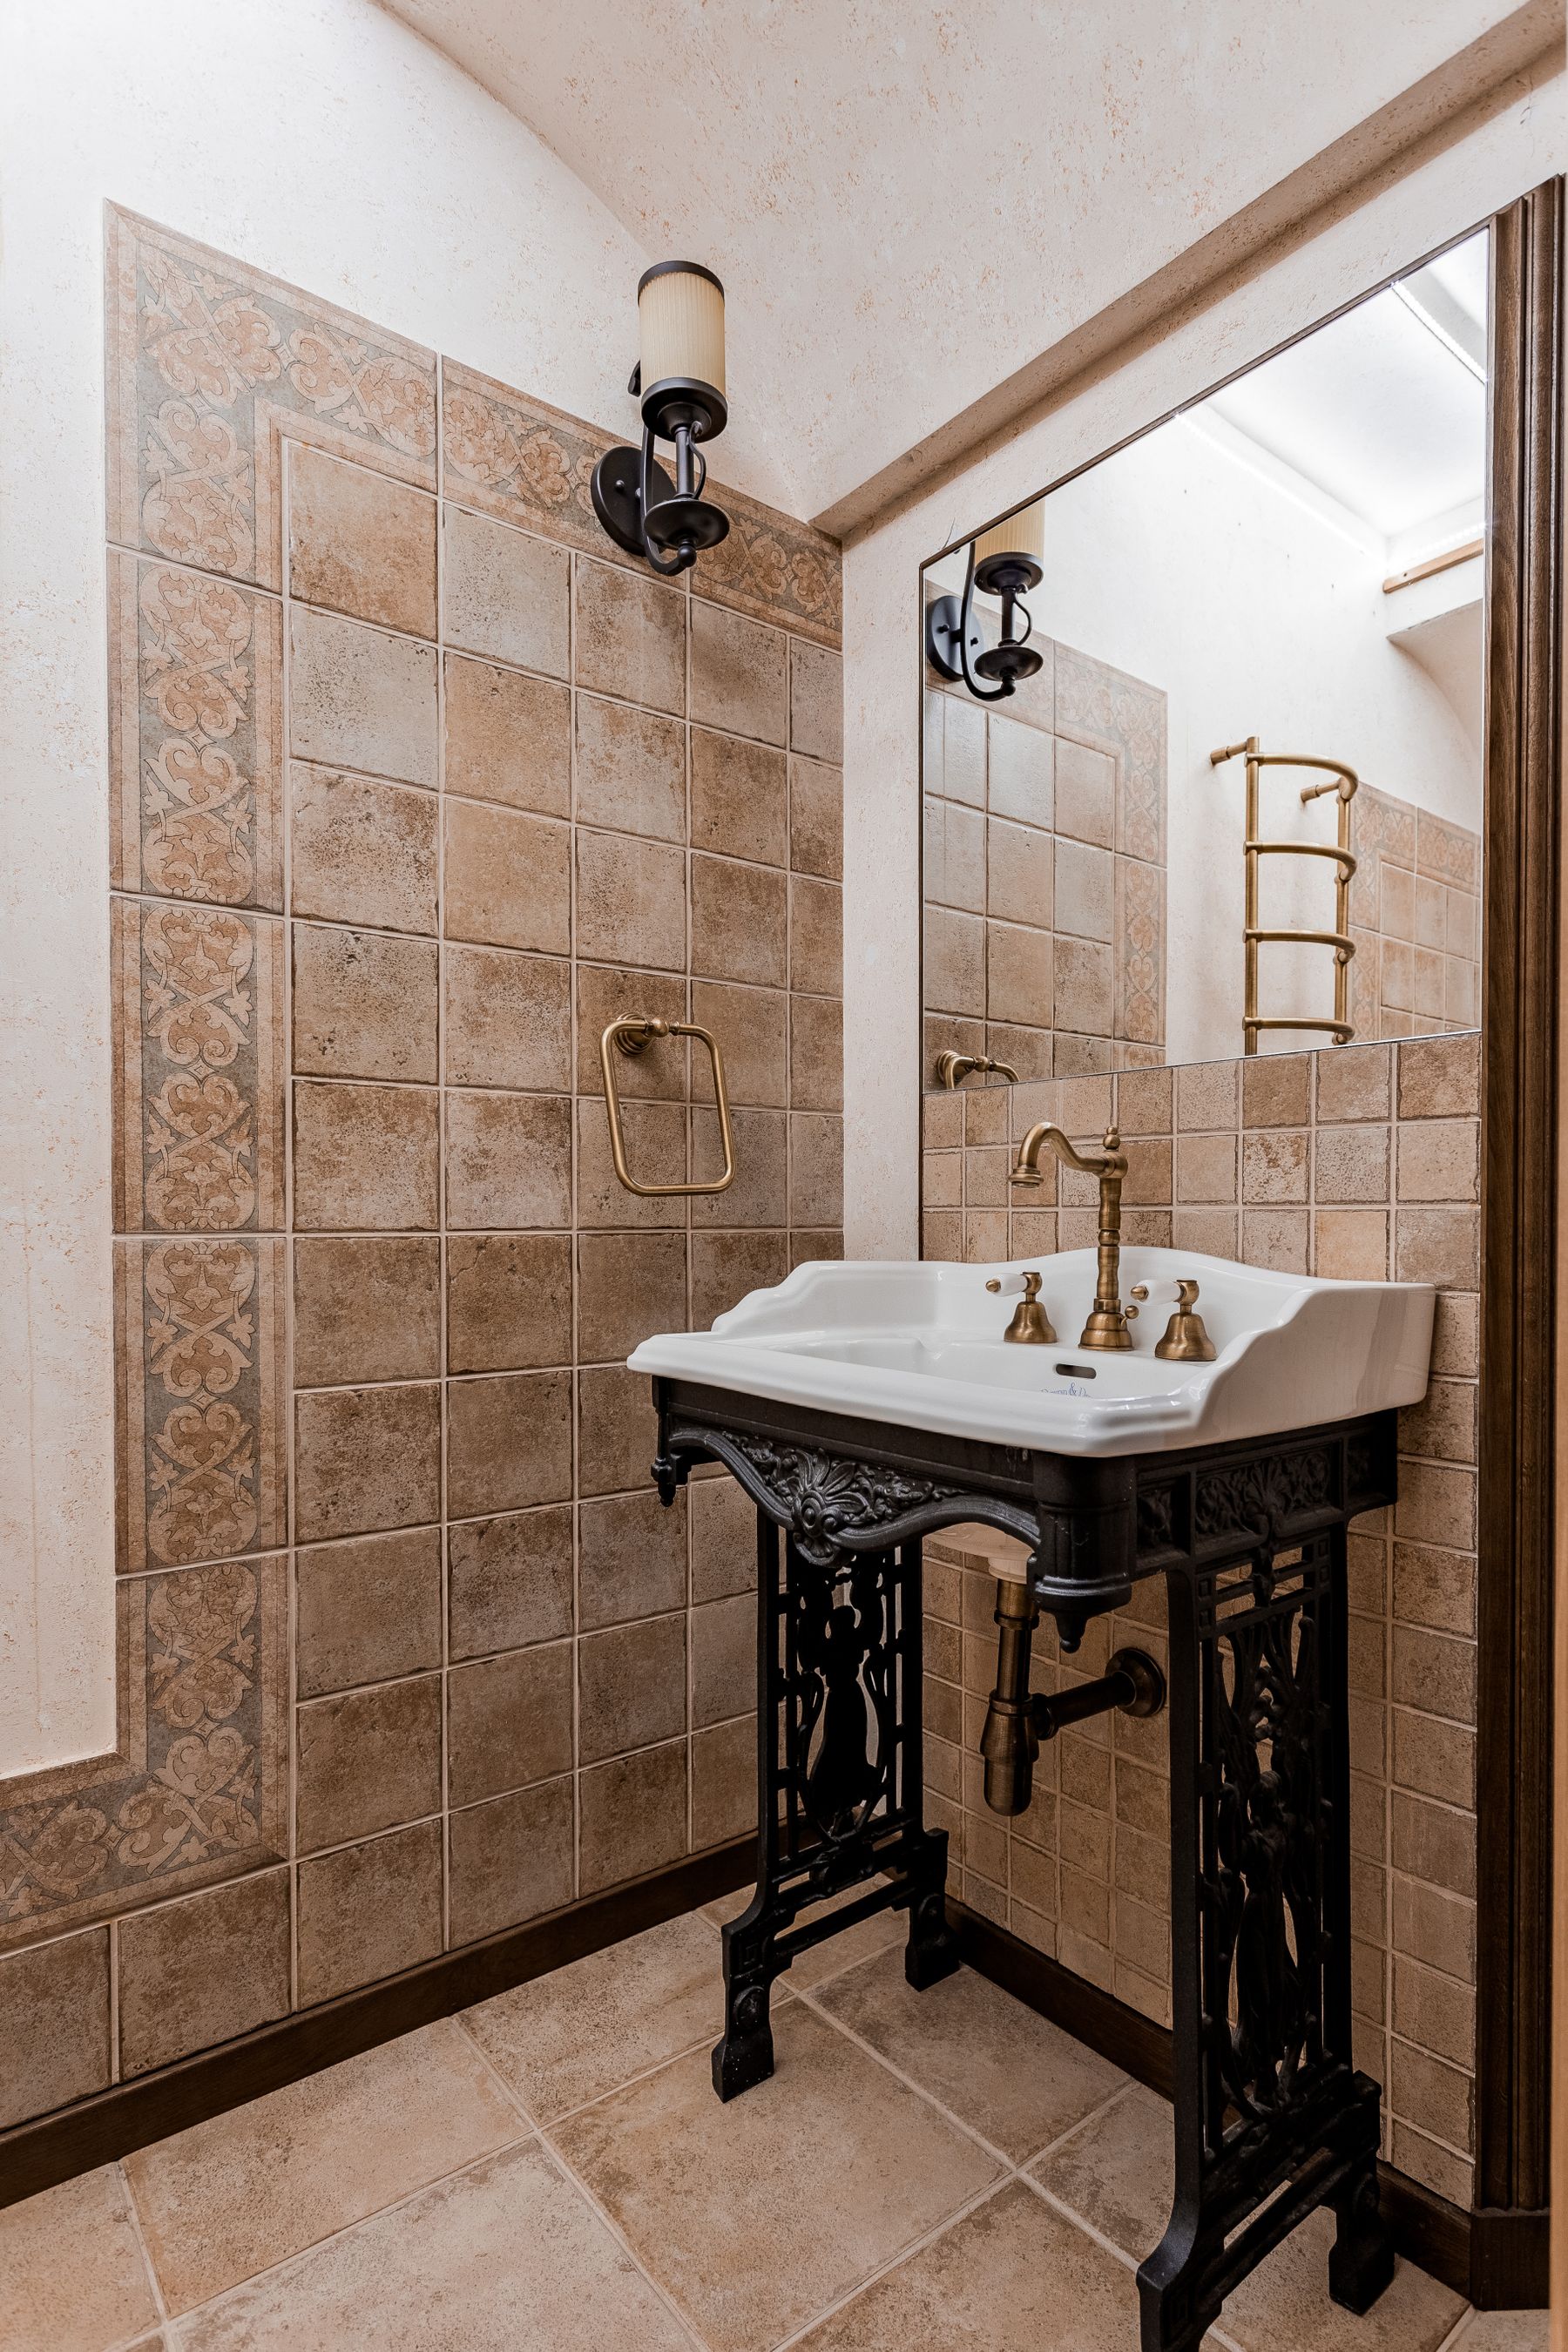
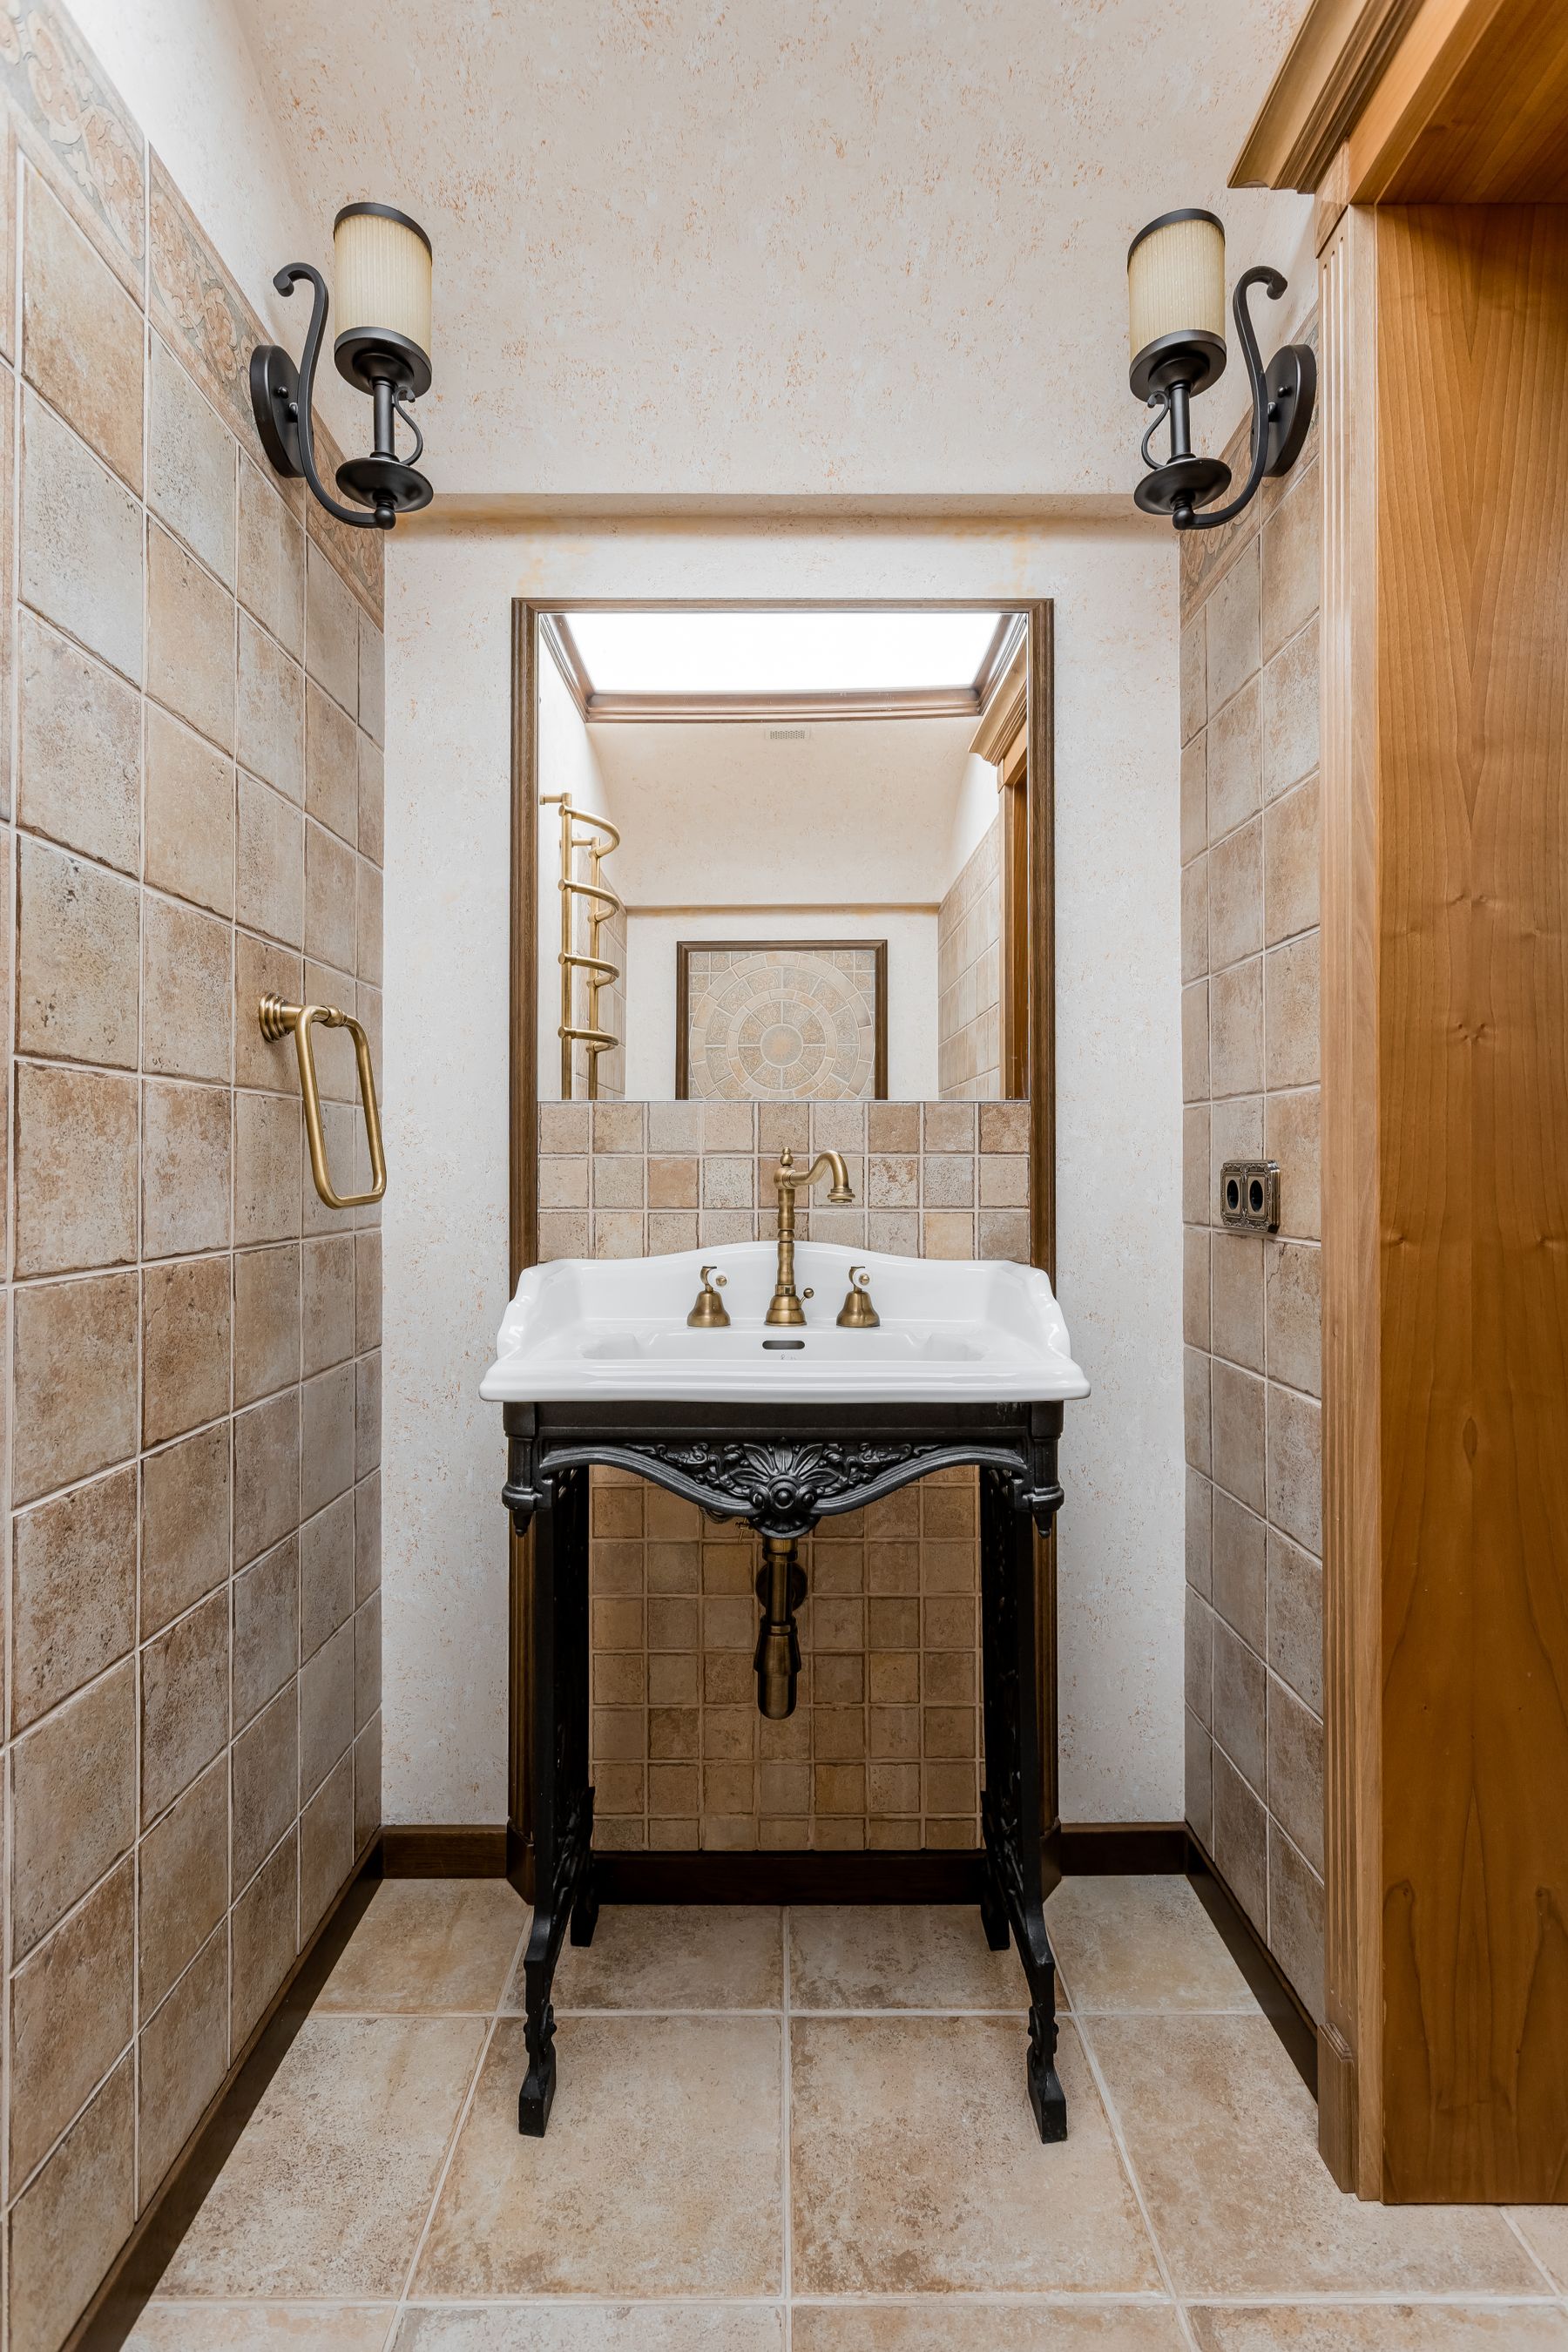
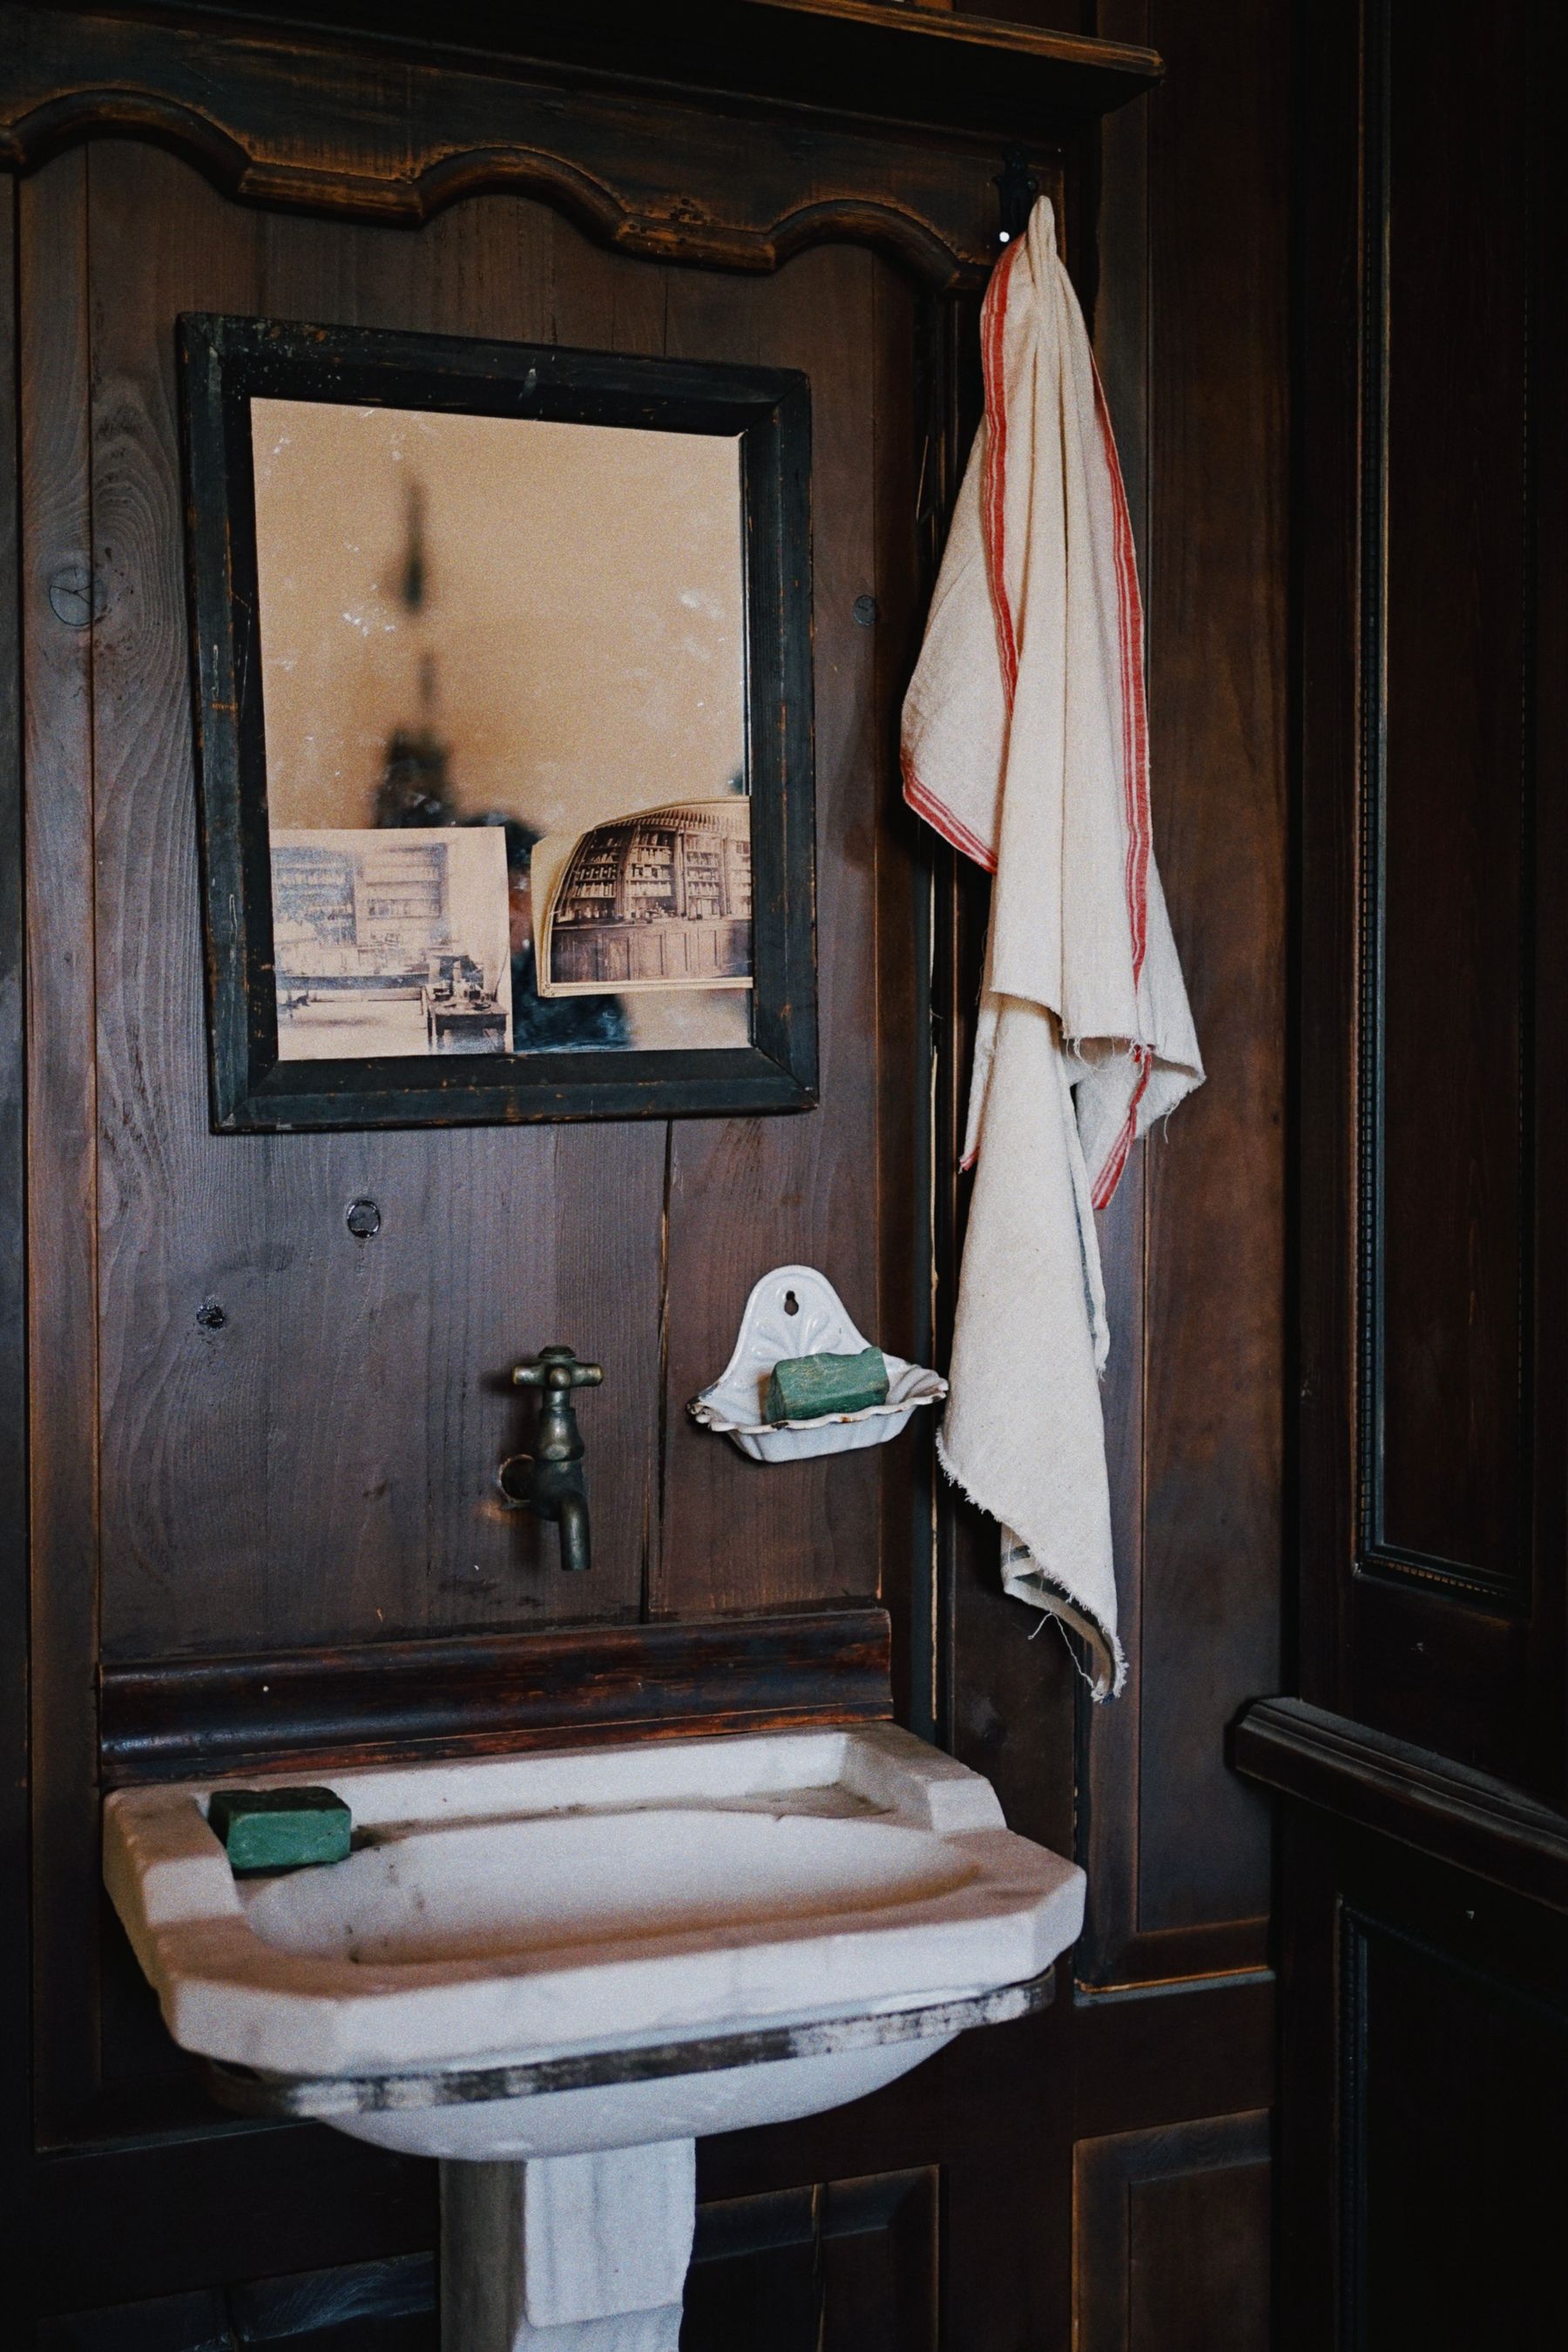
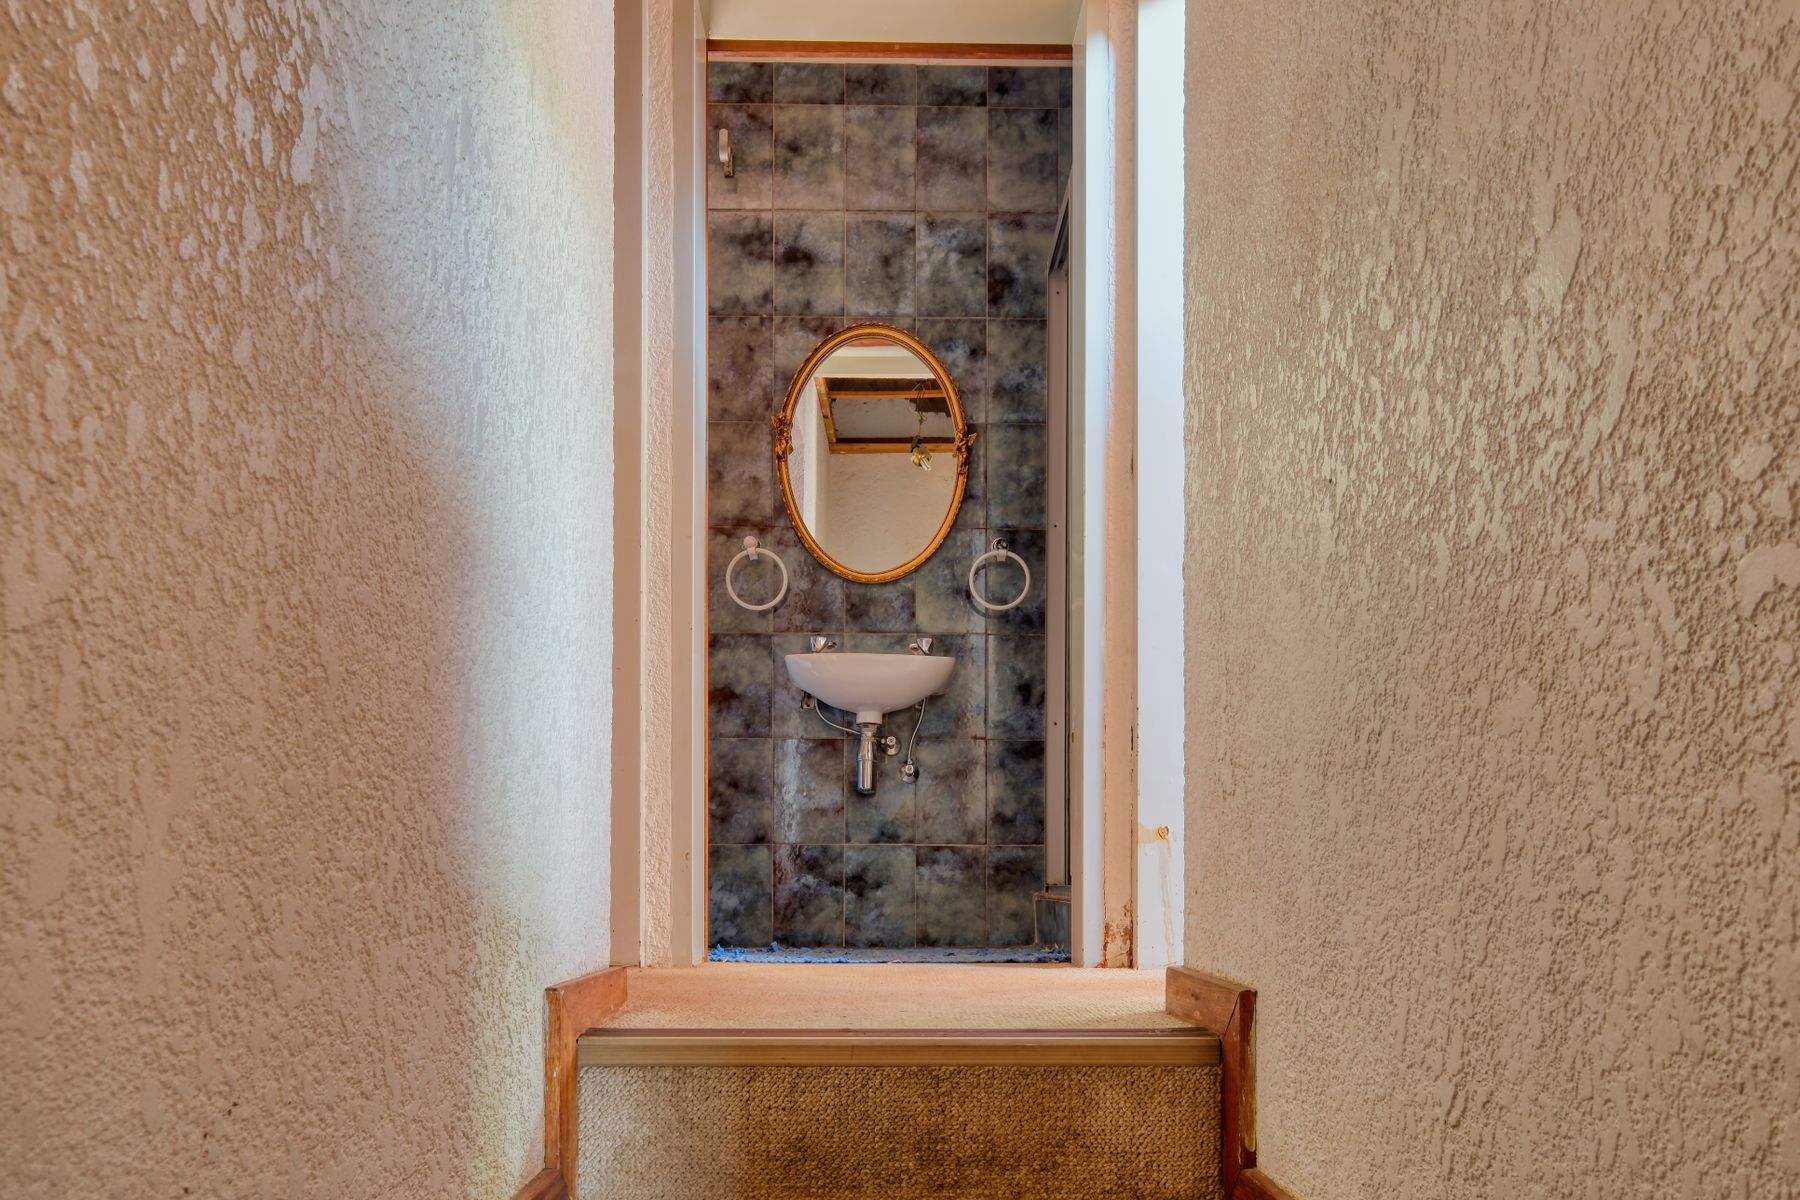
A fluted pedestal, console basin, marble-topped washstand or furniture-like vanity can carry enough history for the entire room. Check faucet reach, bowl depth, elbow room and the position of traps and supplies before prioritizing silhouette. In a family bathroom, a beautiful shallow bowl that splashes constantly is a poor trade; in a powder room, the same piece may work perfectly. Keep the backsplash and mirror composition disciplined so the basin remains the focal point.
Choose a Clawfoot or Skirted Bath for the Right Room
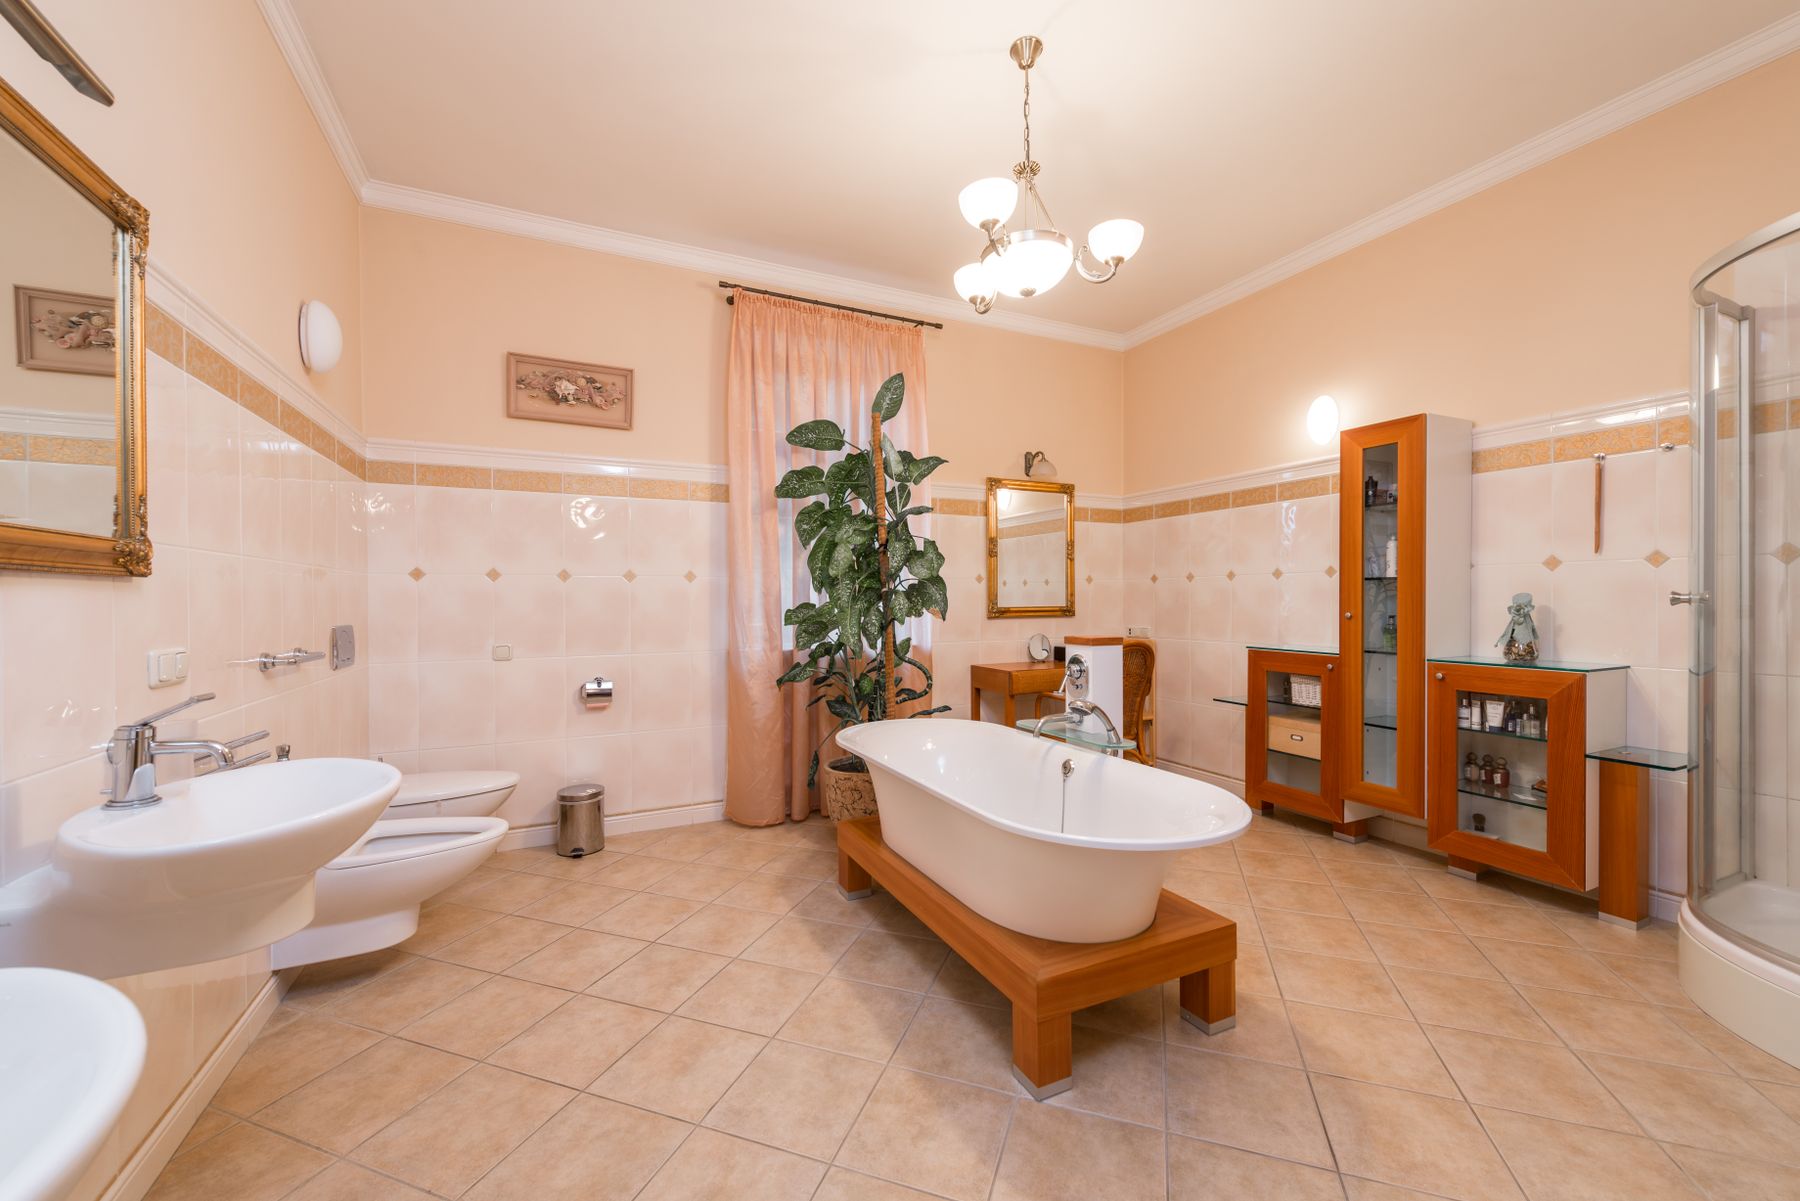
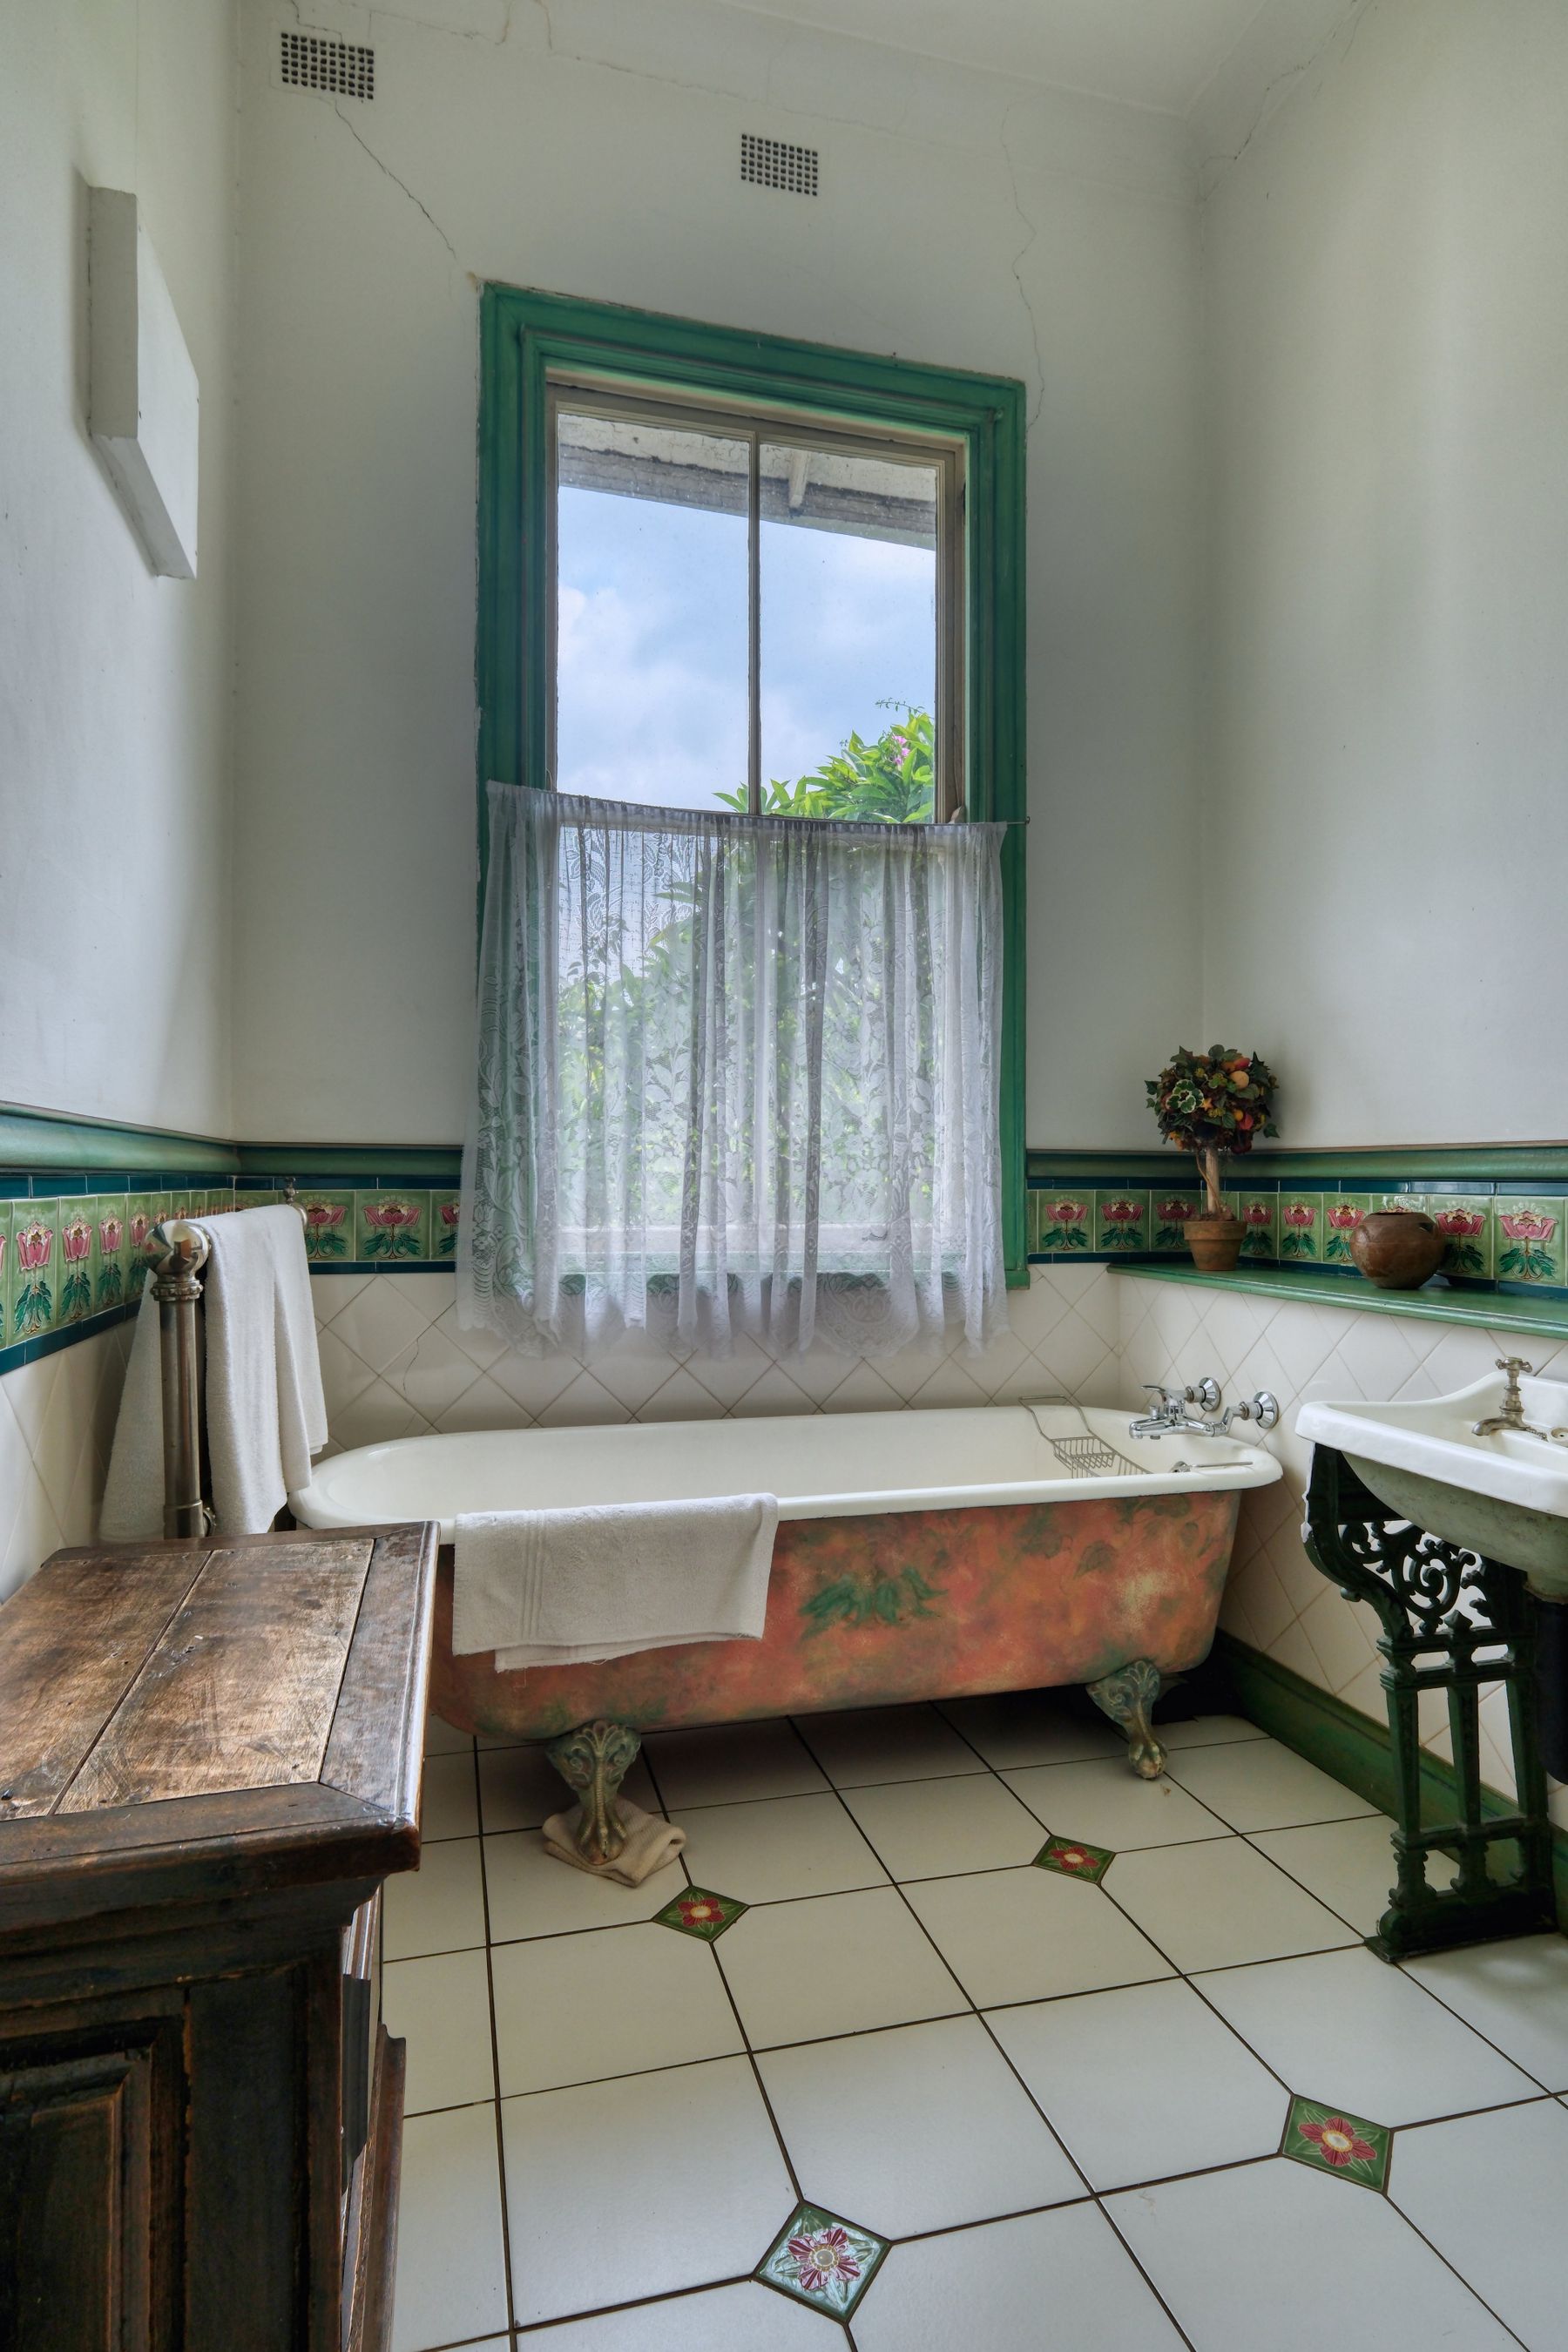
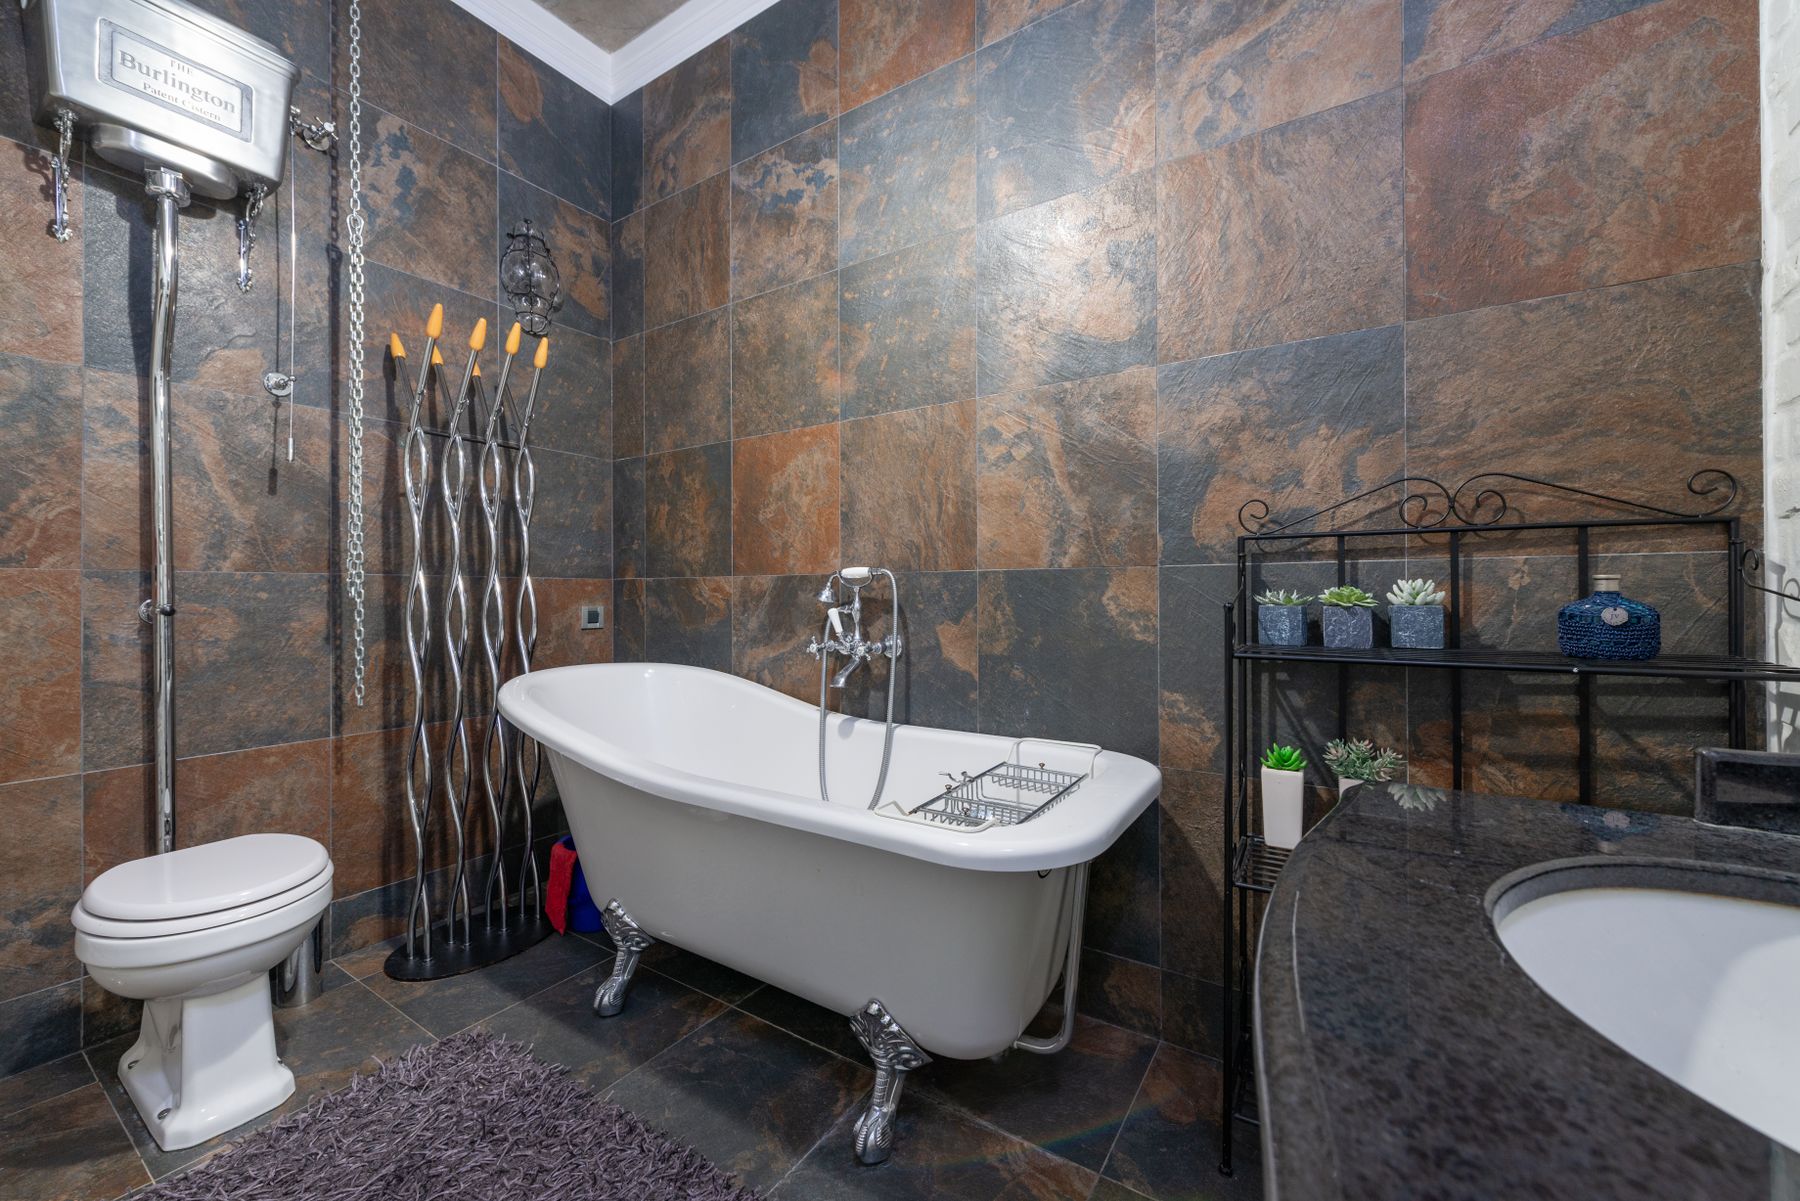
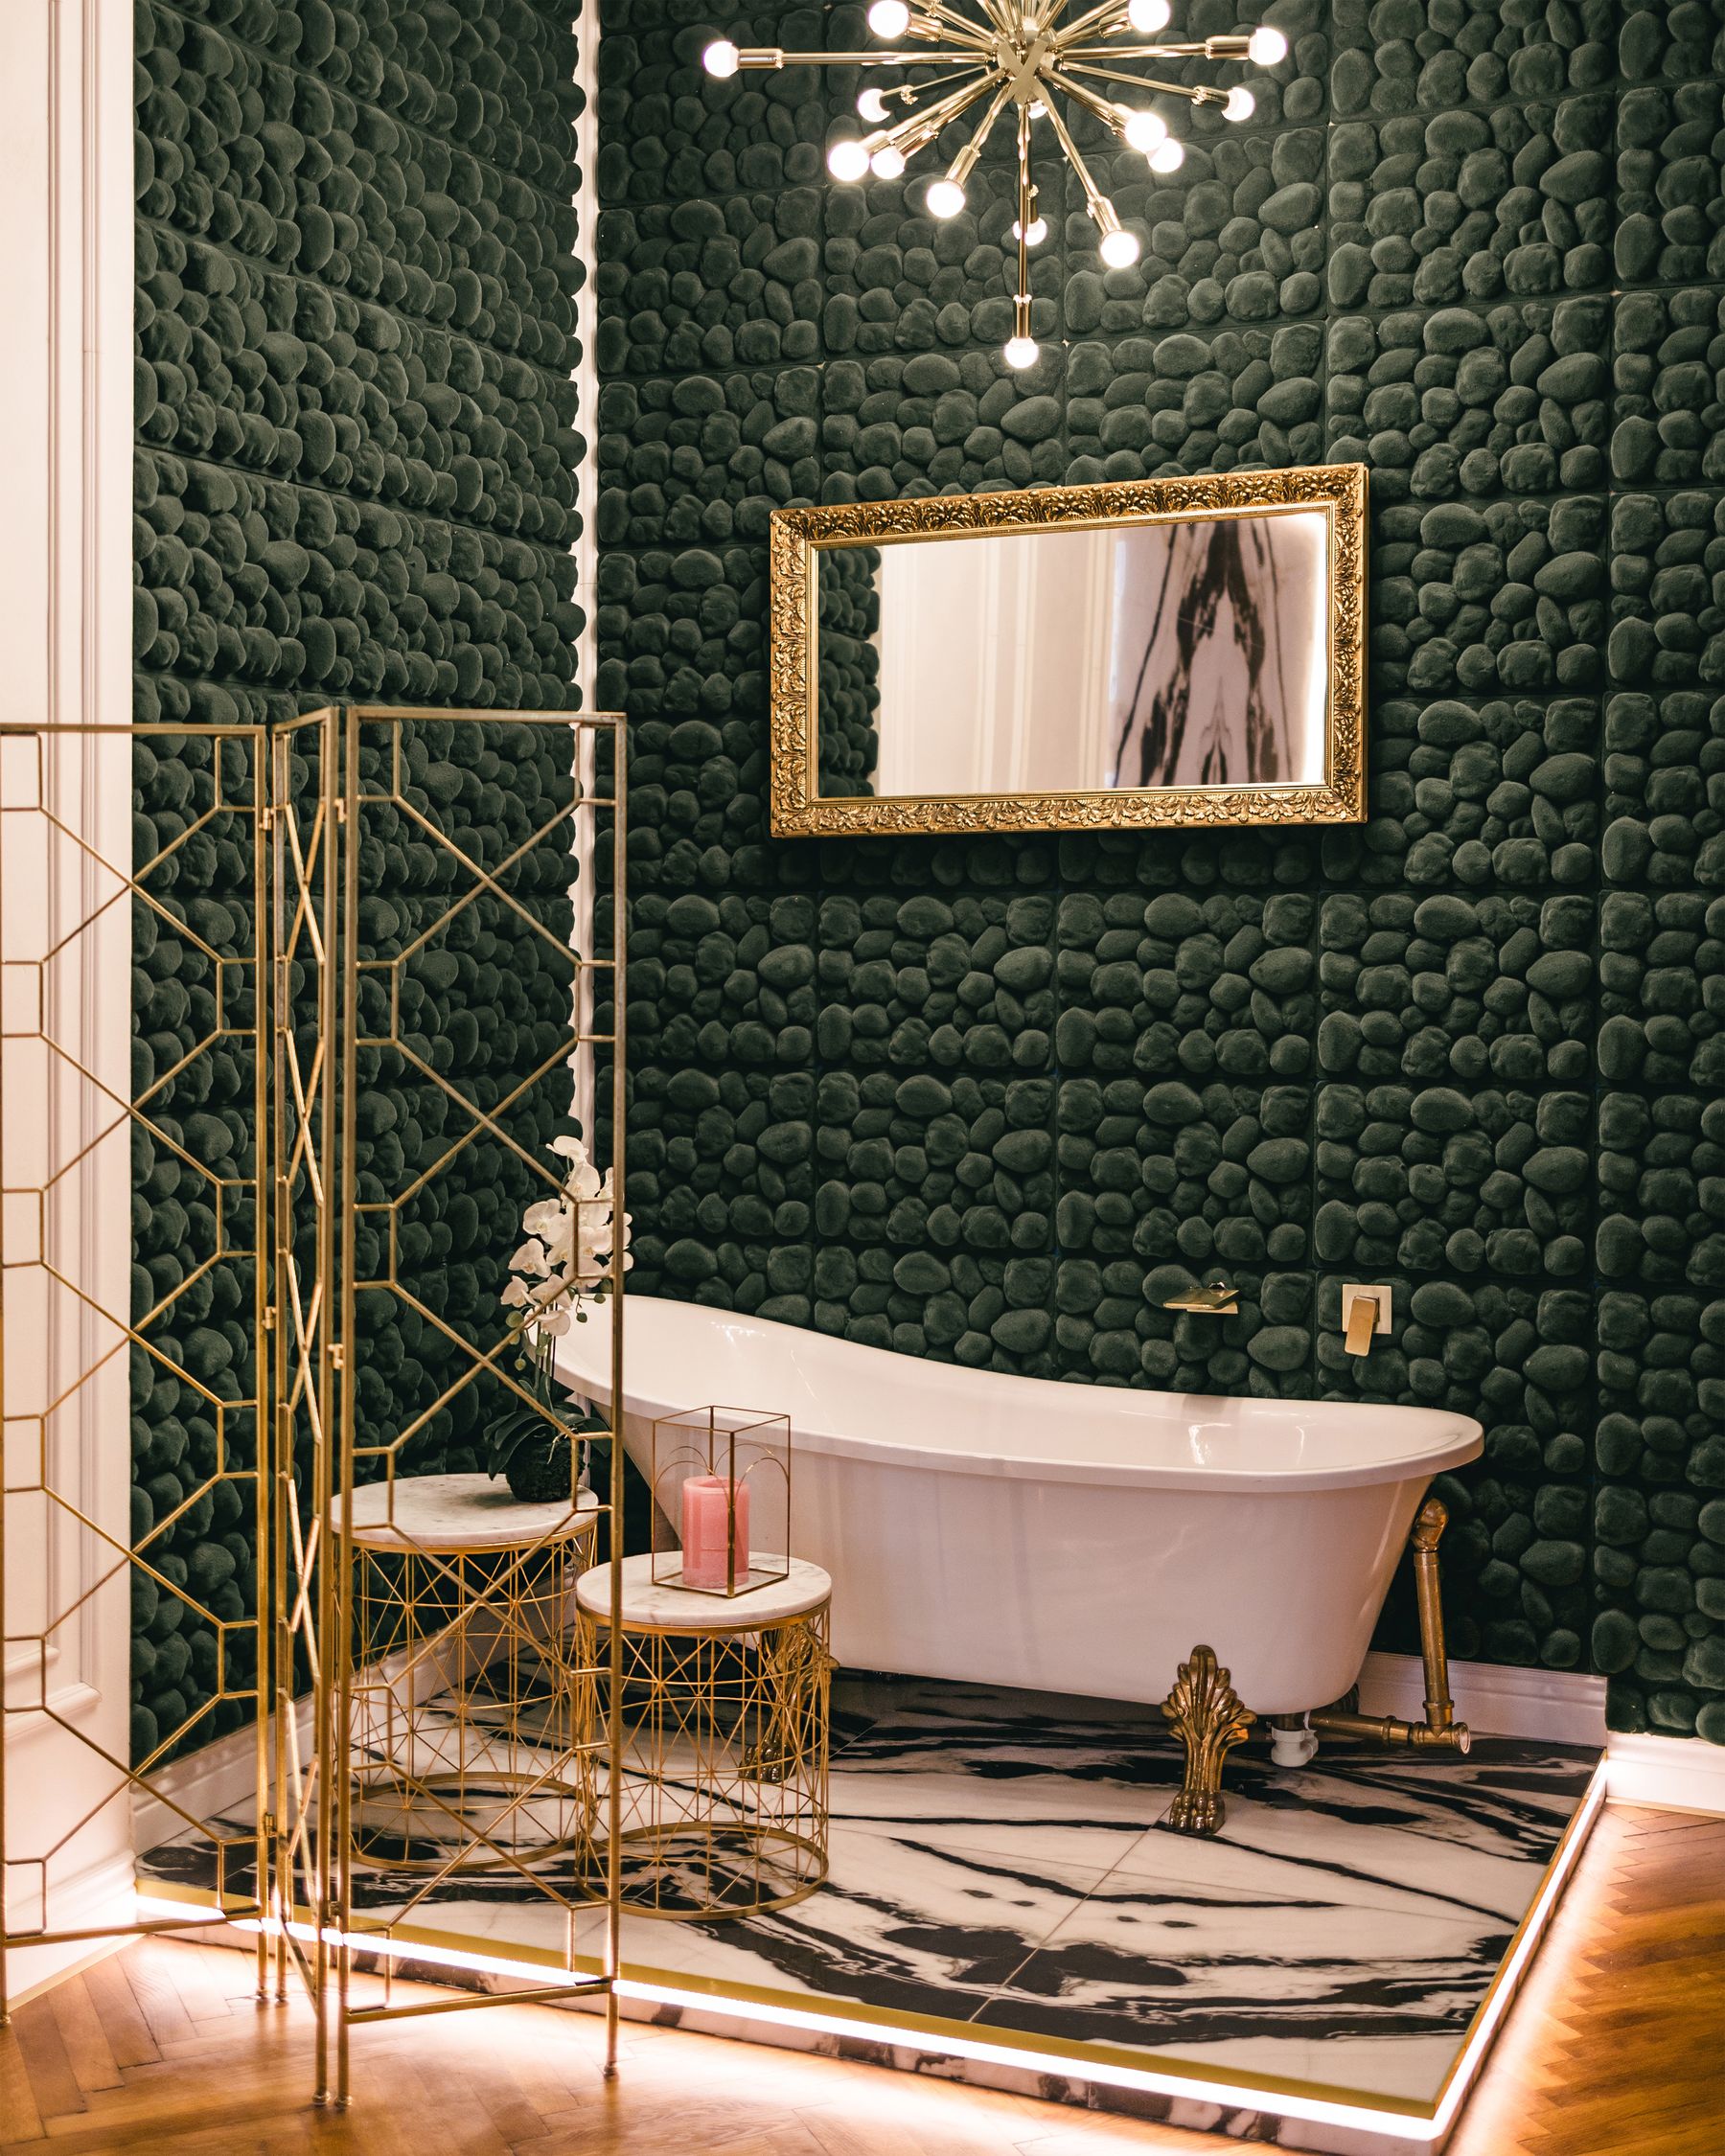
A clawfoot or skirted bath creates an immediate period reference, but it needs enough clearance to clean around and a floor capable of supporting the installed weight. Freestanding plumbing can look elegant yet expose more joints, while a wall-adjacent bath may be easier to use in a compact room. If showering happens in the tub, resolve splash containment, curtain geometry, hand-shower reach and safe entry before treating the bath as sculpture.
Give Patterned Tile One Legible Boundary
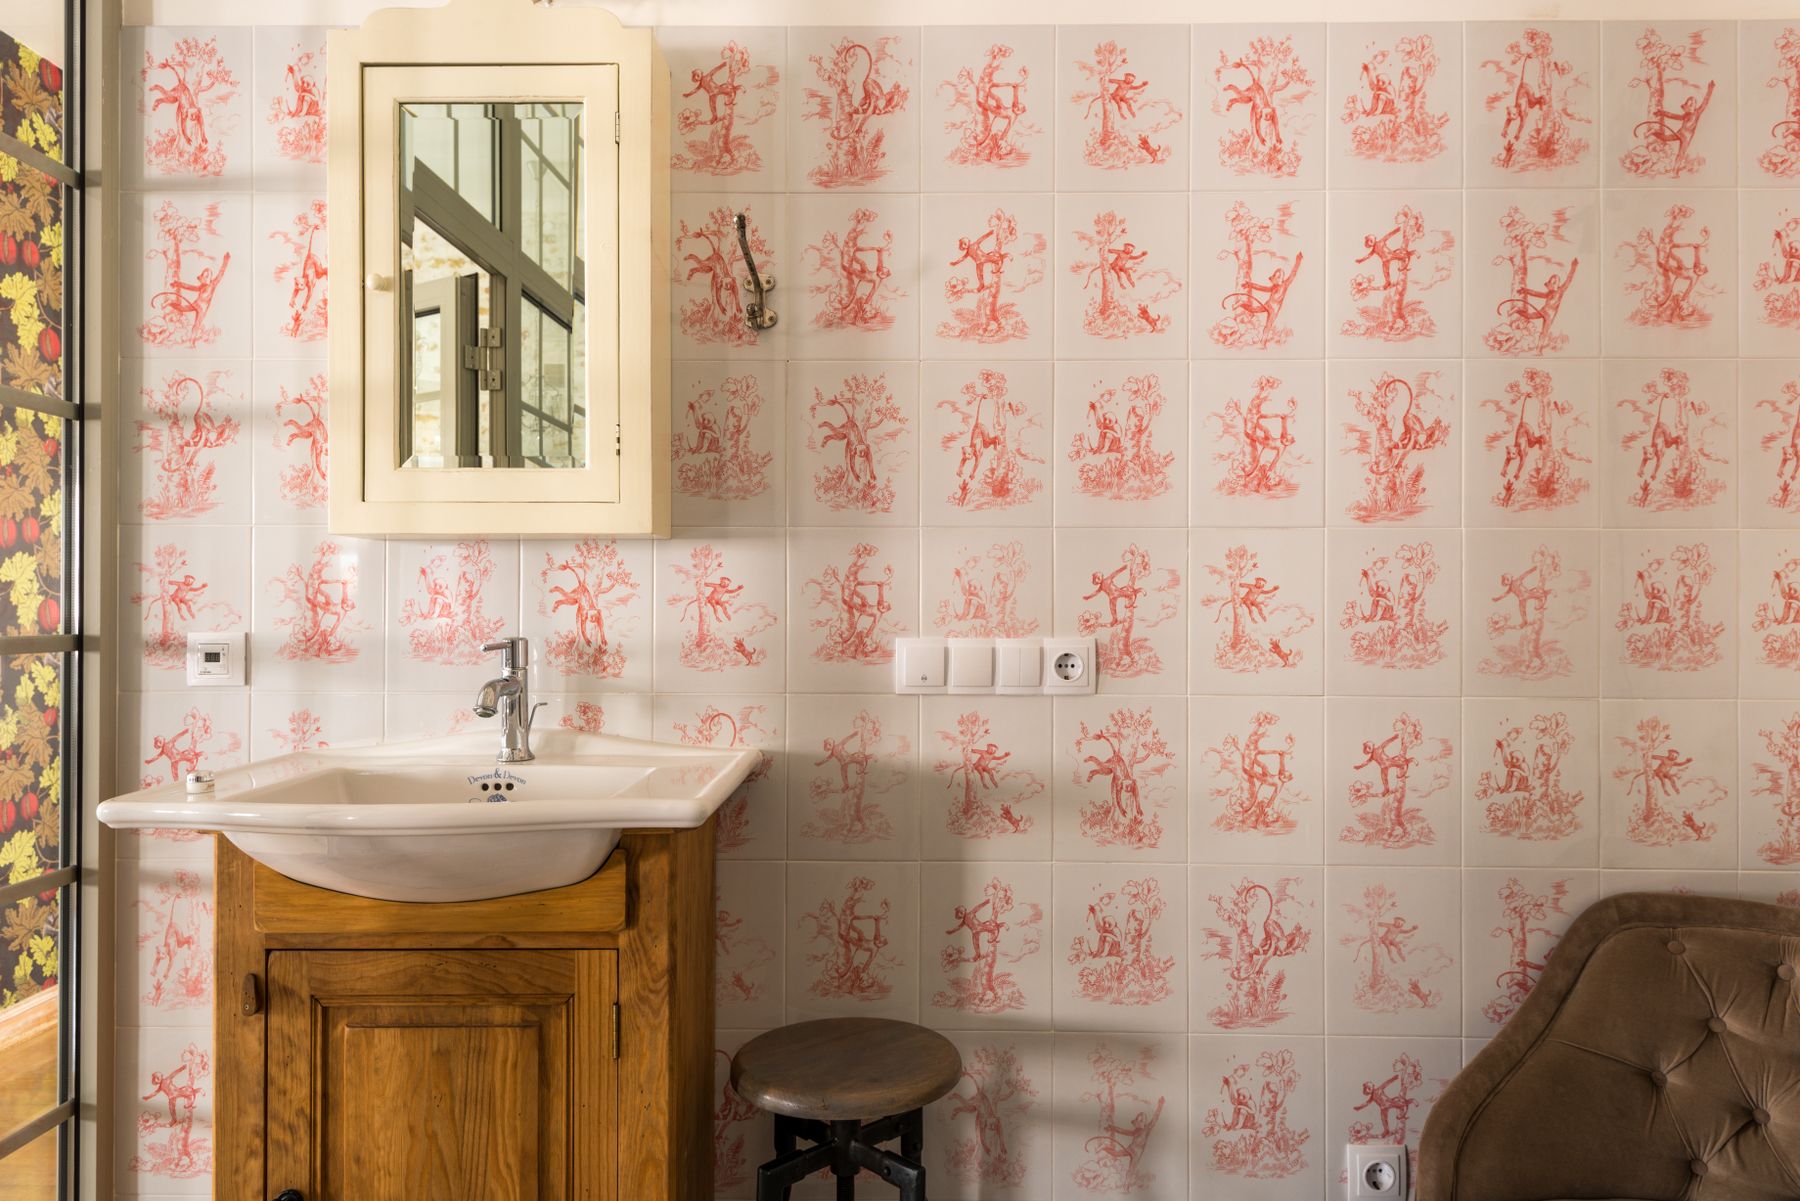
Encaustic-looking motifs, floral patterns and decorative borders feel collected when they occupy a clear plane: the floor, a vanity backsplash or one dry-zone wall. Continuing several unrelated patterns across every surface weakens both the architecture and the vintage reference. Plan full-tile sightlines at the doorway and basin, and remember that intricate layouts create more grout to clean. In wet areas, suitability, slip resistance and installation matter more than whether the motif looks old.
Use a Quiet Tile Grid to Frame Older Forms
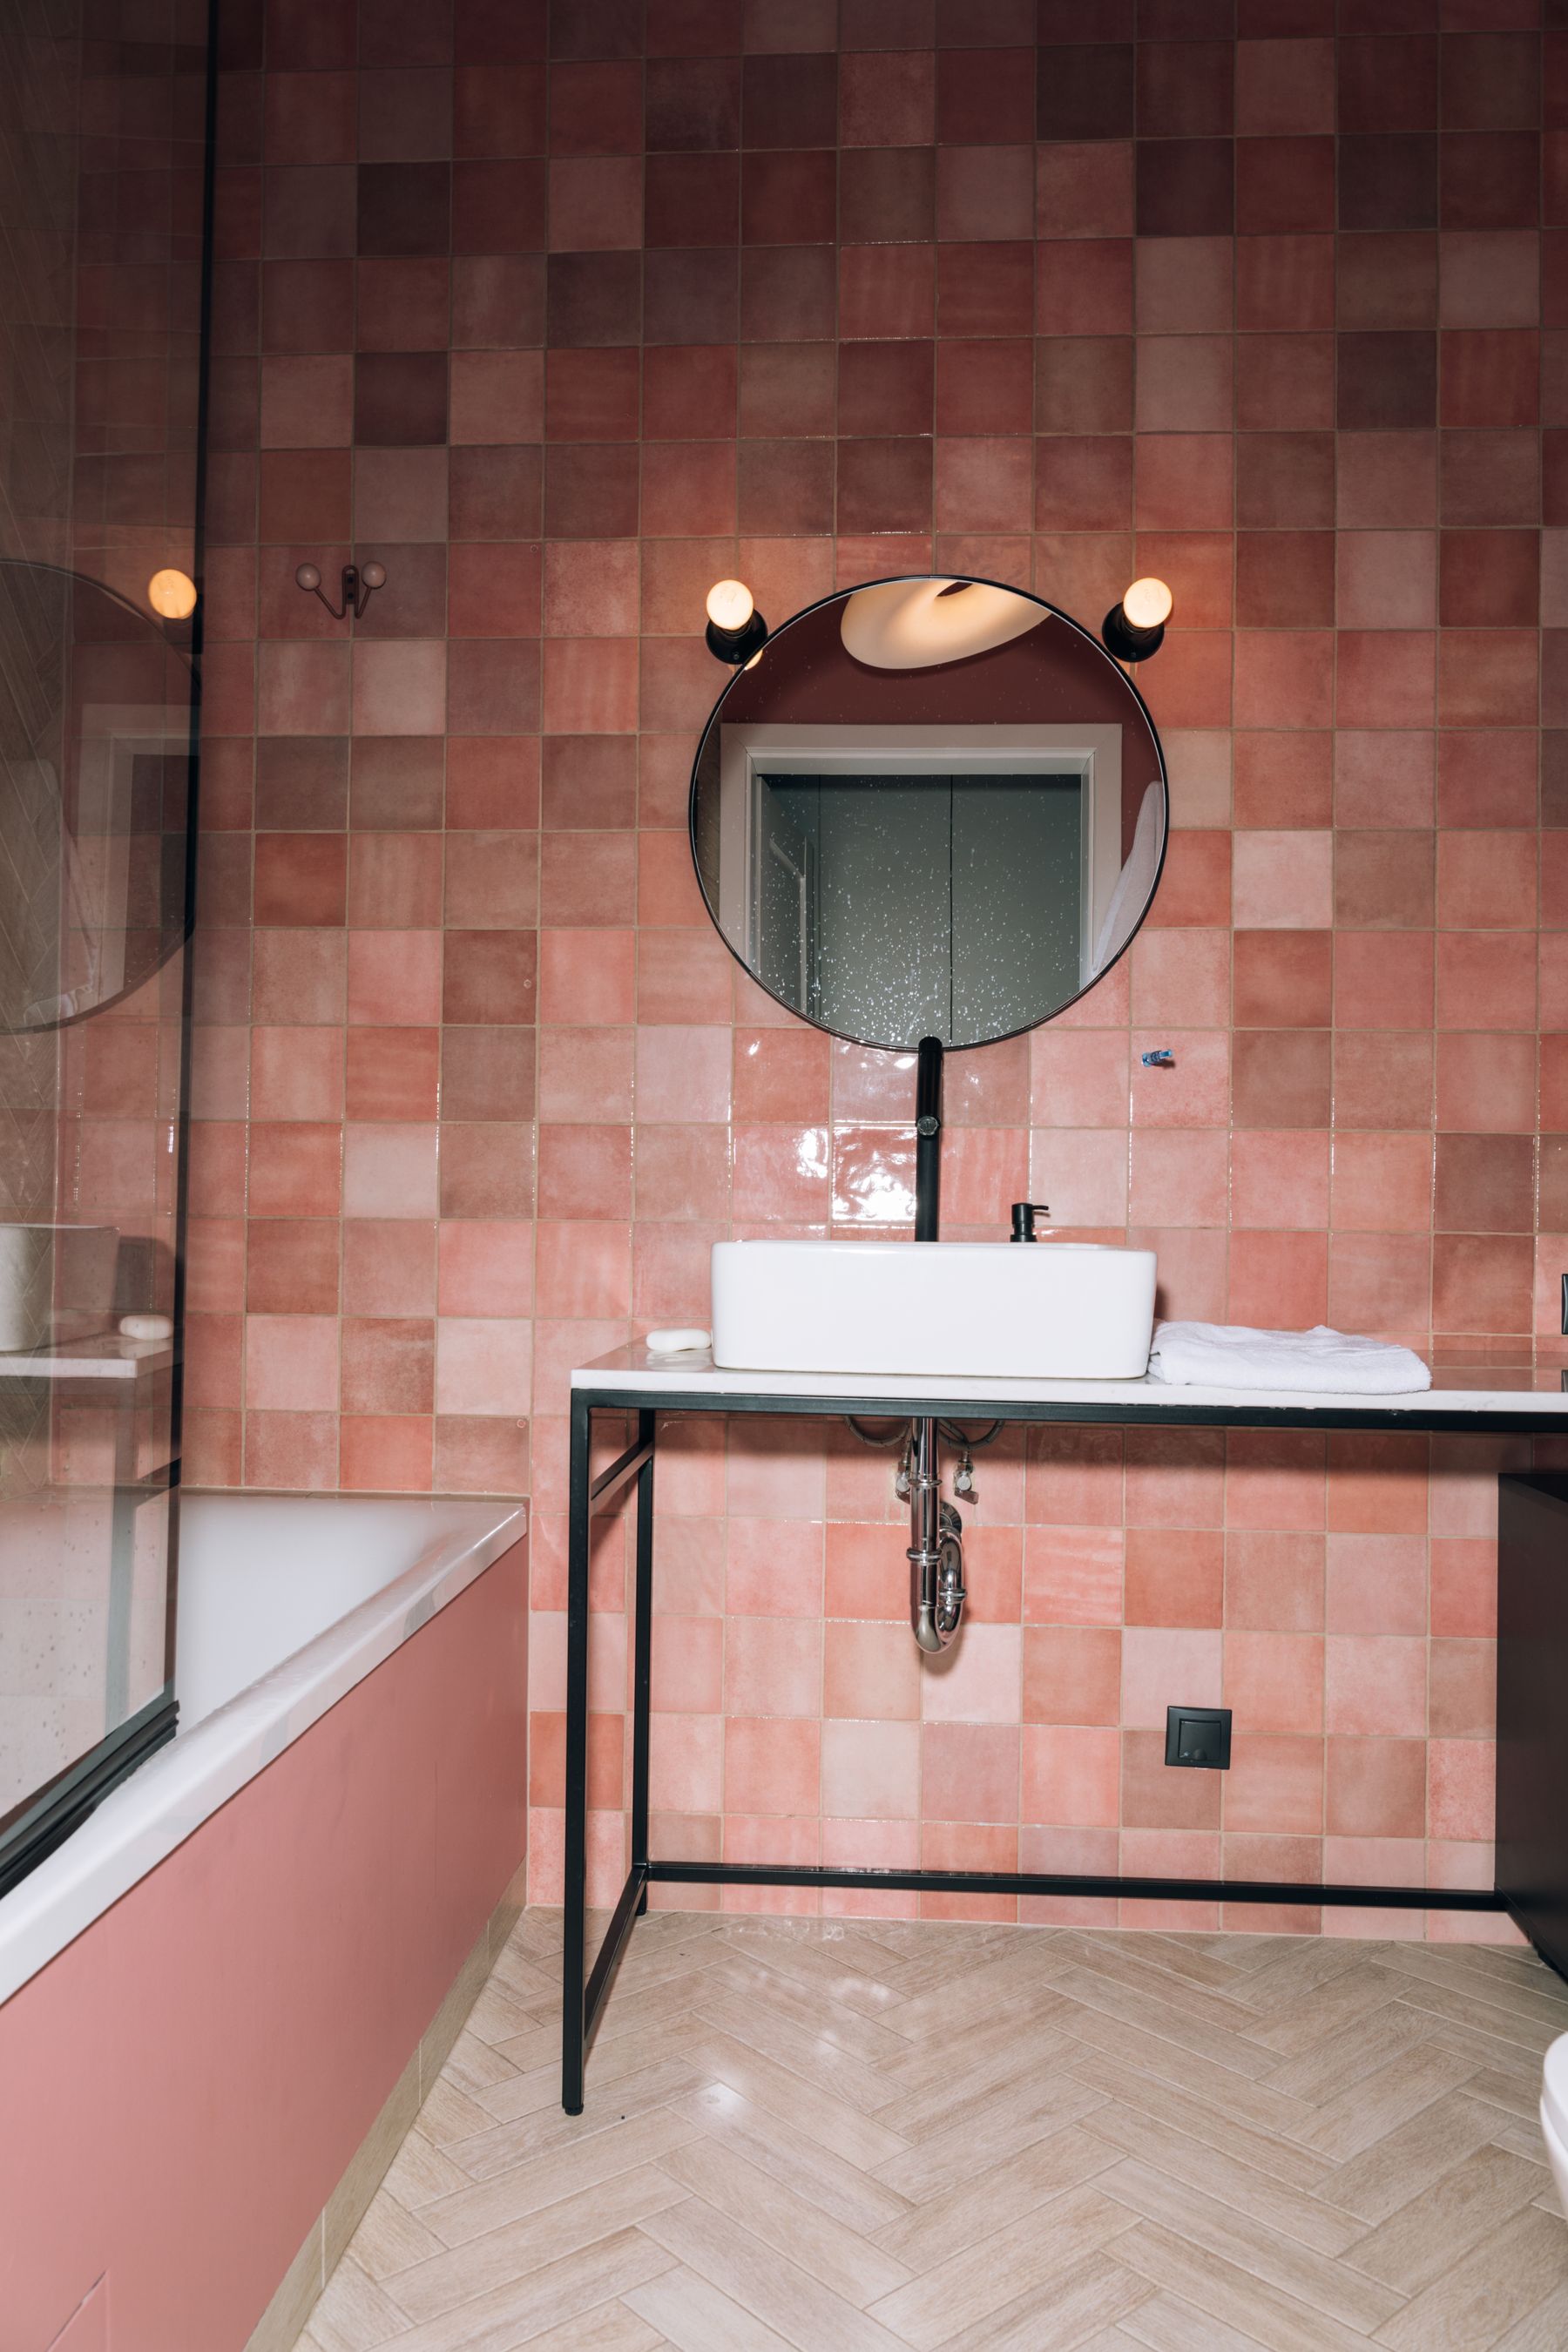
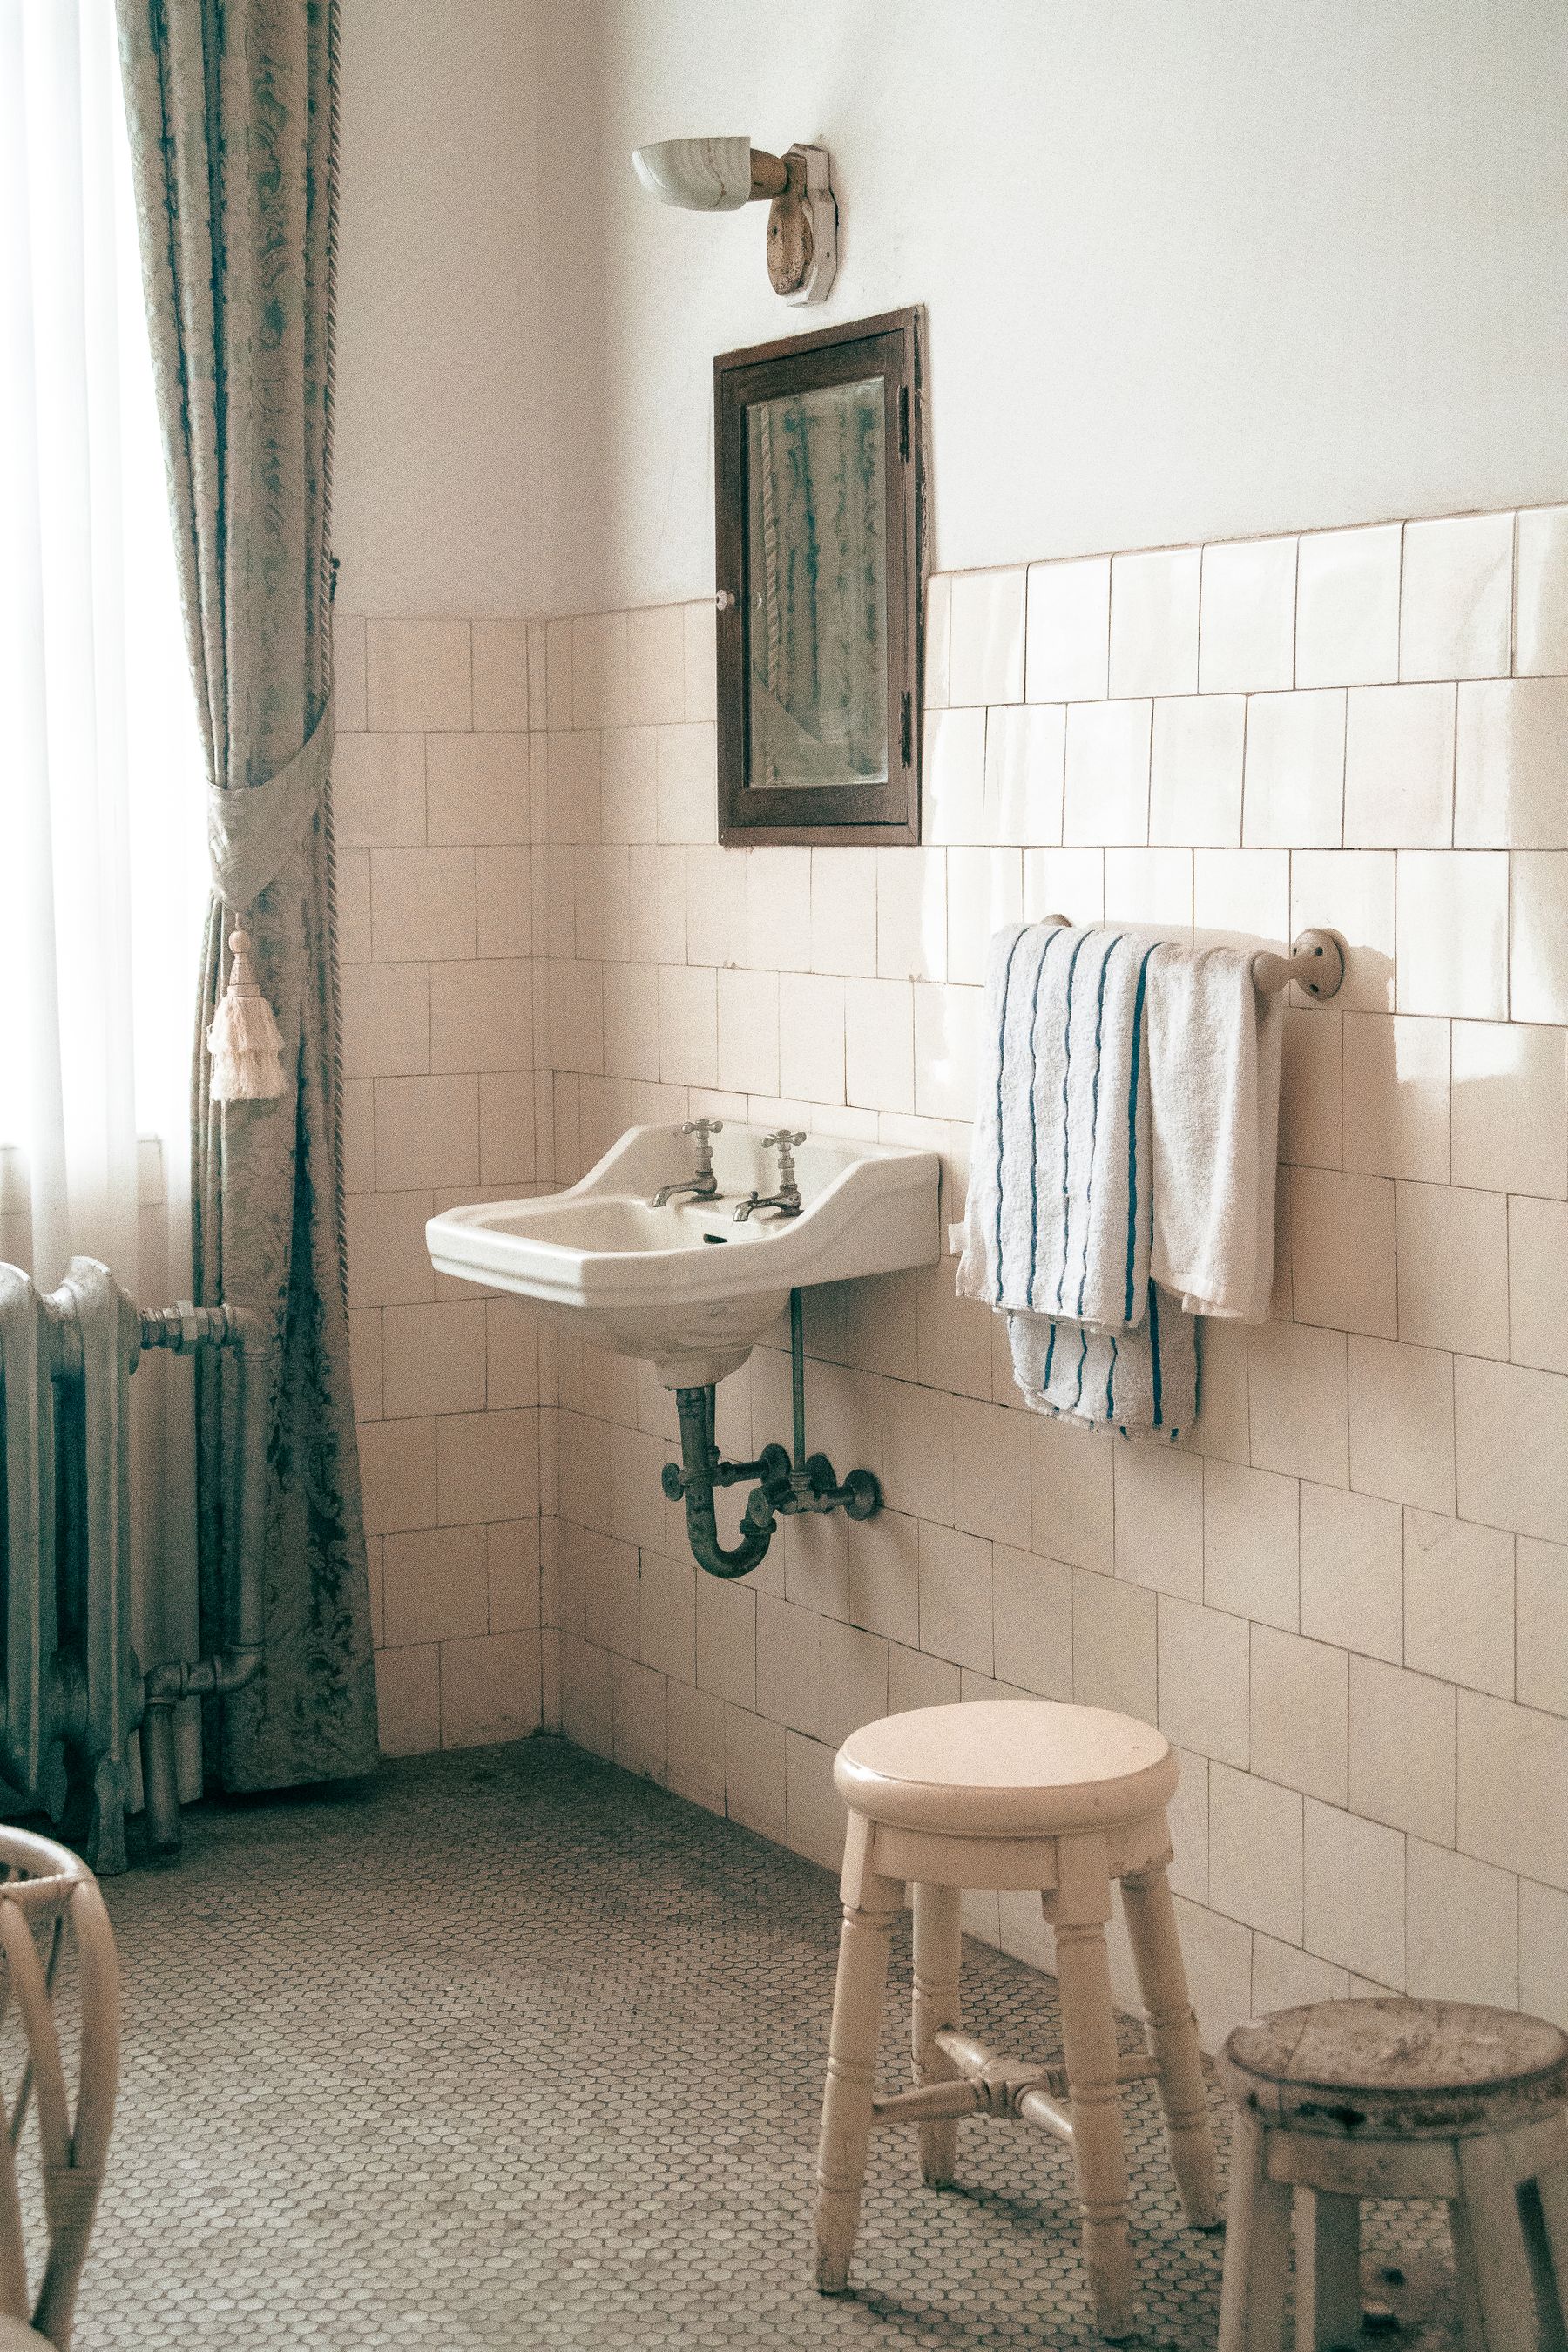
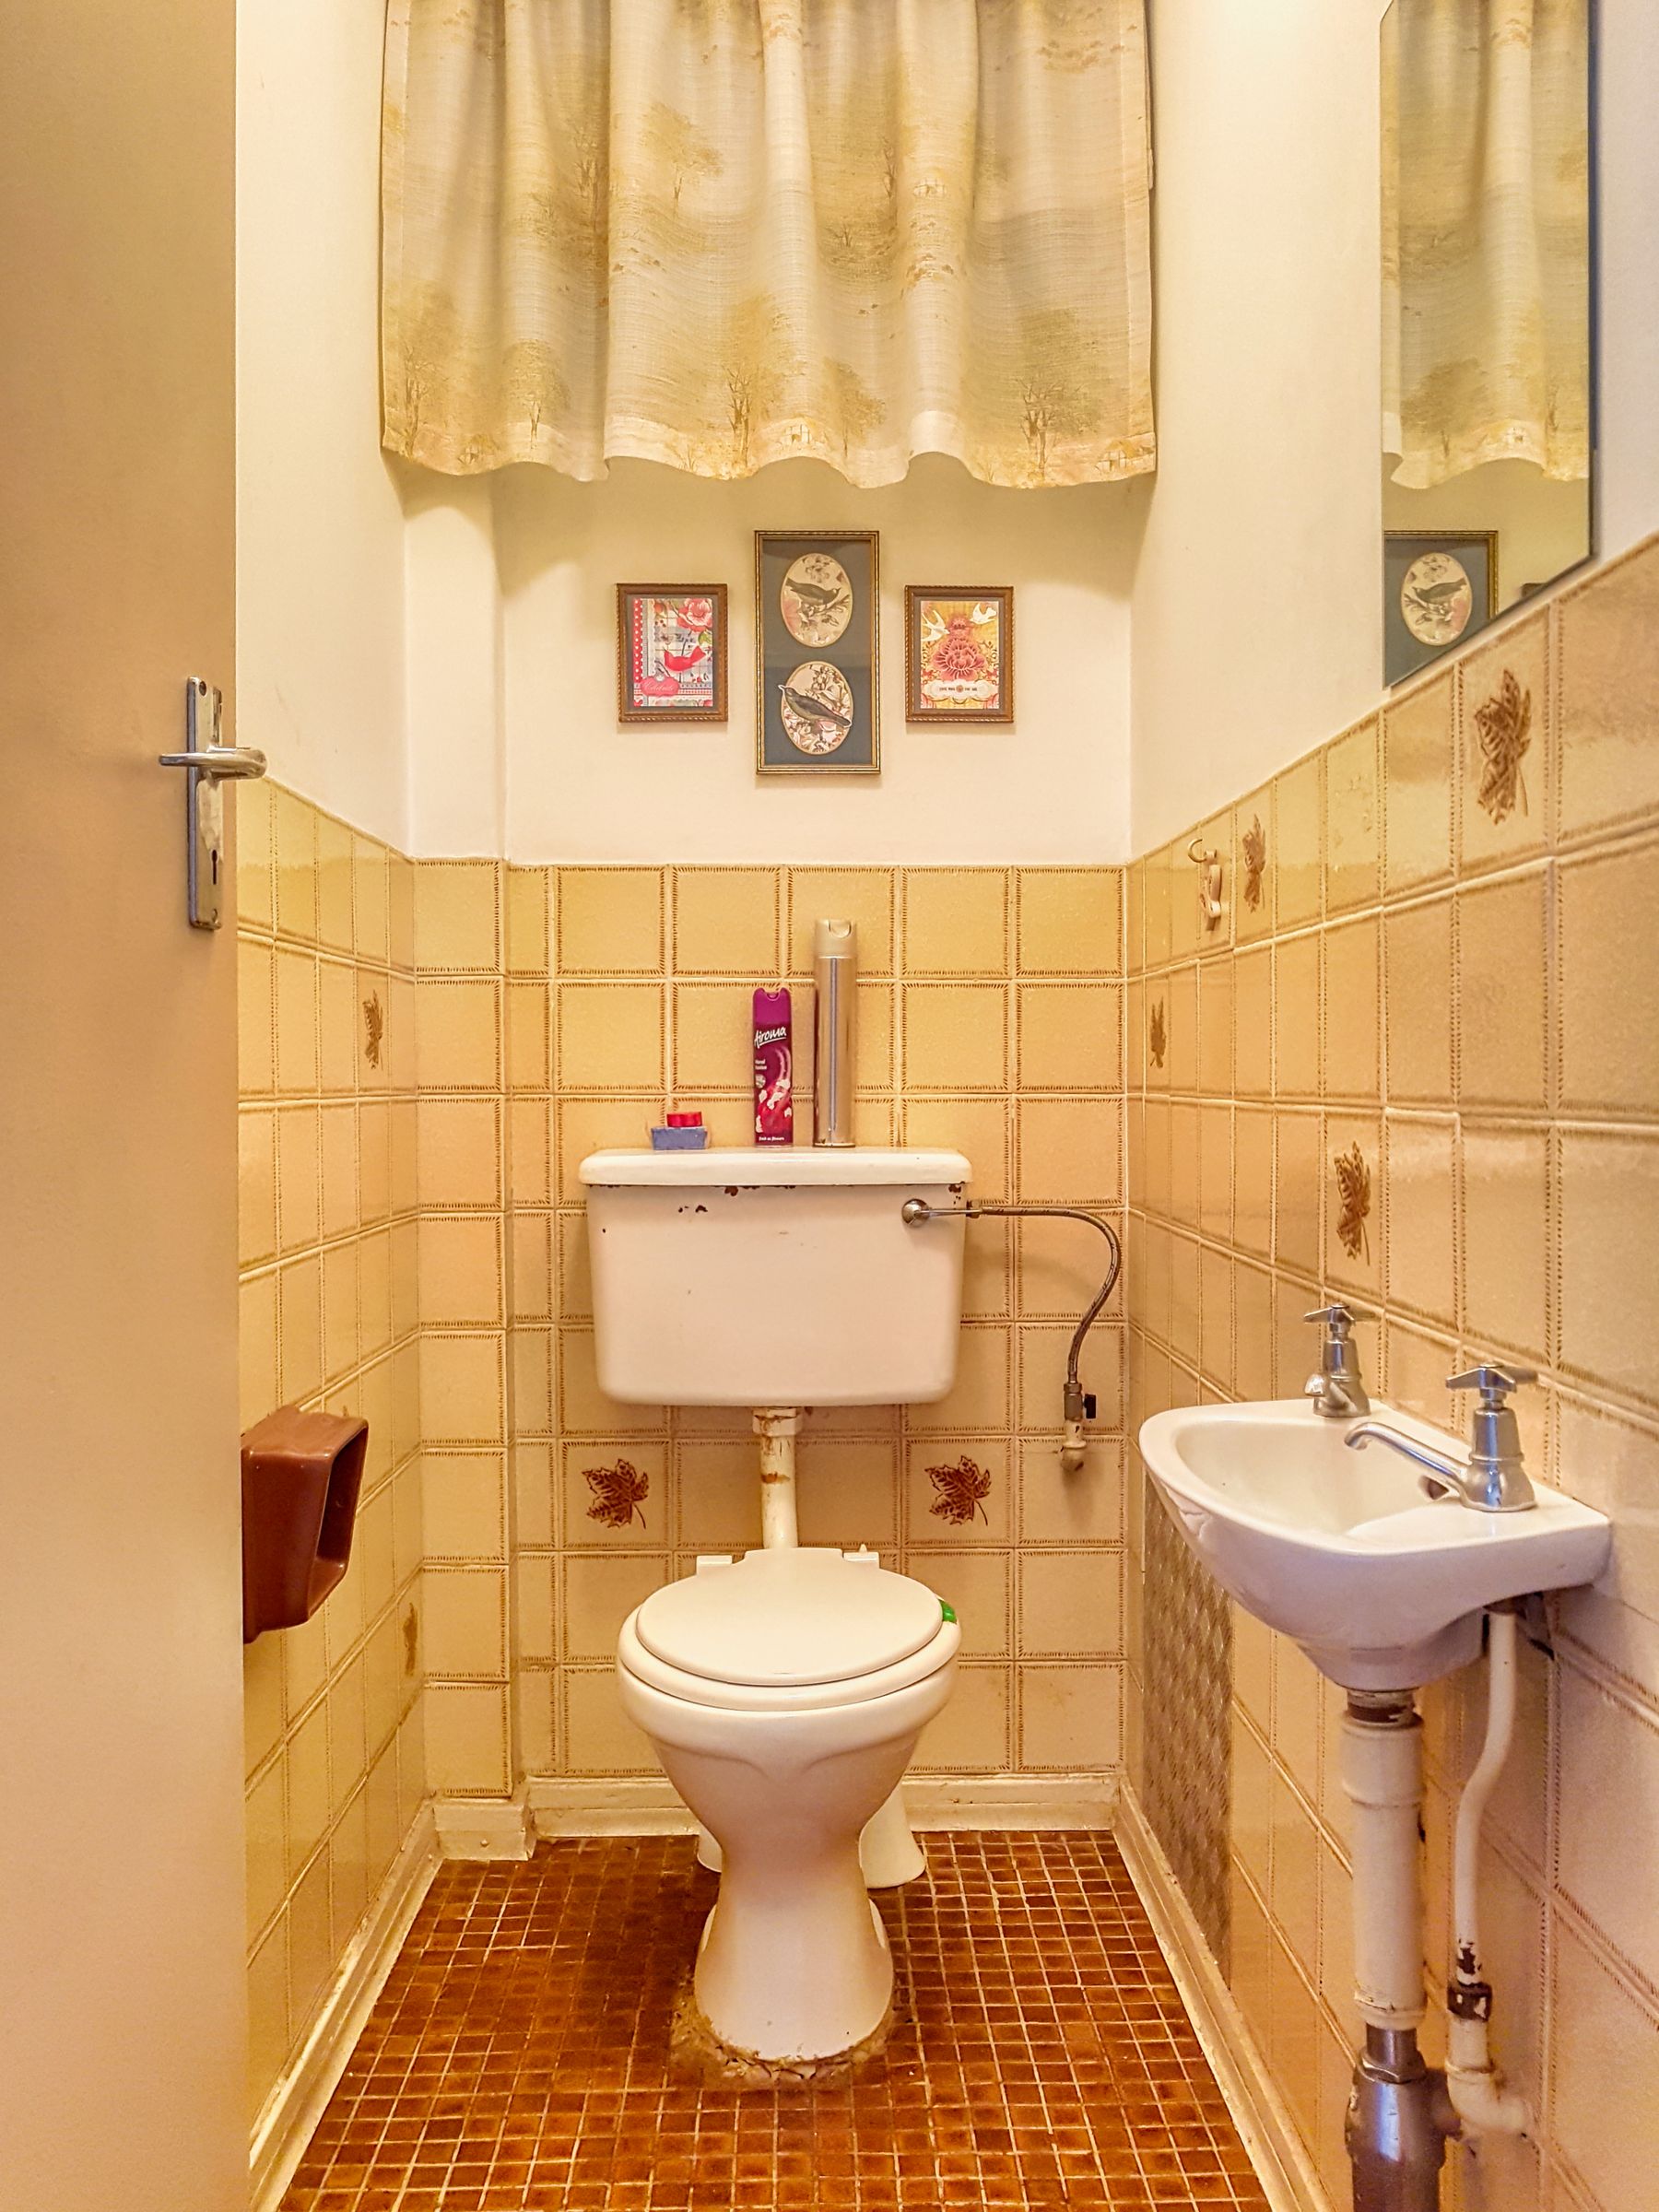
Plain square, subway or small-format tile can feel period-compatible without competing with a decorative sink or bath. The grid itself becomes part of the design, so align it deliberately with niches, ledges and fixture centerlines. Matching grout softens the field; contrasting grout makes the geometry graphic and also makes uneven joints more visible. A simple tile is often the best choice when the sanitaryware already has color or ornament.
Turn a Furniture-Style Vanity Into Useful Storage
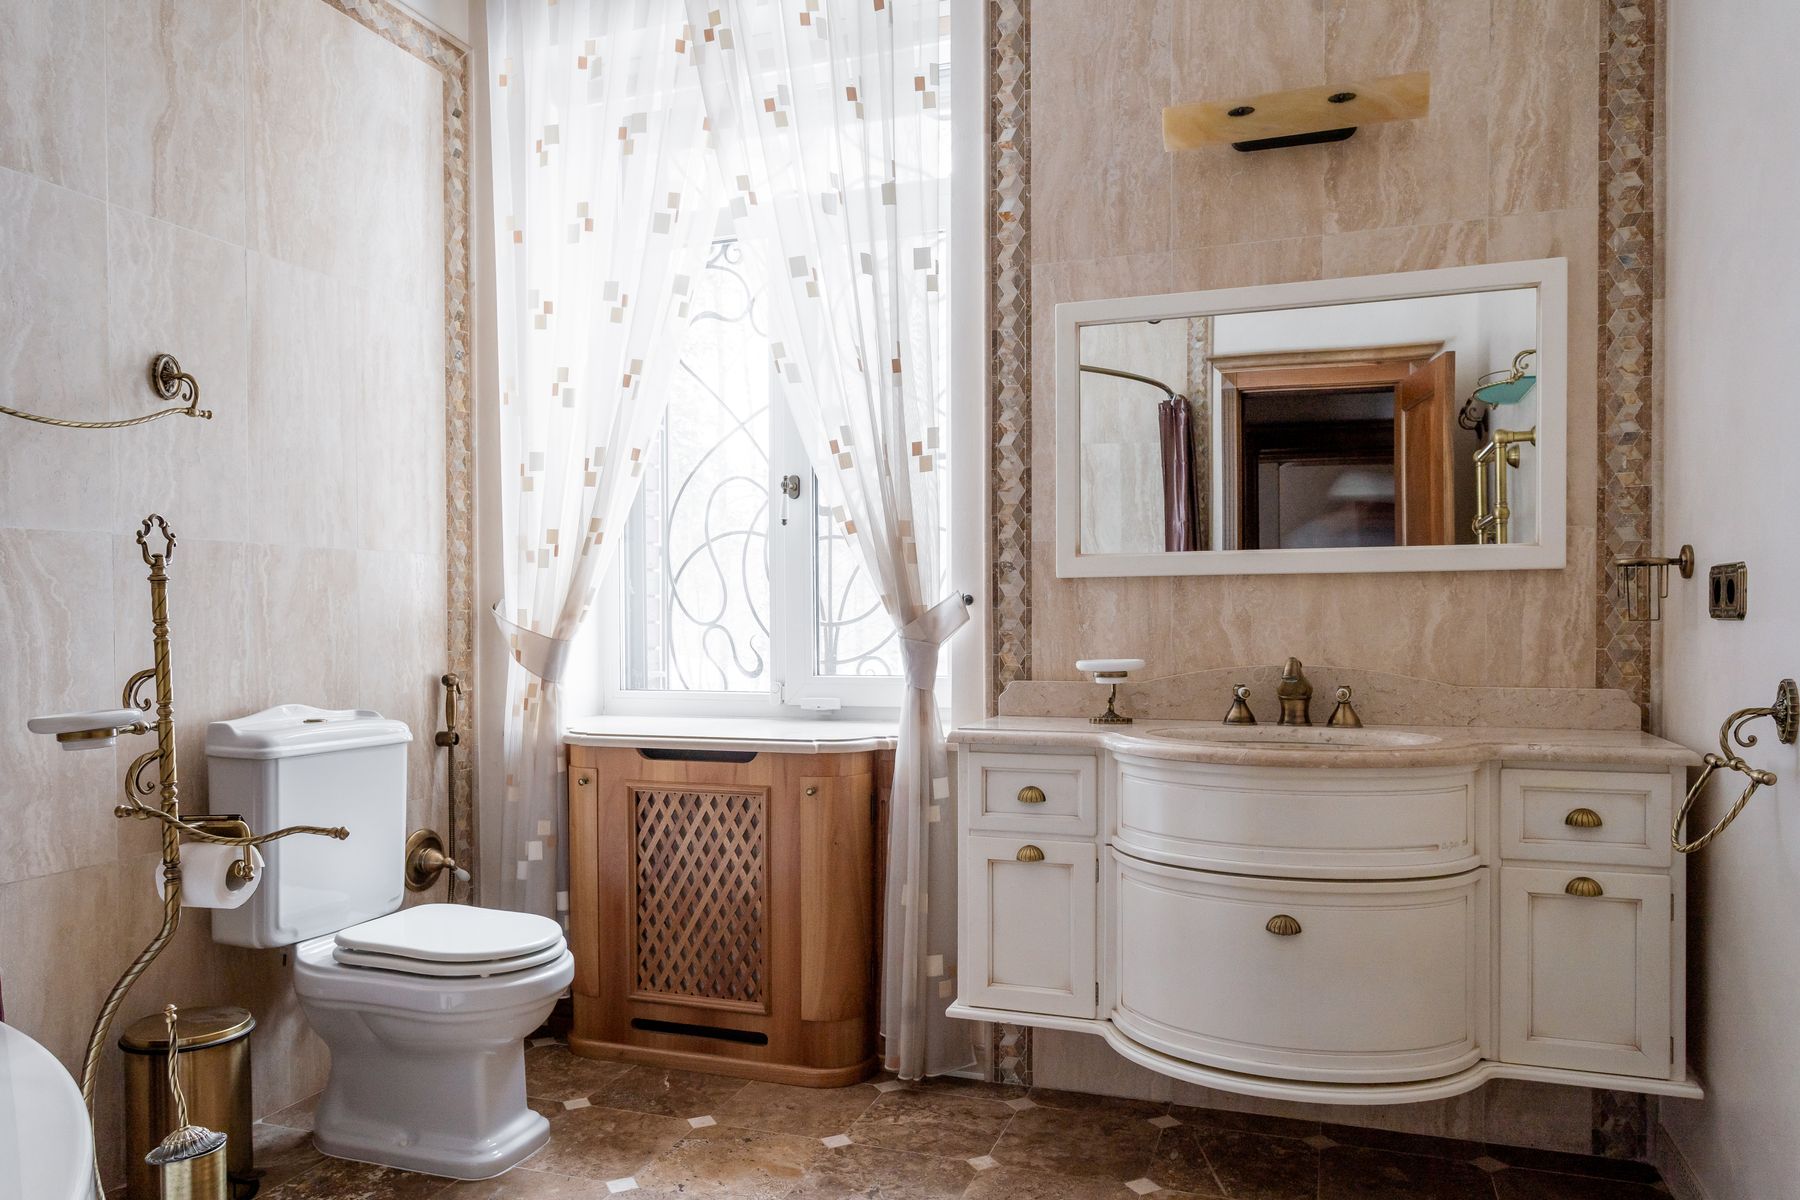
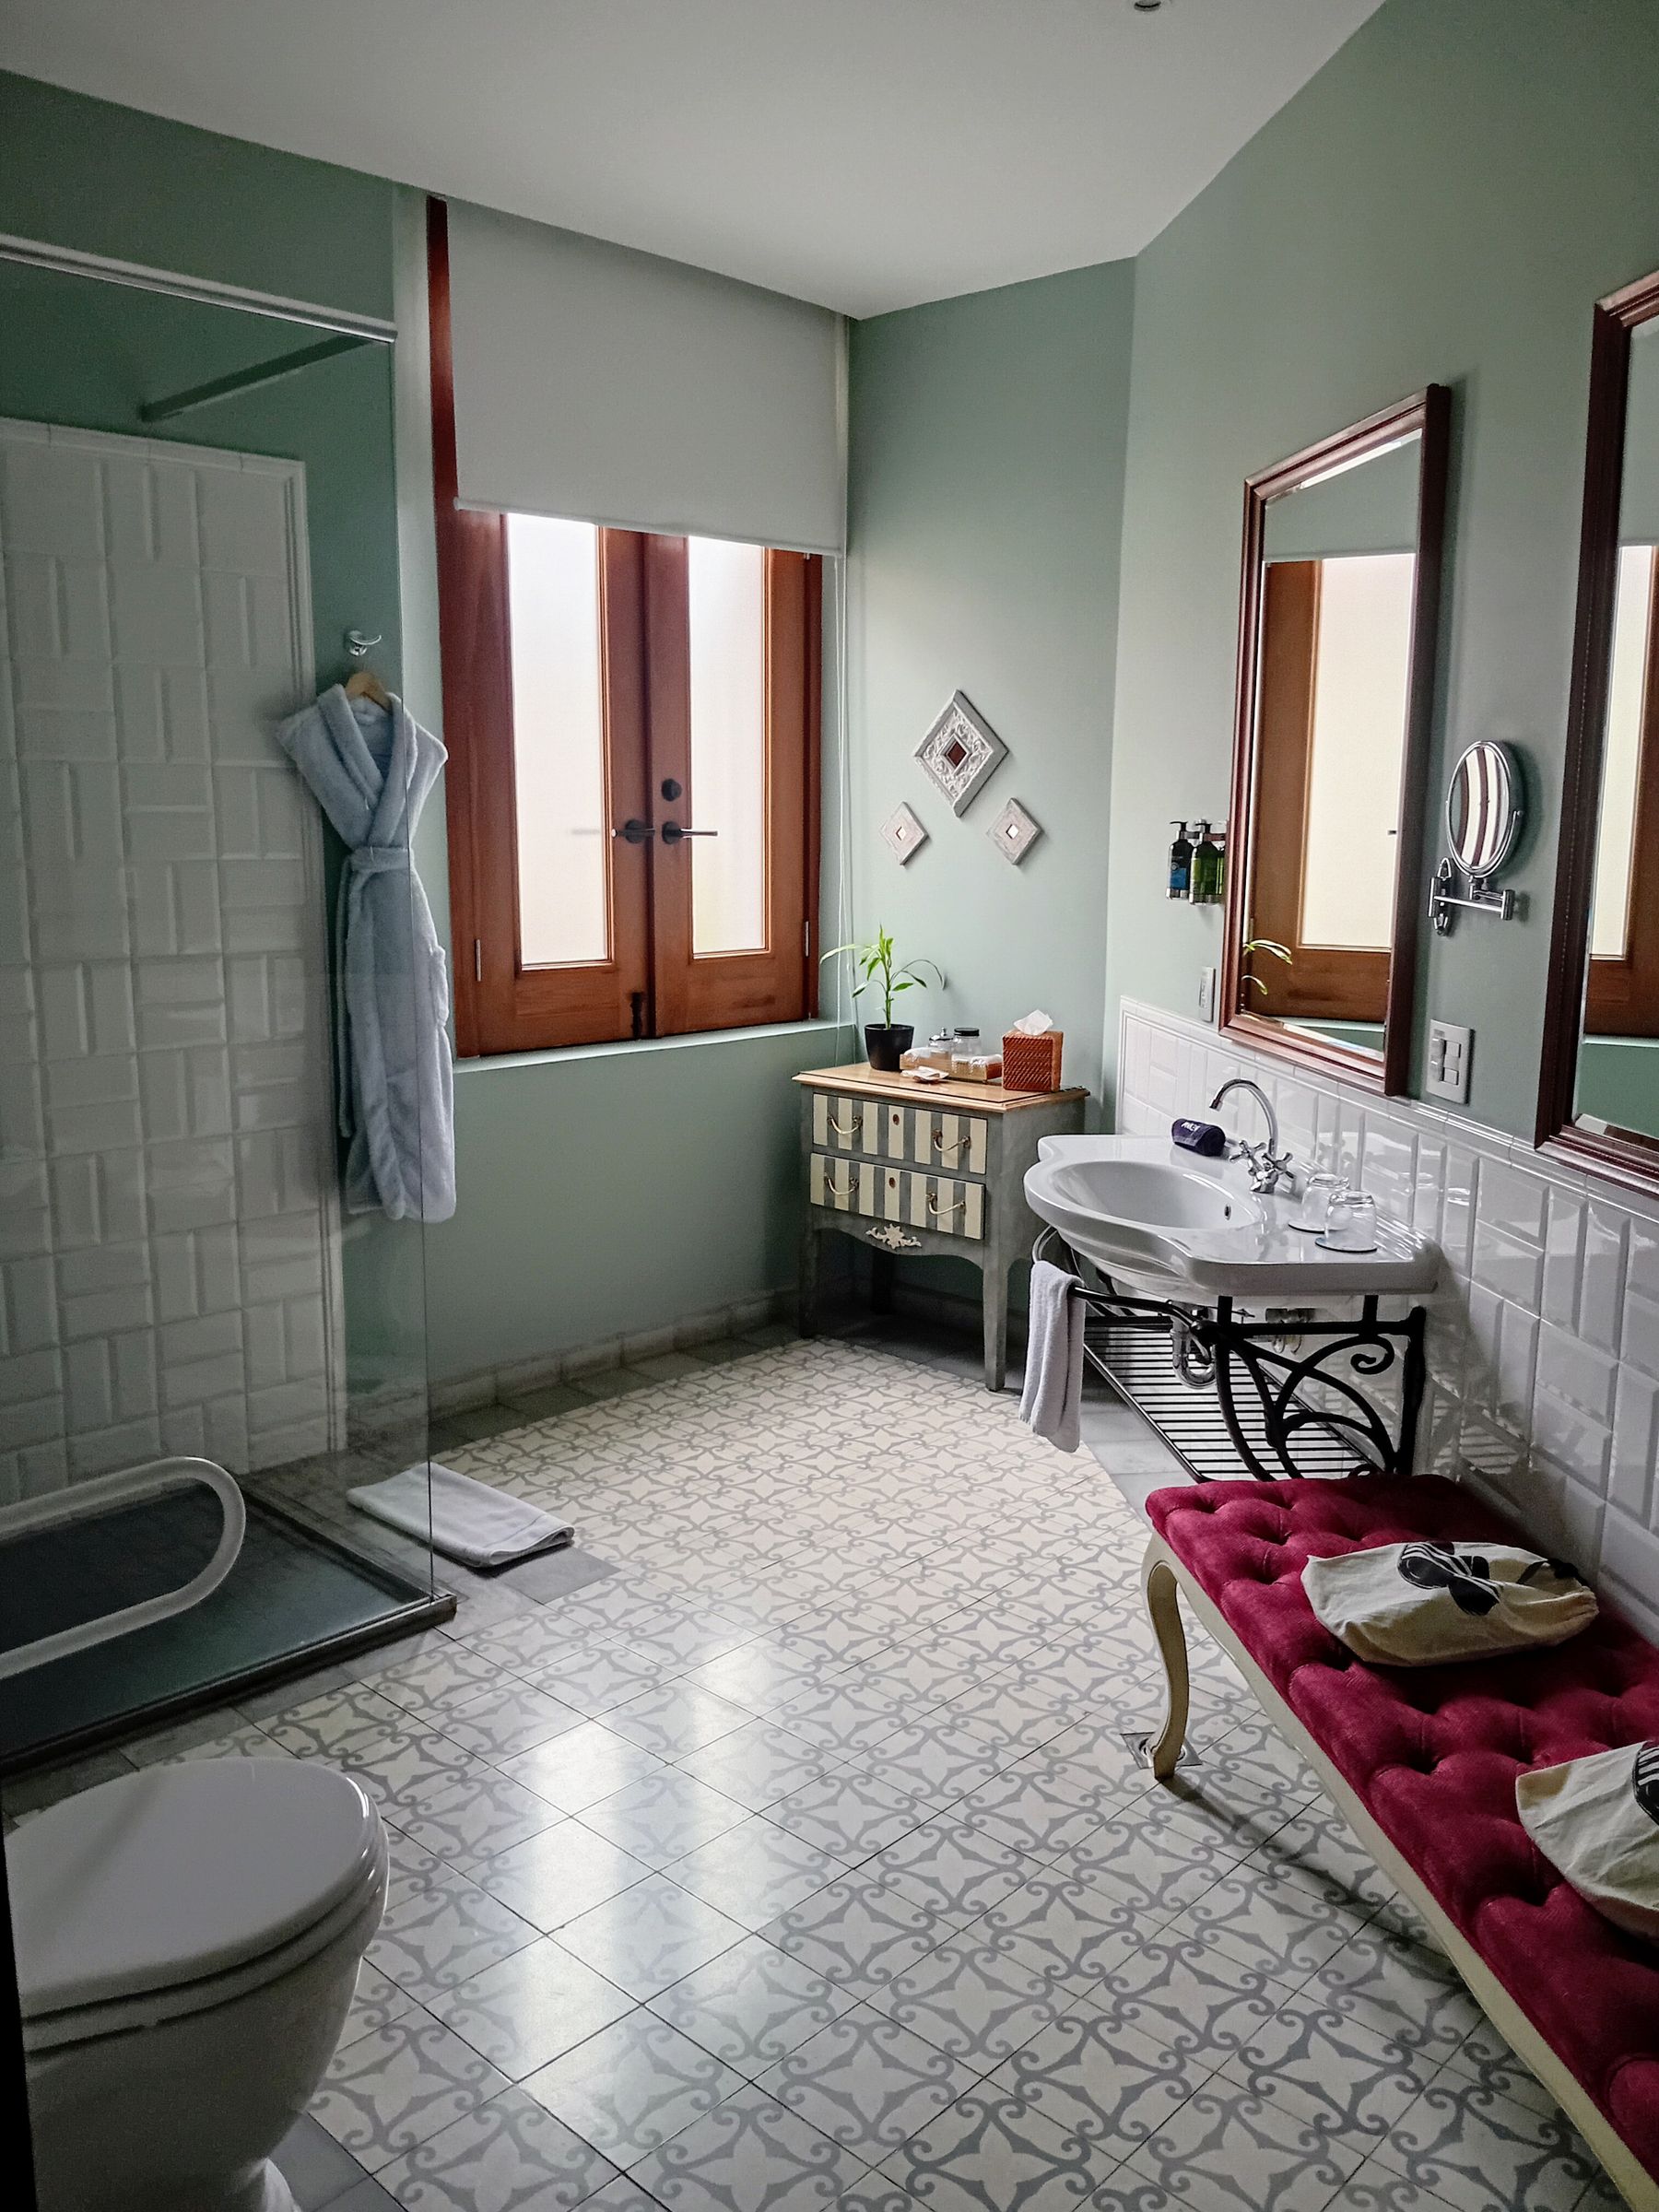
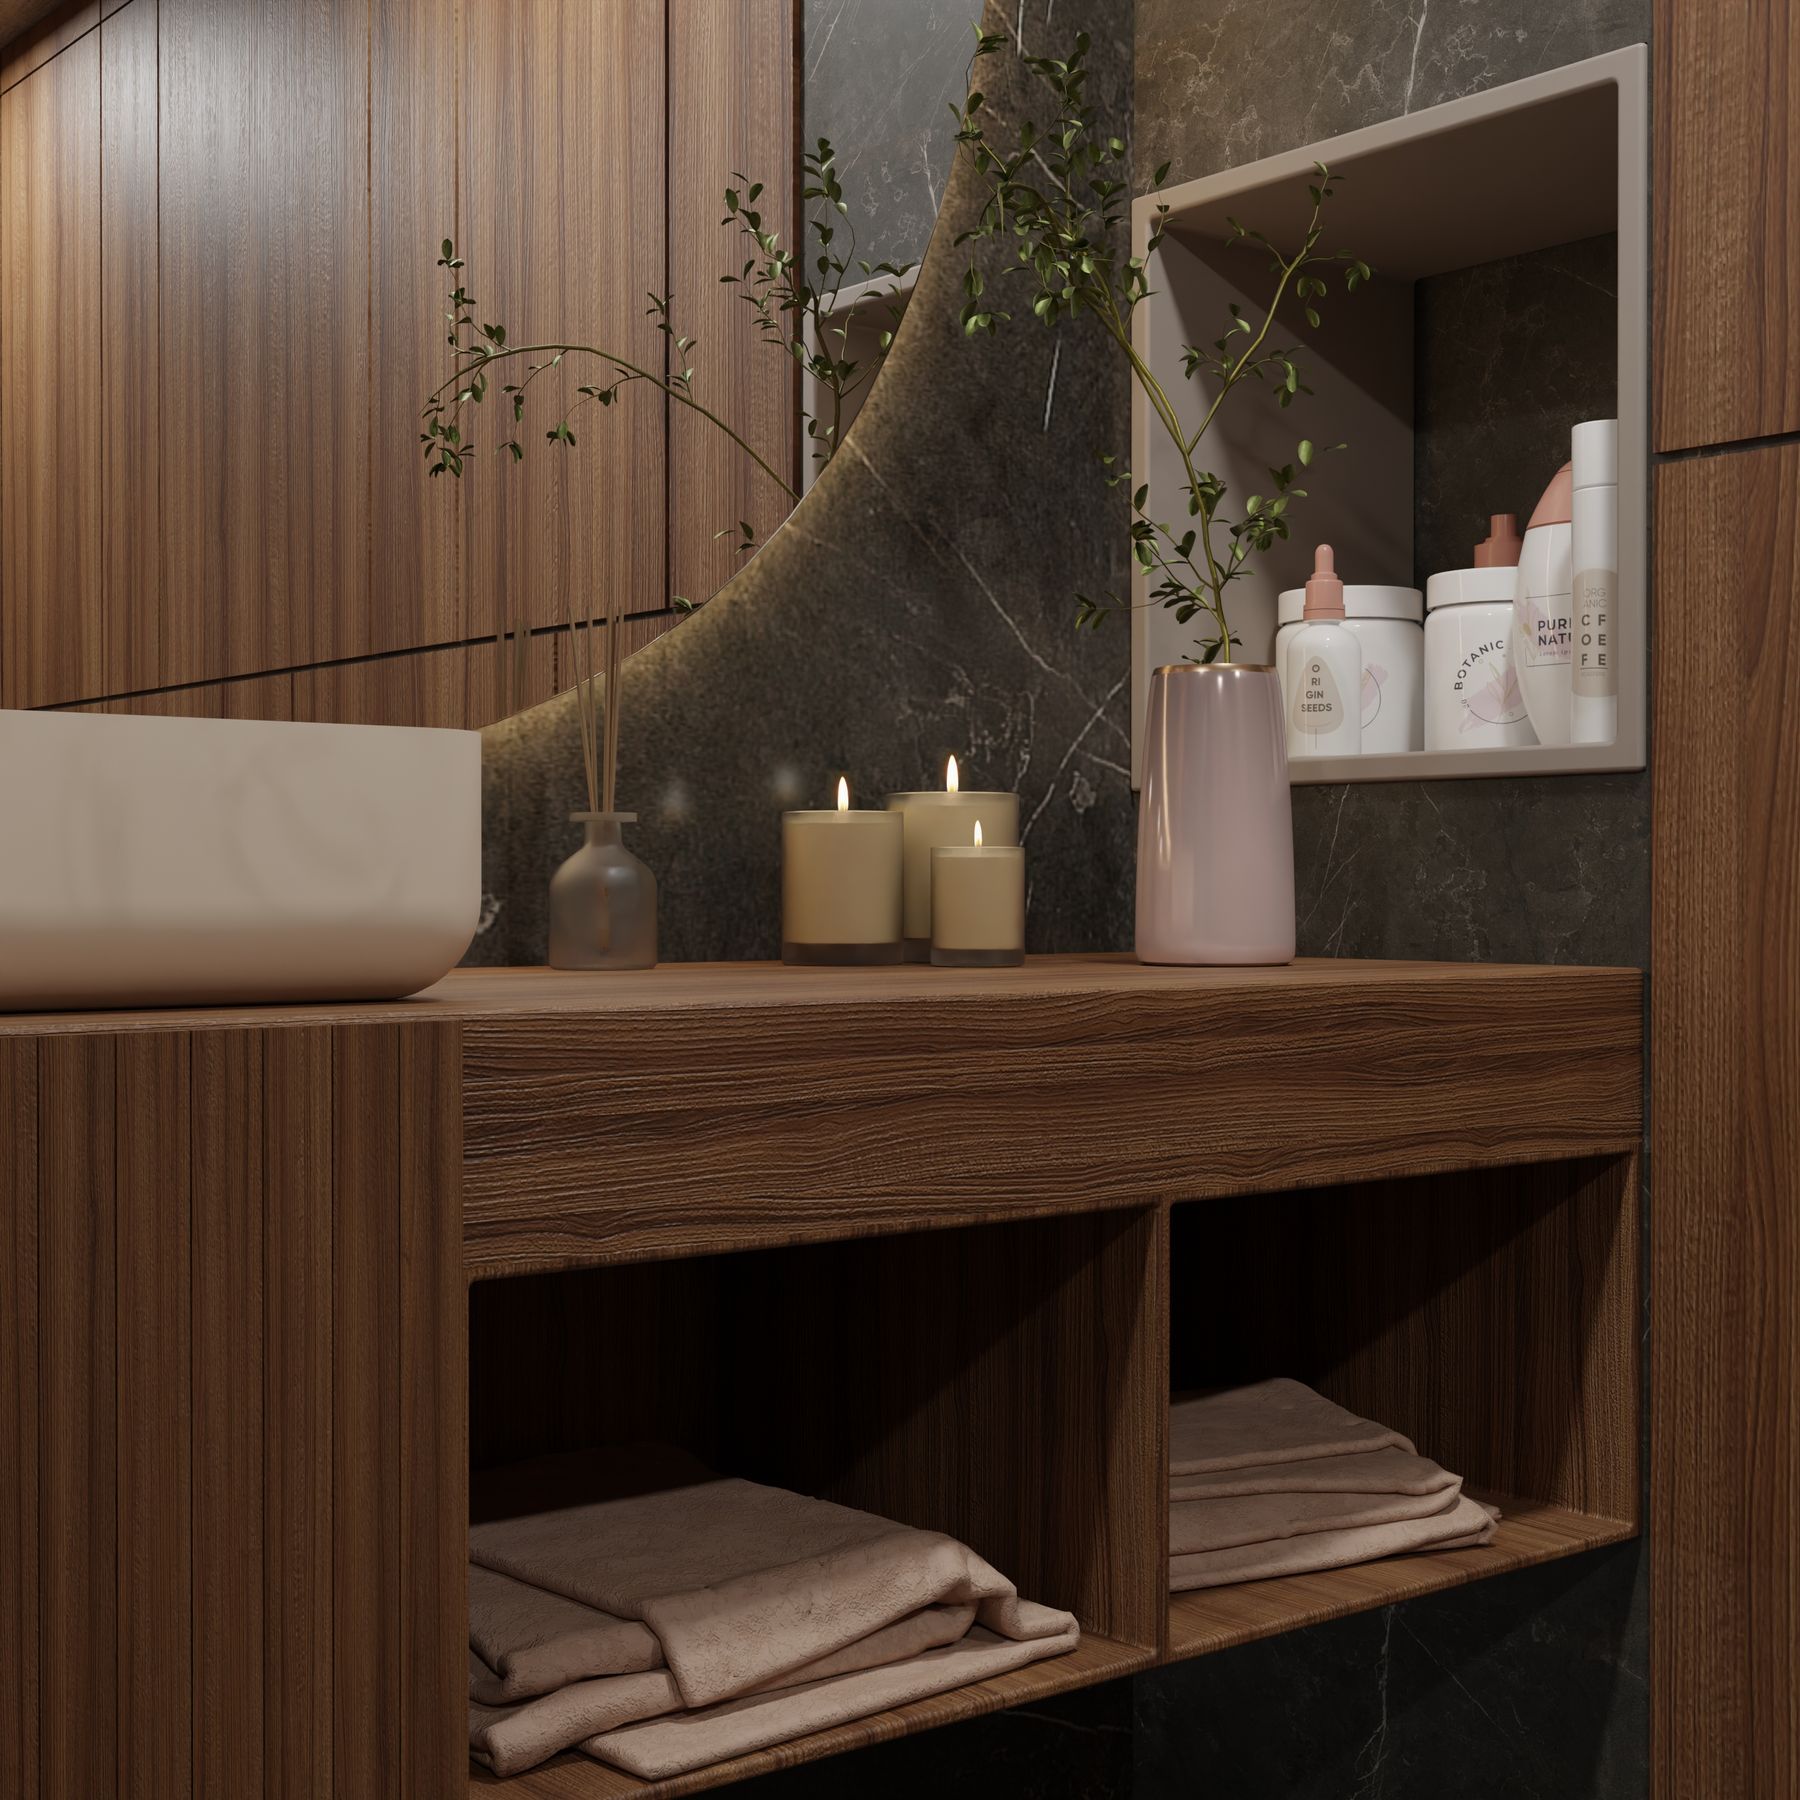
A timber vanity makes a vintage bathroom feel furnished rather than fitted, but it must survive splashes and conceal the plumbing without wasting all of its interior. A purpose-built cabinet with furniture proportions is usually easier to seal and organize than an improvised antique conversion. If an actual chest or table is adapted, confirm the top, cut edges, drawers and wall fixing can tolerate bathroom use. Keep everyday items behind doors or in drawers so the room reads as collected rather than cluttered.
Let the Mirror Carry the Ornament
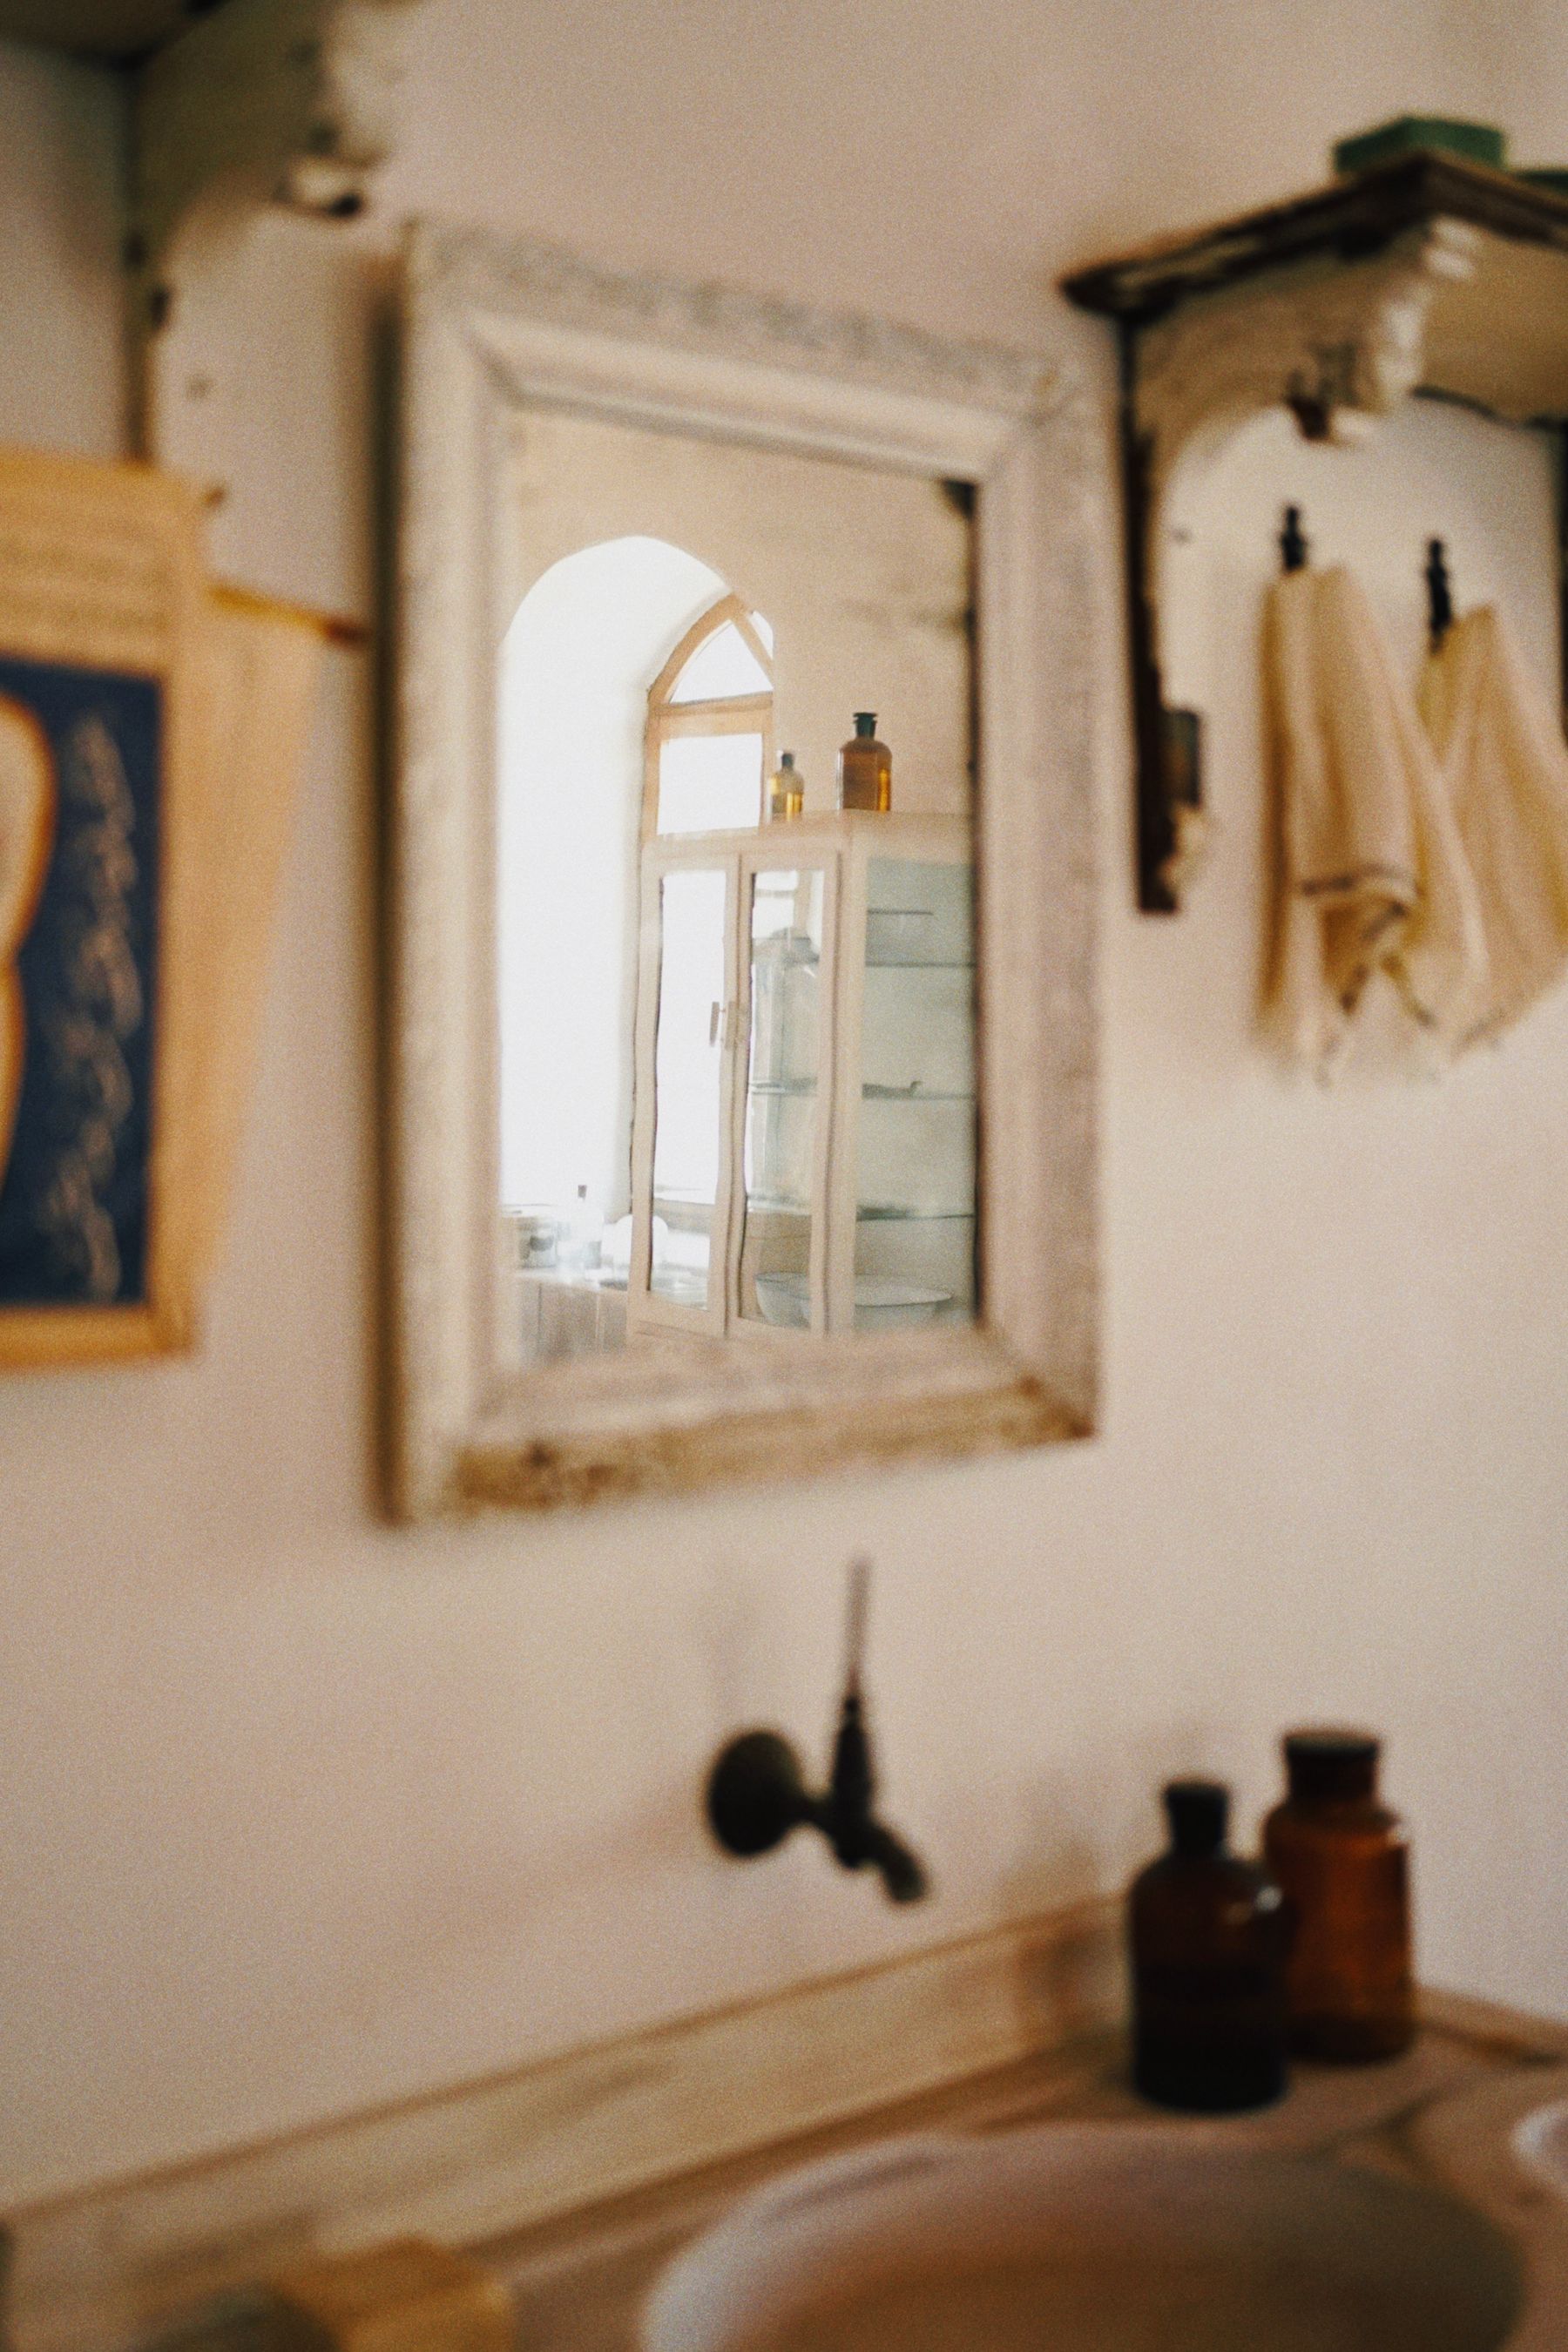
A shaped, timber-framed or lightly ornate mirror adds vintage character at the room's natural focal point without occupying floor space. If the frame is elaborate, keep the sconces and backsplash calmer; if the mirror is simple, lighting can take a more decorative role. Check that the reflective area is large enough for daily grooming and that the frame material is suitable for humidity. A charming frame should not leave the most-used person looking into its bottom edge.
Mix Warm Metals by Role, Not at Random
Aged brass, bronze, nickel and chrome can coexist when each finish has a clear job. Use one dominant metal for the faucet, shower and visible plumbing, then allow a secondary finish on the mirror frame, light or cabinet hardware. Real unlacquered metal changes with handling and cleaning; coated finishes stay more stable but may not develop the same patina. Confirm that decorative trims and replacement parts are compatible before building a palette around a finish that cannot be maintained consistently.
Separate Mirror Light From Atmosphere
Warm ambient light enriches timber, colored ceramic and aged metal, but the mirror still needs clear, even illumination. Use a practical task layer around or above the basin and a softer ceiling or wall layer for atmosphere. Decorative shades should not cast deep shadows across the face, and all fittings must be suitable for their bathroom zone. Dimmers can help a compact room move from morning routine to evening bathing without relying on one harsh central lamp.
Use One Statement Light Where Scale Allows
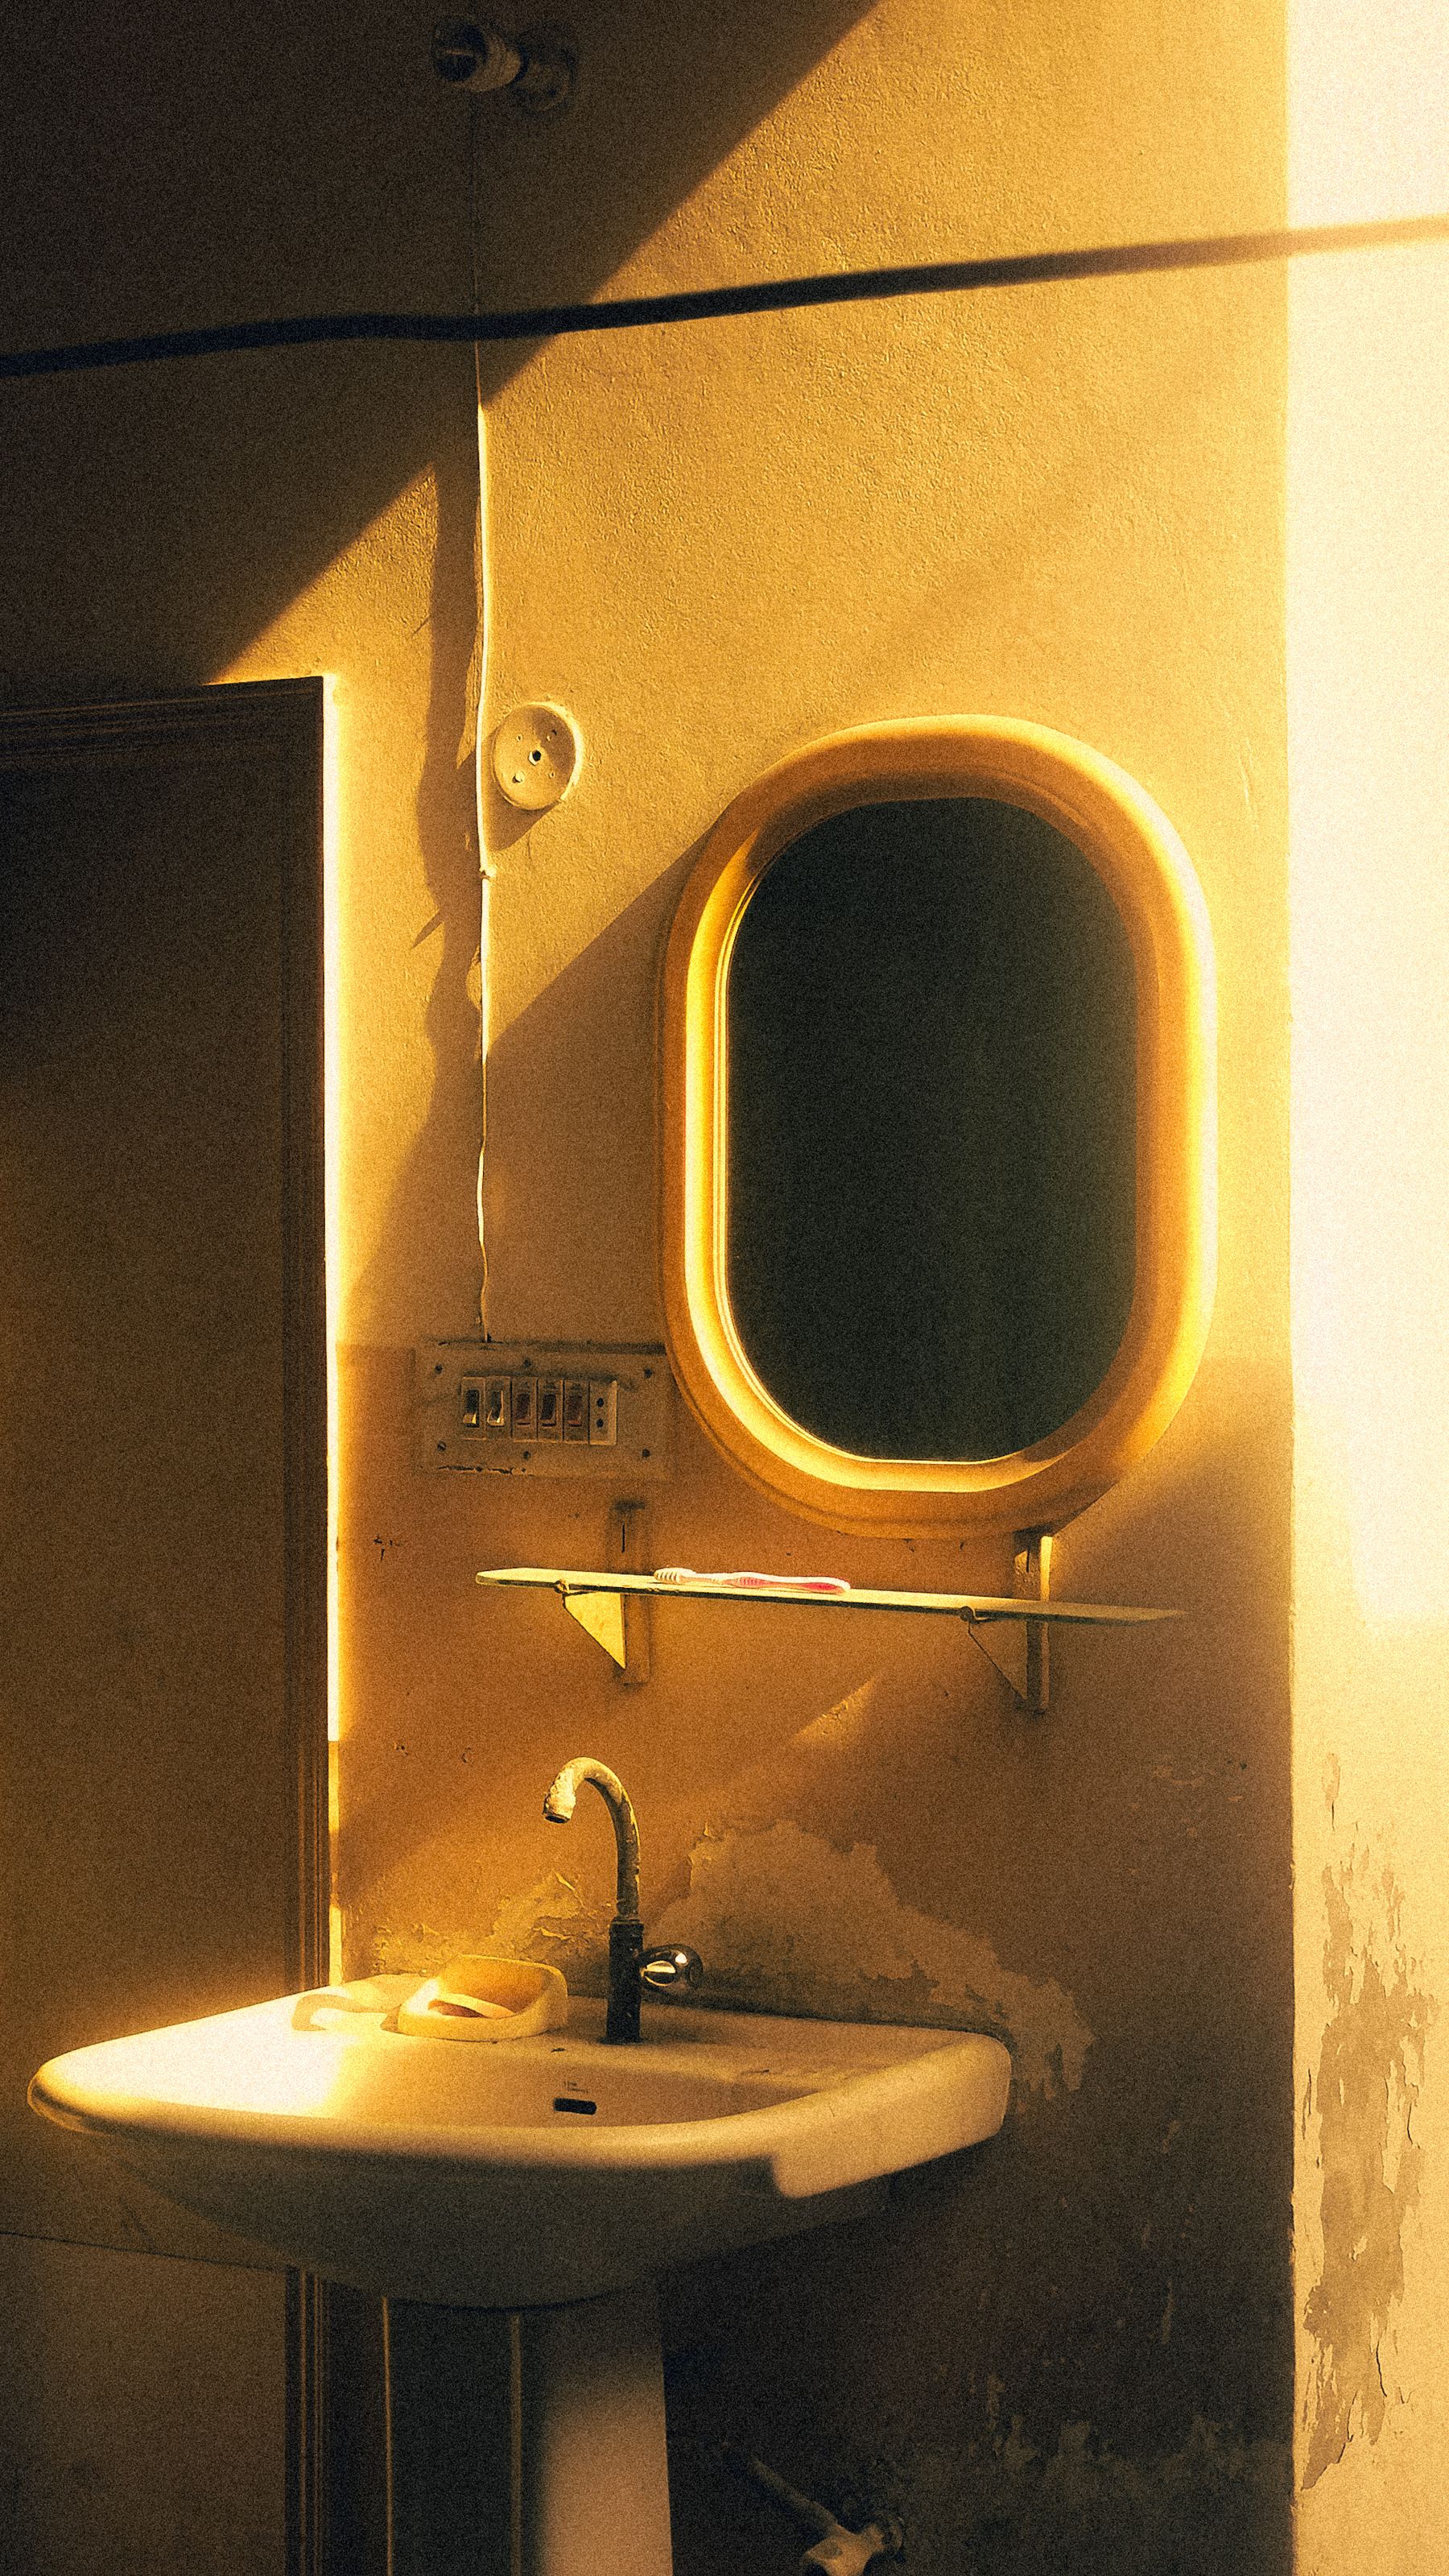
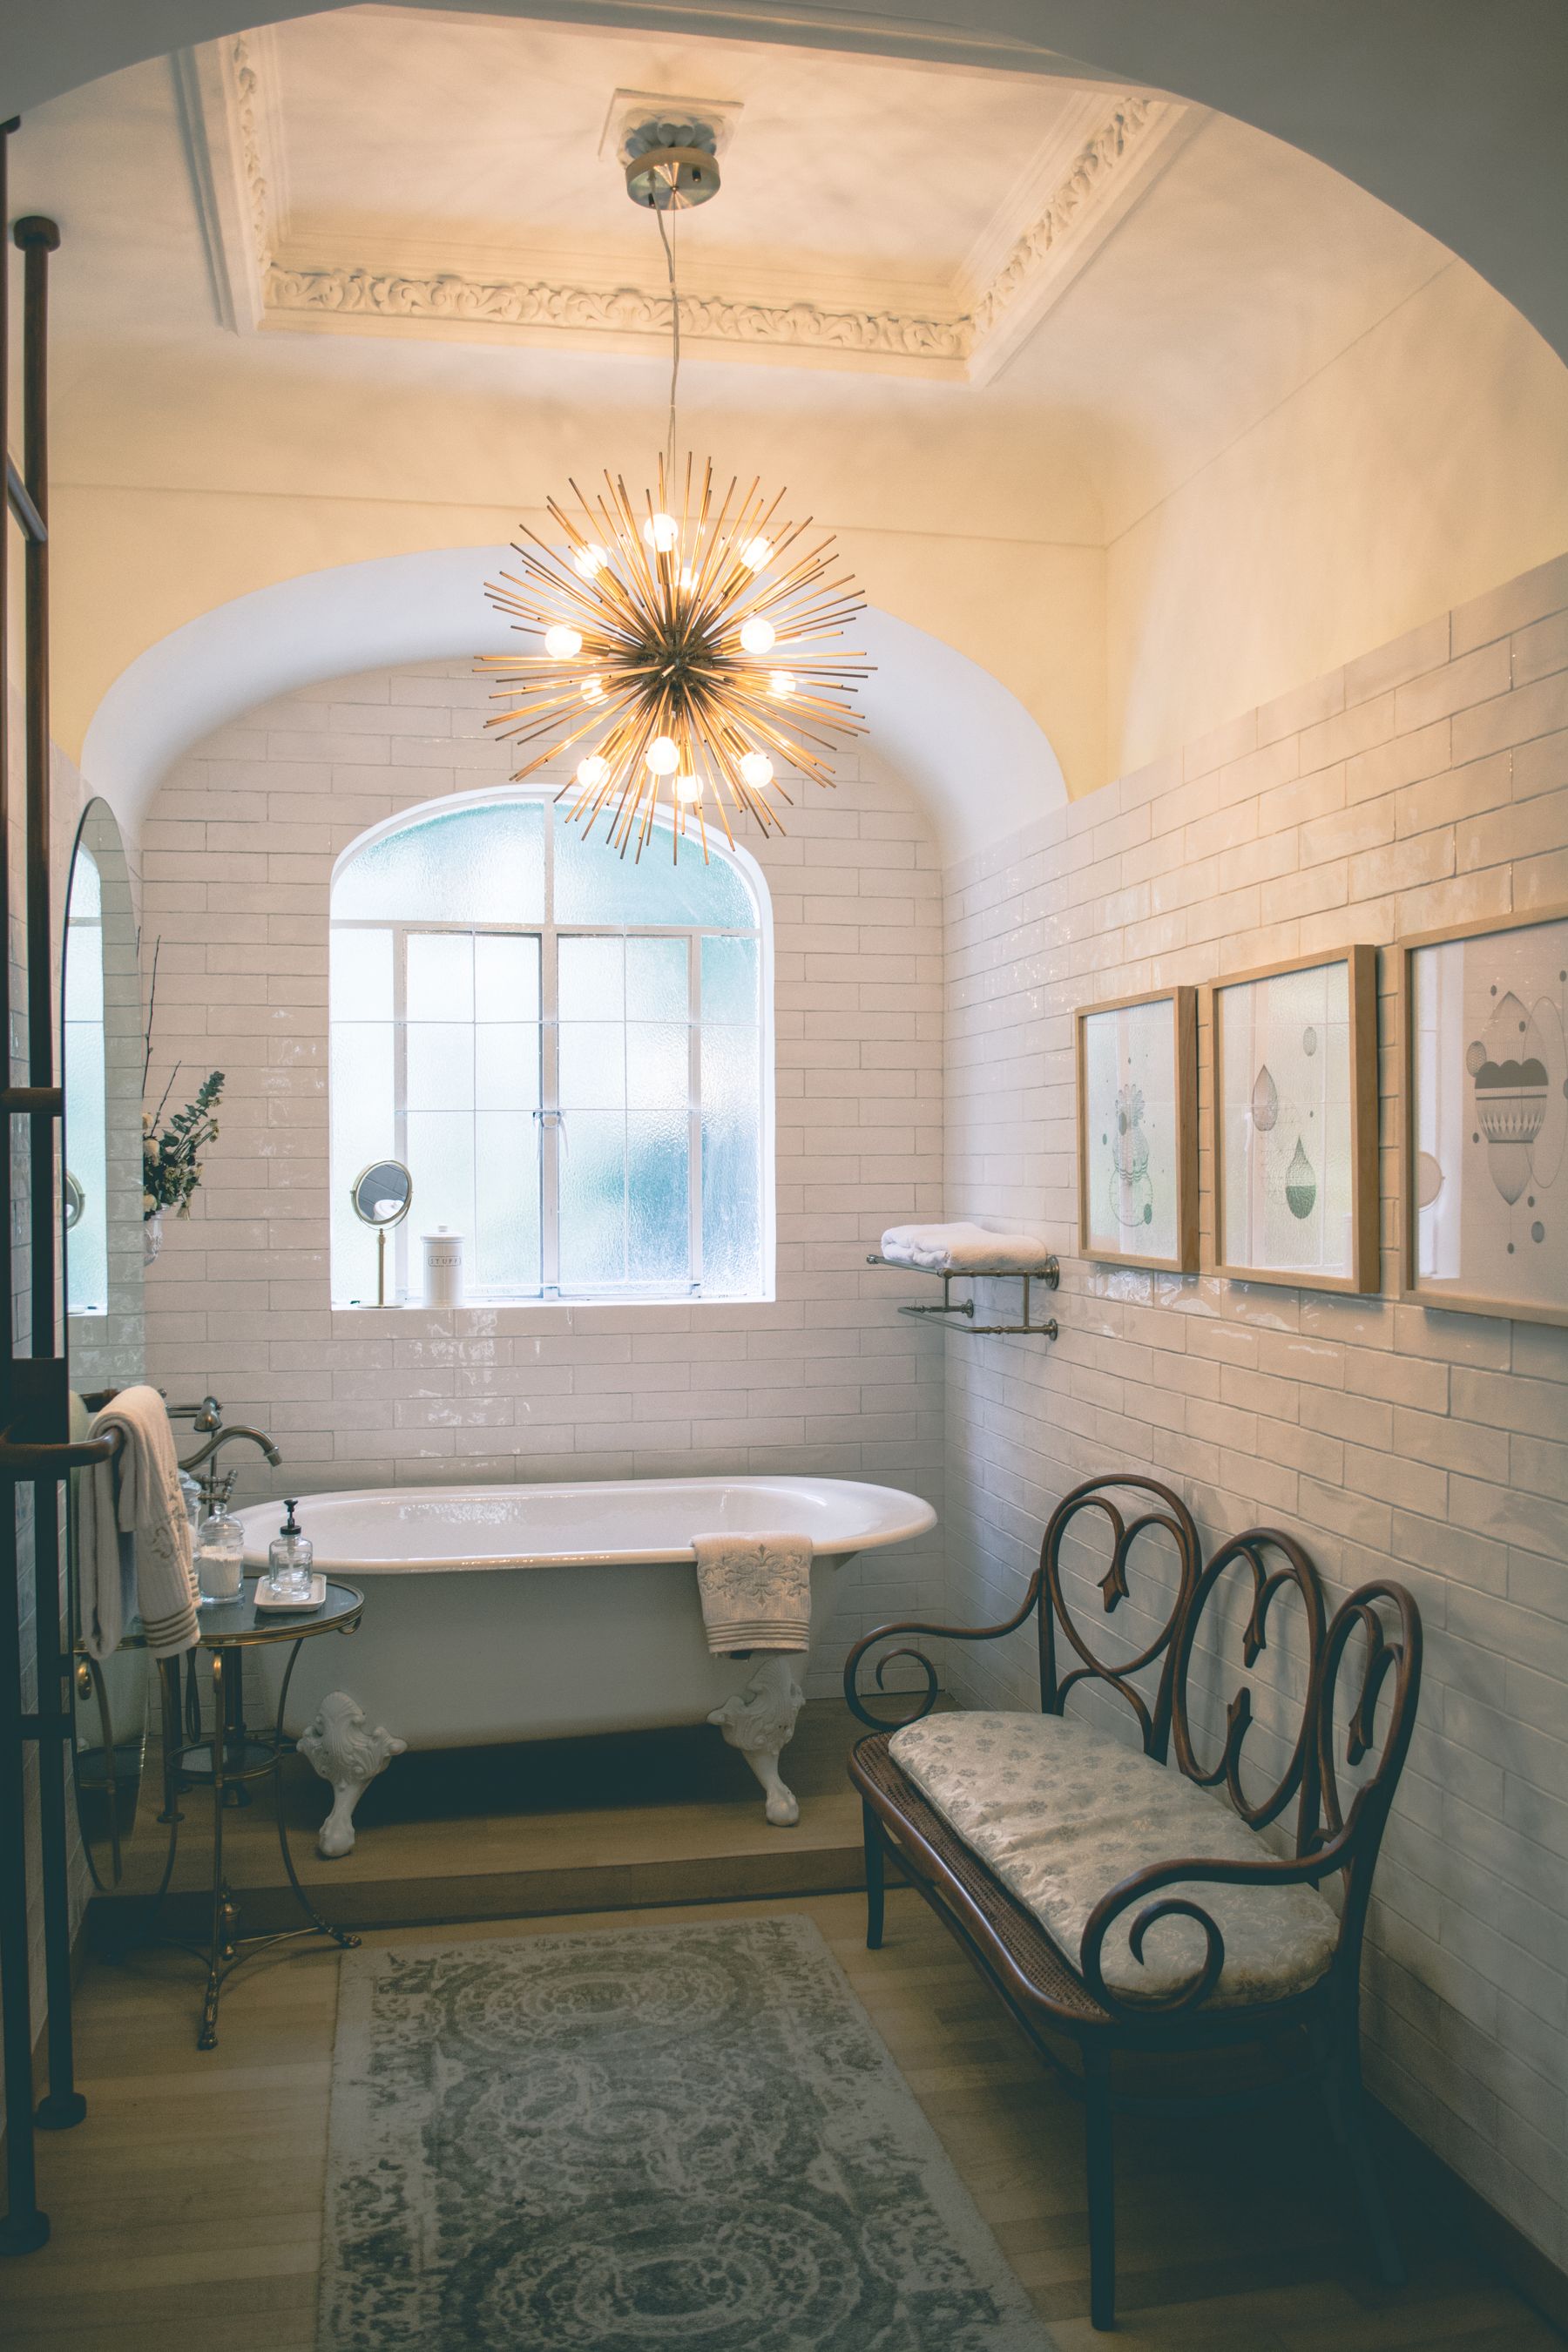
A pendant or chandelier can make a high-ceilinged vintage bathroom feel like a furnished room, but it is not a default solution. Ceiling height, wet-zone clearances, electrical rules and cleaning access all come first. Where a hanging fixture is unsuitable, a flush mount or characterful wall light can provide the same period emphasis more safely. Let the statement fixture own the upper part of the composition instead of competing with several ornate sconces.
Keep Wallpaper in a Defensible Moisture Zone
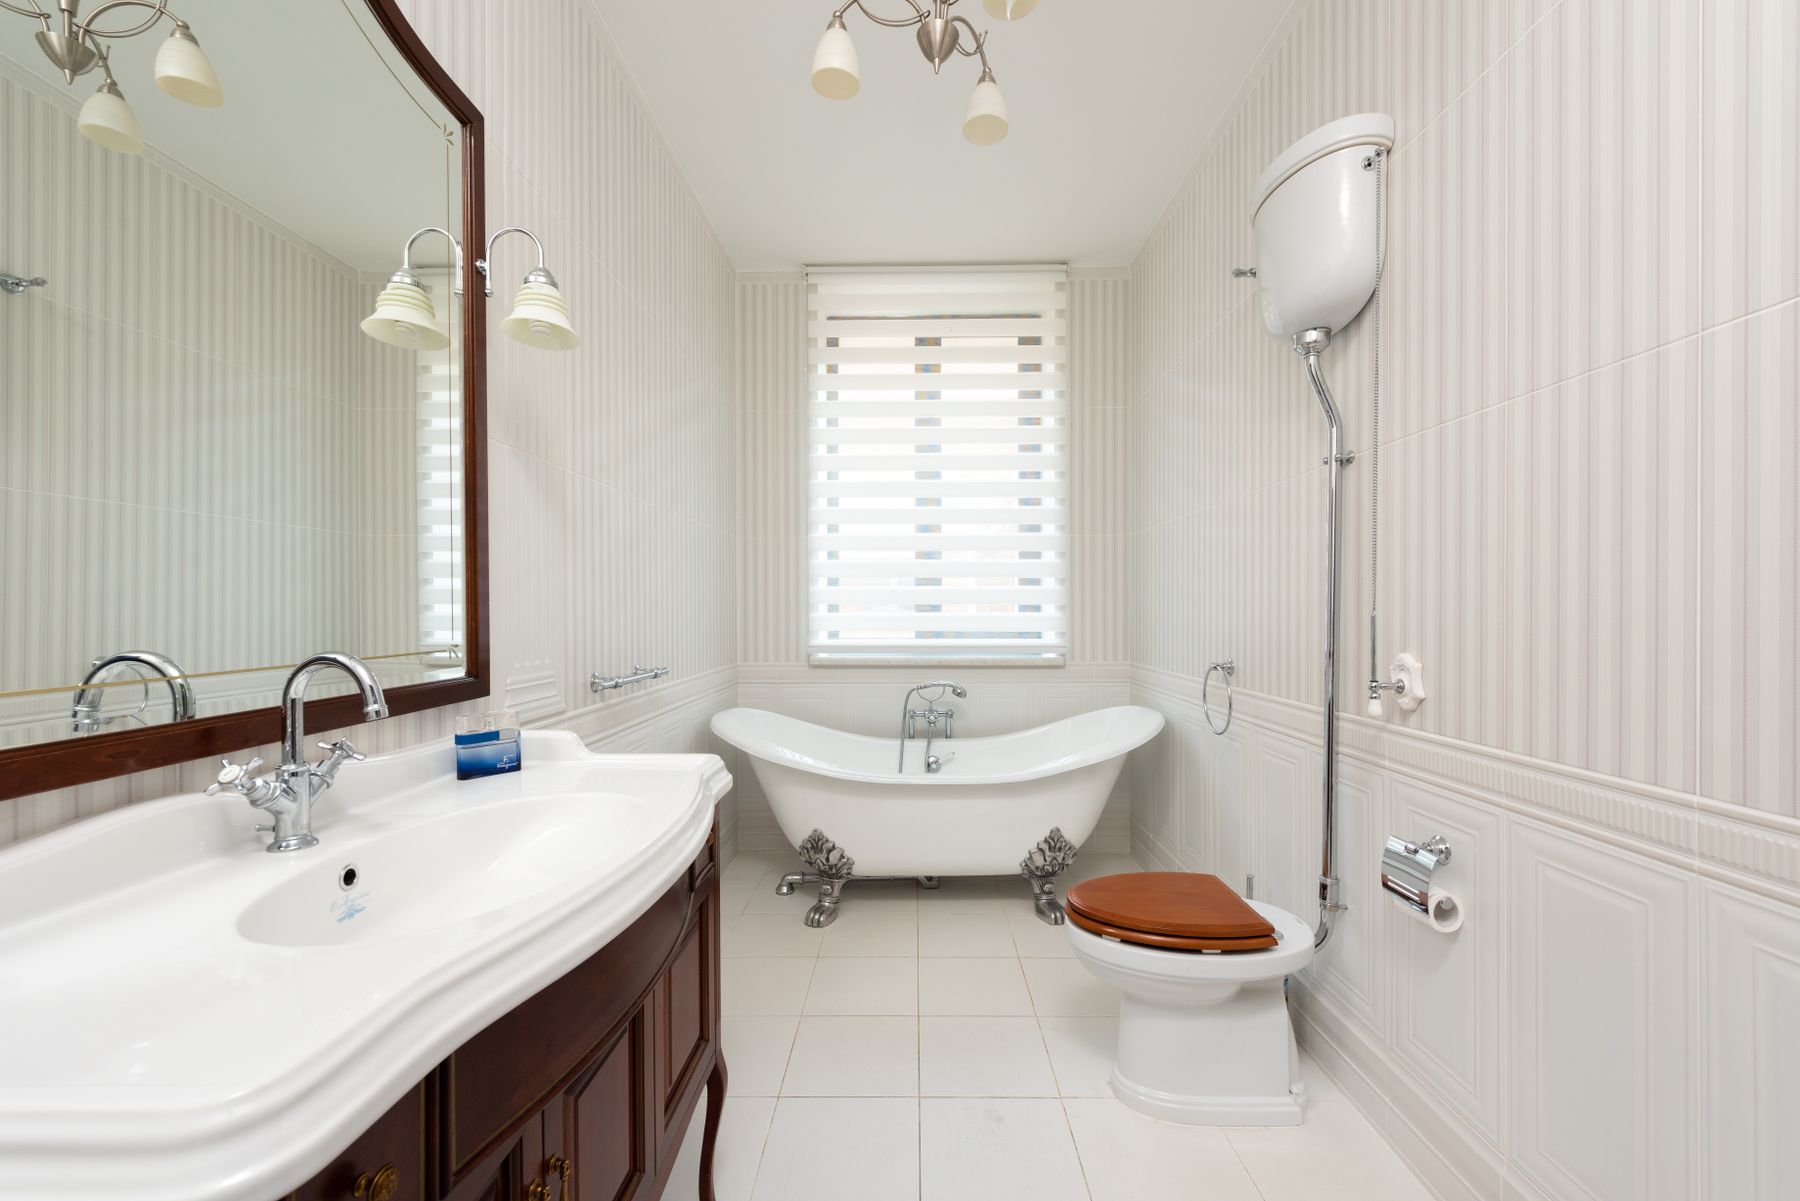
Wallpaper can introduce stripe, floral rhythm or archival color more softly than a fully tiled wall. It is best suited to powder rooms, well-ventilated bathrooms and dry upper walls away from direct spray. A tiled or paneled lower section gives the pattern a practical boundary and makes the room feel architecturally grounded. Follow the wallcovering and adhesive guidance rather than assuming a washable surface is suitable for every wet condition.
Choose One Period Color and Give It Space
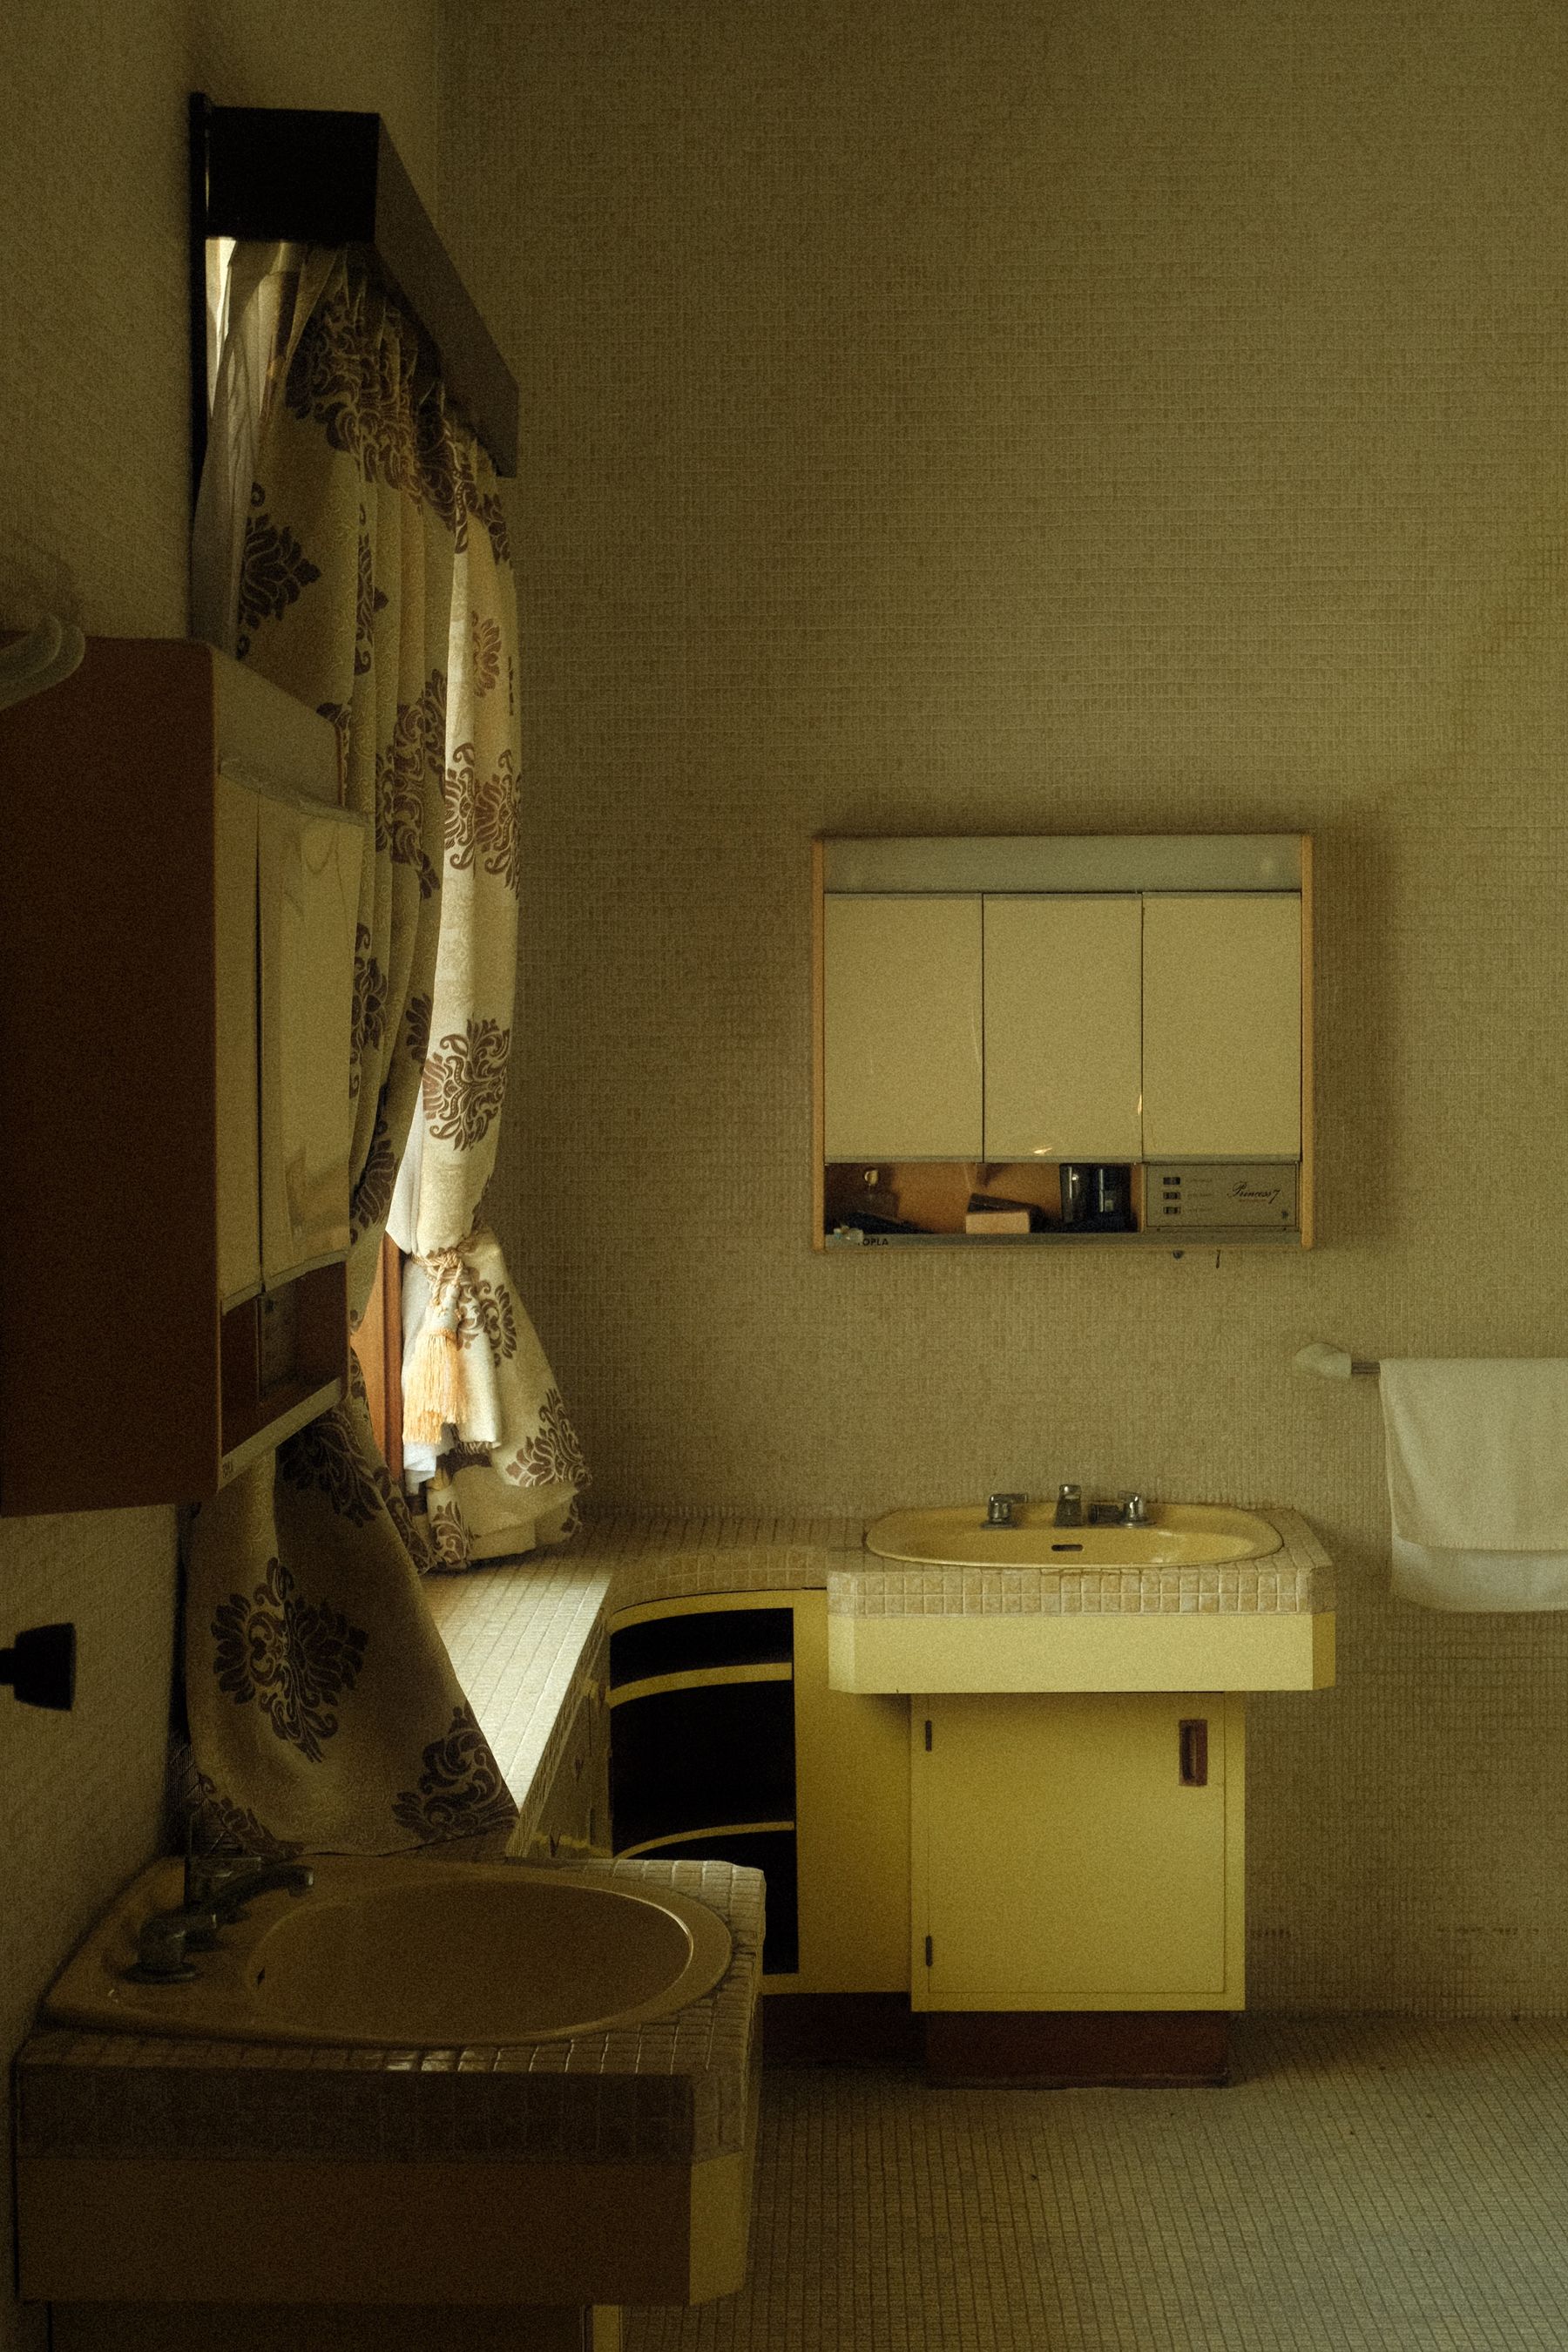
Mustard, dusty pink, powder blue, oxblood and softened green can make a vintage bathroom memorable, especially when they appear on sanitaryware or cabinetry rather than scattered accessories. Treat the chosen hue as one decisive block and support it with cream, warm white, timber or a quiet tile field. Repeating several nostalgic colors at equal intensity shifts the result toward retro pastiche. The room will age more gracefully when the dominant color has enough neutral space around it.
Treat the Window as Light, Privacy and Fabric
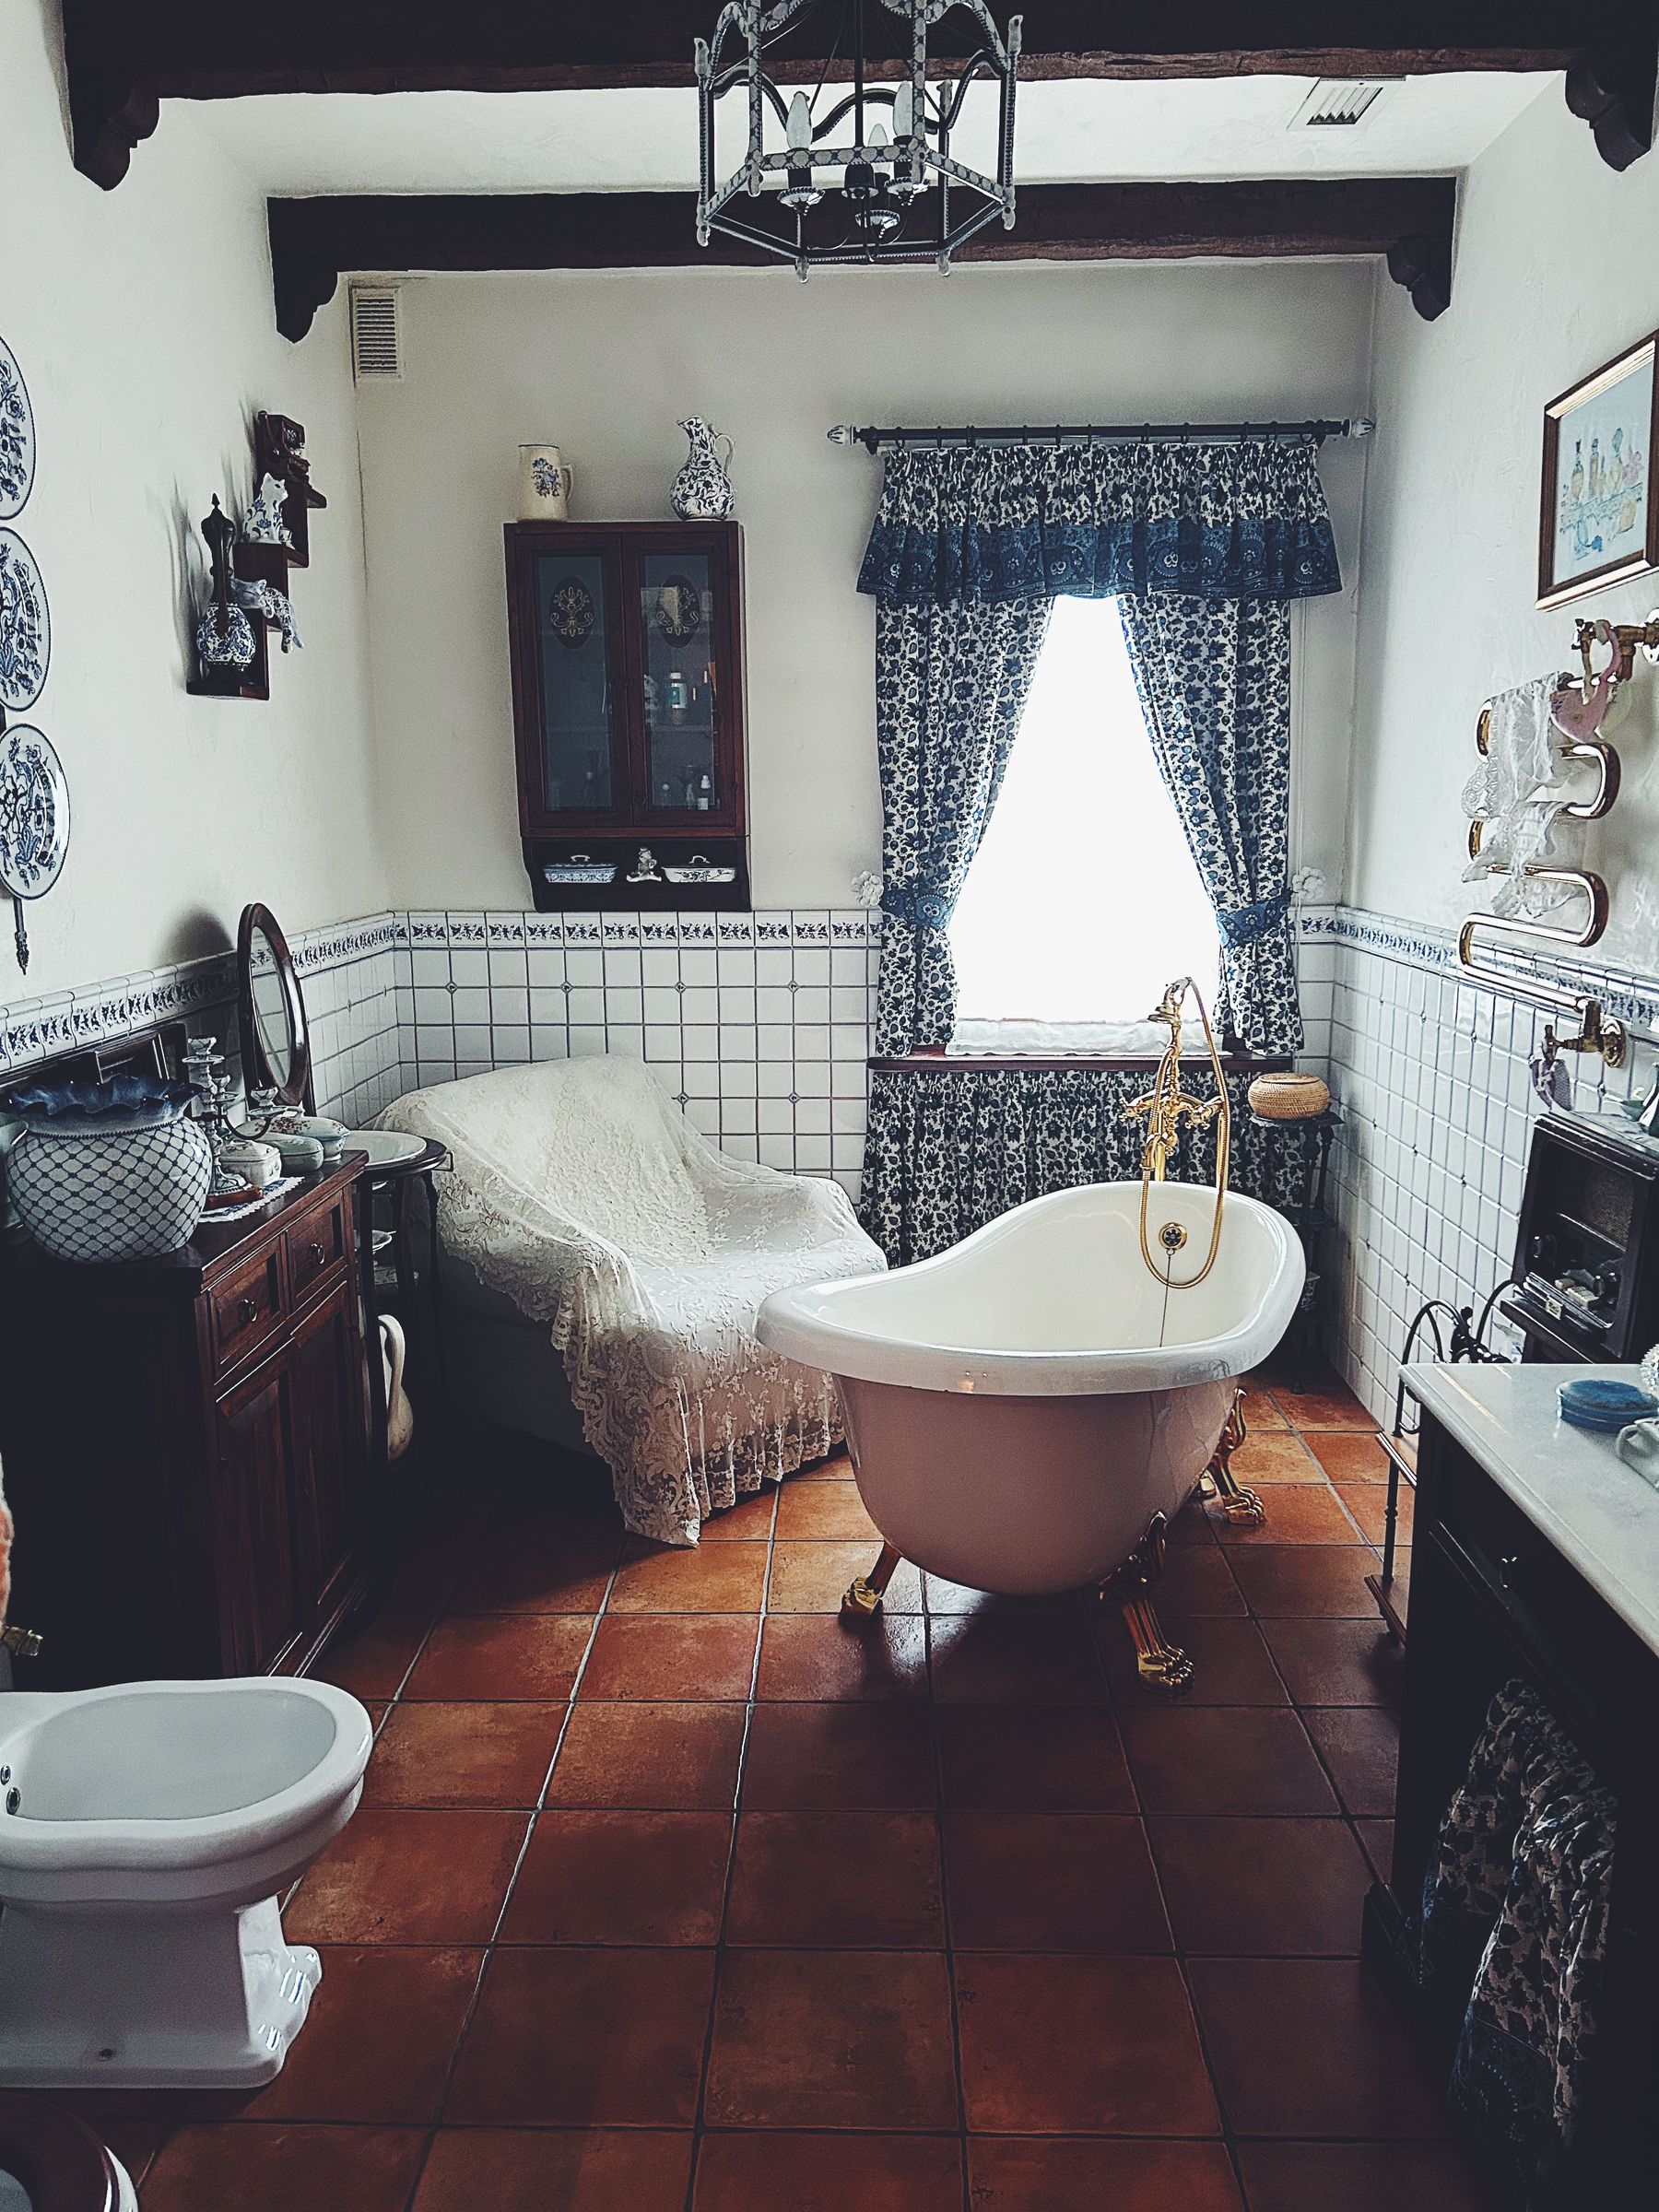
Older bathrooms often gain much of their softness from a real window, yet the treatment must manage privacy and moisture without blocking useful daylight. Frosted film, café curtains, shutters or a lined blind can each work depending on the sightline and splash exposure. Keep absorbent fabric clear of the bath and shower where possible, and make ventilation independent from whether the window is open. The goal is to retain the room-like quality of curtains or trim without creating a damp maintenance problem.
Scale the Vintage Layer for a Small Bathroom
A compact bathroom can hold strong character, but it cannot hold unlimited objects. Give the room one shaped mirror, one patterned plane or one colored fixture, then protect clear movement between the door, basin, toilet and shower. Wall-mounted storage and a visually light basin can leave more floor visible without forcing the style to become minimalist. The test is not whether the room contains enough vintage pieces; it is whether the main idea remains legible when the door is open.
Hide Daily Clutter Without Erasing Character
Vintage styling often celebrates objects, but a bathroom counter filled with packaging quickly obscures the material story. Reserve open display for a tray, lidded vessel or a few items that tolerate humidity, and put backup toiletries, cleaning supplies and electrical tools behind doors. A recessed cabinet can sit behind a framed mirror; a tall cupboard can read as furniture. The best storage preserves a calm first impression while keeping everyday routines within easy reach.
Give a Modern Shower One Period-Compatible Detail
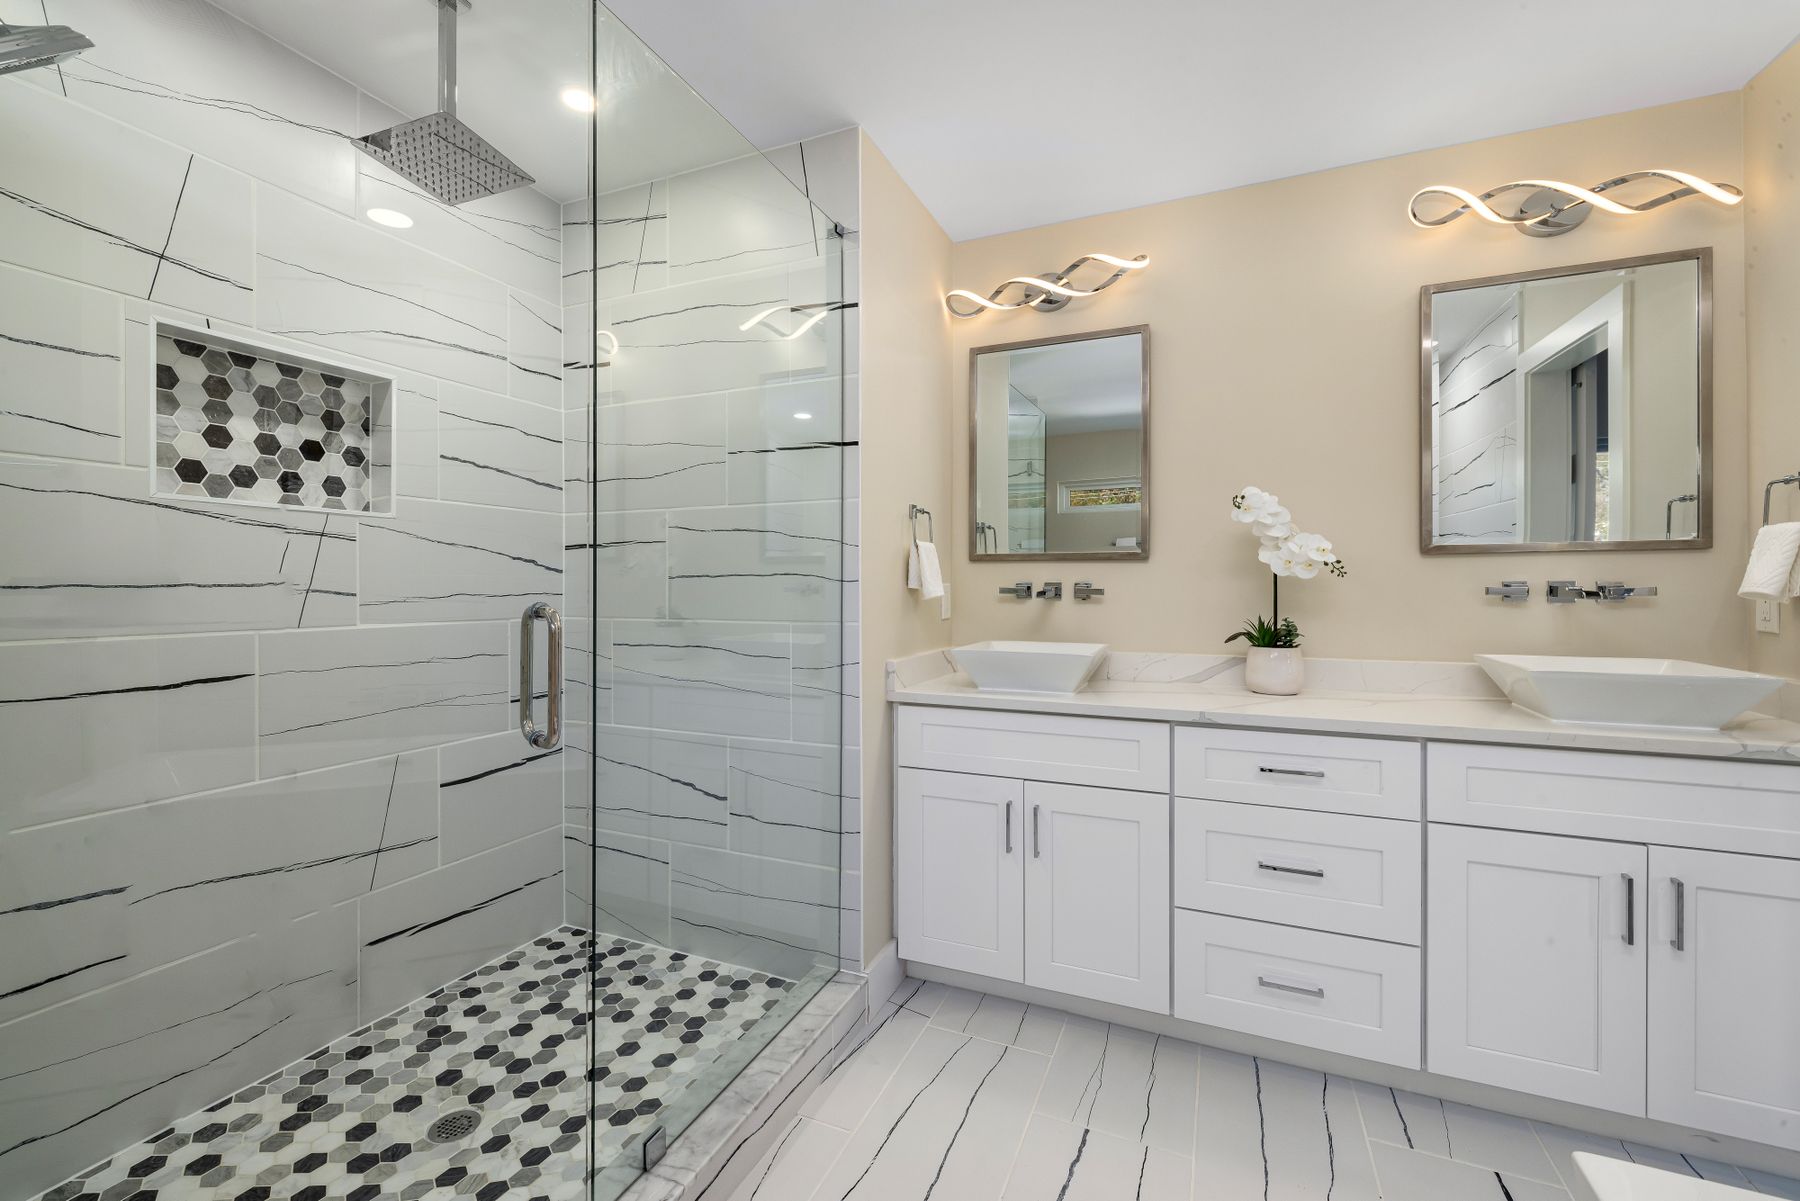
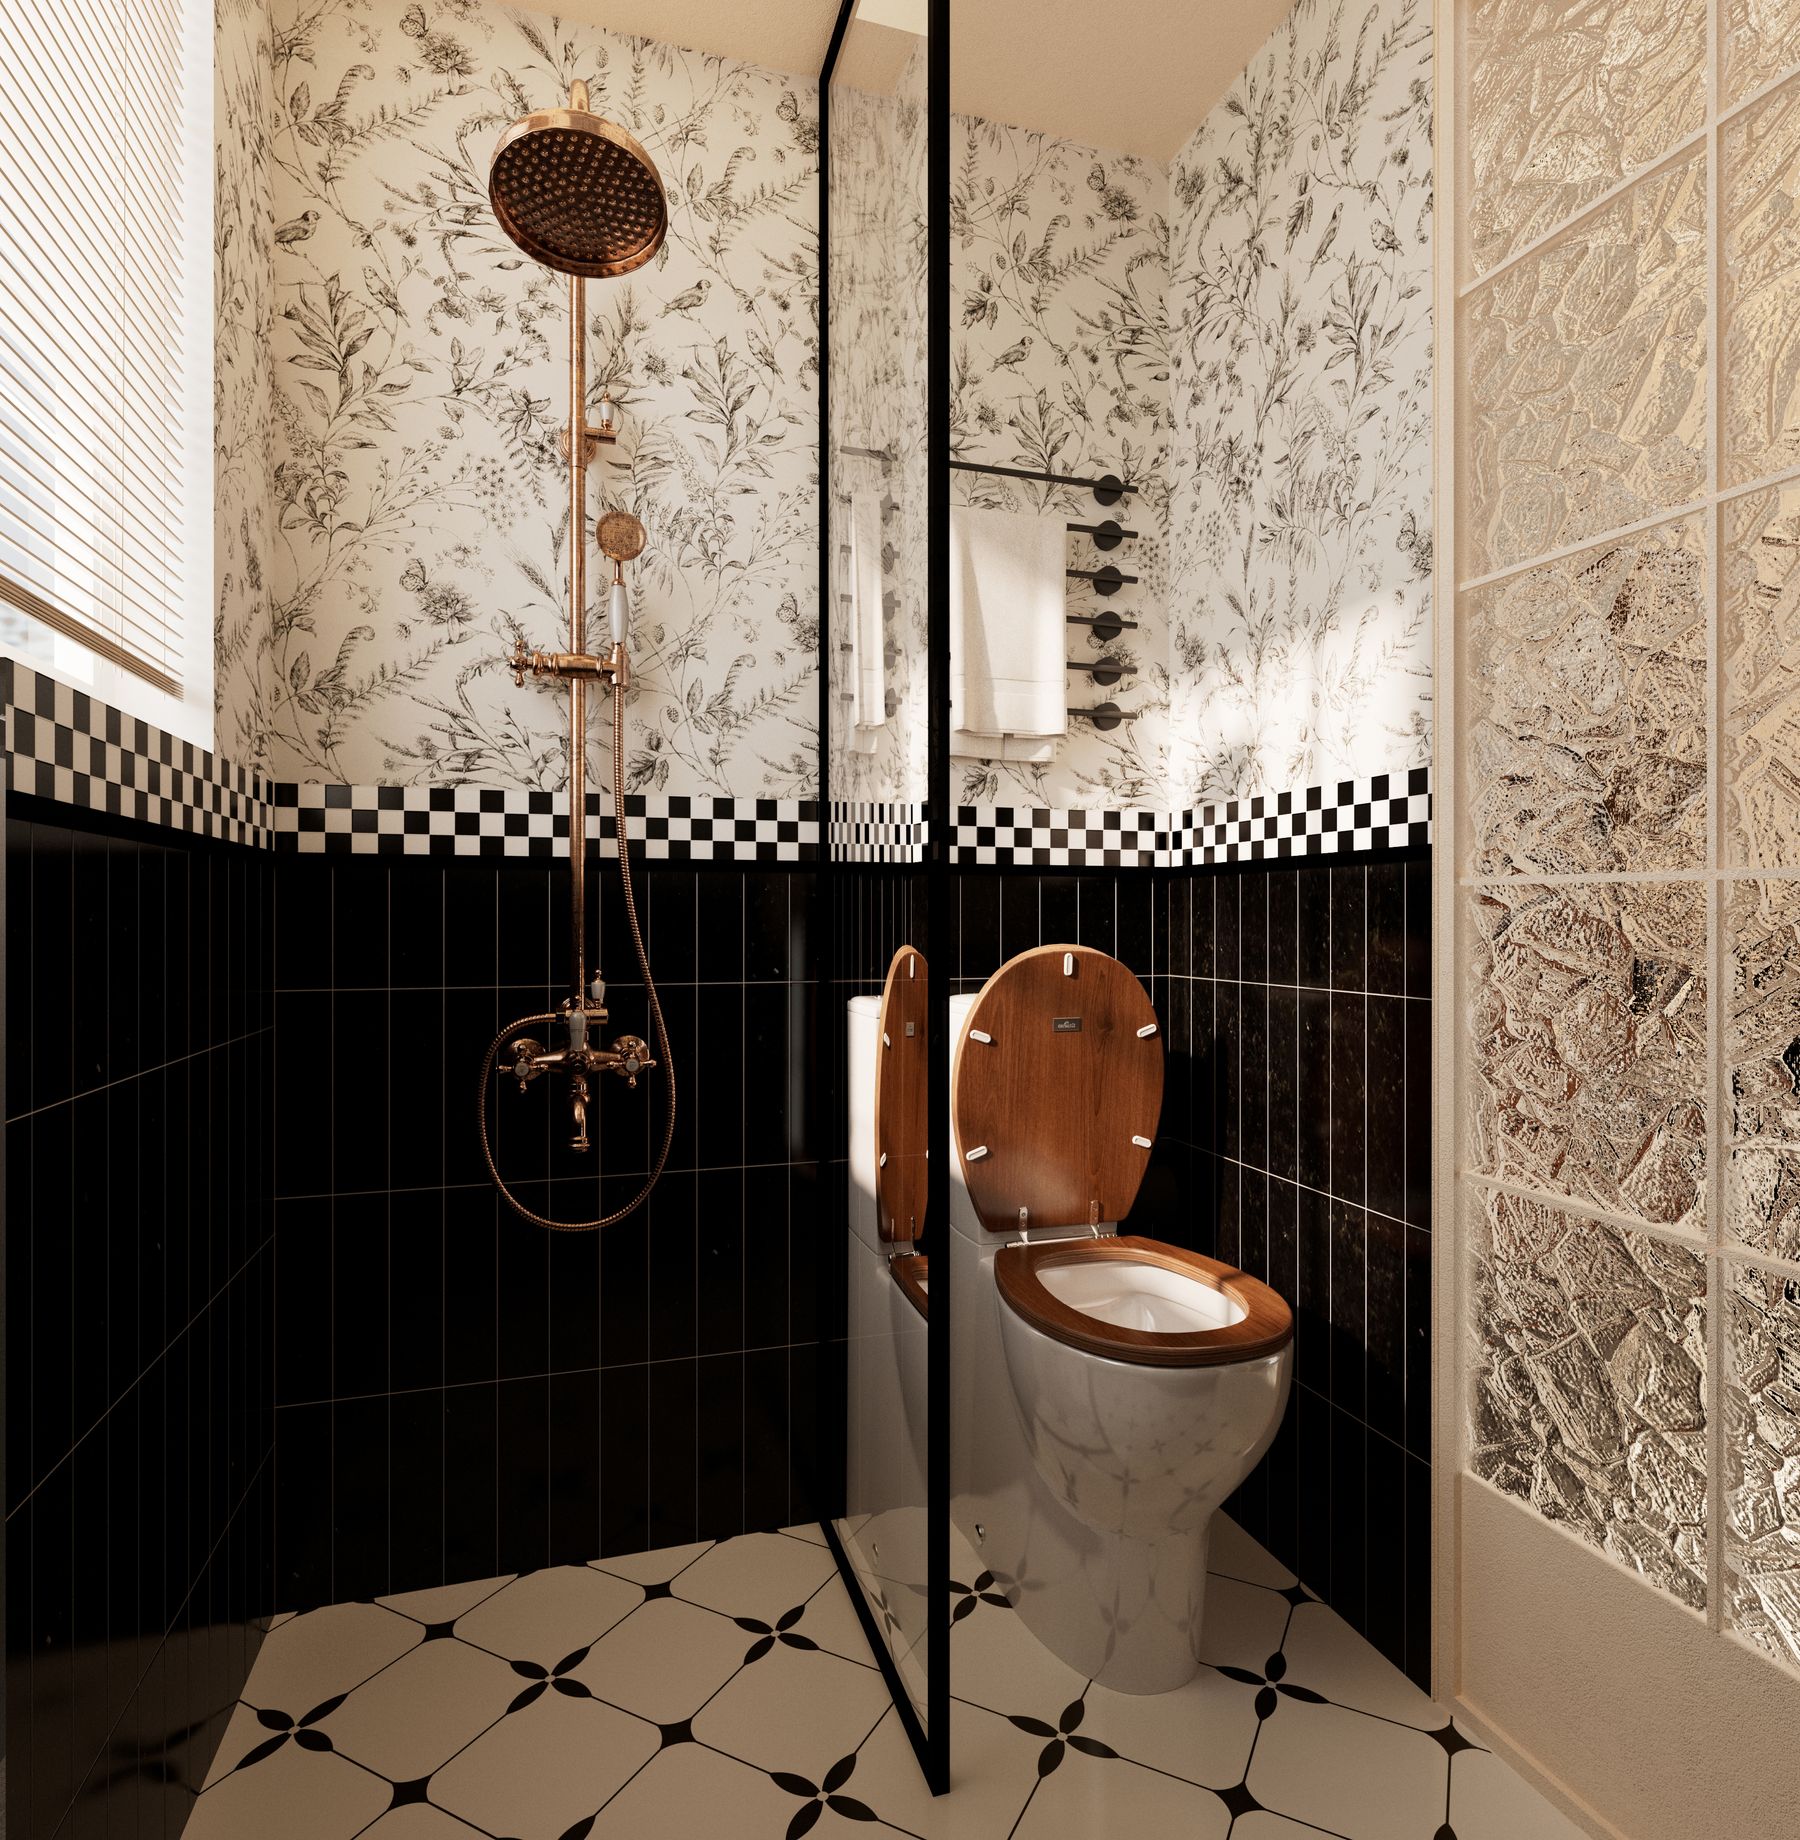
A new shower can belong in a vintage bathroom without imitating an obsolete enclosure. Use current waterproofing, drainage and glazing, then introduce the period note through a warm-metal shower set, a small-format tile grid or a restrained black-and-white pattern. Keep controls easy to reach from outside the spray and make niches large enough for actual bottles. One visible historical cue is usually more credible than decorative exposed plumbing that is difficult to clean or service.
Use Floral or Decorative Motifs as a Controlled Accent
Floral tile, painted borders and botanical motifs can soften the hard surfaces of a bathroom, but they need a simple neighboring field to remain readable. Choose one scale of motif and repeat its colors sparingly in paint or textiles. A full floral wall works best when the vanity, mirror and floor are quiet; a smaller border suits a room that already has decorative sanitaryware. This keeps the scheme vintage and personal without drifting into a heavily themed shabby-chic look.
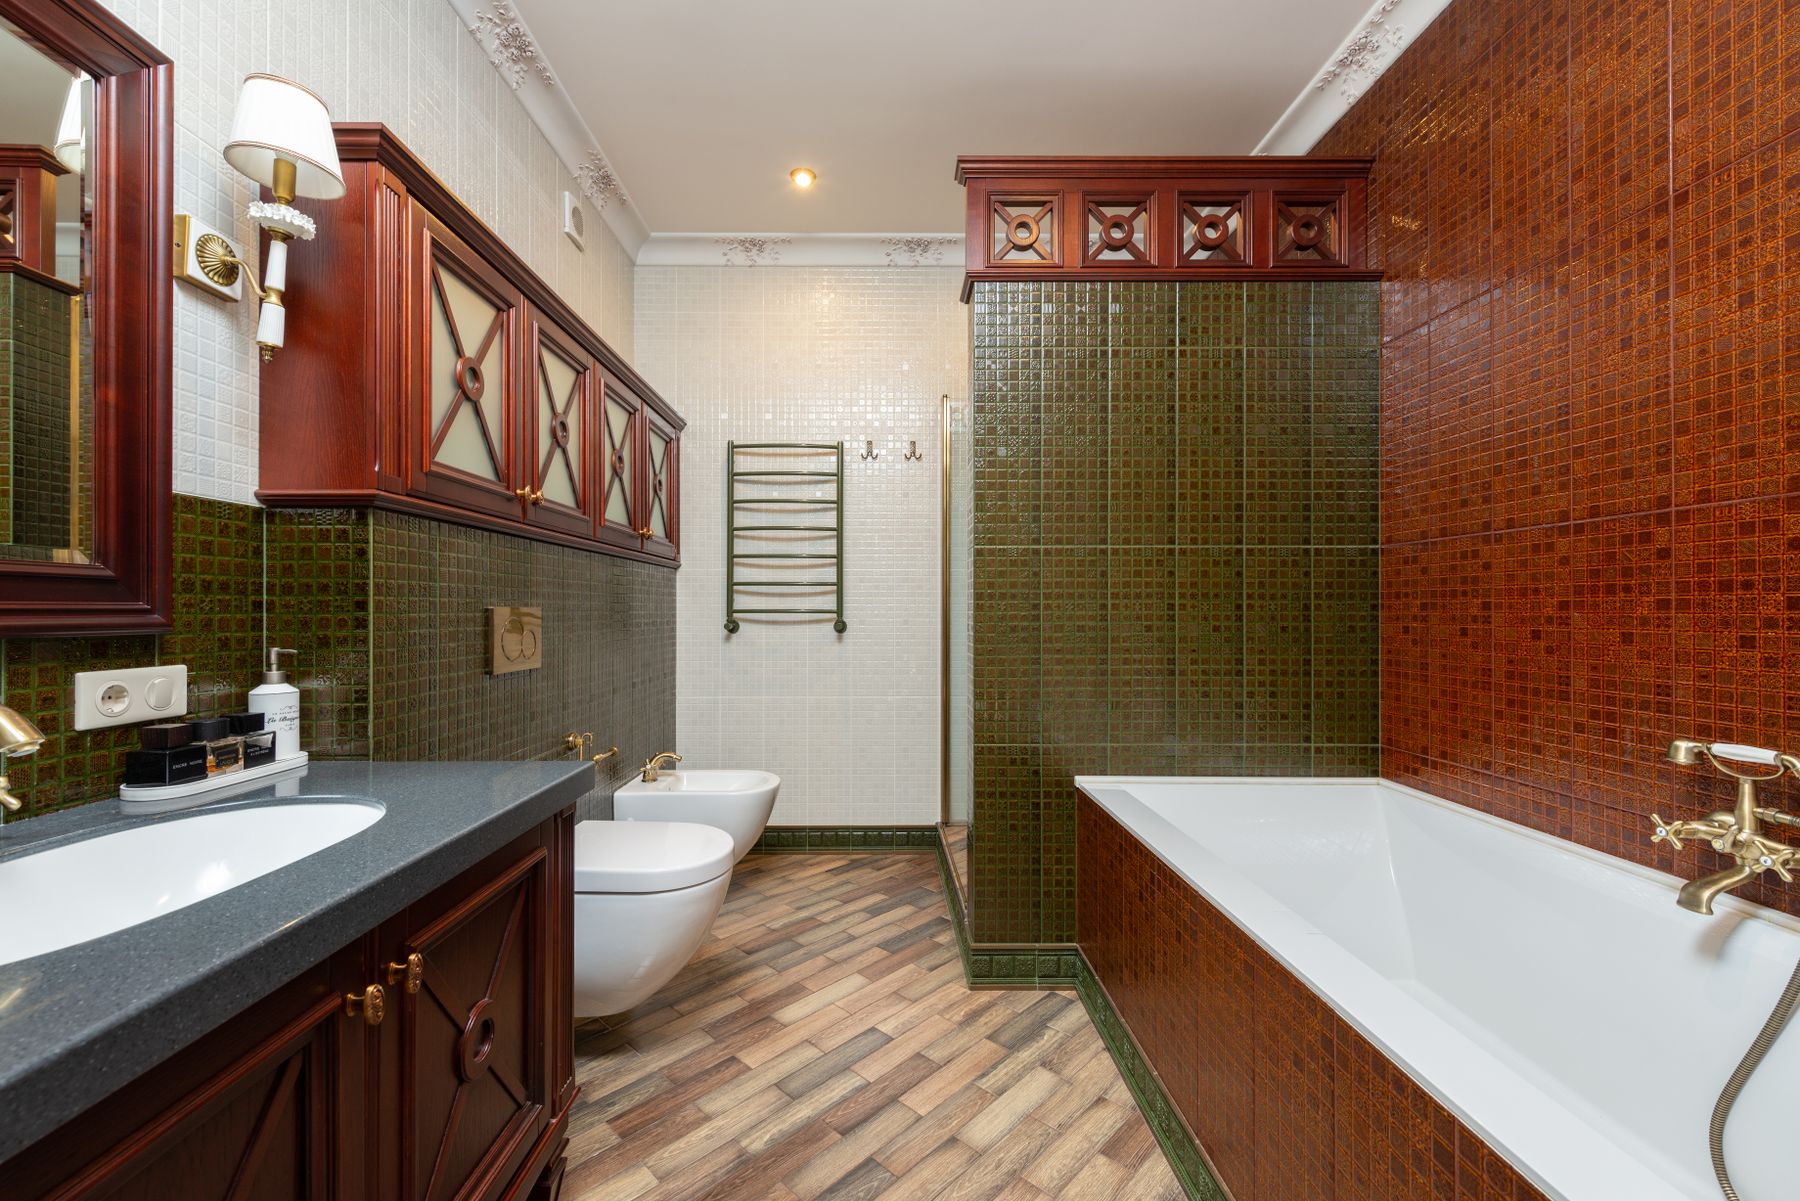
Build a Softer Palette Around Timber and Muted Green
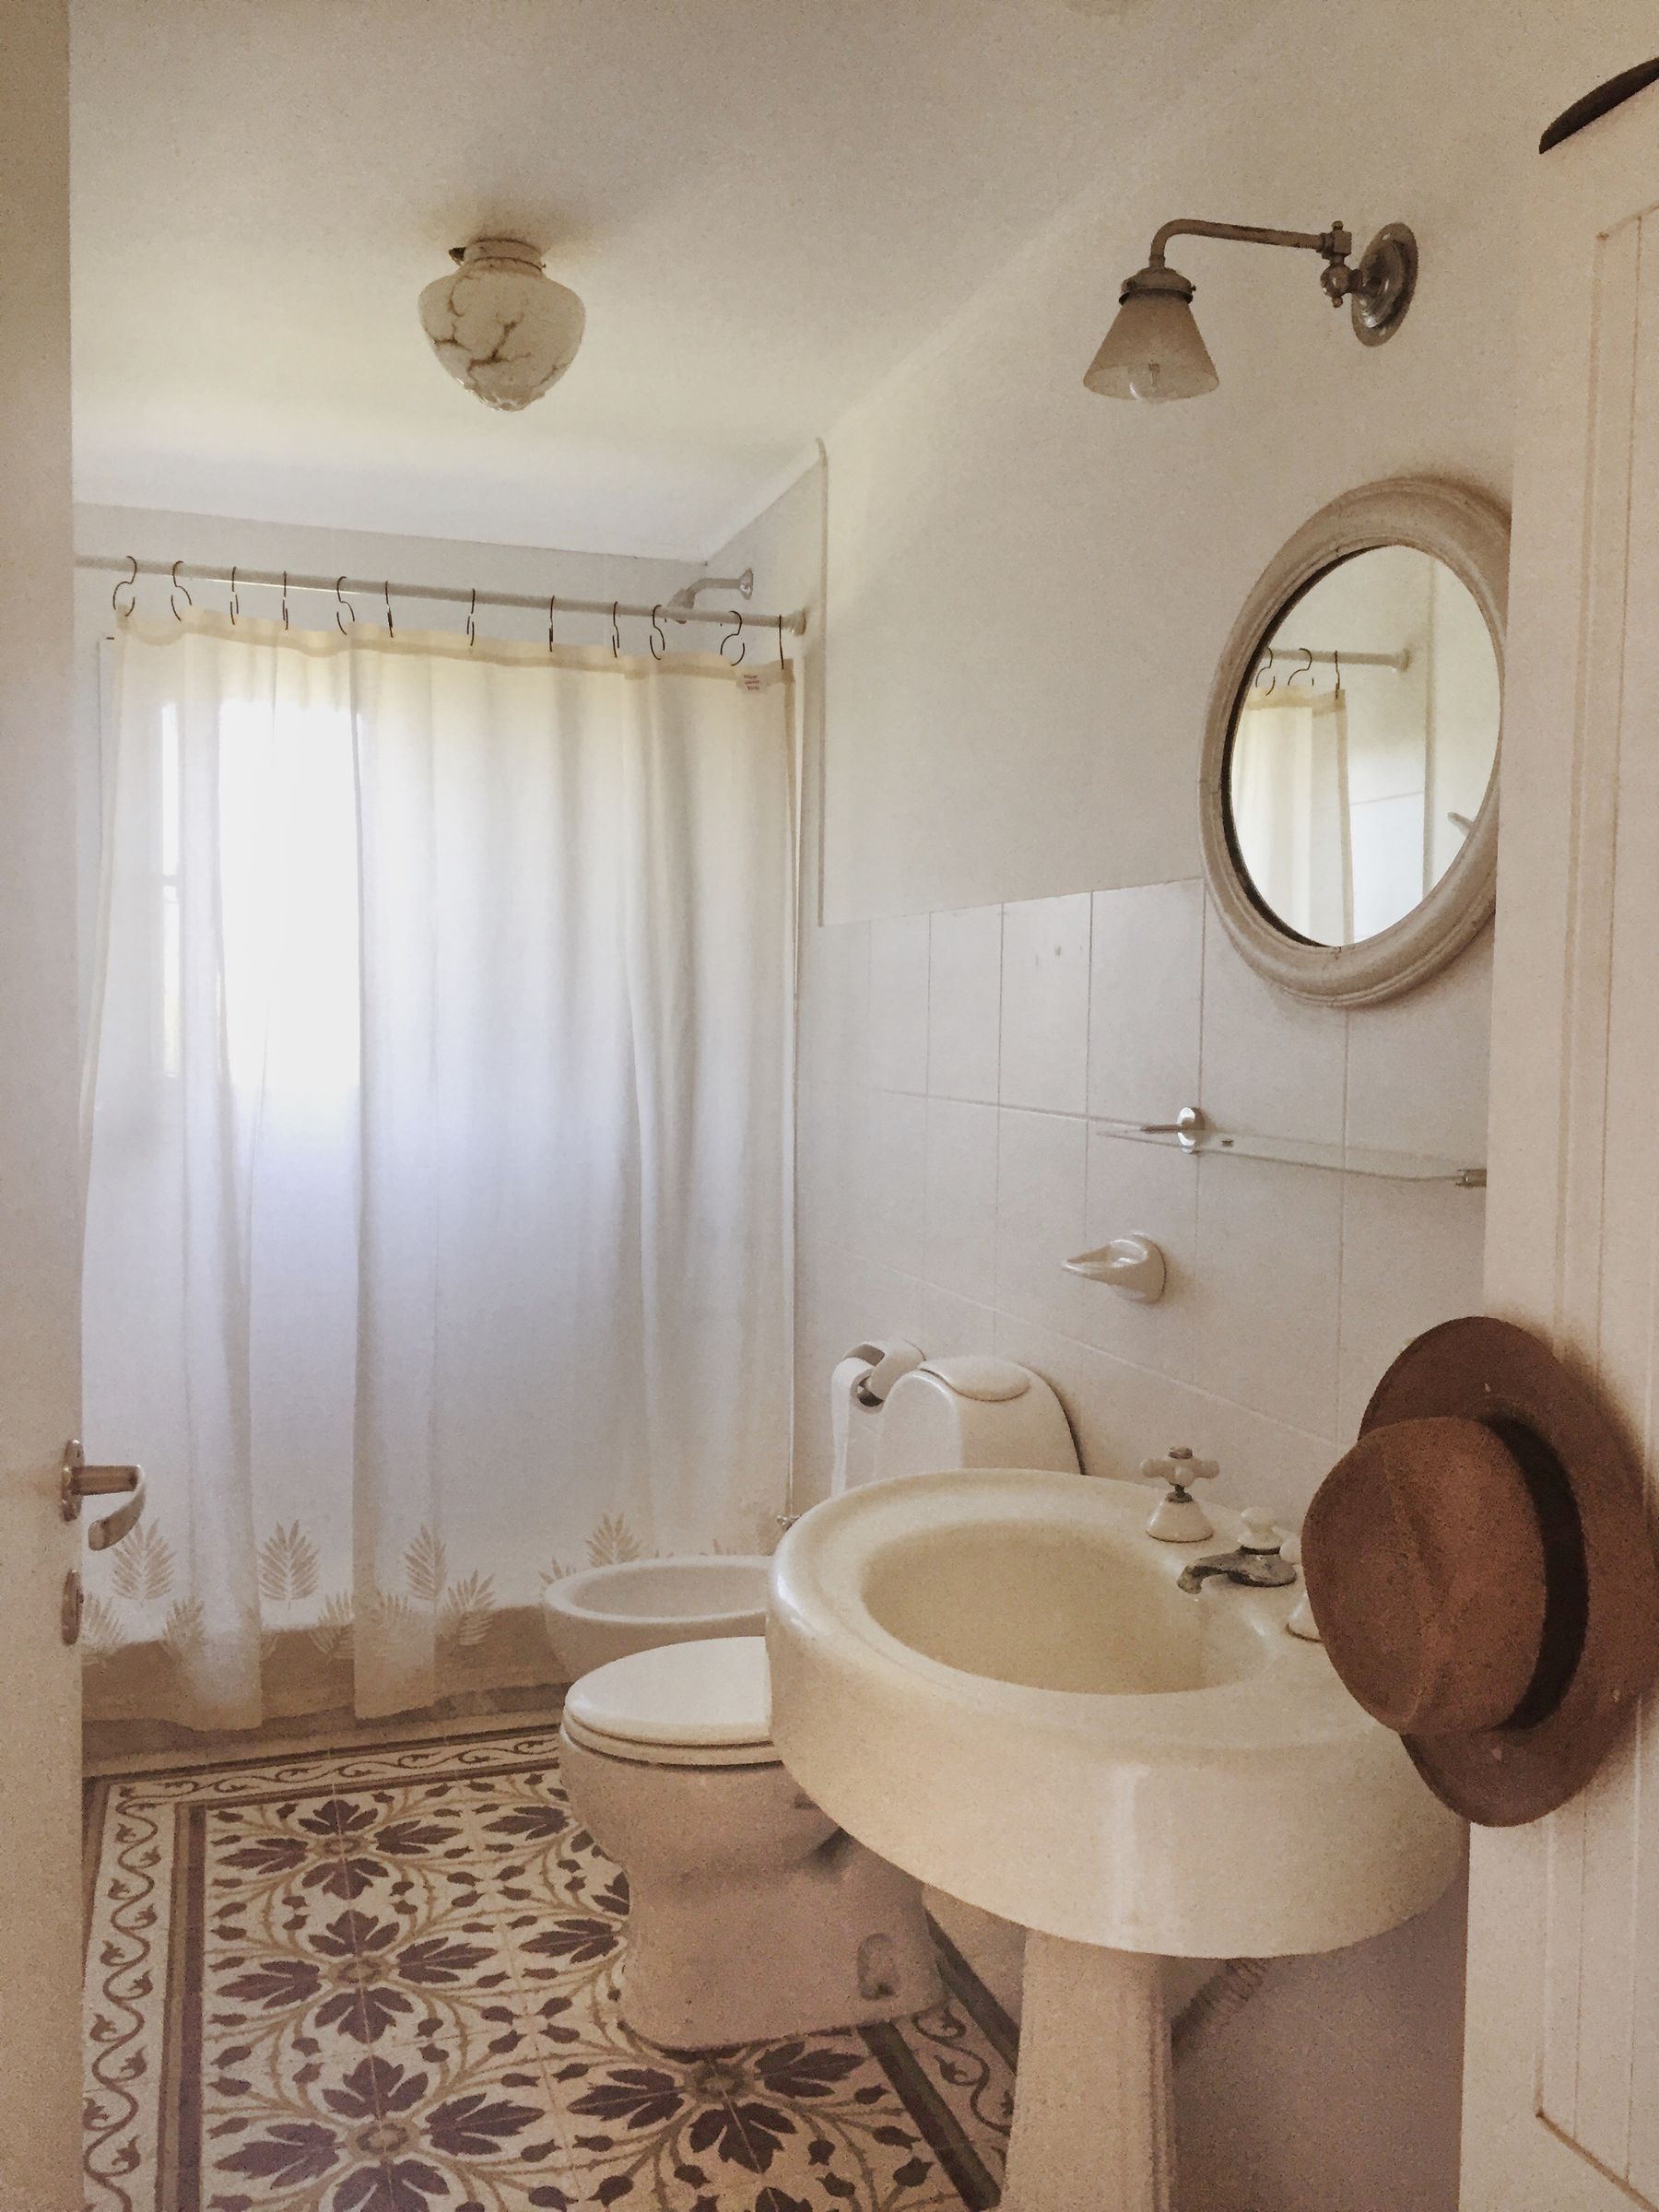
Vintage does not require sepia beige. Muted green, chalky blue, rose-beige and tobacco-toned timber can make white ceramic feel warmer while still keeping the room light. Use the wall color to connect timber and metal rather than matching every finish exactly. Sample paint beside tile and wood in the actual room: north-facing light can cool a green dramatically, while warm lamps can make cream read yellow. A three-part palette—soft color, pale ceramic and natural wood—is often enough.
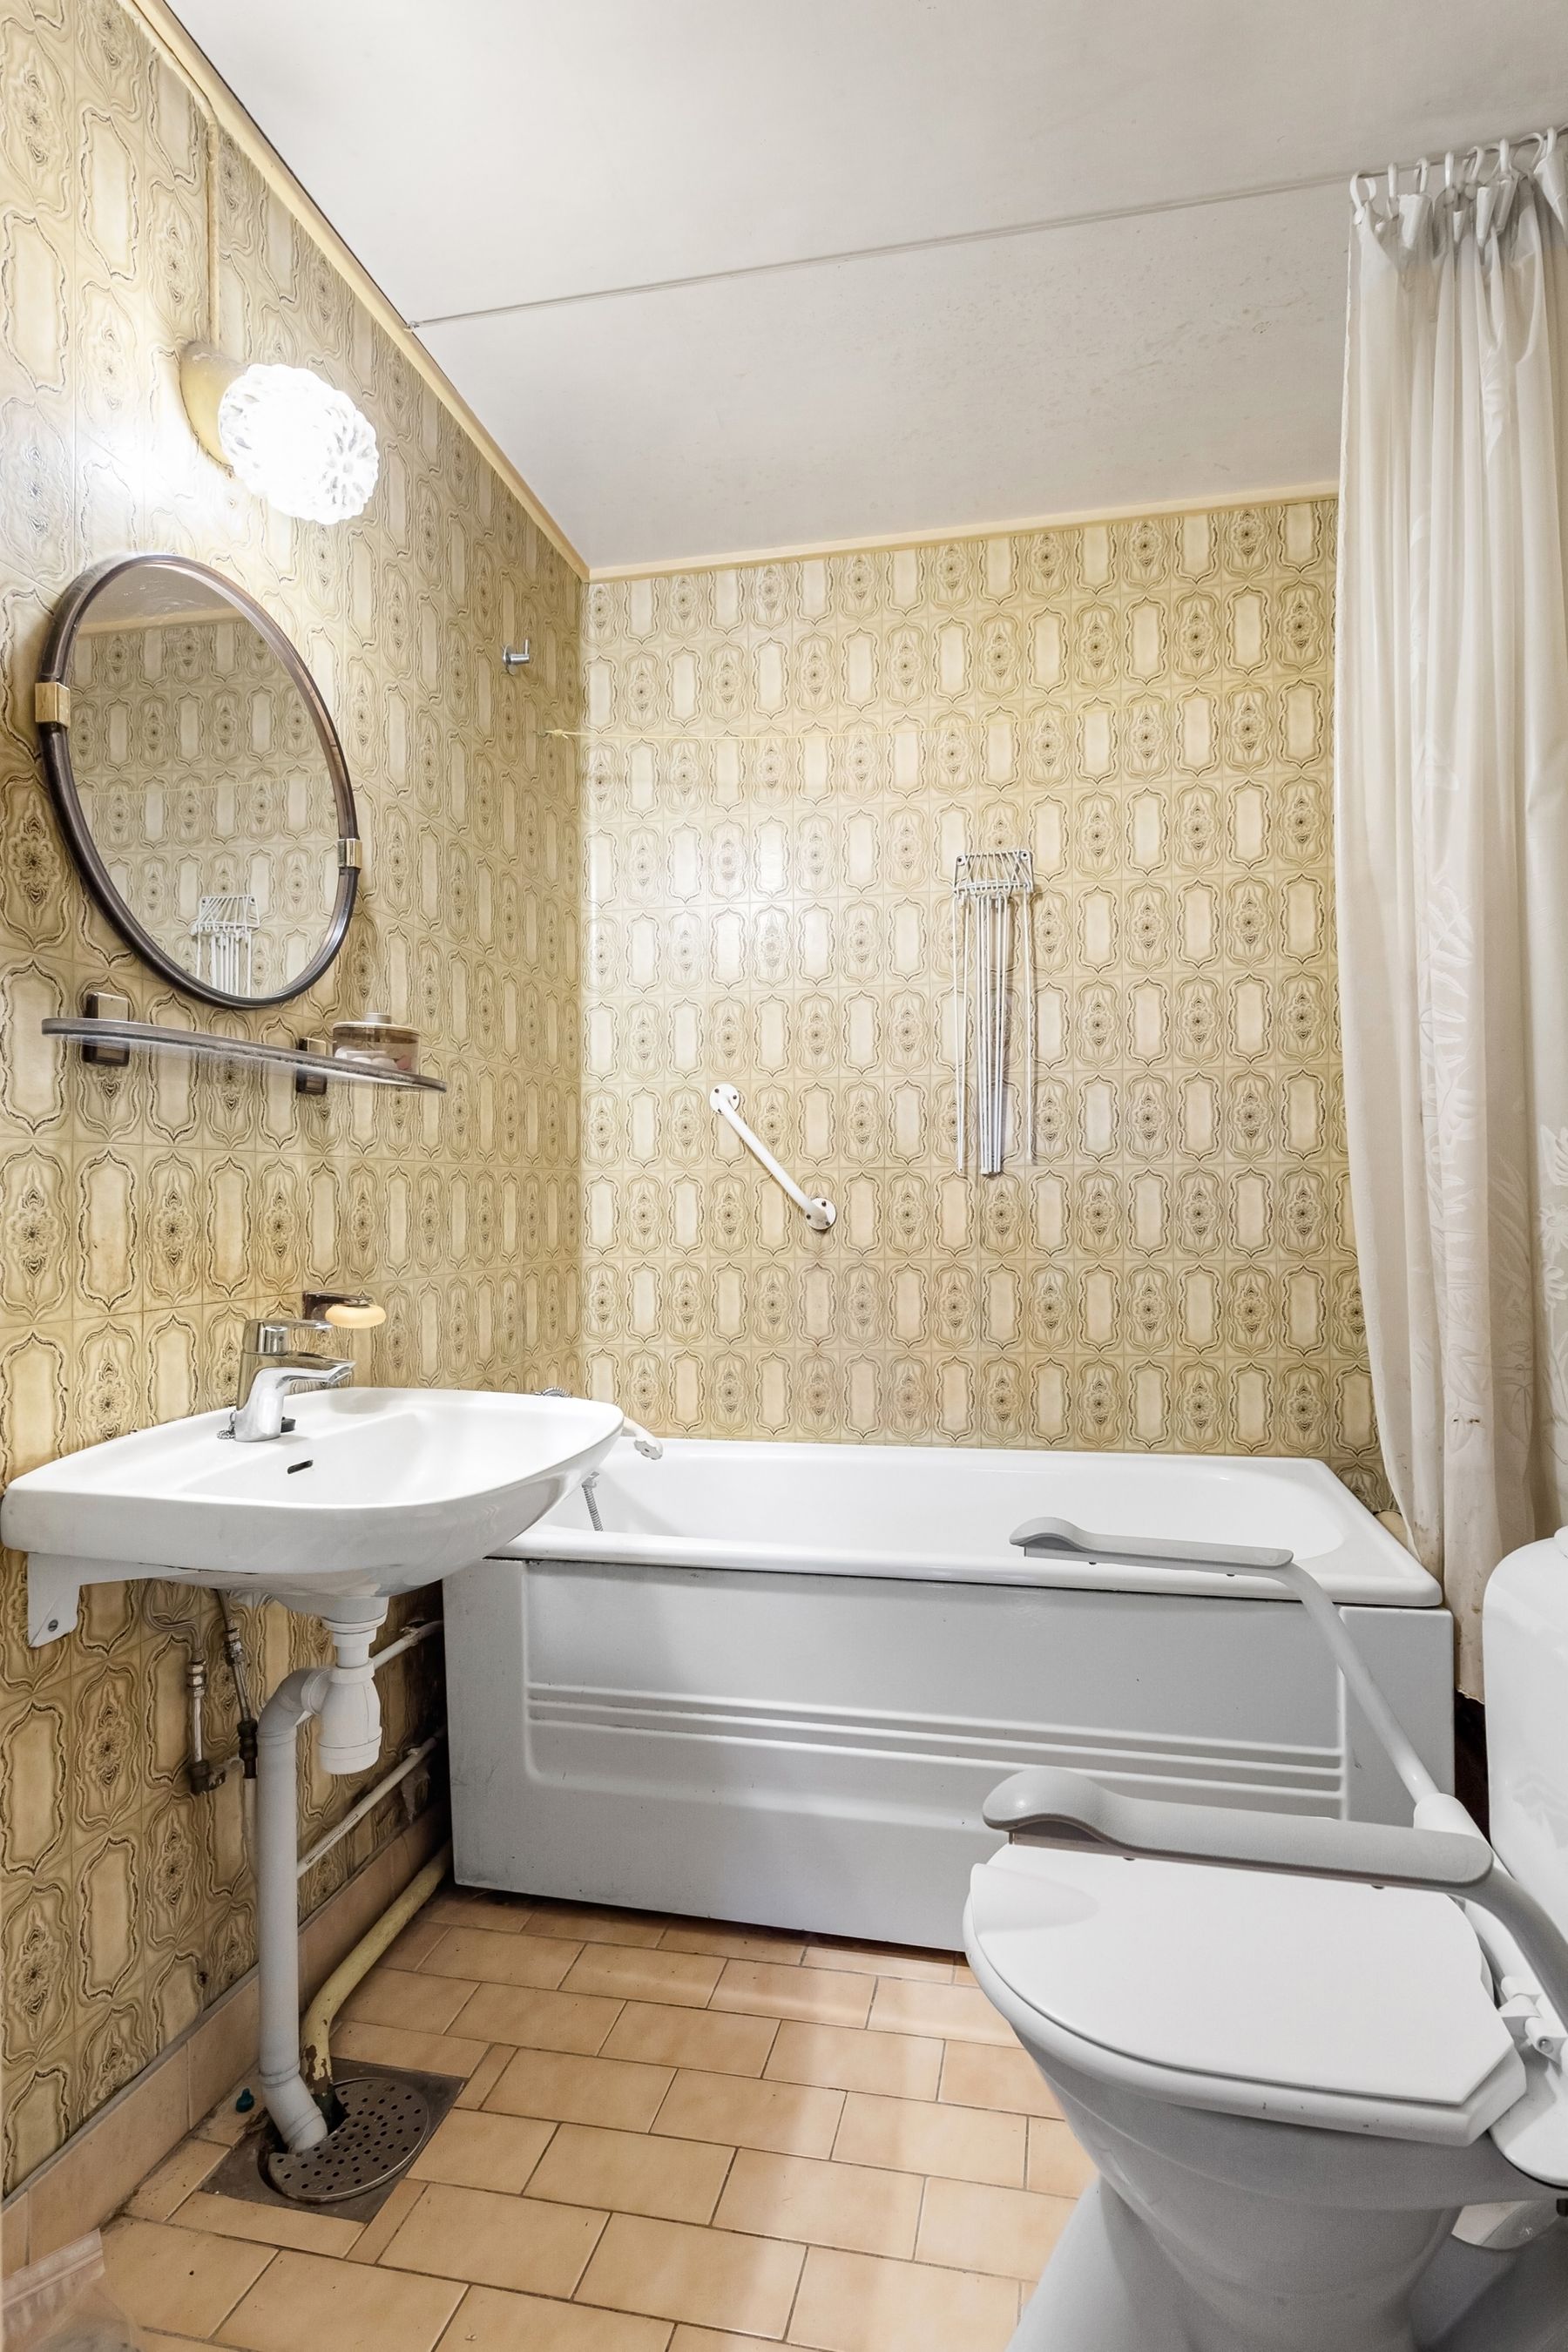
Plan Ventilation as Part of the Finish Strategy
Timber, wallpaper, framed mirrors and painted trim make moisture control especially important. Mechanical extraction should be sized and positioned for the room, and air needs a route to enter when the door is closed. Leave service access where fans, valves and traps may require maintenance; concealing everything behind decorative joinery can turn a minor repair into demolition. Good ventilation is not visually vintage, but it is what allows the vintage layer to keep looking intentional rather than swollen, stained or musty.
Maintain Decorative Fixtures as Working Equipment
Ornate basins, stone tops, aged metal and detailed tile collect residue in more places than flat contemporary surfaces. Ask how each finish should be cleaned, whether replacement cartridges and seals are available, and which cleaners could damage patina or porous stone. Keep shutoffs and traps accessible, reseal vulnerable materials on the recommended schedule and store the product information with the renovation records. A vintage bathroom should be allowed to age; it should not be allowed to fail invisibly.