Plan the Route Before the Finishes
Draw the path from the door to the basin, toilet, shower and bath with every door, drawer and glass panel shown open. A modern bathroom feels calm because these movements do not compete, not because the cabinetry lacks handles. Protect a comfortable standing zone at the vanity, keep the toilet out of the first sightline where the plan allows, and avoid forcing someone to cross the main wet area to reach a towel. Plumbing, structure and drainage may constrain the ideal diagram, so resolve them before the visual concept hardens.
Draw a Real Wet-to-Dry Boundary
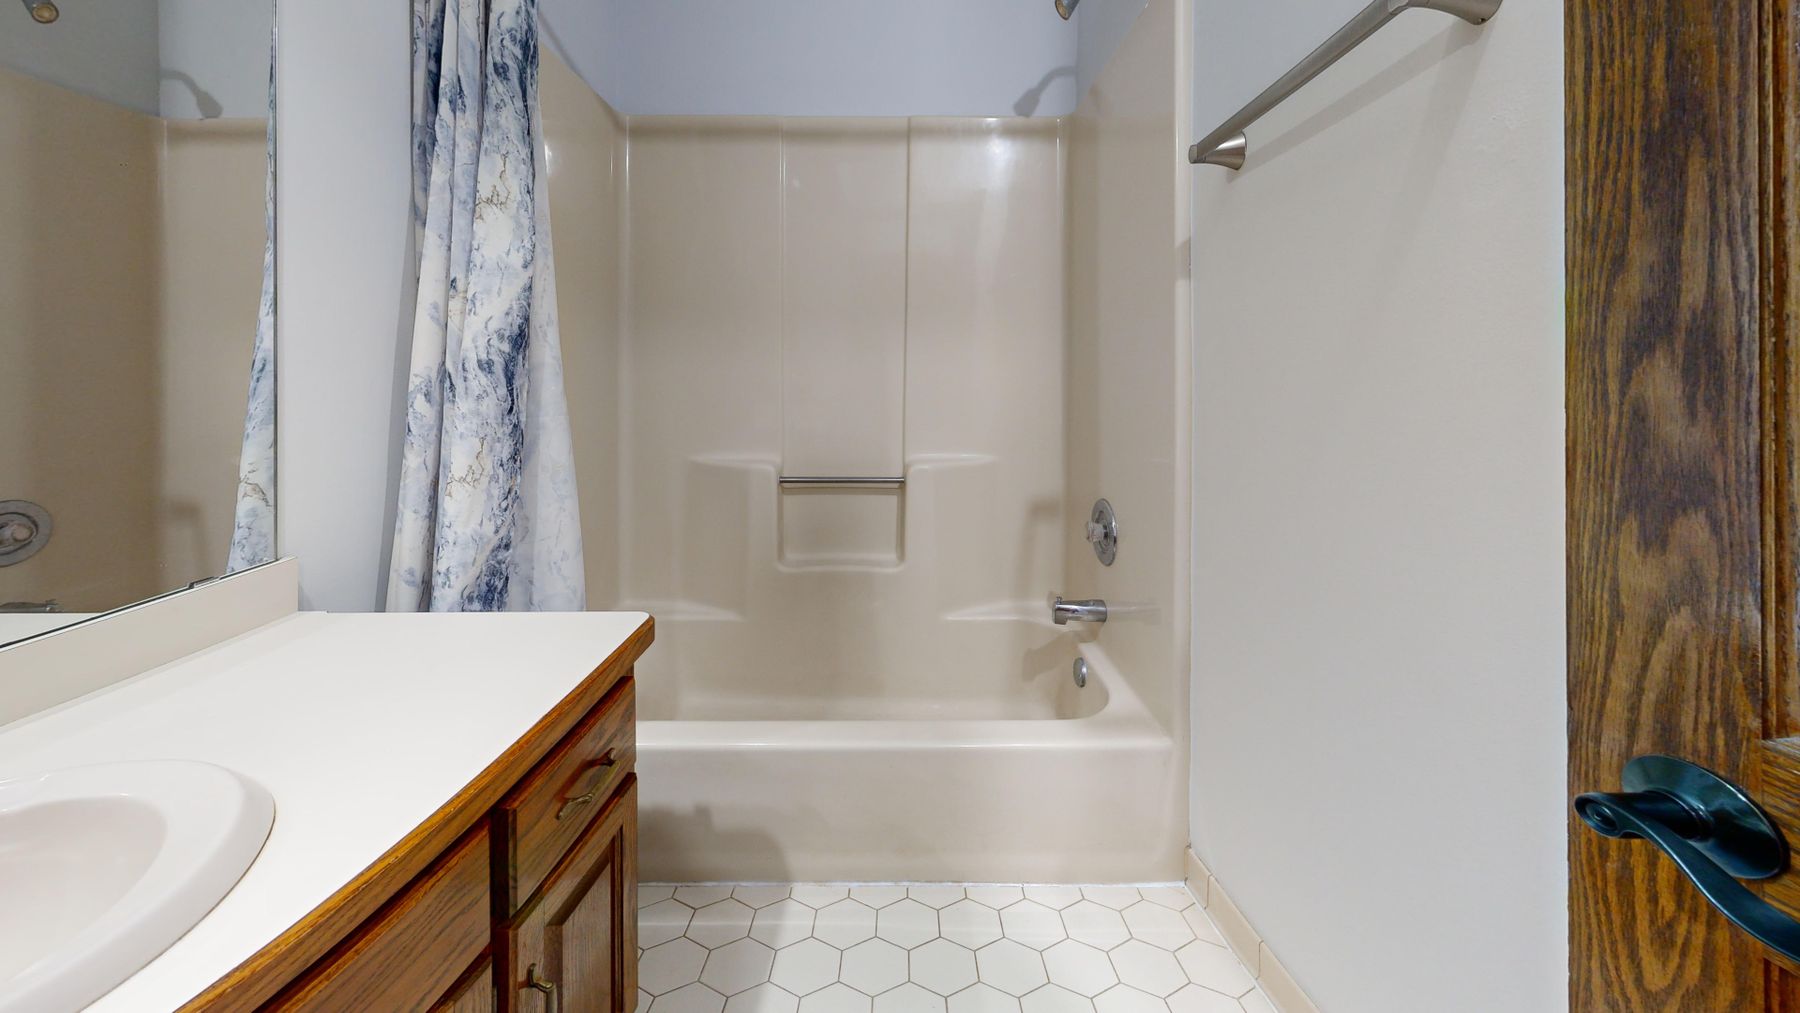
Open glass and continuous flooring can make a room look larger, but a visual boundary is not automatically a functional one. Test where water lands when the shower is used, where a mat can sit, whether the vanity side panel needs protection and how someone reaches the towel without dripping across the room. A slim fixed screen, a change in ceiling height or a contained tile field can define the wet zone without making the bathroom feel compartmentalized. The best solution controls spray while preserving the sightline that makes the plan feel modern.
Compose the Vanity as One Elevation
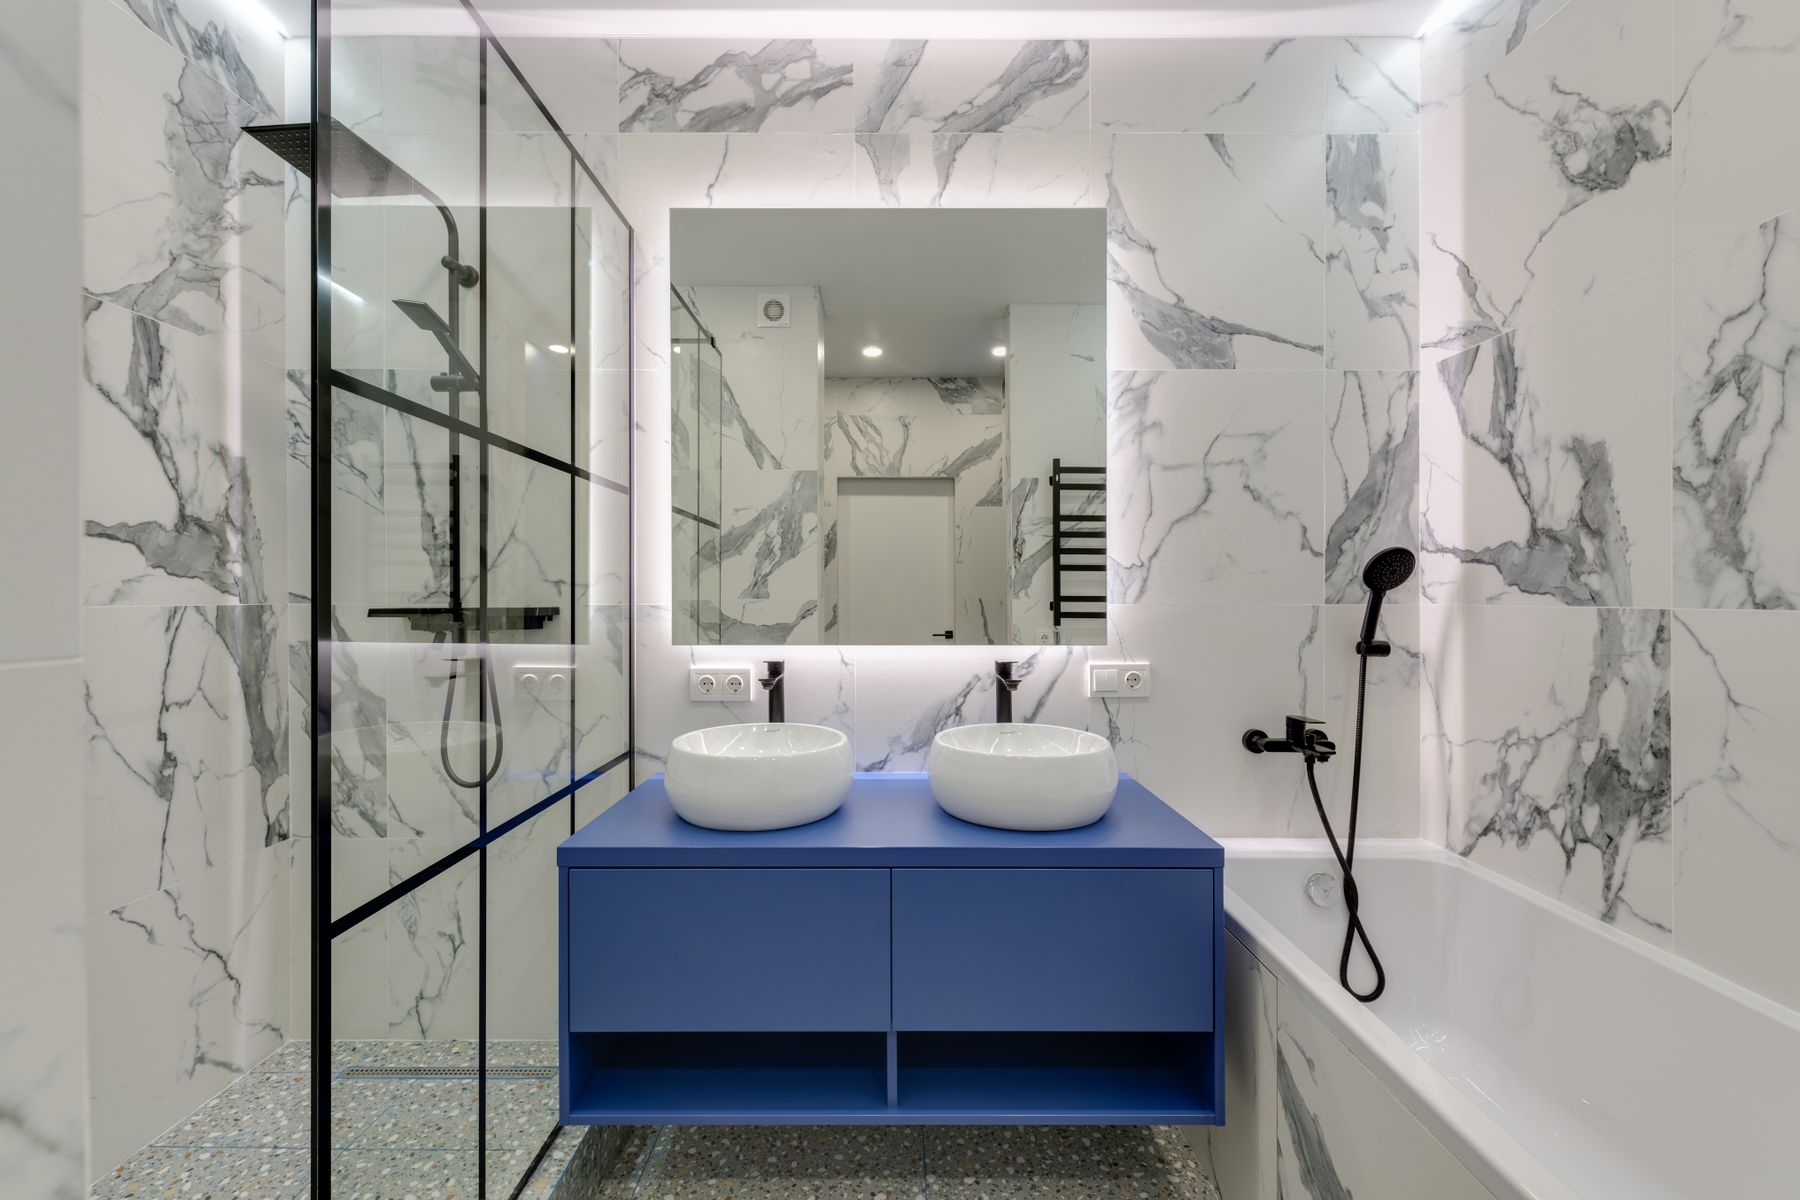
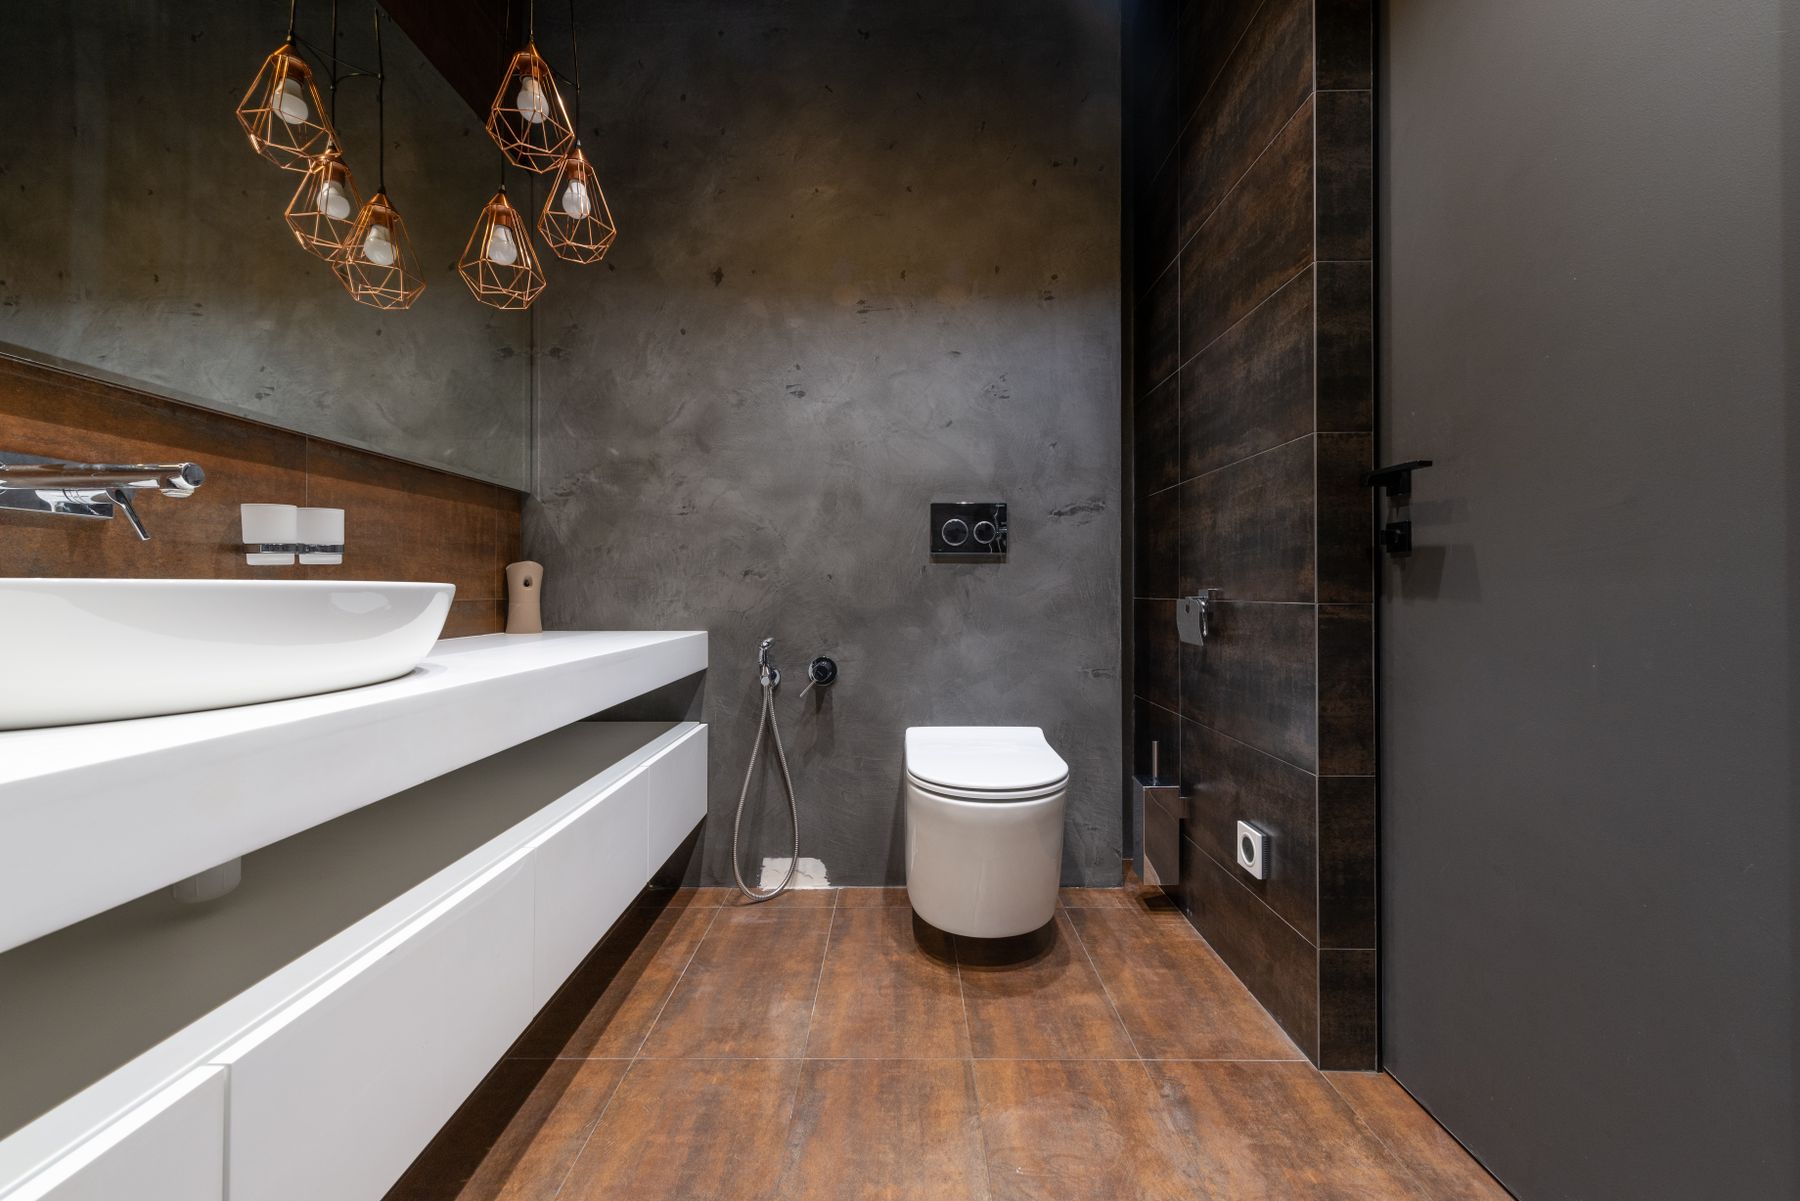
The vanity, basin, faucet, mirror, light, outlets and storage should be designed together. A floating unit emphasizes a horizontal line; a floor-standing unit can provide more capacity and visual weight. Align the mirror with the usable basin position rather than the cabinet edge by habit, and check that the faucet, backsplash and medicine cabinet can all open or be cleaned. When every component follows one datum, the wall feels architectural even if the products come from different ranges.
Size Storage From an Inventory, Not a Render
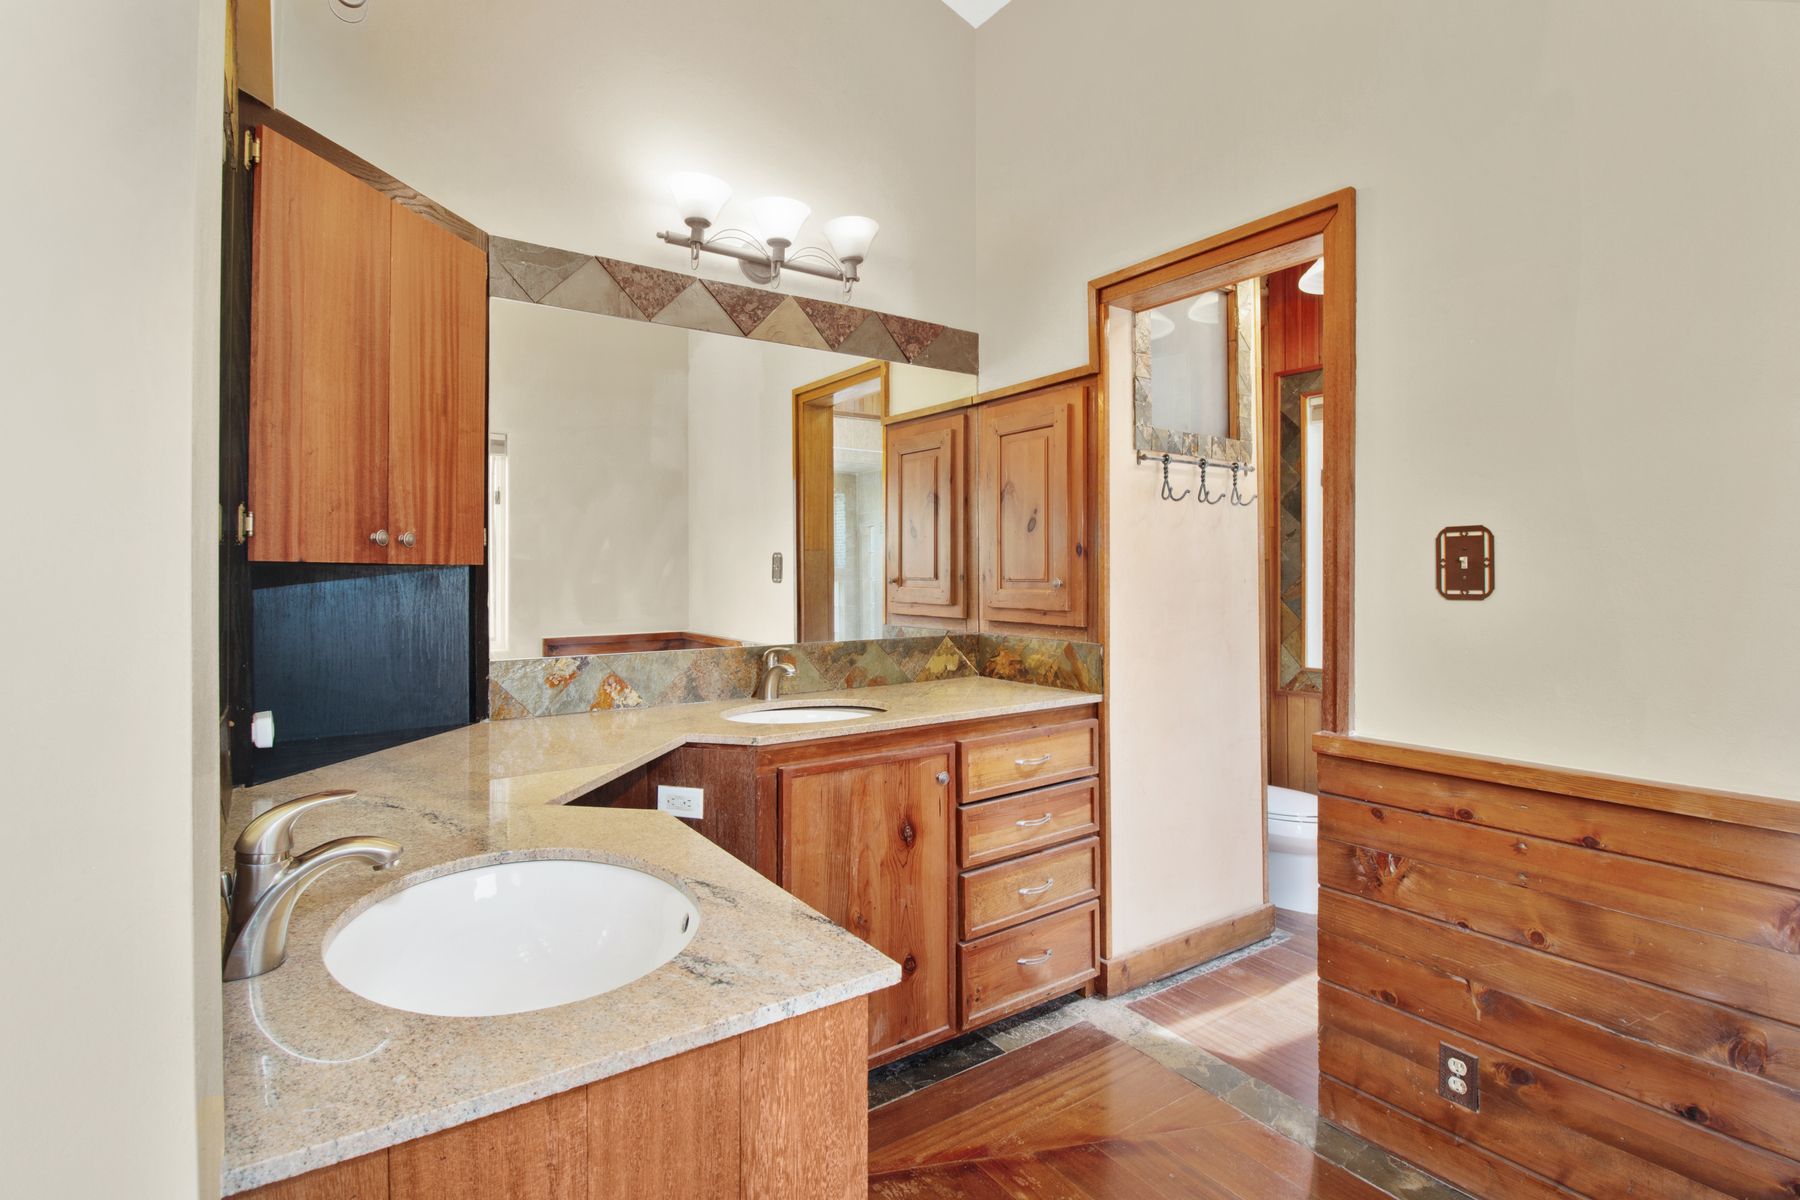
A clean countertop depends on somewhere realistic for toothbrushes, skincare, towels, cleaning supplies, spare paper and electrical tools to live. Divide the inventory into daily, weekly and backup items, then decide what belongs in shallow drawers, a medicine cabinet, a tall cupboard or elsewhere in the home. Double vanities are not always more useful than one basin with wider storage. Internal organizers, outlets and plumbing cutouts matter more to daily order than a perfectly minimal door front.
Float Elements Only When It Improves the Room
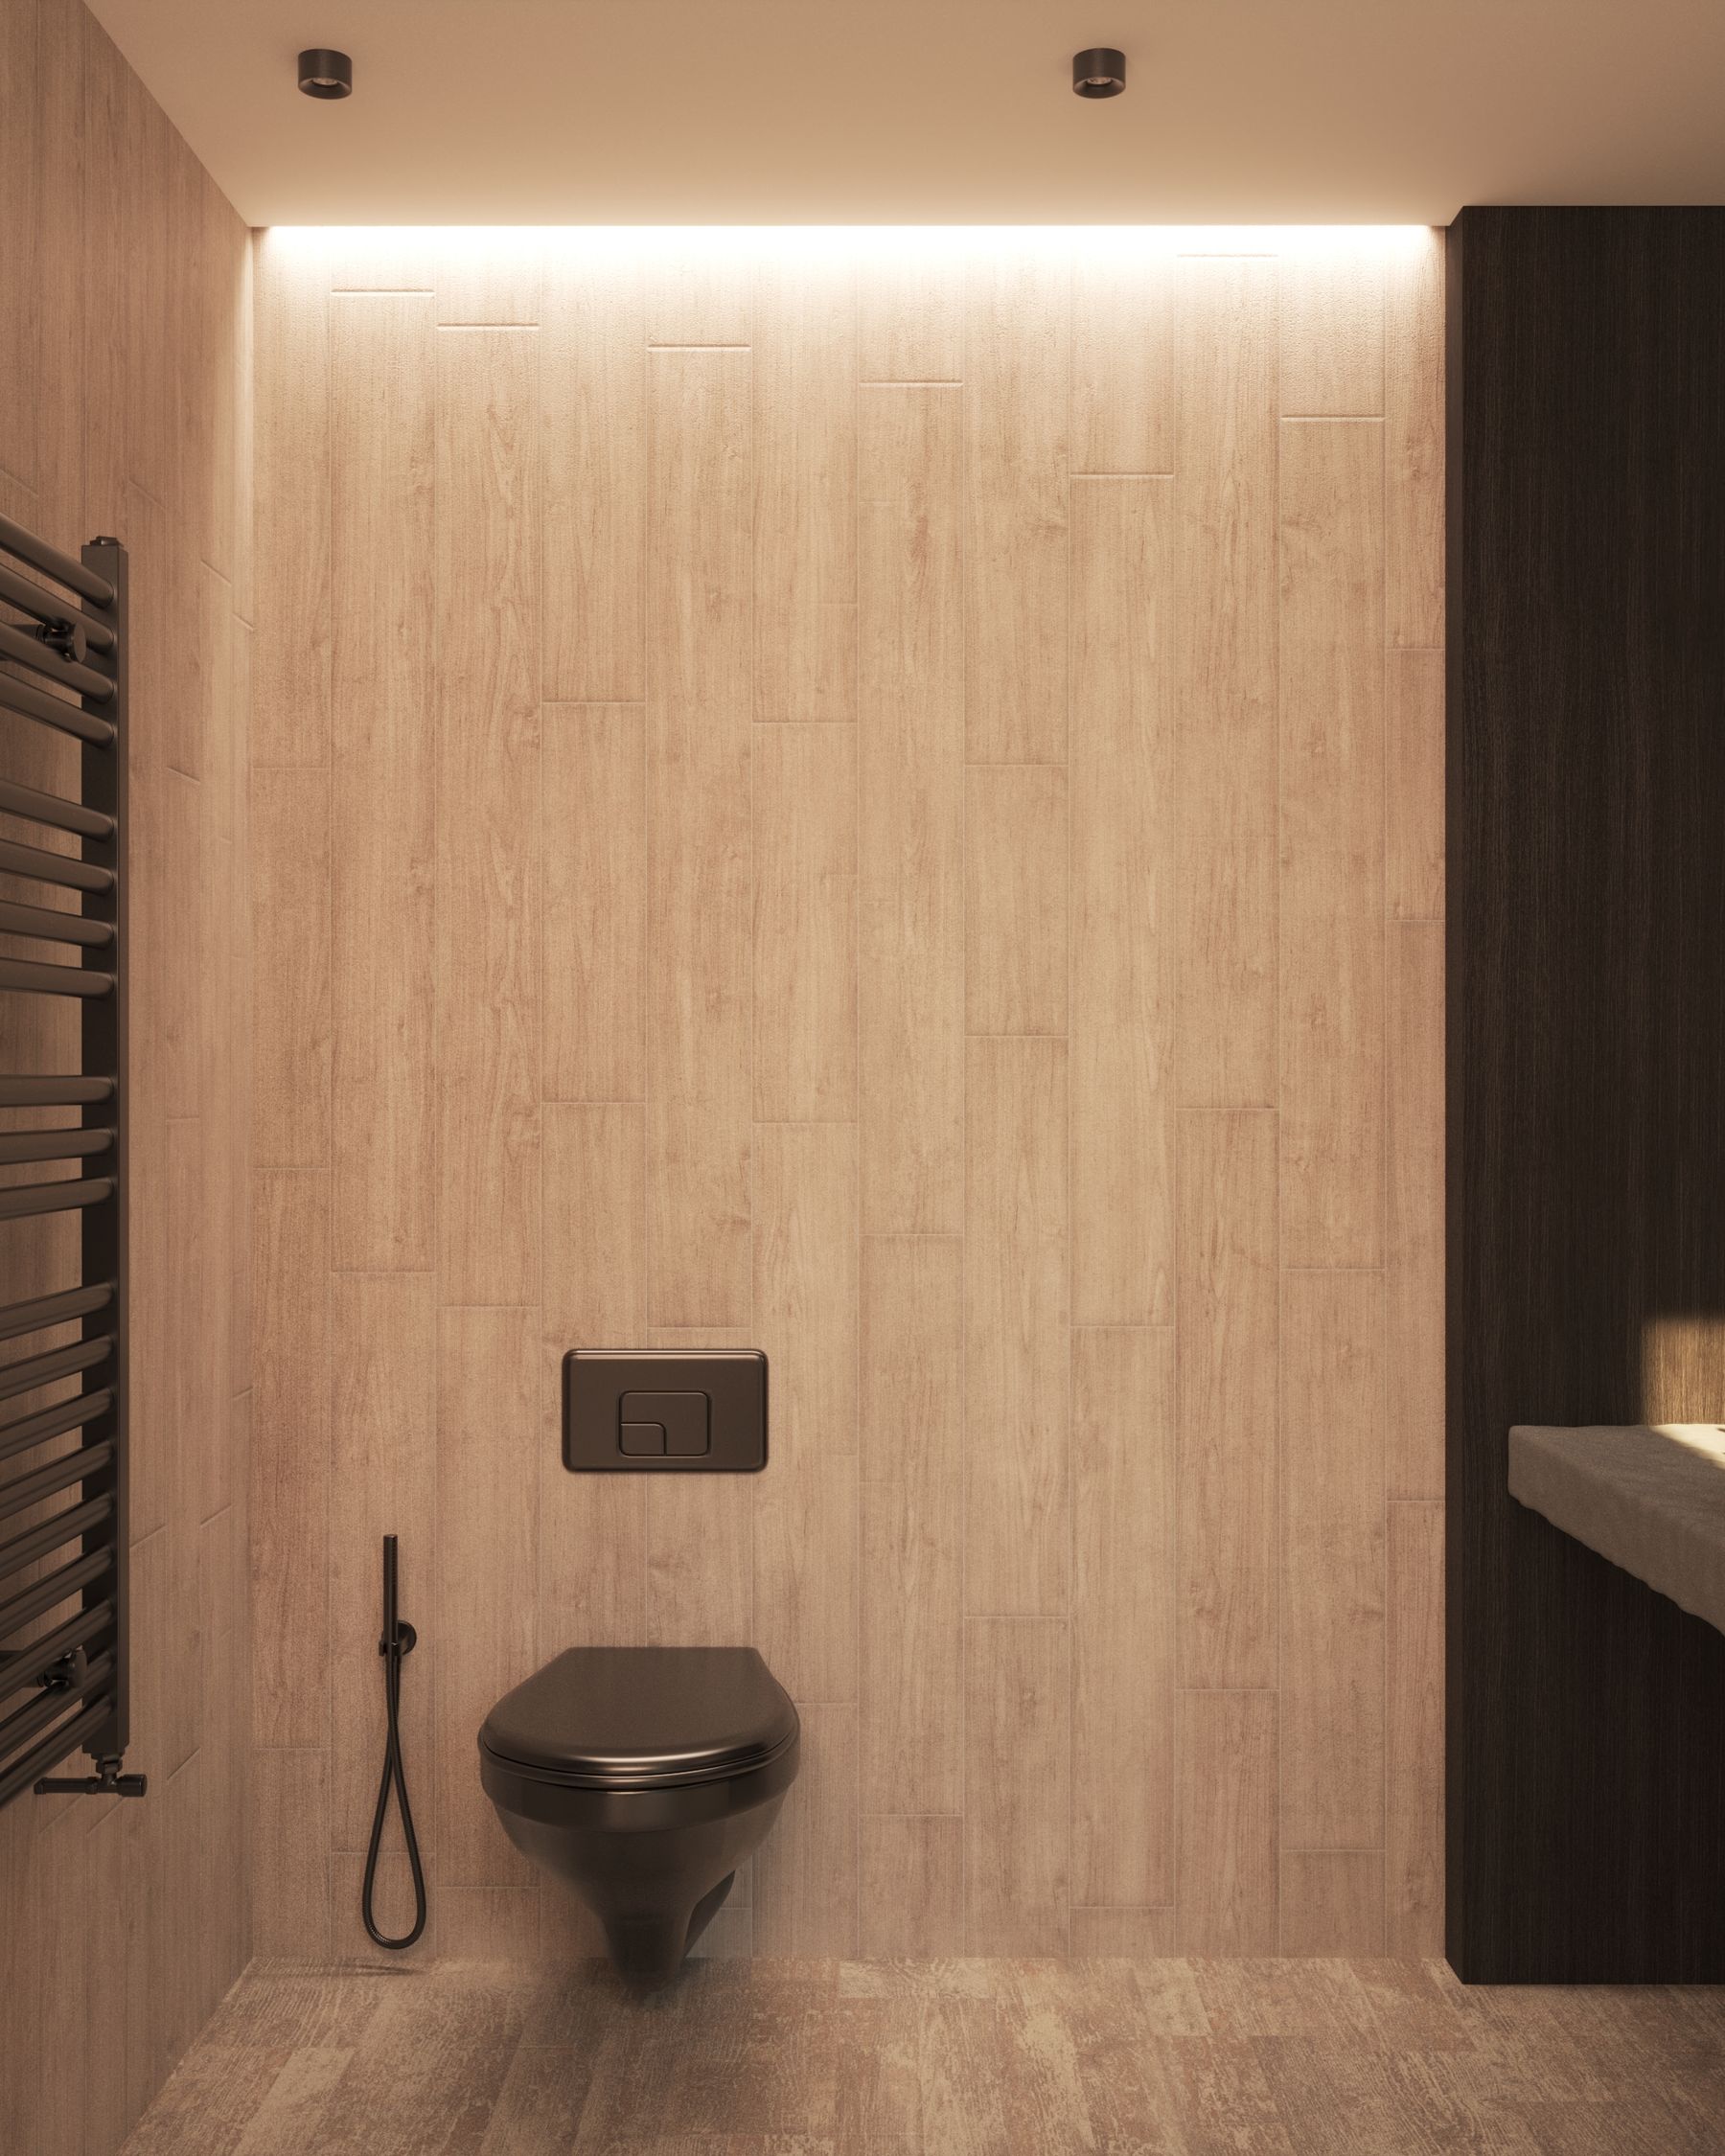
A wall-hung vanity or toilet exposes more floor, simplifies some cleaning and can make a compact room feel lighter. It also requires suitable structure, concealed plumbing and careful installation. Do not sacrifice useful storage or service access simply to create a shadow line. In a narrow bathroom, lifting one substantial element is usually enough; making every item float can leave the room visually restless and complicate future repair.
Choose the Quietest Shower Enclosure That Works
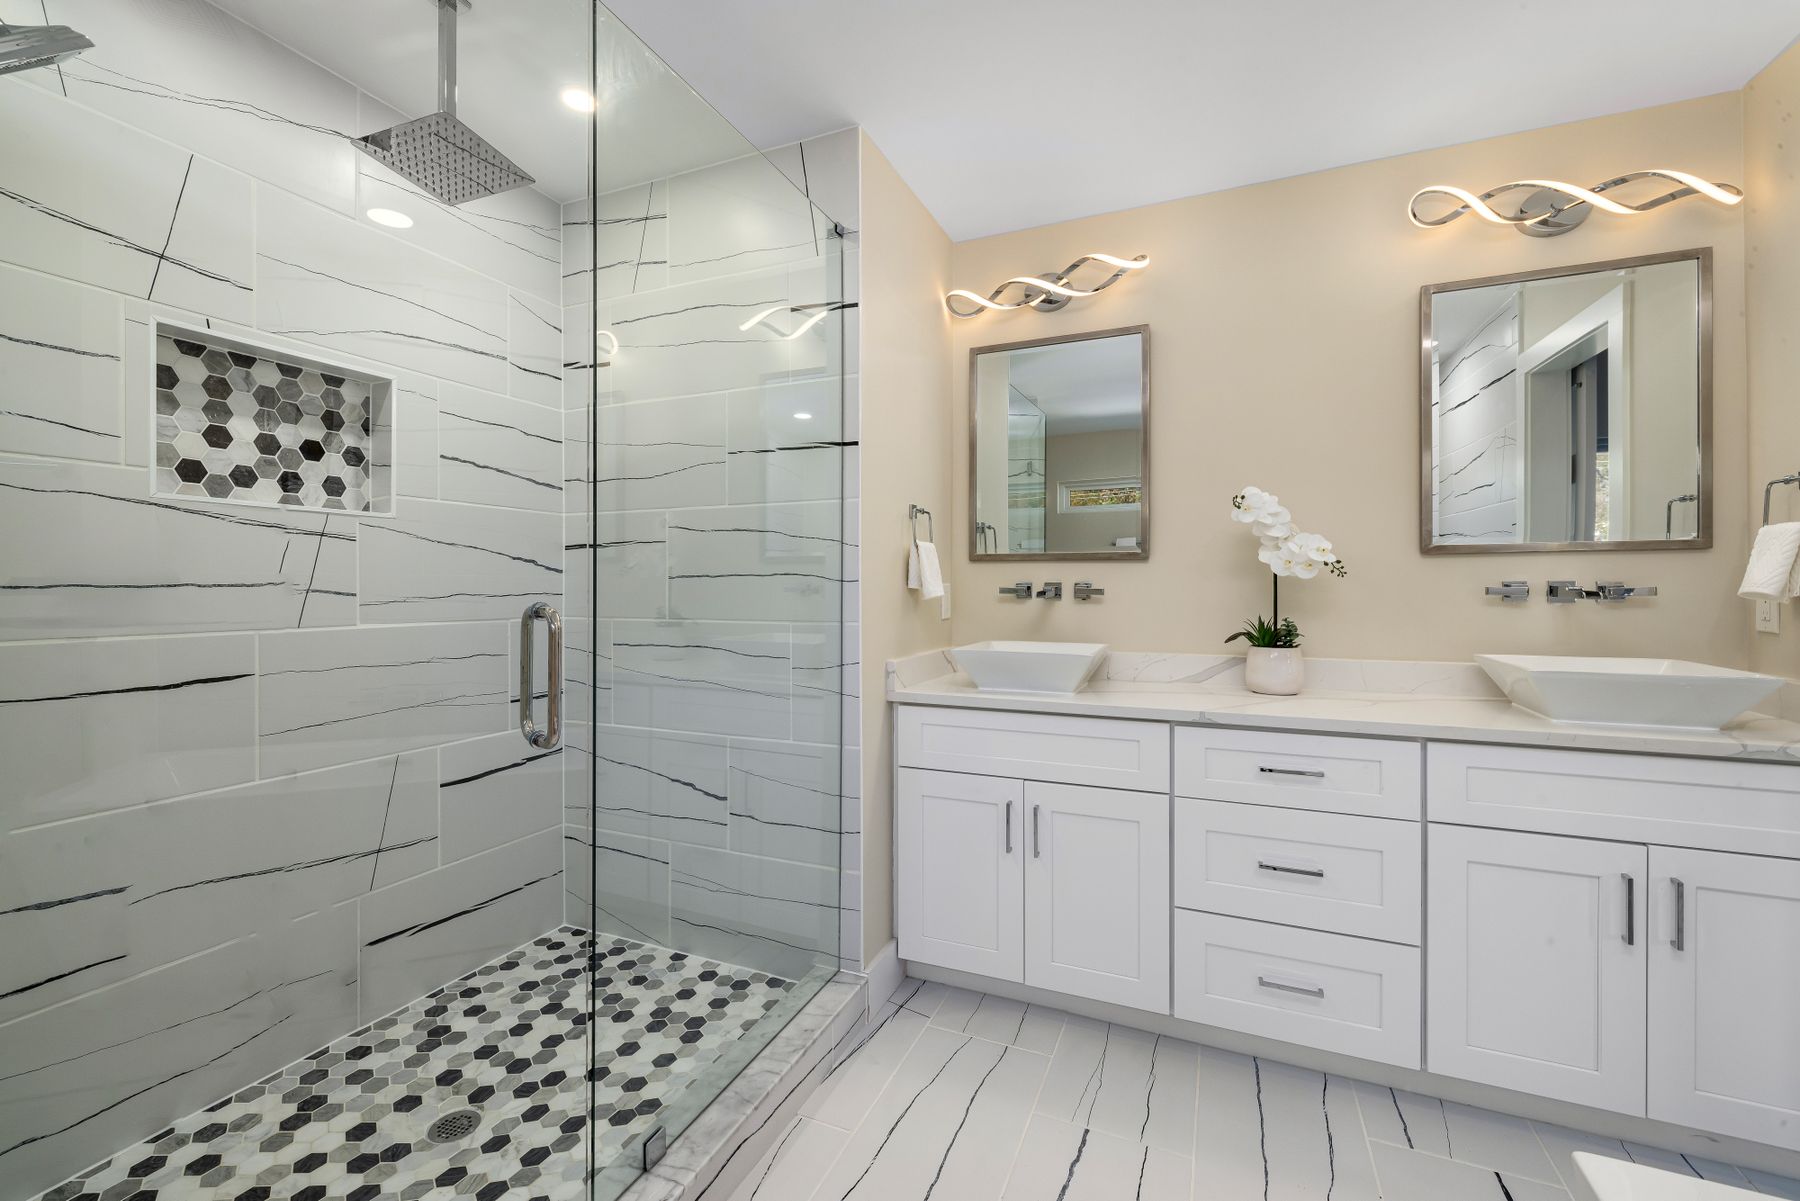
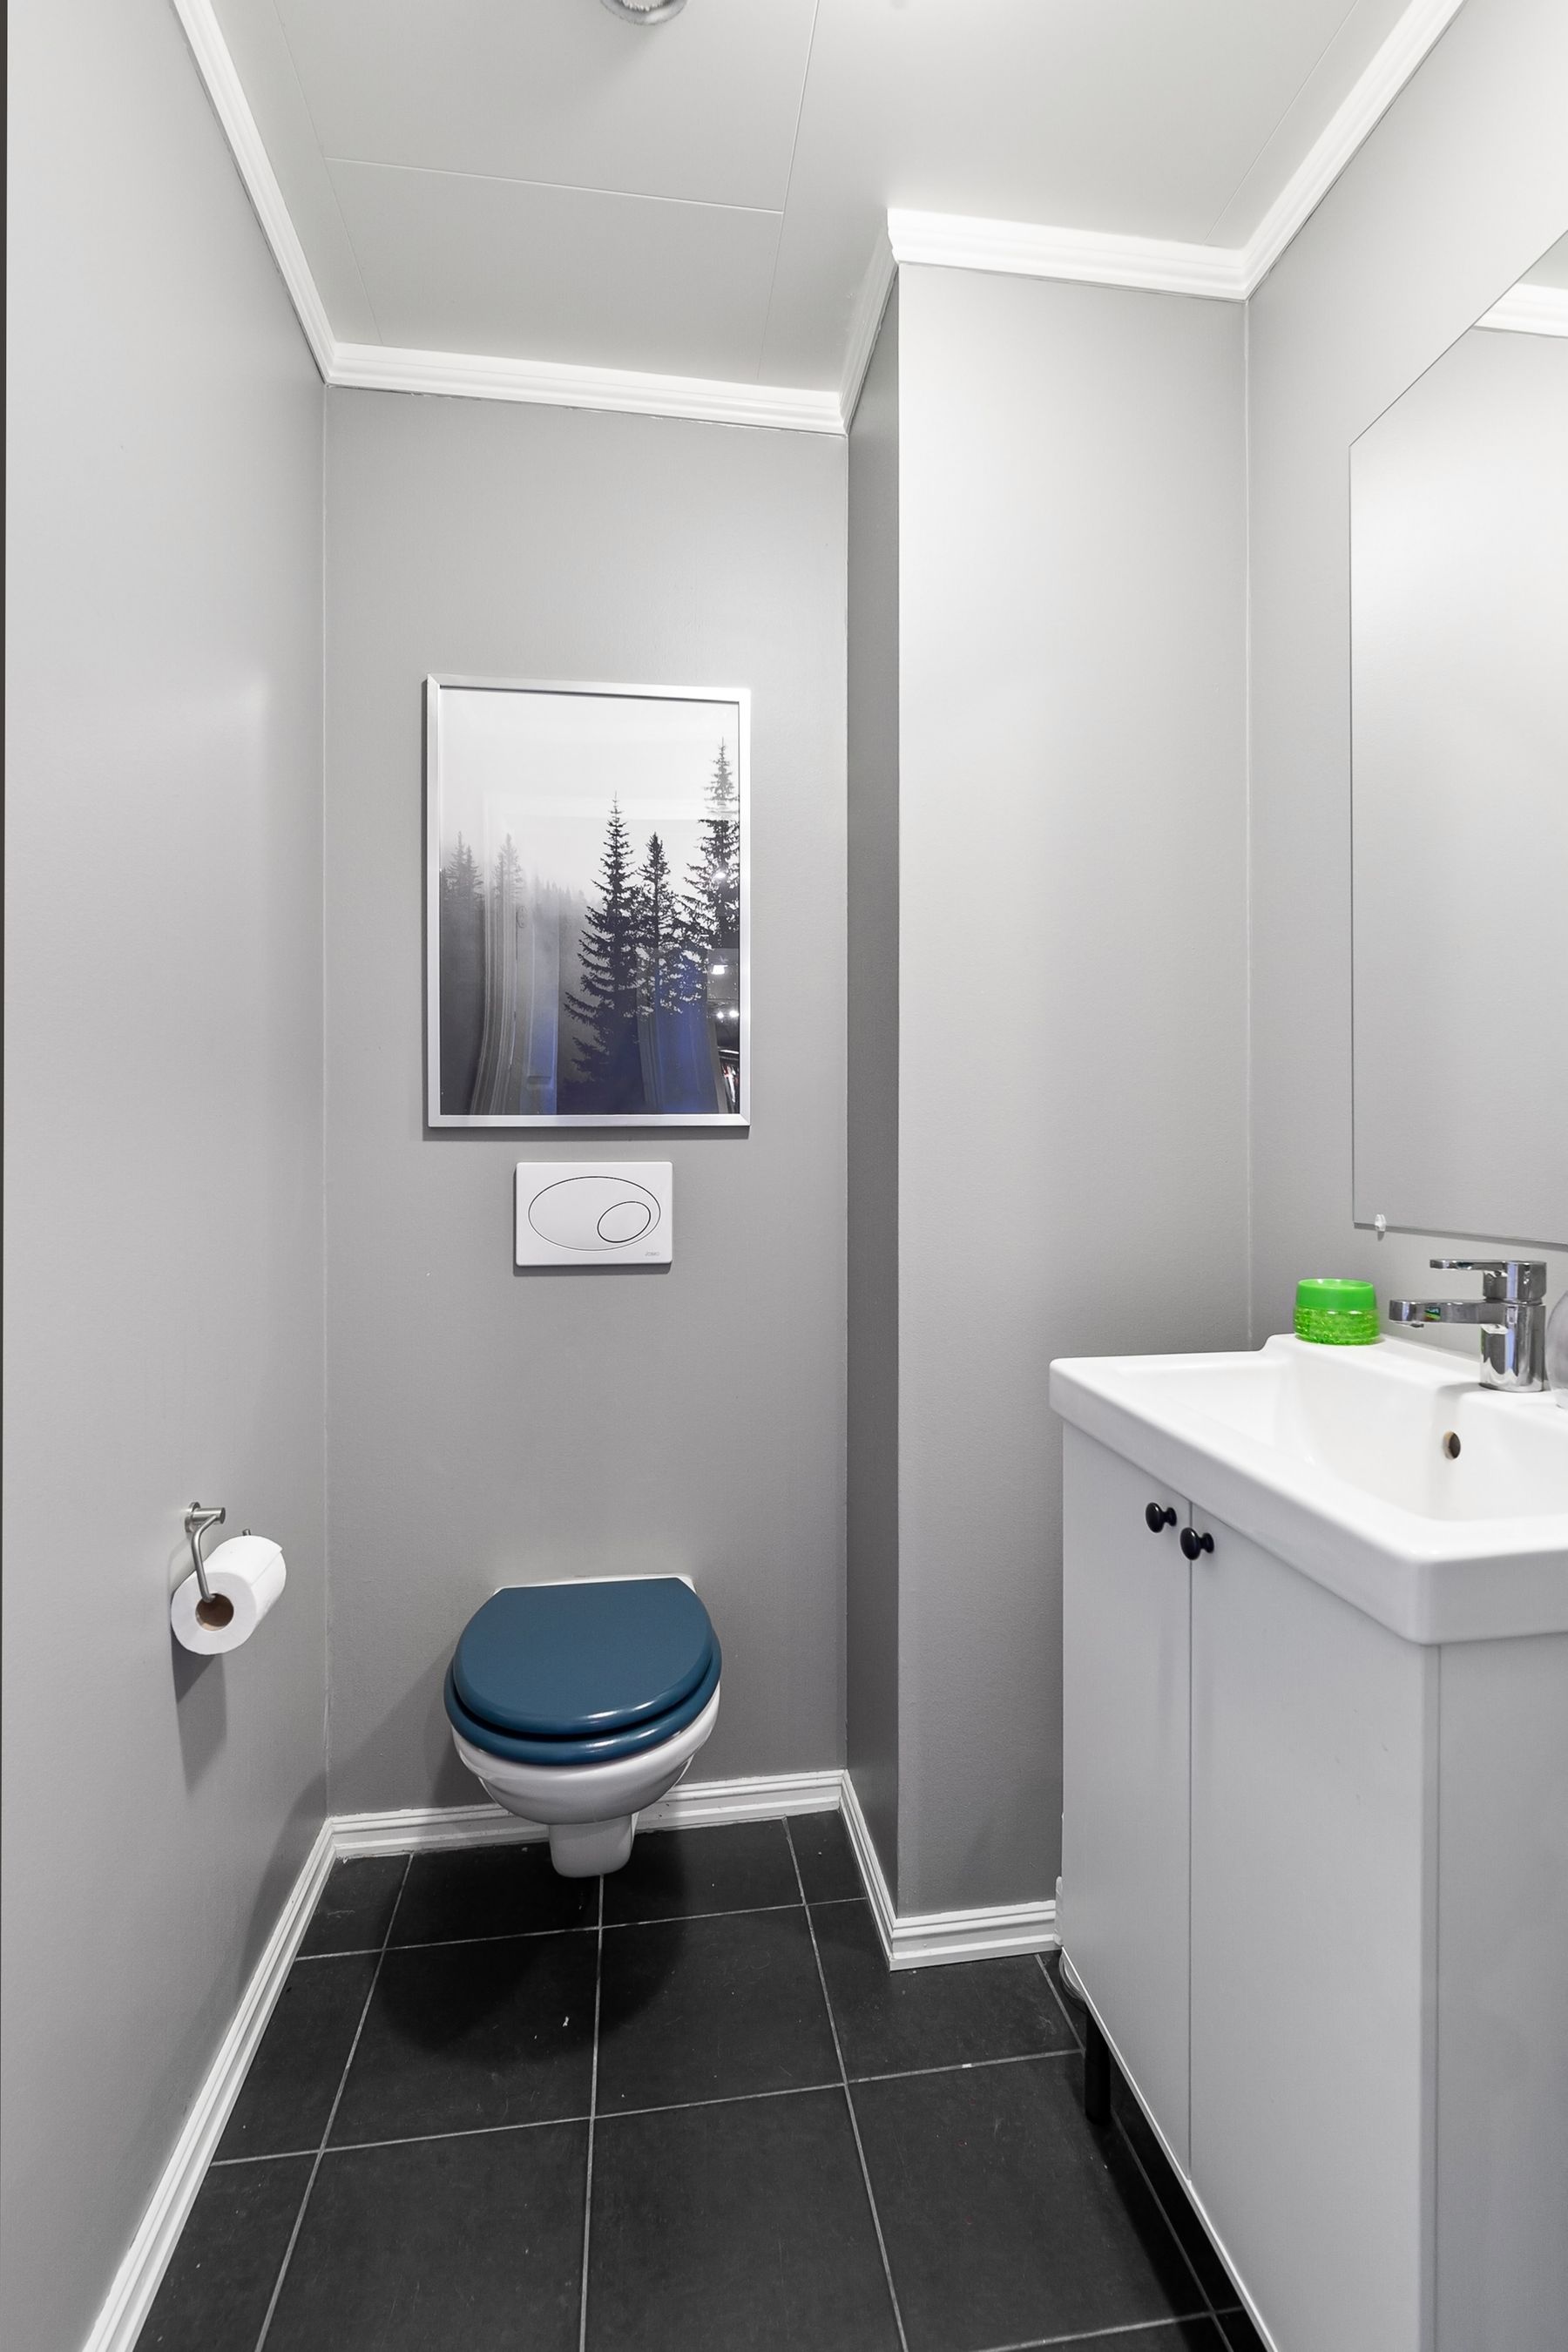
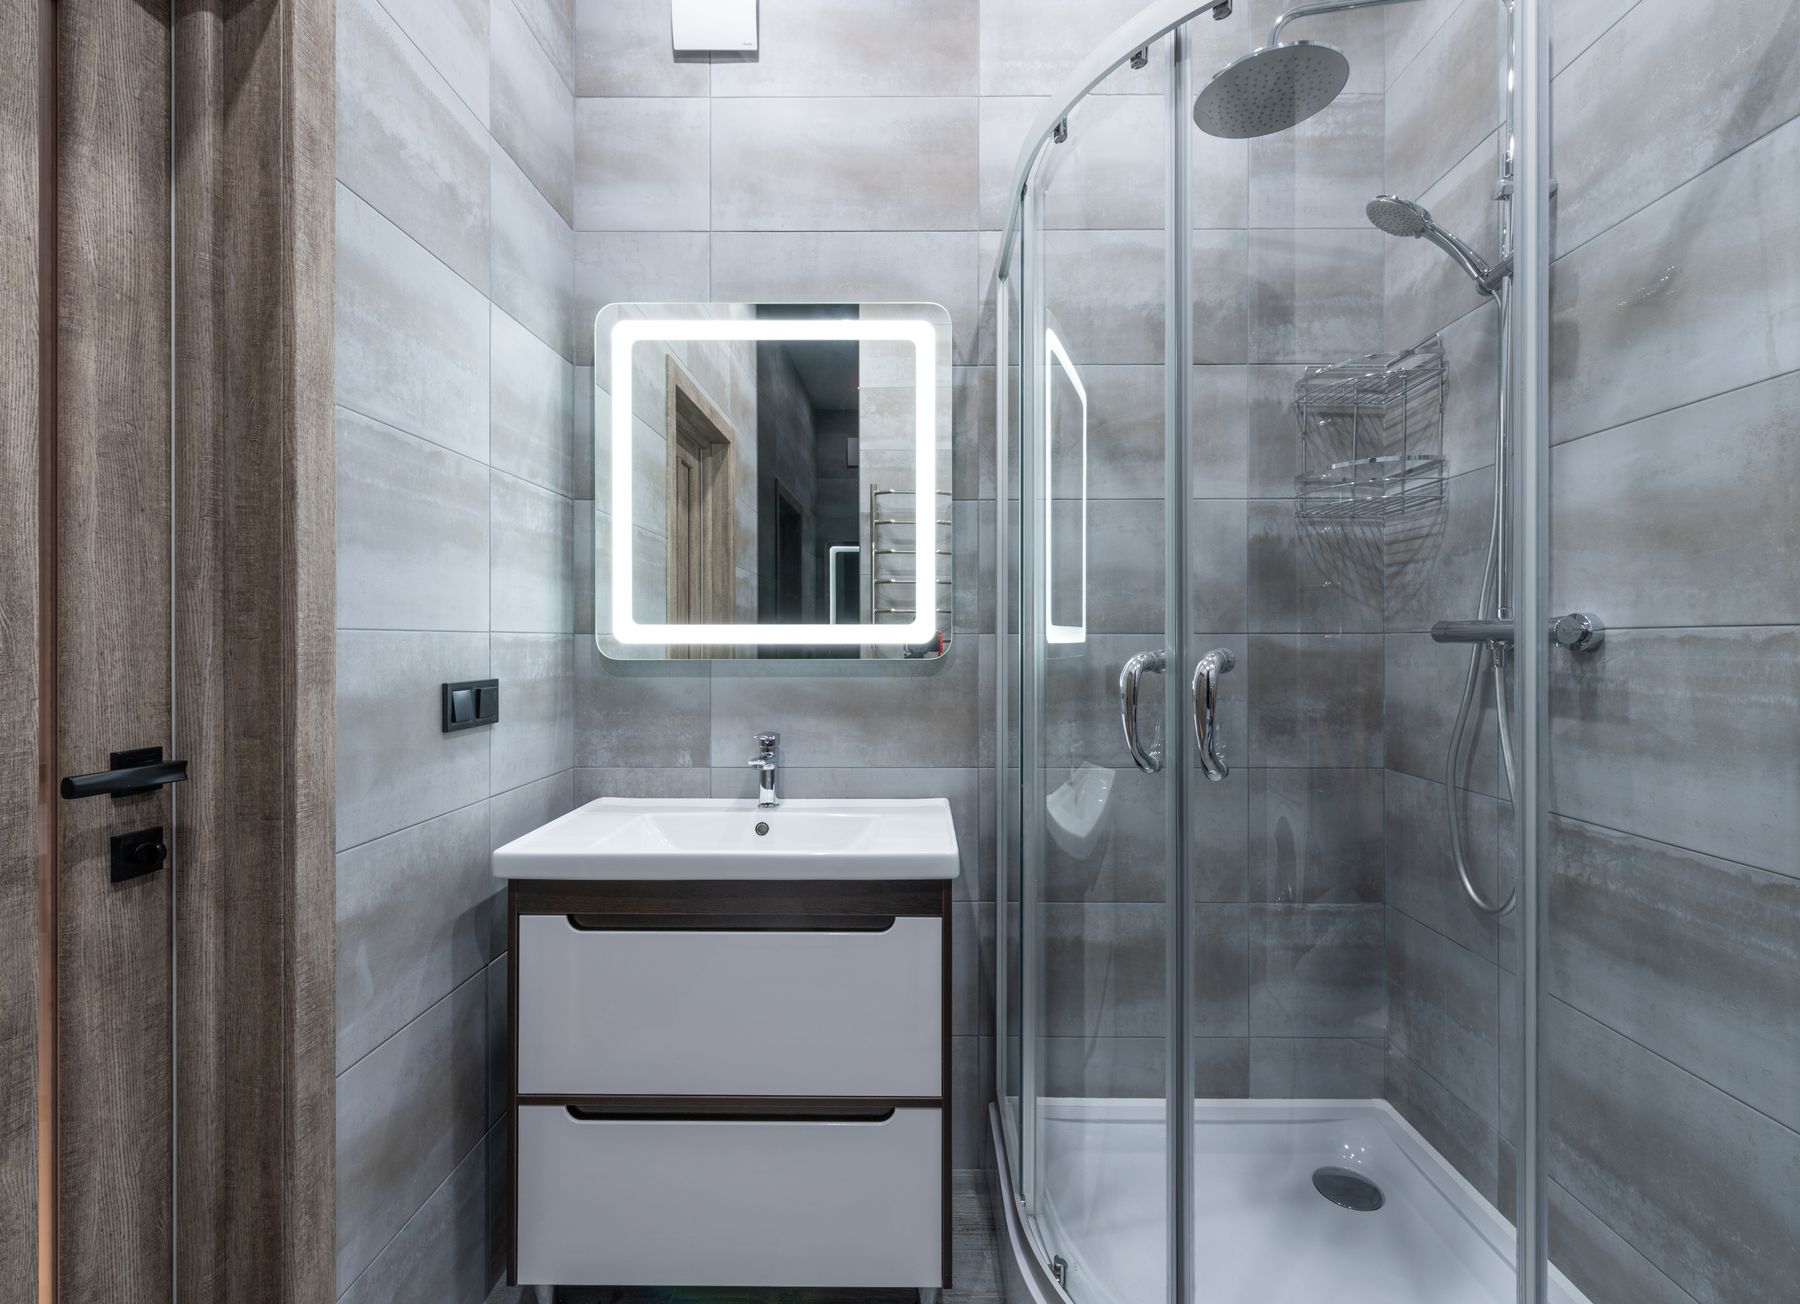
Clear glass can preserve long sightlines and let tile act as the background, but less framing is not always better. The enclosure still has to resist movement, contain spray and leave enough access for cleaning hinges and seals. A fixed panel suits some layouts; a hinged door needs swing space; a slider introduces more tracks but can solve a tight plan. Treat the hardware as part of the room's line work and choose the simplest safe format for the opening.
Make Curbless Access an Early Decision
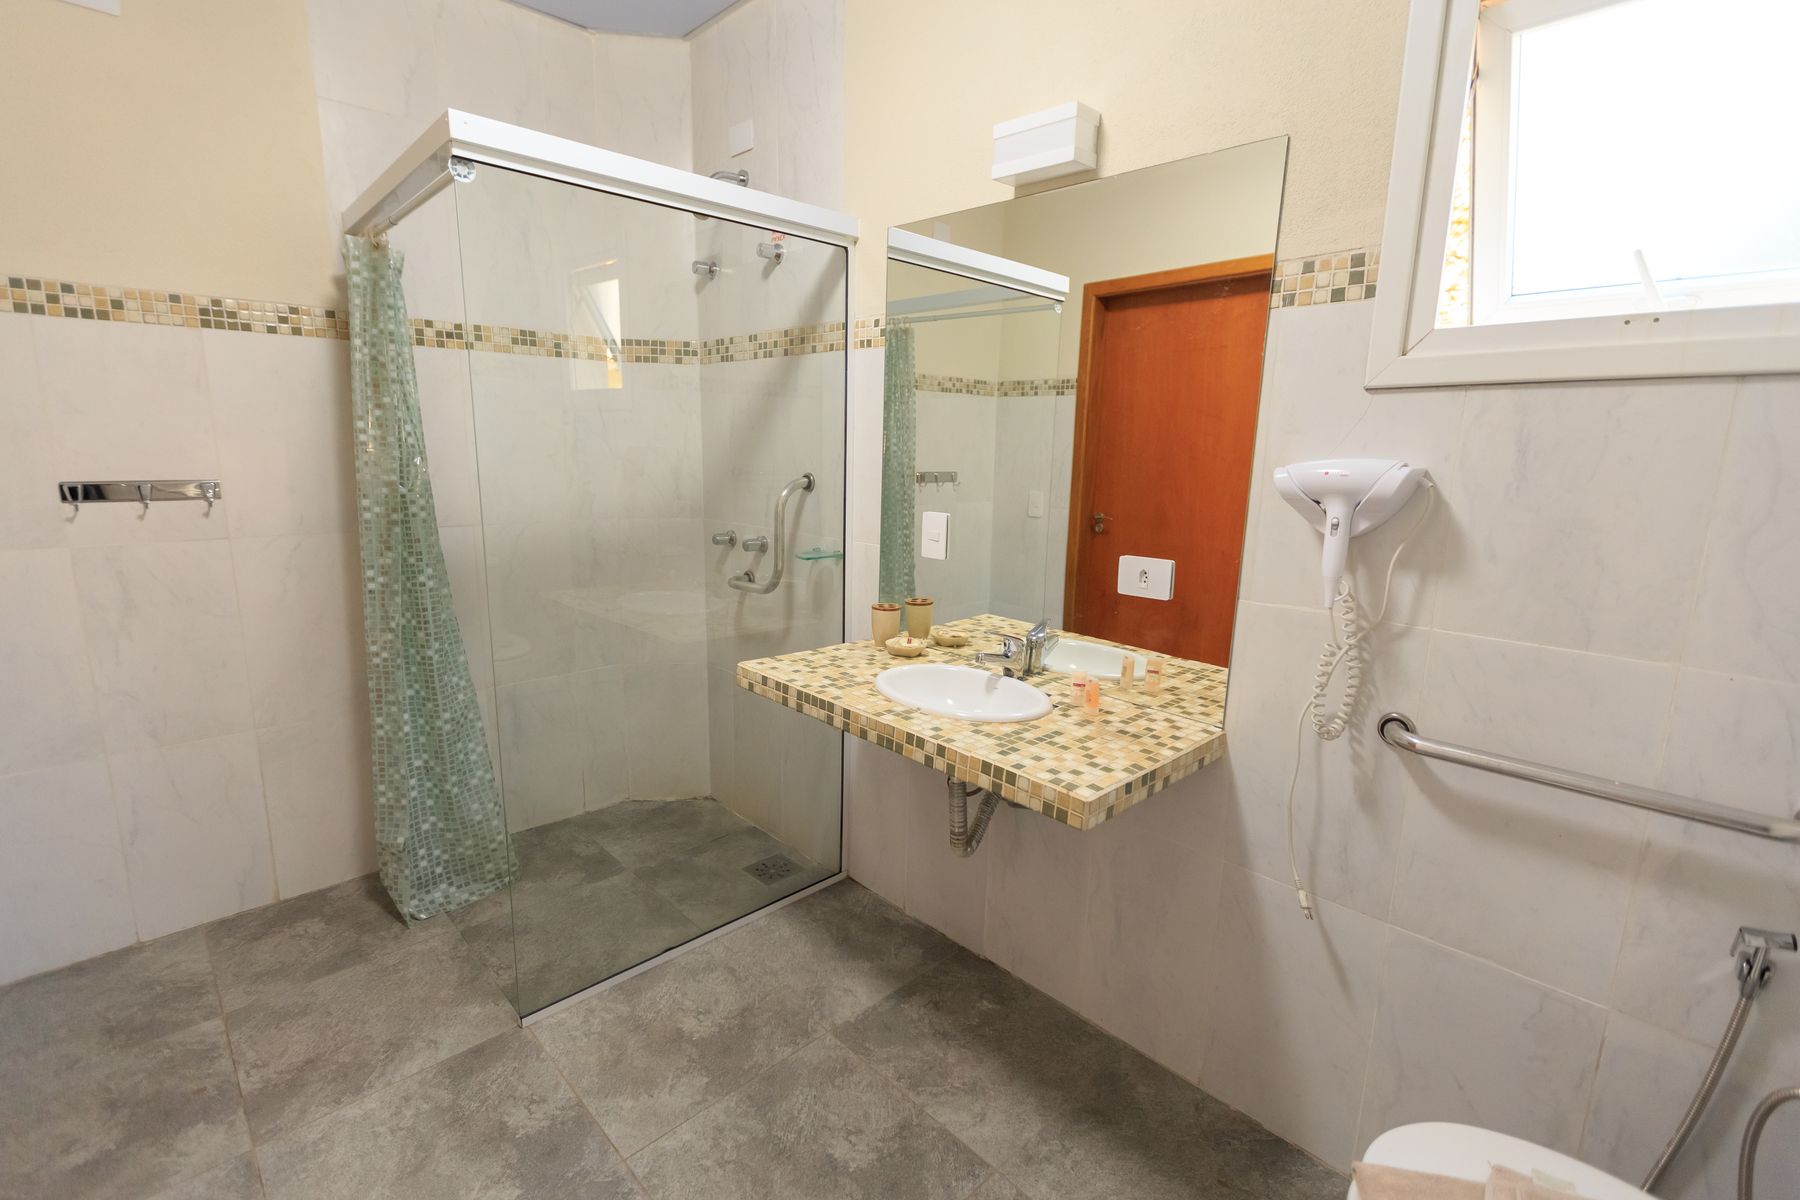
A level shower entry can reduce a trip point and make the floor plane feel continuous, but it depends on structure, falls, drainage and waterproofing that cannot be improvised late. Plan enough maneuvering room, a reachable control position and a place for a bench or support if it may be needed. Integrated grab bars can share the finish language of the taps and accessories rather than looking like an afterthought. Exact dimensions and reinforcement should be resolved for the users and local requirements by qualified professionals.
Choose Bath, Shower or Both From Daily Use
A freestanding bath is not automatically more modern than an integrated one, and a large shower is not automatically a better use of space. Consider who bathes, who showers, whether children or pets use the room, and how the household may change. Freestanding tubs need cleaning clearance and accessible fittings; built-in baths can provide a ledge and simpler shower containment. If neither function is used often, investing in a generous shower and storage may produce the stronger room.
Set Large Tile From the Important Sightlines
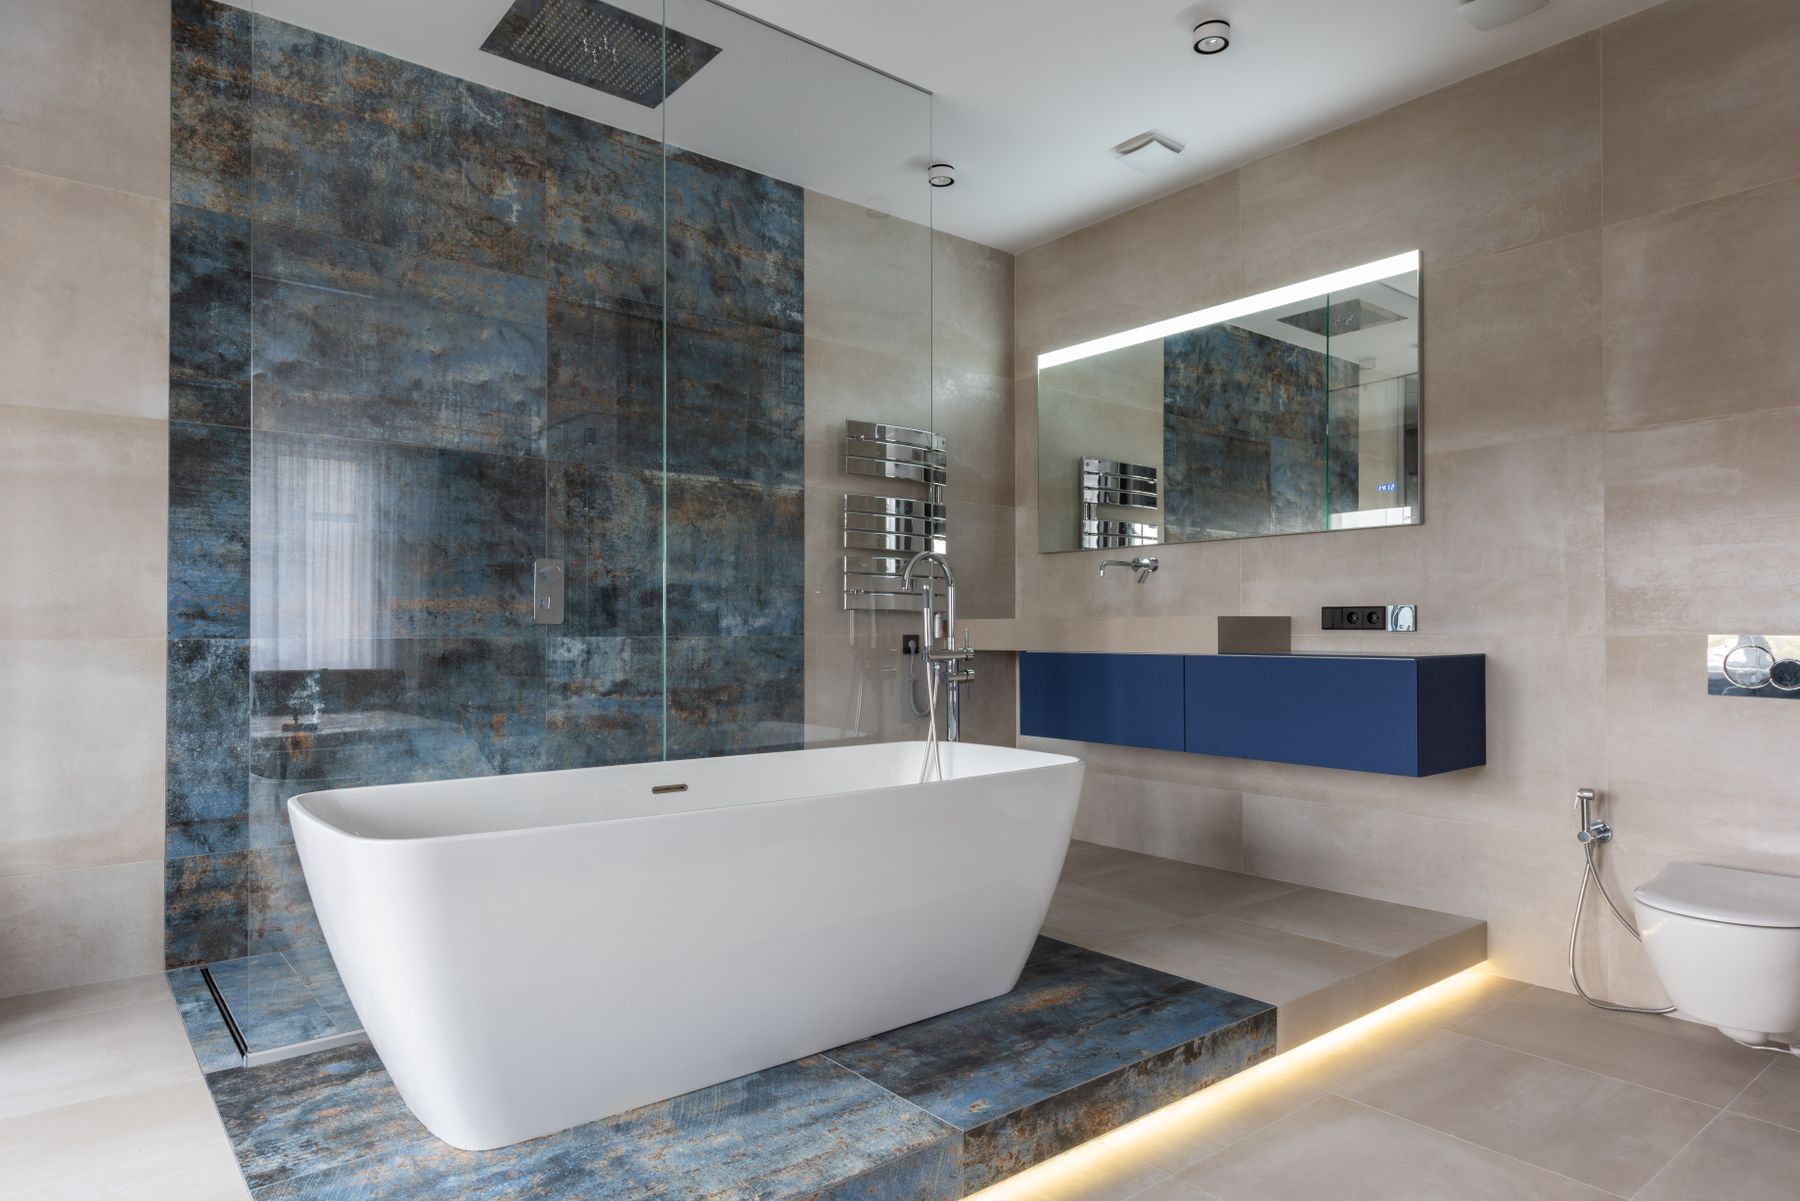
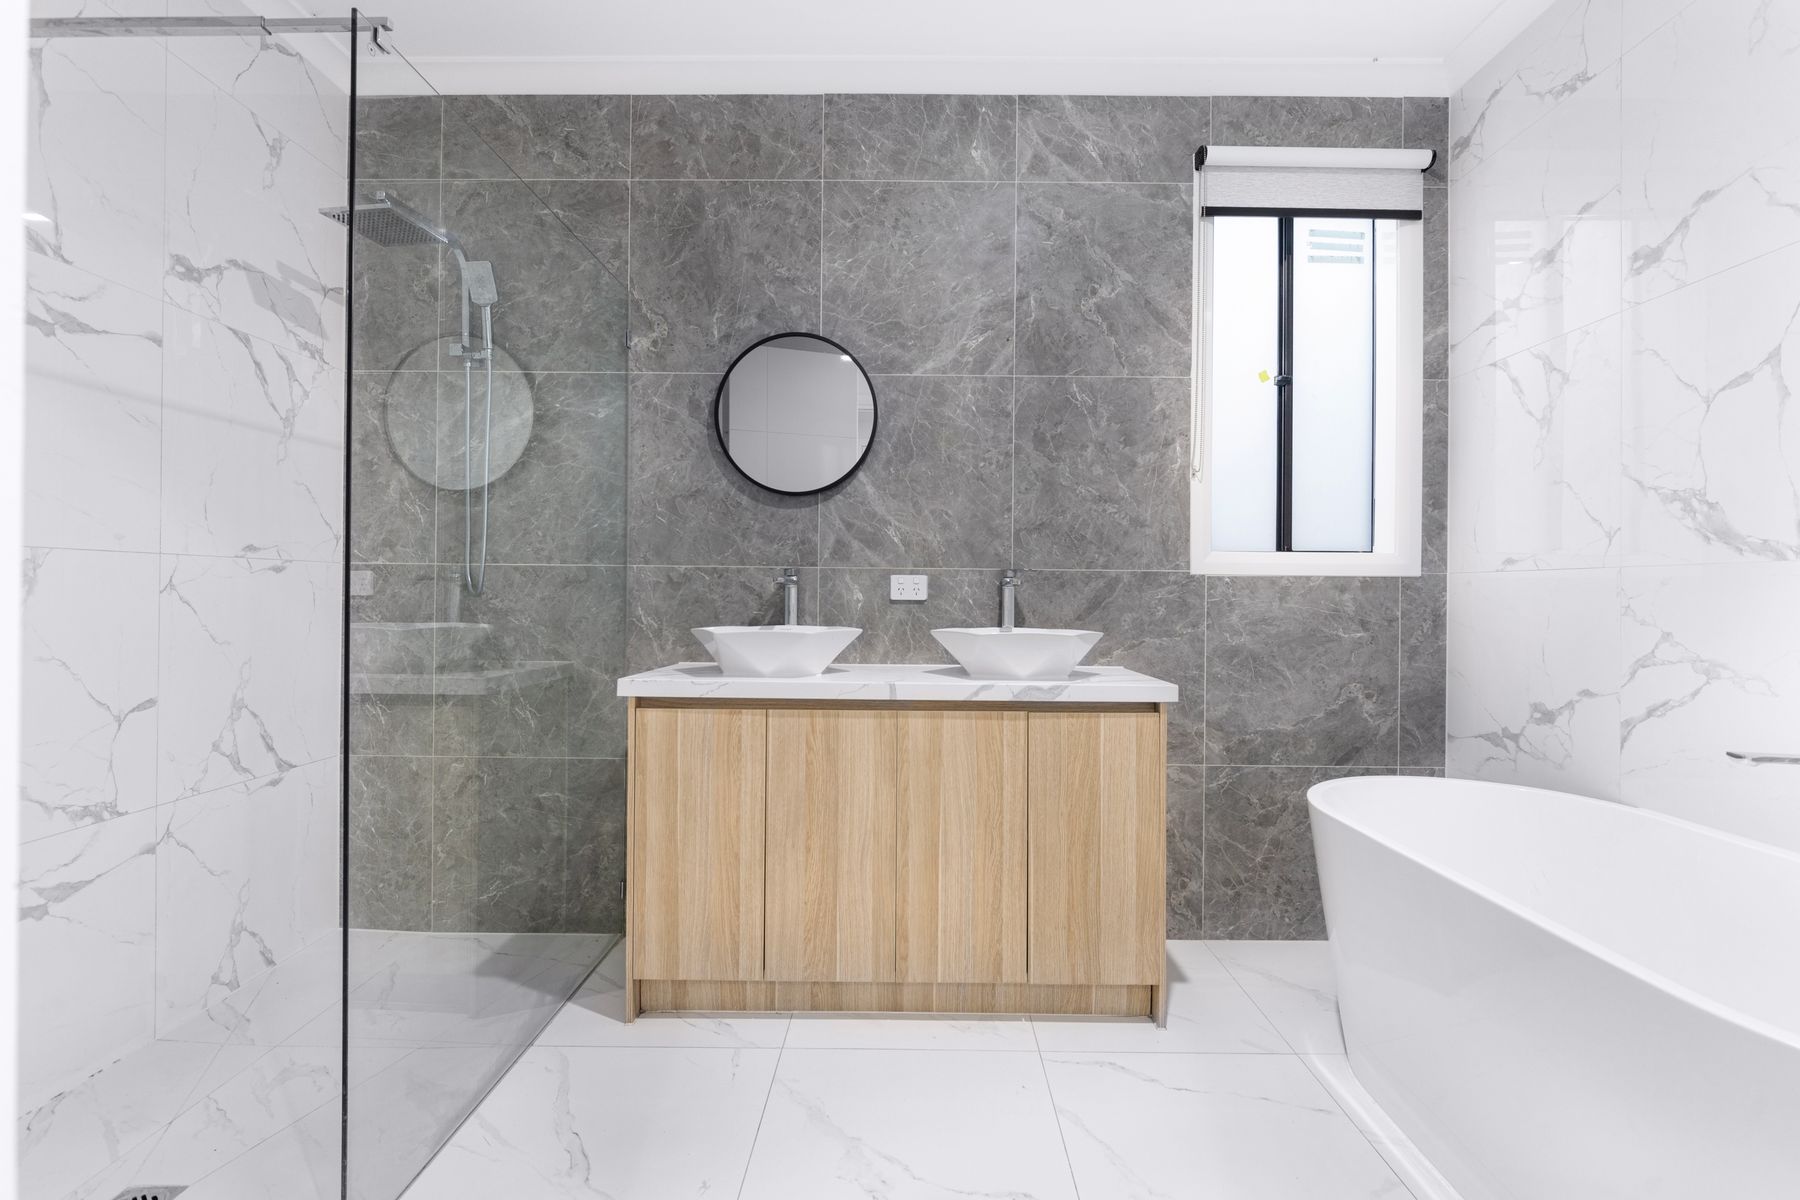
Large-format tile creates broad material planes and fewer grout lines, but every remaining joint becomes more visible. Start the layout at the doorway, vanity wall, bath edge and shower niche rather than hiding the cuts in a drawing no one reads. Coordinate tile module with drains, controls and ledges, and account for real wall tolerance. Bookmatched or strongly veined surfaces need even more planning because a disrupted pattern can dominate the entire room.
Treat Floor Traction as Part of the Design
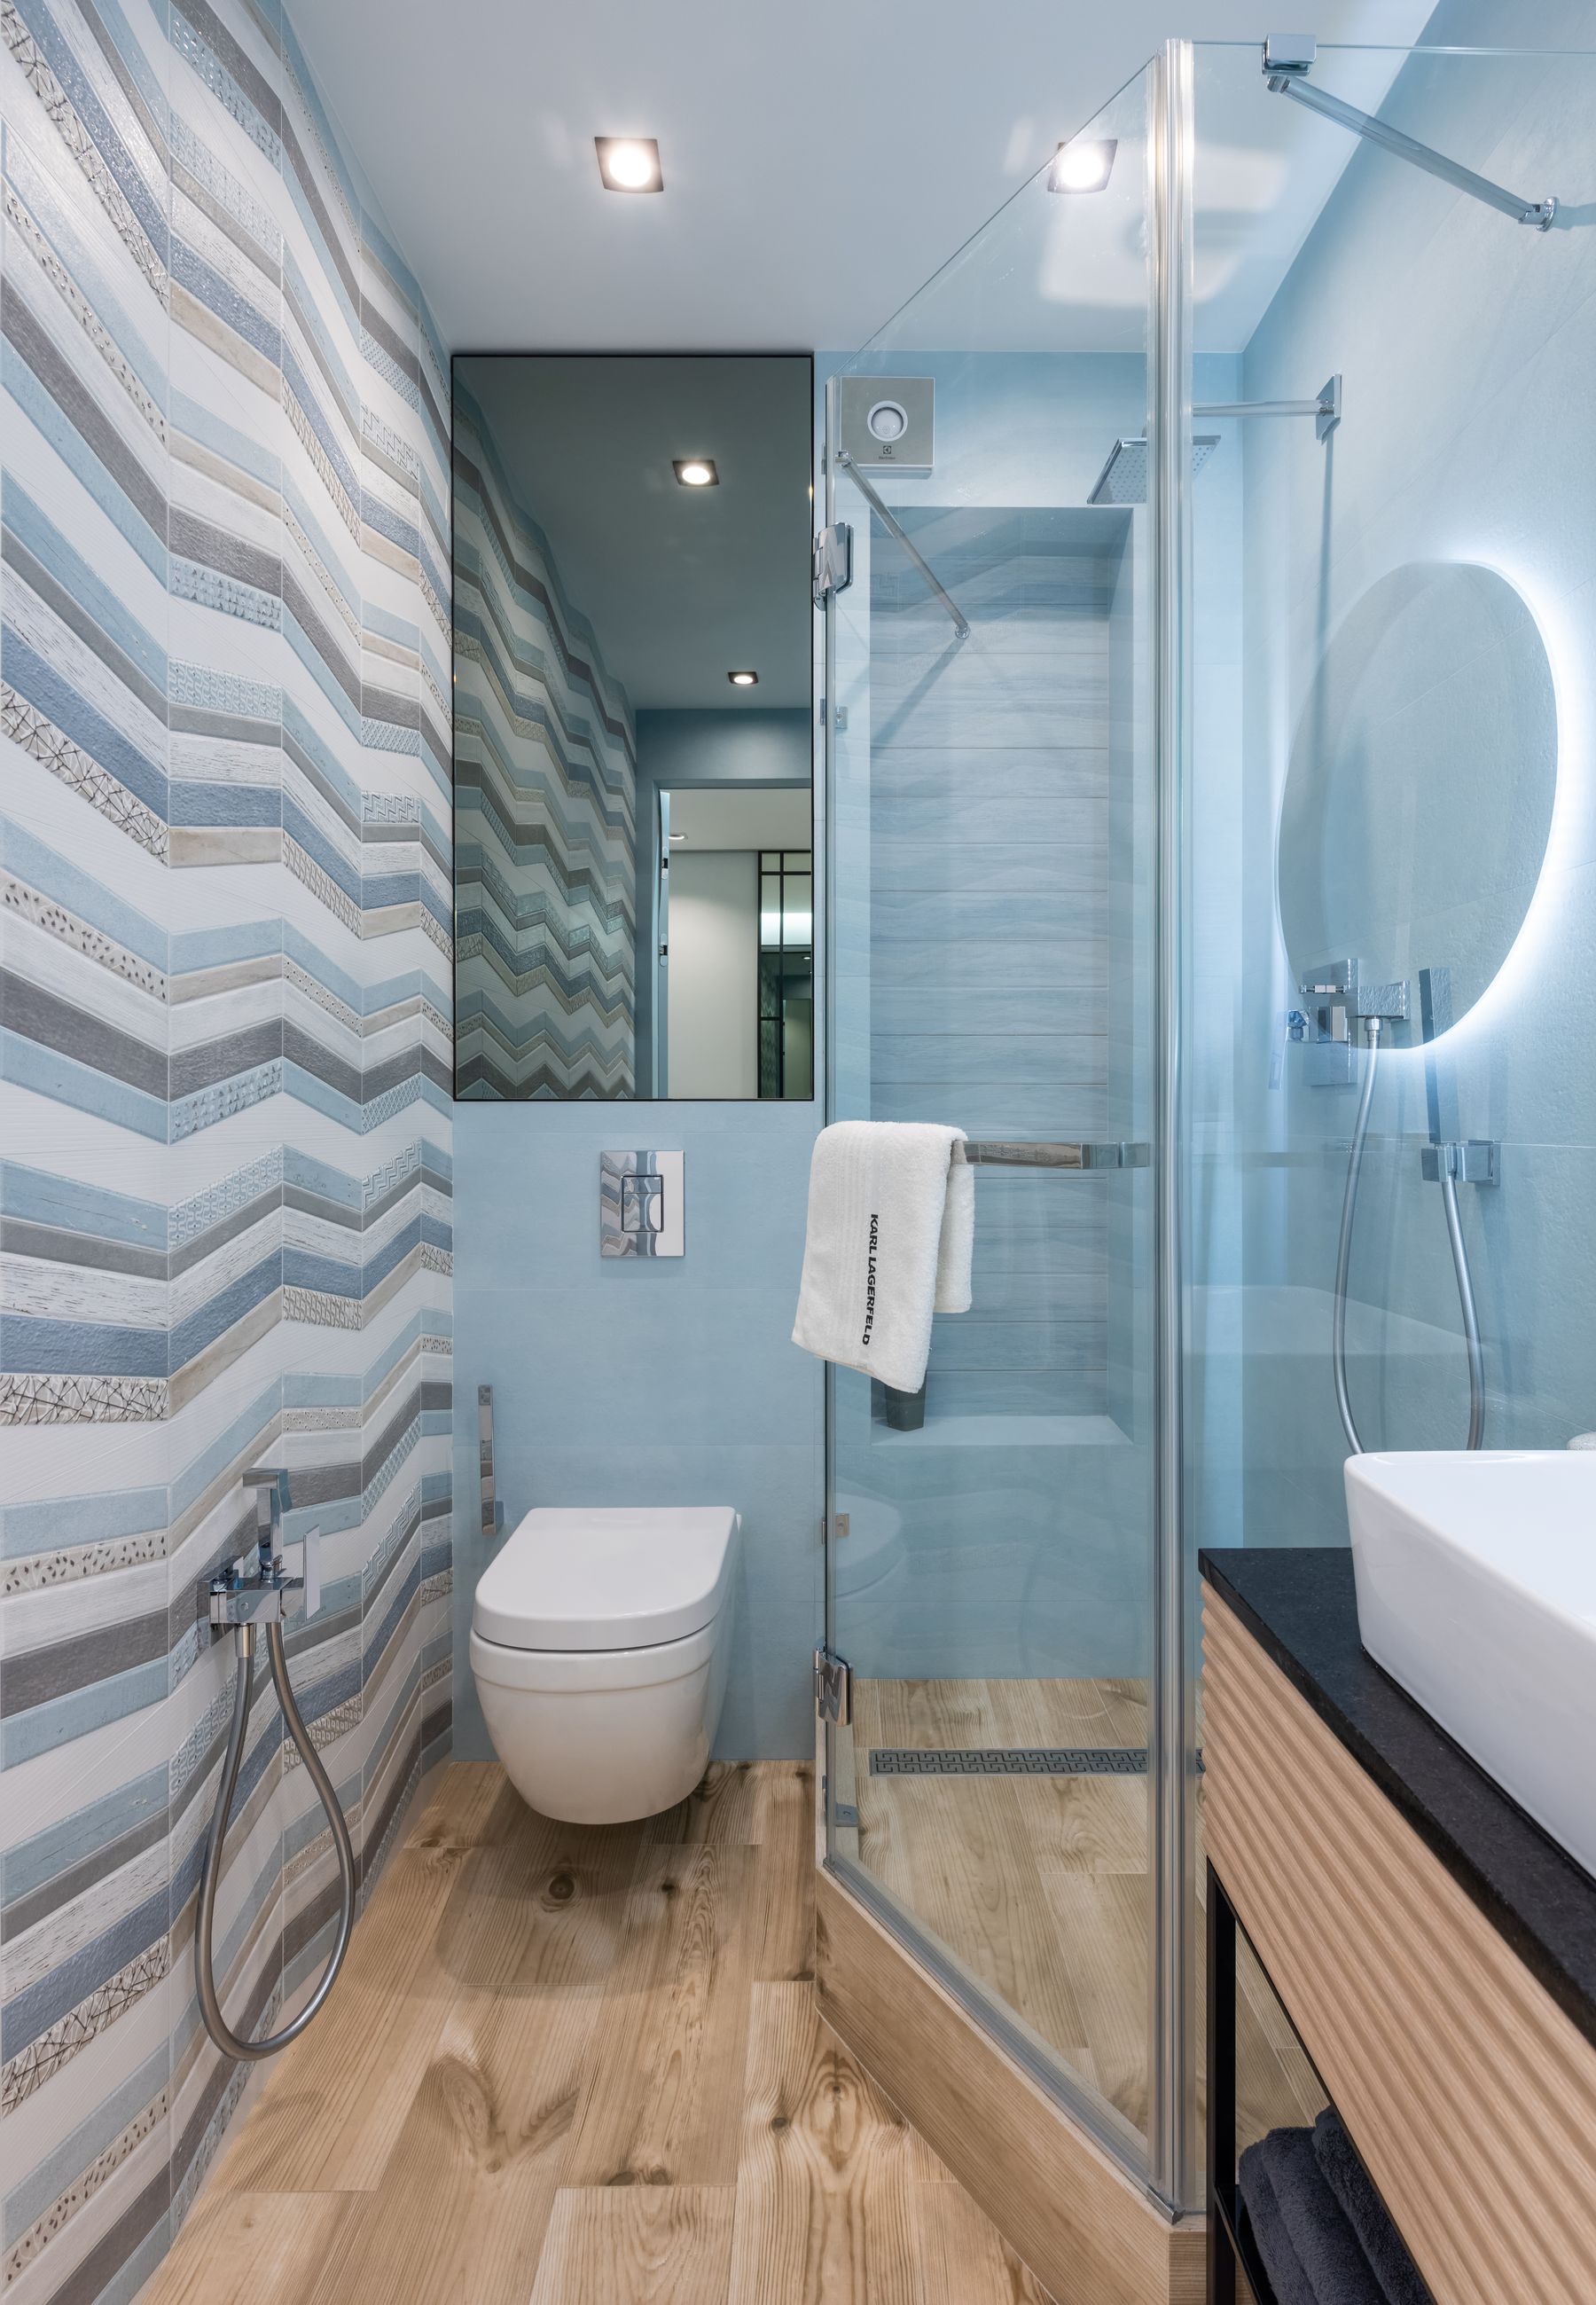
A seamless floor is visually appealing only if it remains safe when wet and can drain correctly. Smaller tiles can follow shower falls more easily and introduce useful grout texture; larger tiles may need careful cutting or a linear drain strategy. Review slip performance, cleaning and grout color together rather than choosing a floor solely from a dry showroom sample. The transition between the general floor and shower should look deliberate even when the materials differ for performance.
Warm the Hard Surfaces With One Honest Material
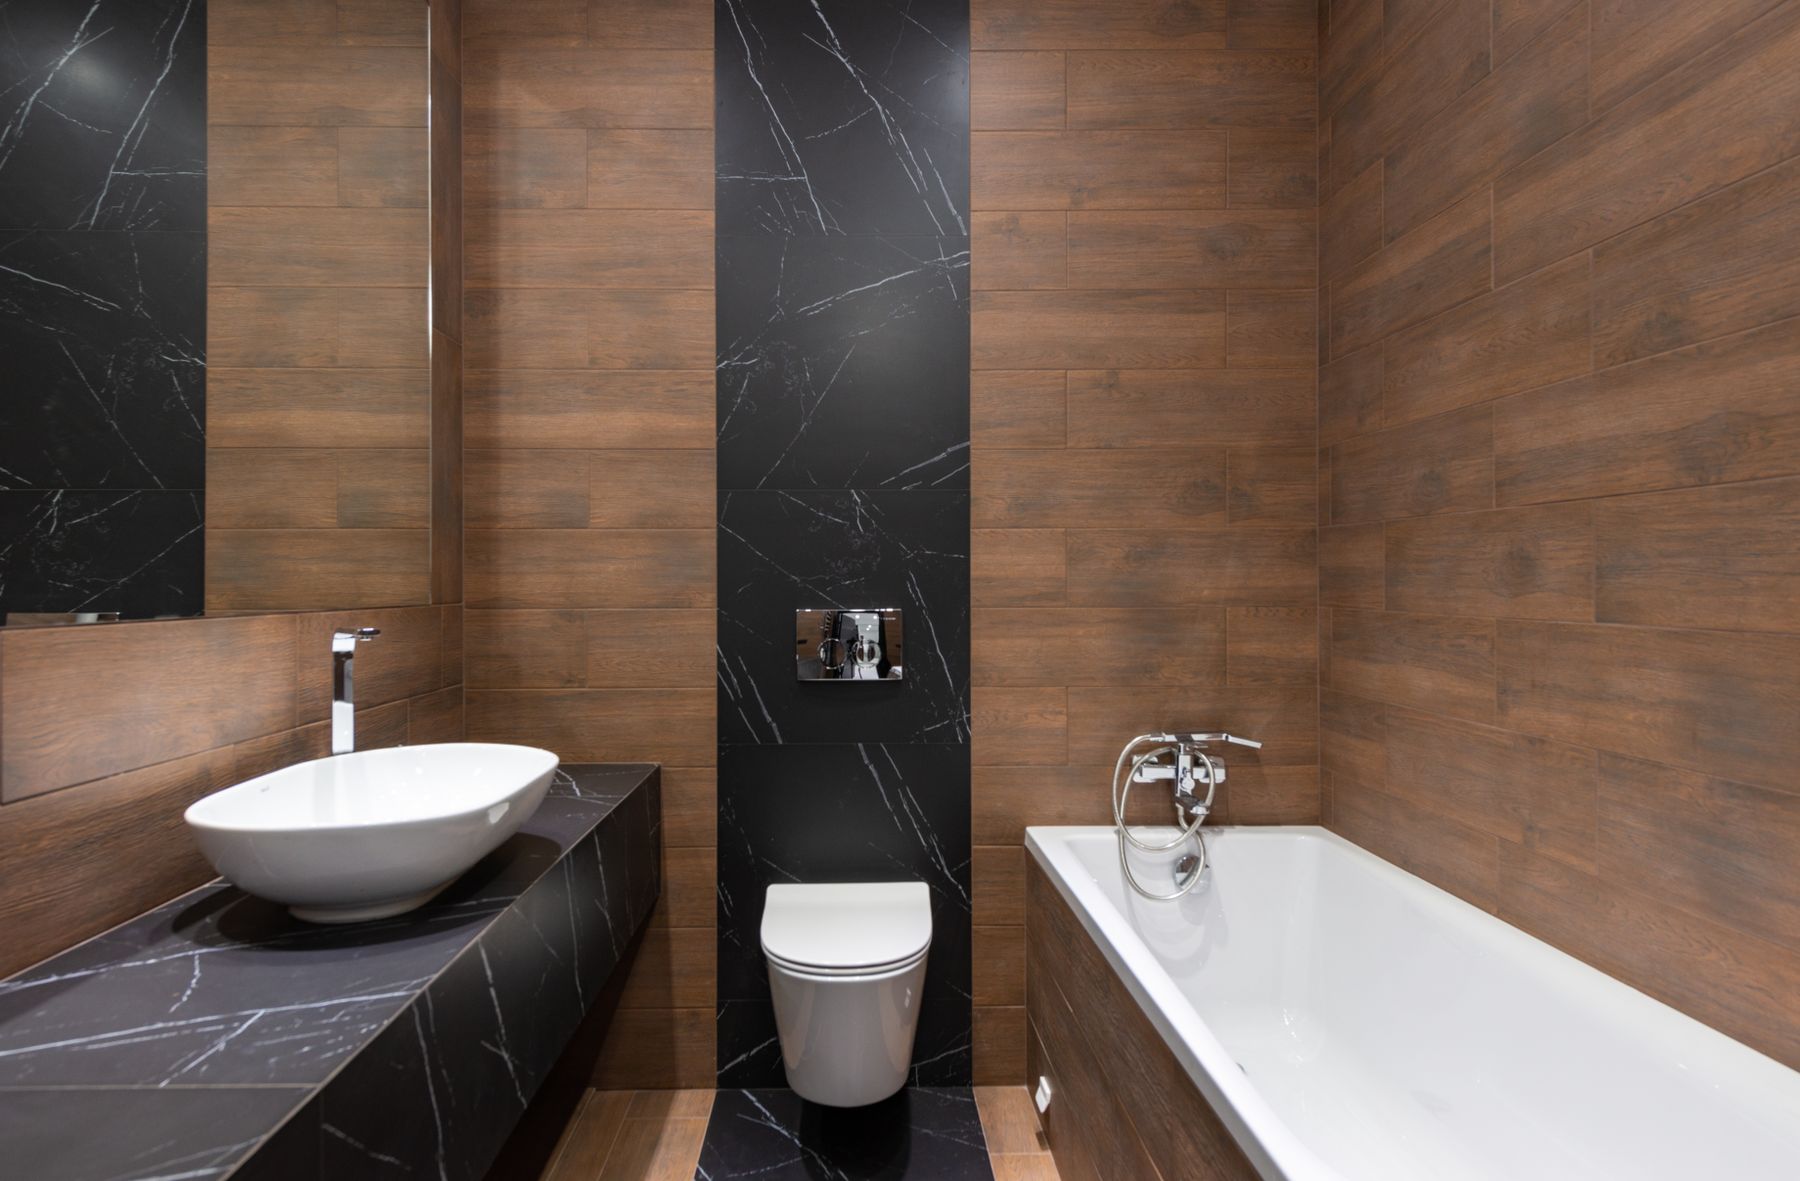
Modern does not mean all-grey. Timber veneer, wood-look porcelain, honed stone, textured plaster or an earthy paint can soften ceramic, glass and metal when used at a meaningful scale. Decide whether the warm material belongs in the vanity, ceiling, dry wall or bath surround based on moisture and maintenance. One convincing material relationship is stronger than many small wooden accessories added to correct a cold shell. Keep the grain or veining direction consistent enough that the room still feels ordered.
Protect Daylight Without Giving Up Privacy
Natural light makes stone, timber and skin tones easier to read, so avoid covering a useful window by default. Resolve the real exterior sightline first, then choose frosted glass, film, a blind or a partial screen that protects only the necessary area. Keep tall cabinets away from the brightest opening where possible, and position the mirror to borrow light without reflecting an uncomfortable view. Ventilation should not depend solely on opening the window.
Layer Mirror Light, Ambient Light and Night Light
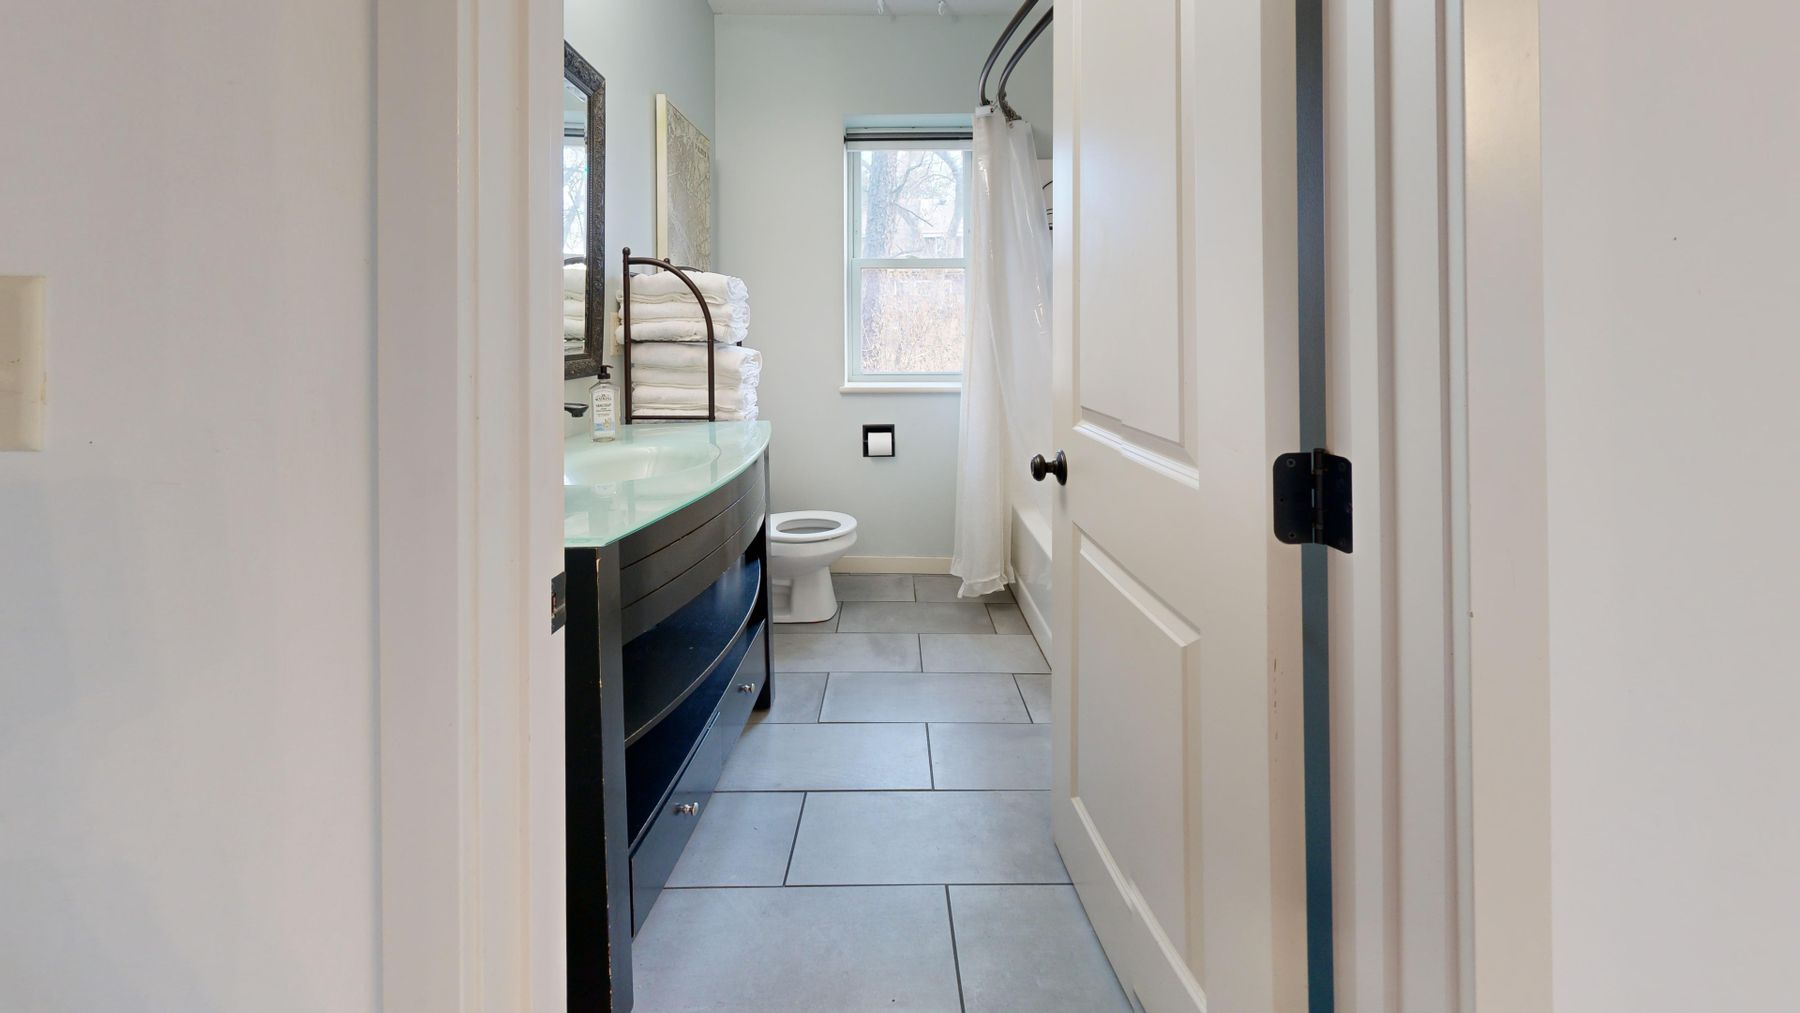
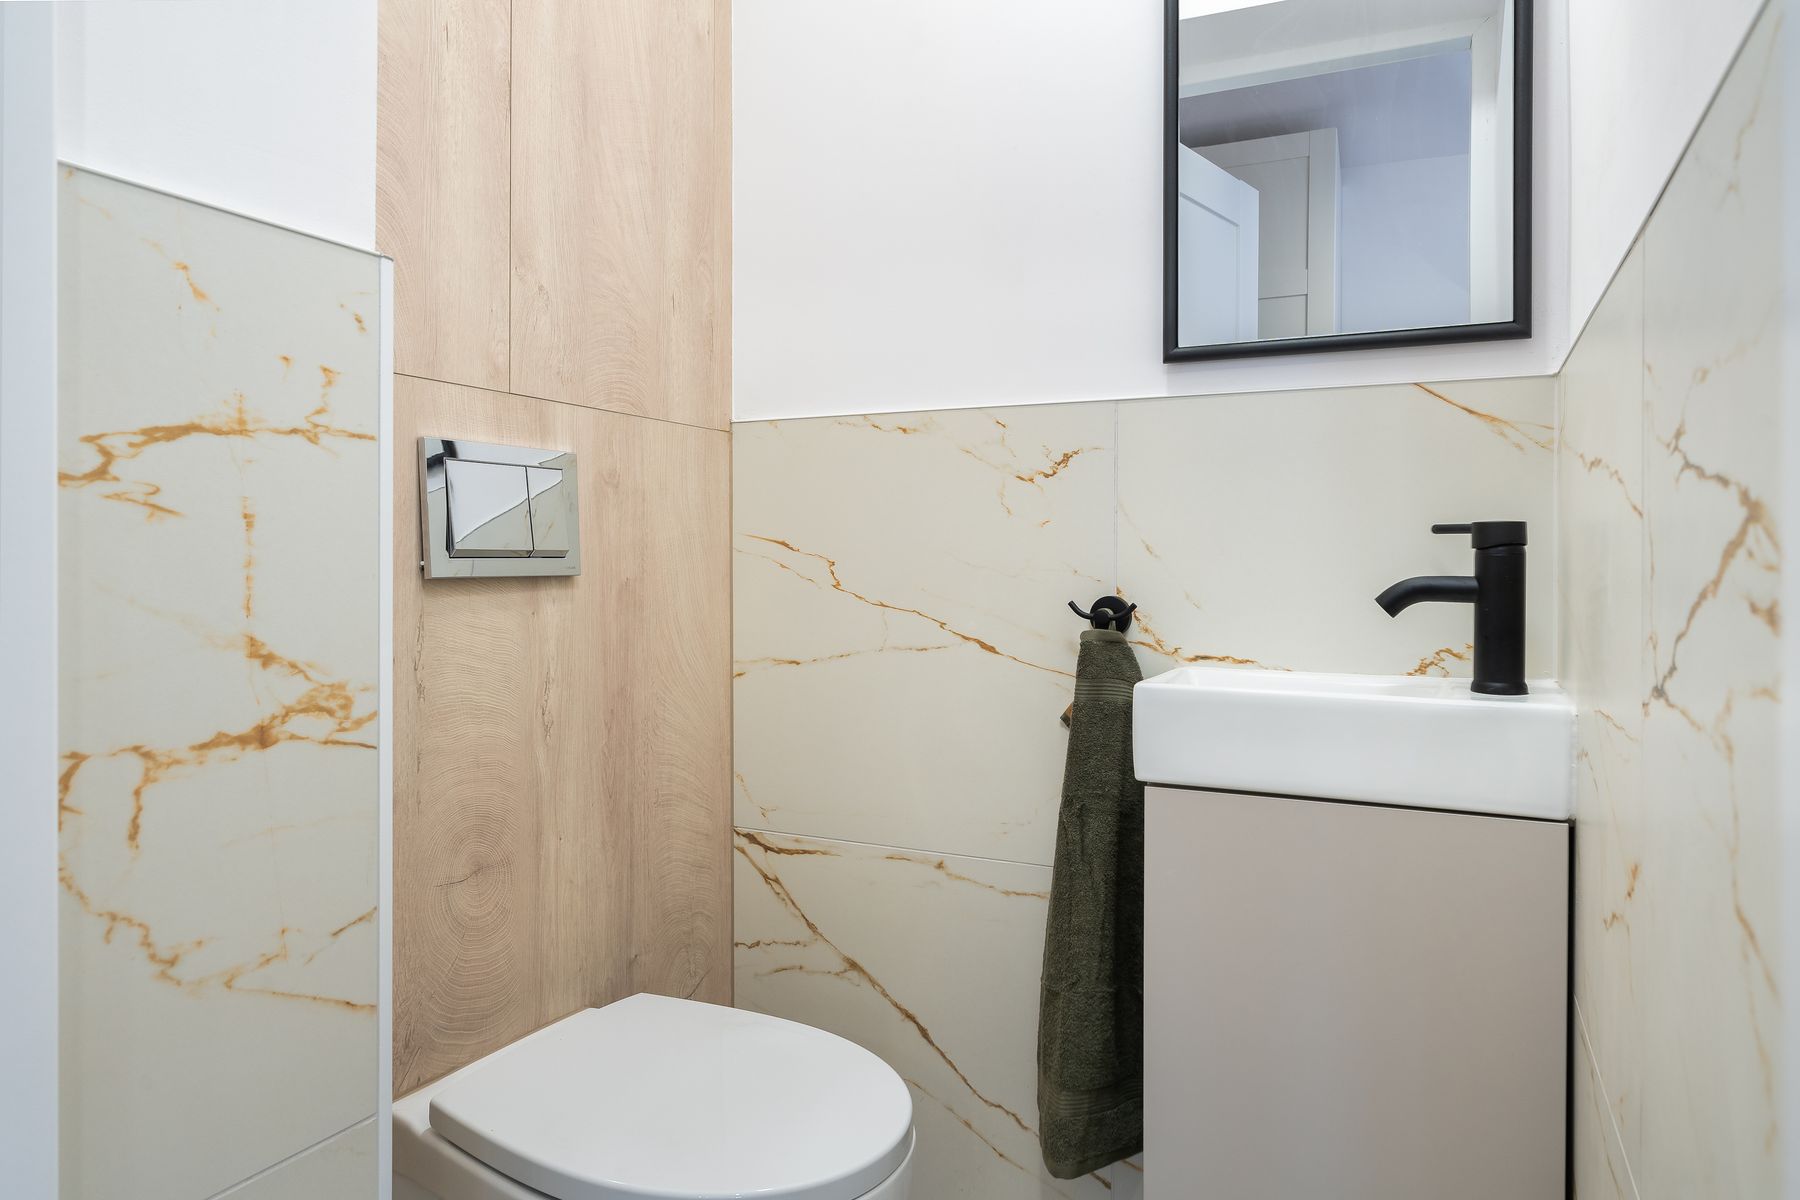
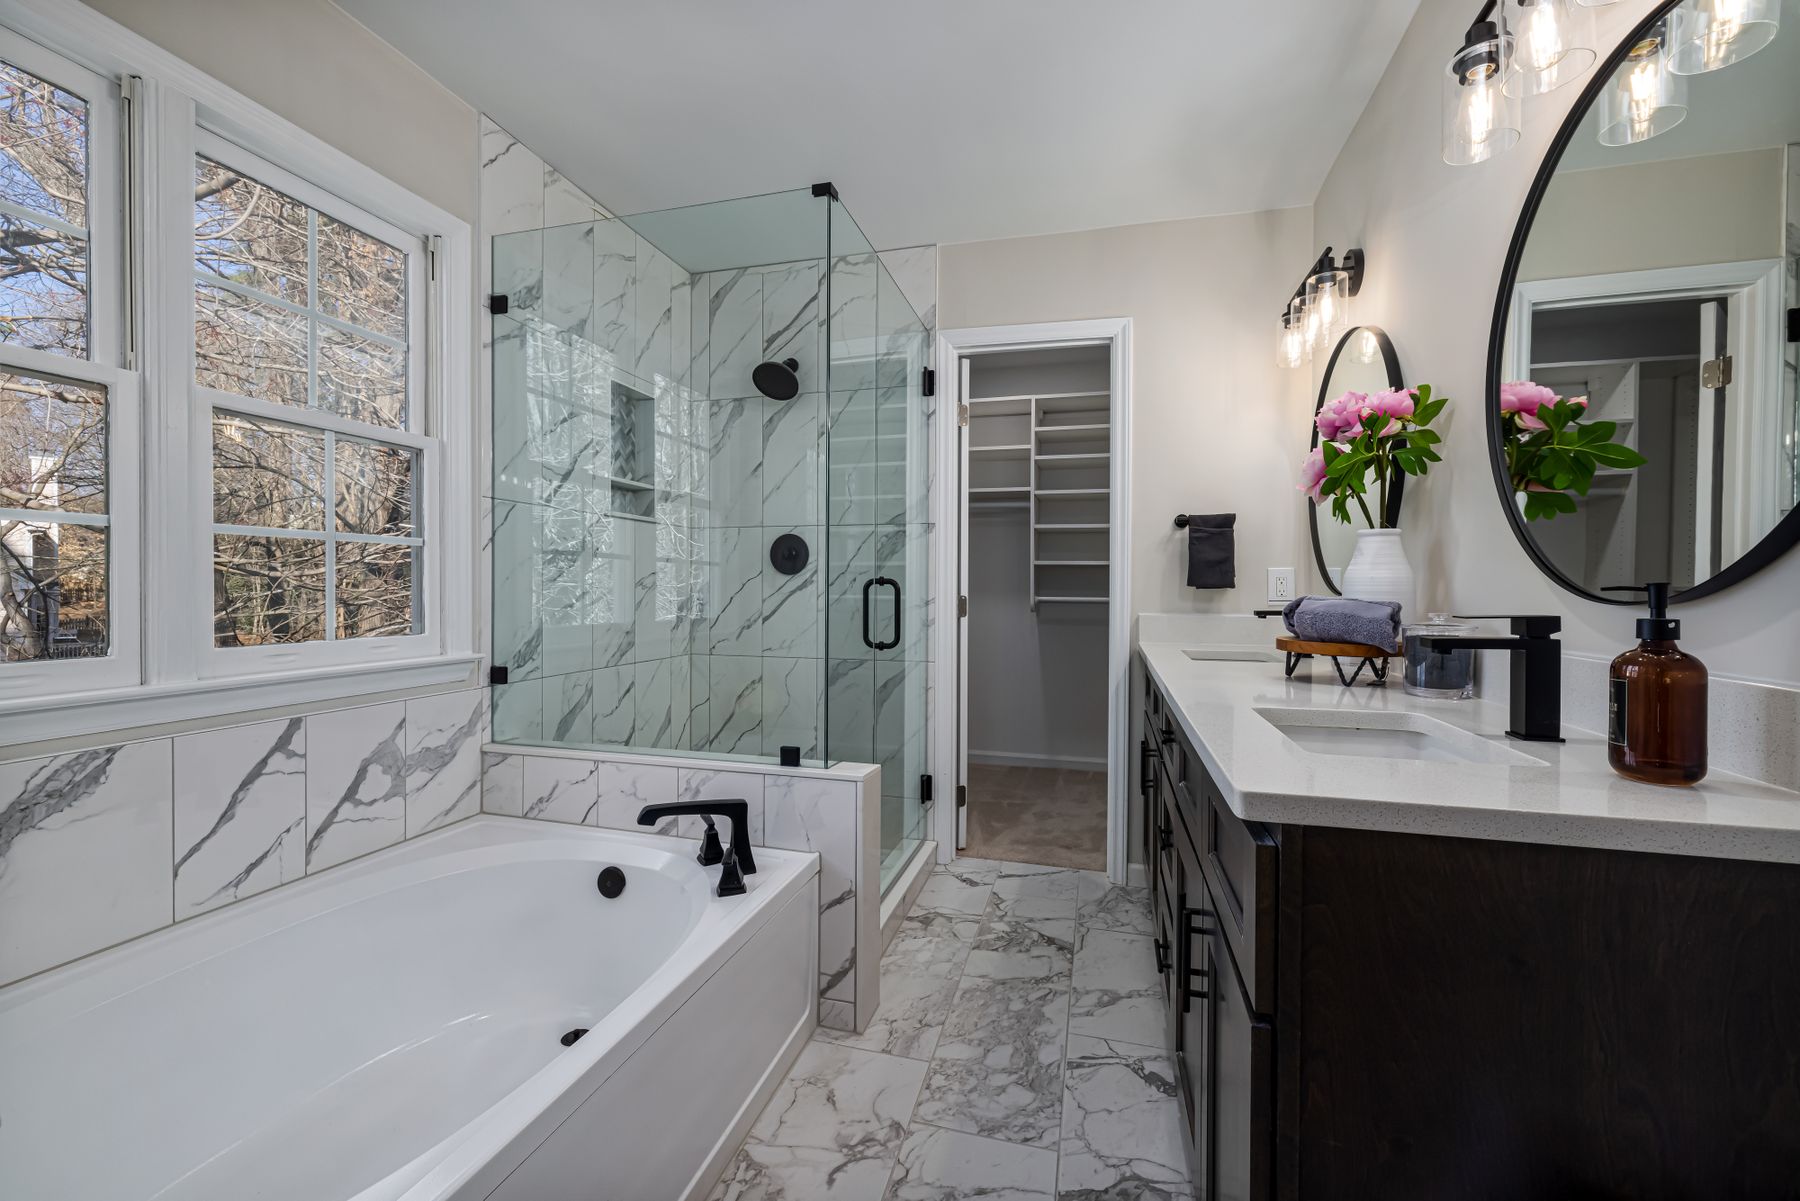
One bright ceiling fitting rarely serves grooming, bathing and nighttime use equally well. Give the mirror an even task layer that limits facial shadows, add softer ambient light for the room and consider a low-level night source that does not flood the eyes. Backlit mirrors create atmosphere but may still need front illumination for detailed tasks. Select color temperature, dimming and controls together, and ensure every fitting is appropriate for its bathroom zone.
Use Integrated Lighting With Restraint
Lighting beneath a vanity, behind a mirror or within a niche can make the architecture feel precise, but visible strips, uneven dots and excessive color effects quickly date the room. Use integrated light where it improves orientation, reveals material depth or supports a routine. Drivers, transformers and controls must remain accessible for replacement. A warm dimmable line is usually more enduring than several disconnected LED accents competing for attention.
Make the Mirror Work Beyond Reflection
A mirror can widen a sightline, borrow daylight and conceal shallow storage, but bigger is not always better. Align its reflective area with the people using the basin and check what it captures from the doorway. A recessed medicine cabinet is valuable when wall depth permits; a plain mirror may suit a room with generous drawer storage. Keep switches, outlets and wall lights coordinated around the mirror rather than treating the remaining wall as leftover space.
Use Color or Pattern Inside a Controlled Field
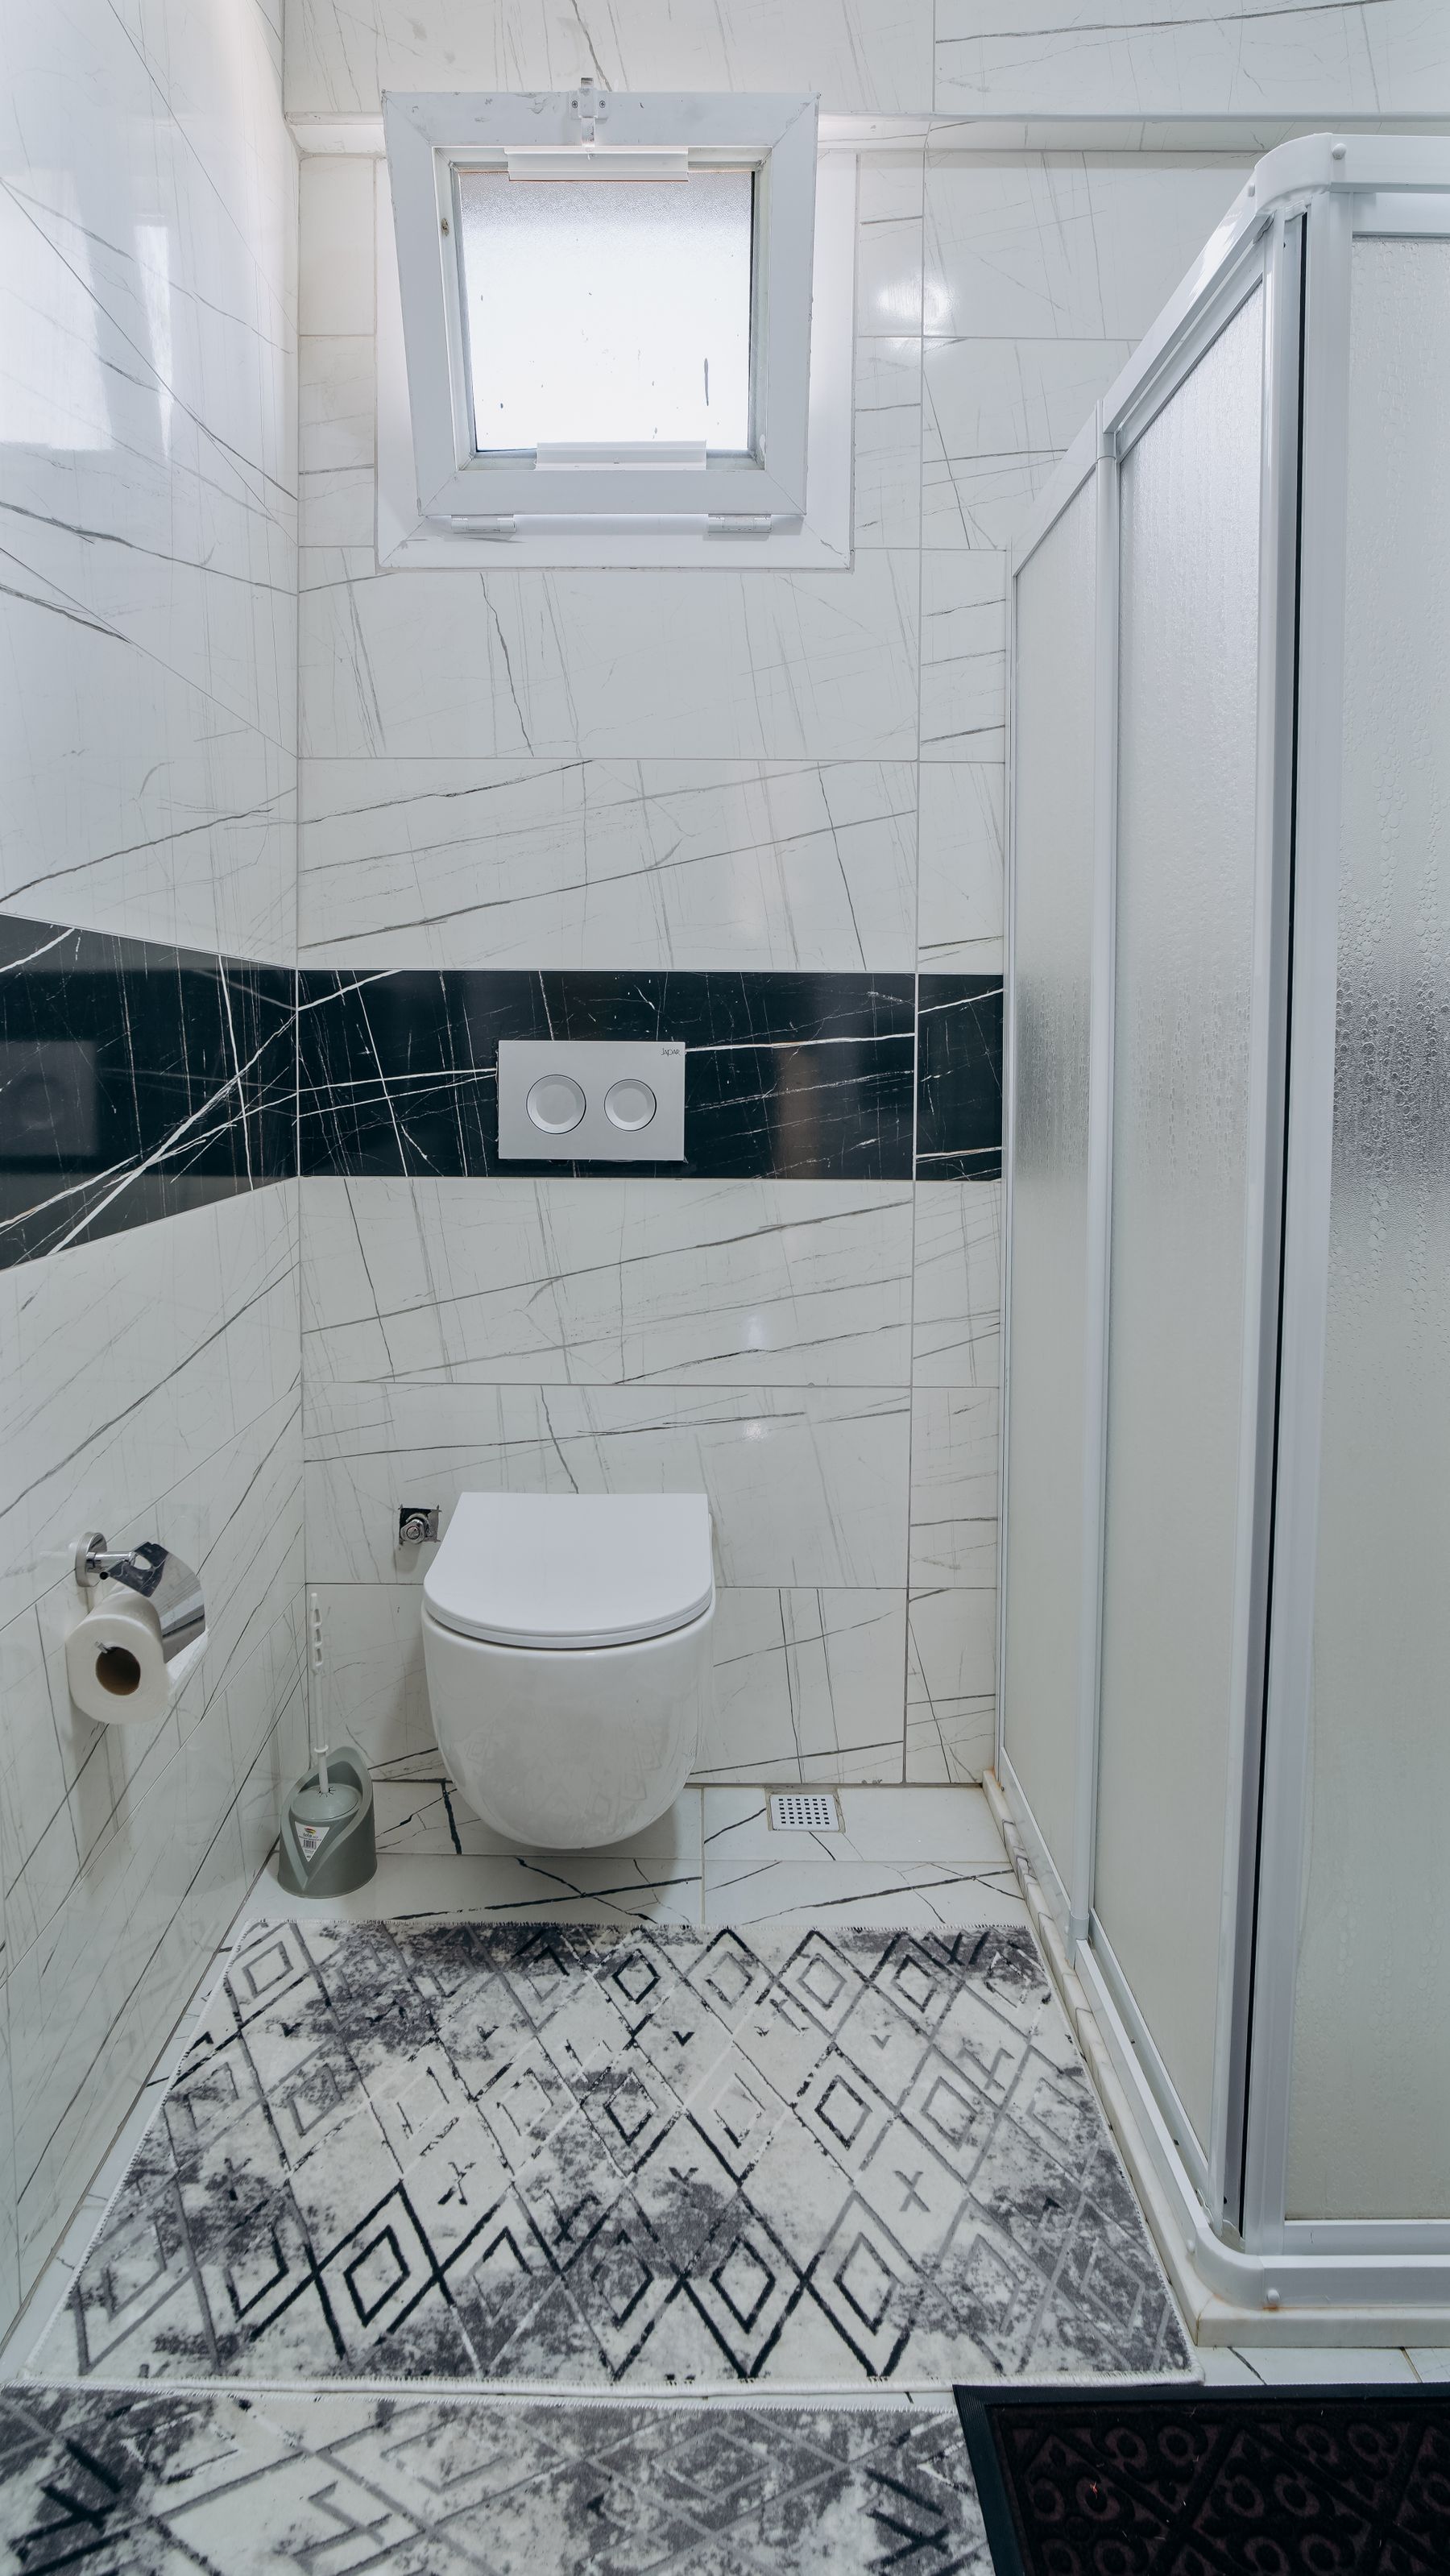
A modern bathroom can hold expressive color or graphic tile without losing clarity. Give the feature a legible boundary—one shower wall, the vanity front or the floor—and allow adjacent materials to become quieter. Repeat one tone elsewhere only if it strengthens the composition. This is more durable than defaulting to middle grey everywhere, and it lets the room feel personal without layering many decorative objects into a moisture-prone space.
Control Metal Finishes by Function
Chrome, brushed nickel, dark metal and warm brass can all belong in a modern bathroom. Choose one dominant finish for taps, shower controls and visible plumbing, then let secondary hardware follow a consistent rule. Exact matching across different manufacturers is rarely perfect, so compare real samples and prioritize durable finish families over marketing names. Drains, hinges and profiles can remain practical if their visual weight is controlled.
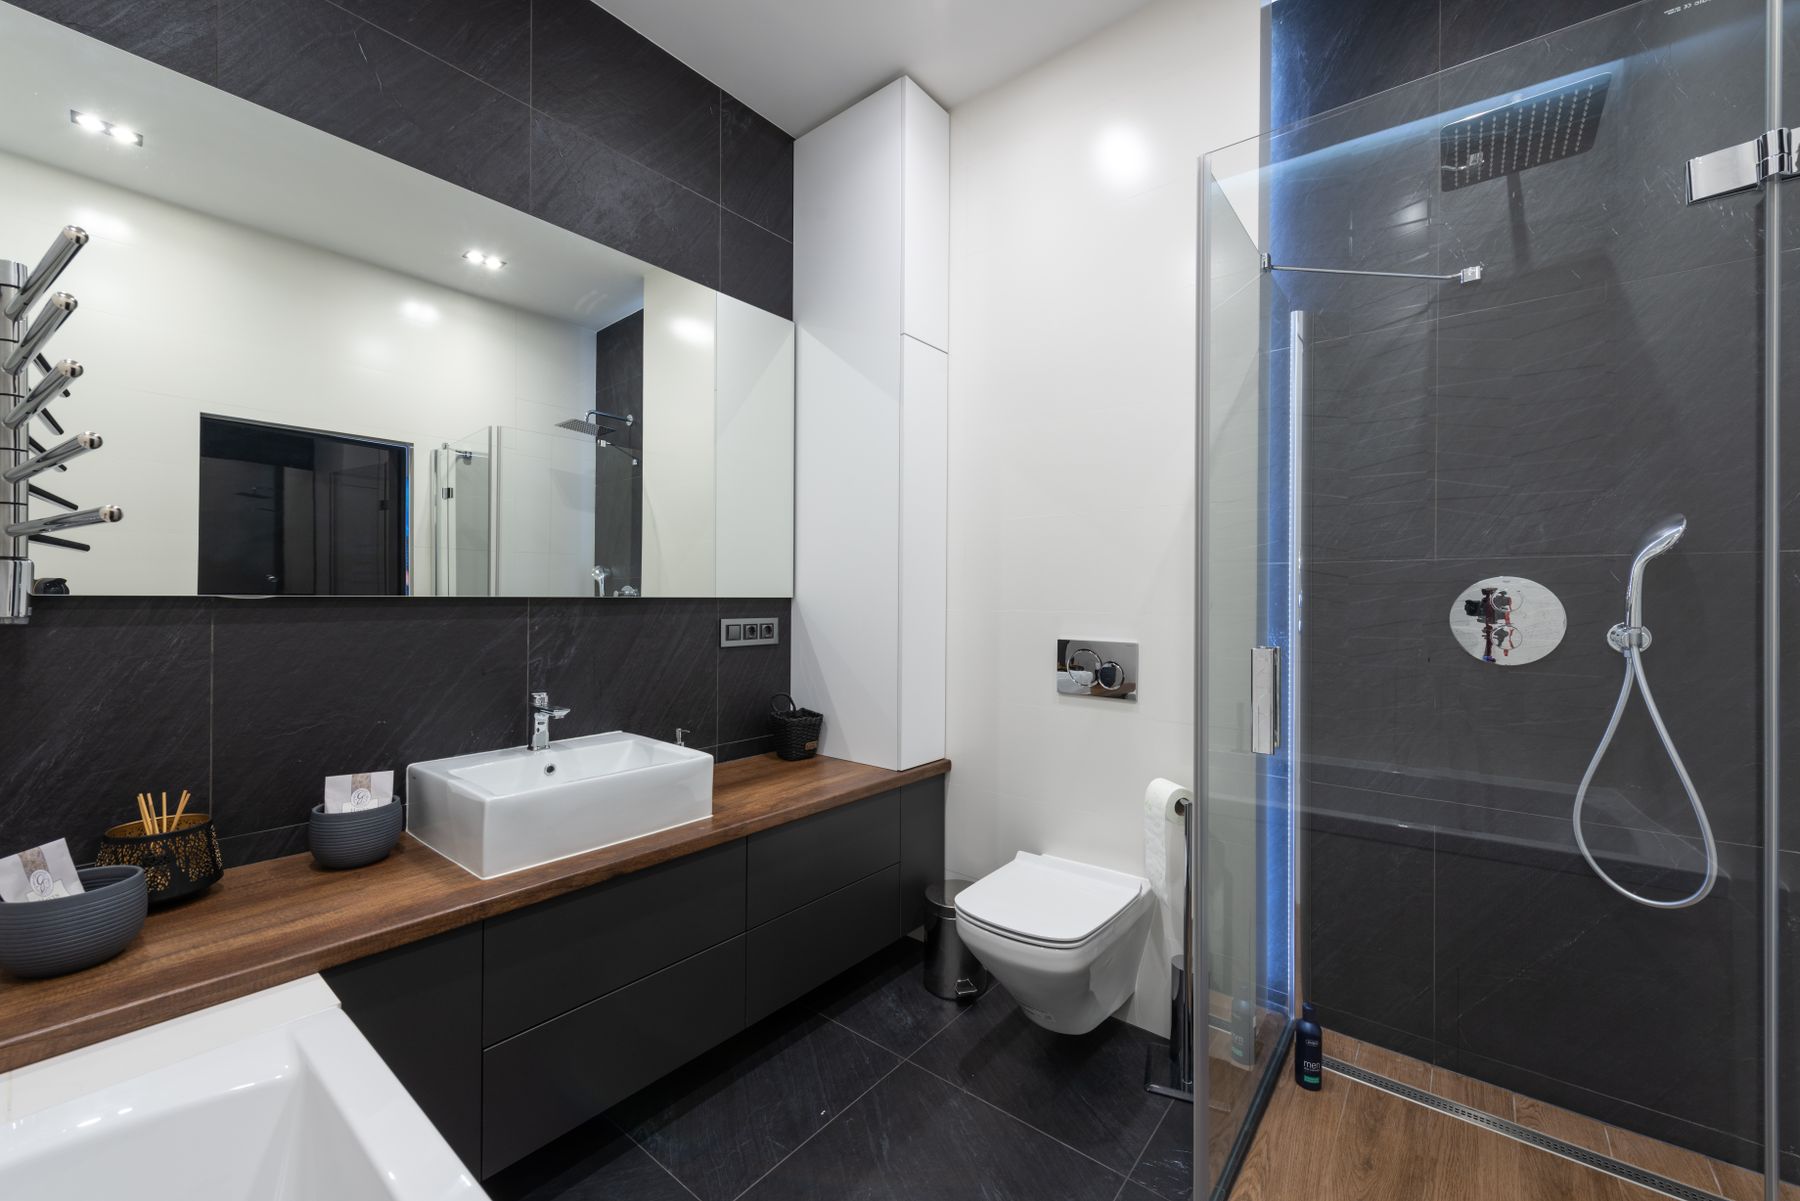
Use Modern Planning to Enlarge a Small Bathroom
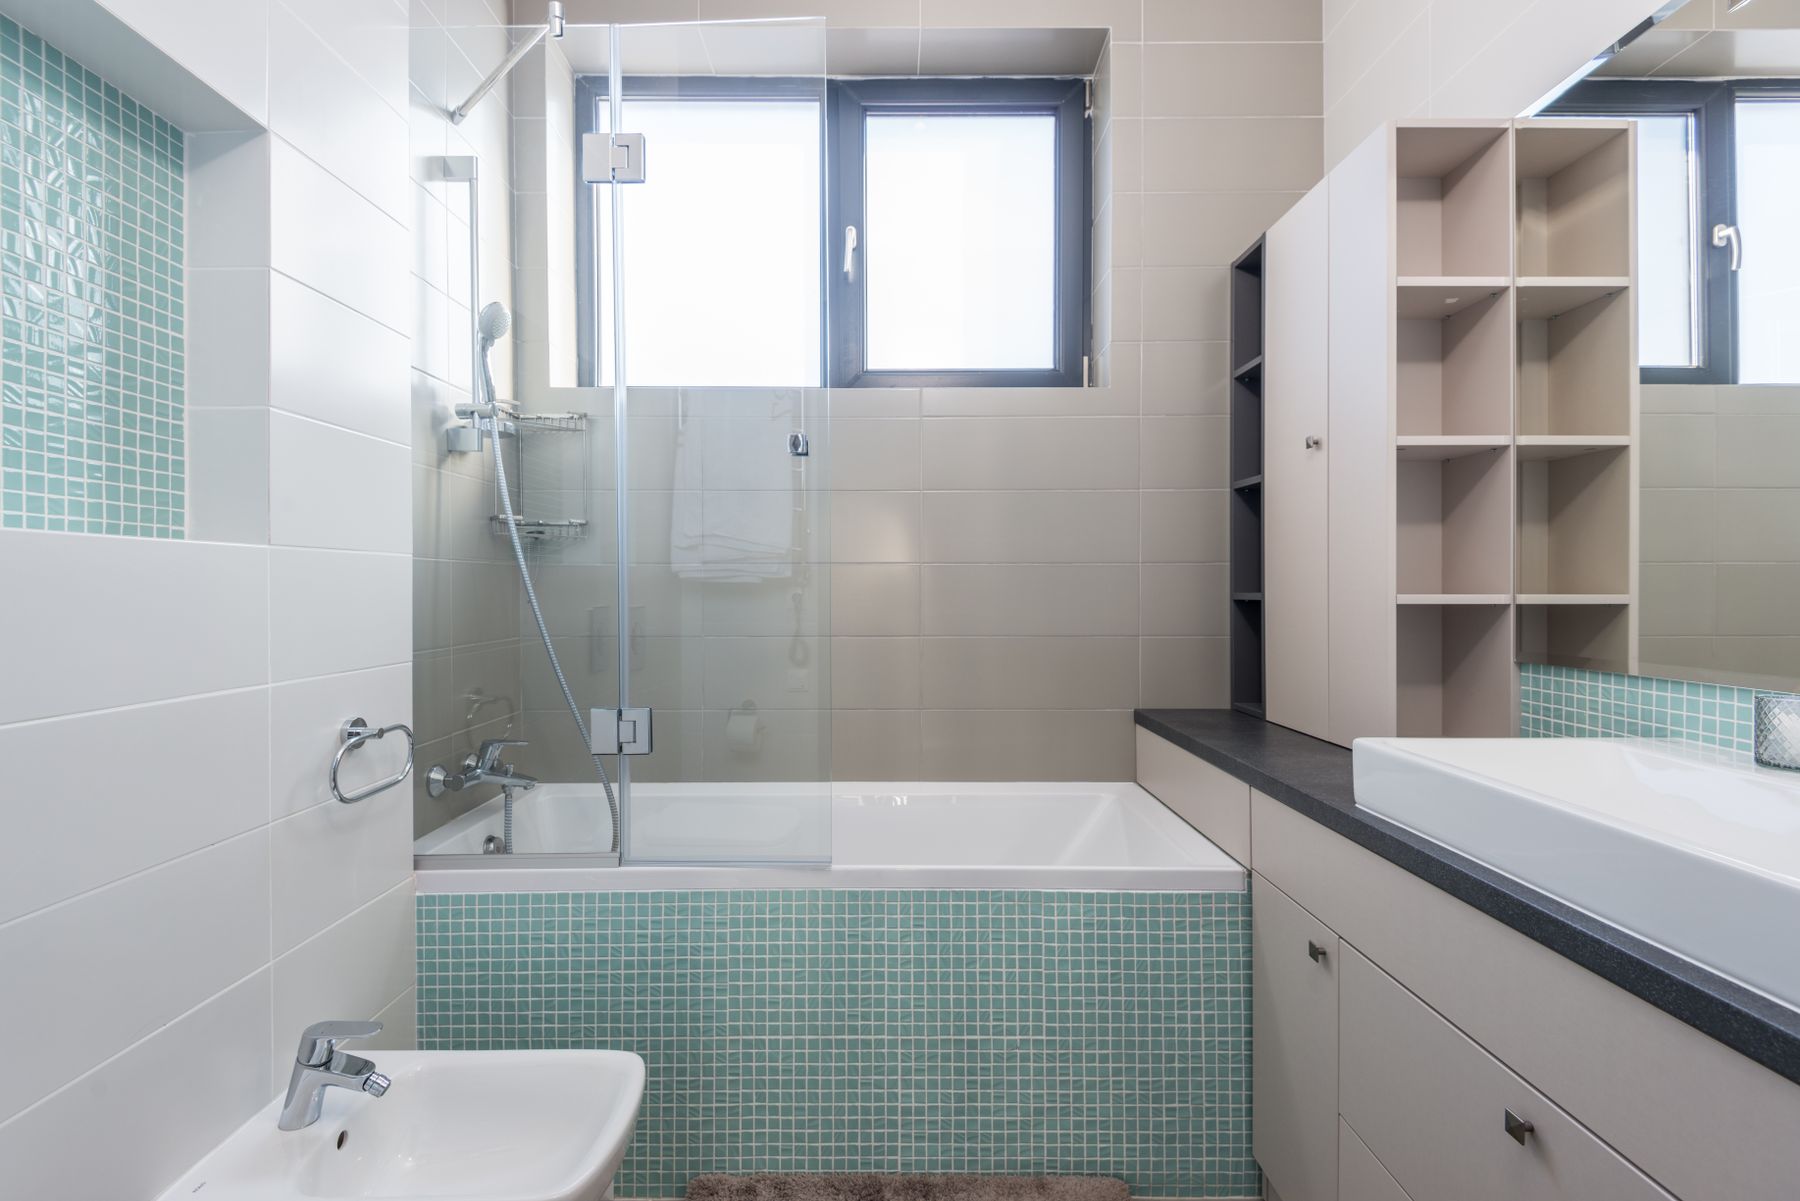
In a compact room, modern style should come from disciplined planning rather than miniature fixtures everywhere. Protect one clear floor route, use the wall above the toilet or basin for shallow storage, and keep the shower screen as open as splash control allows. A full-width mirror or continuous material can widen the view, while too many small changes make the footprint feel busier. Preserve comfortable basin depth and toilet clearance even when reducing visual weight.
Plan Ventilation, Heat and Towel Reach Together
A visually spare bathroom still needs somewhere for moist air to leave, fresh air to enter and towels to dry. Mechanical extraction should be sized and controlled for the room rather than treated as a decorative afterthought. Place heating where it supports comfort without trapping towels against vulnerable finishes, and keep a dry towel reachable from the shower or bath. Underfloor heat can improve comfort, but it does not replace ventilation or solve poor splash planning.
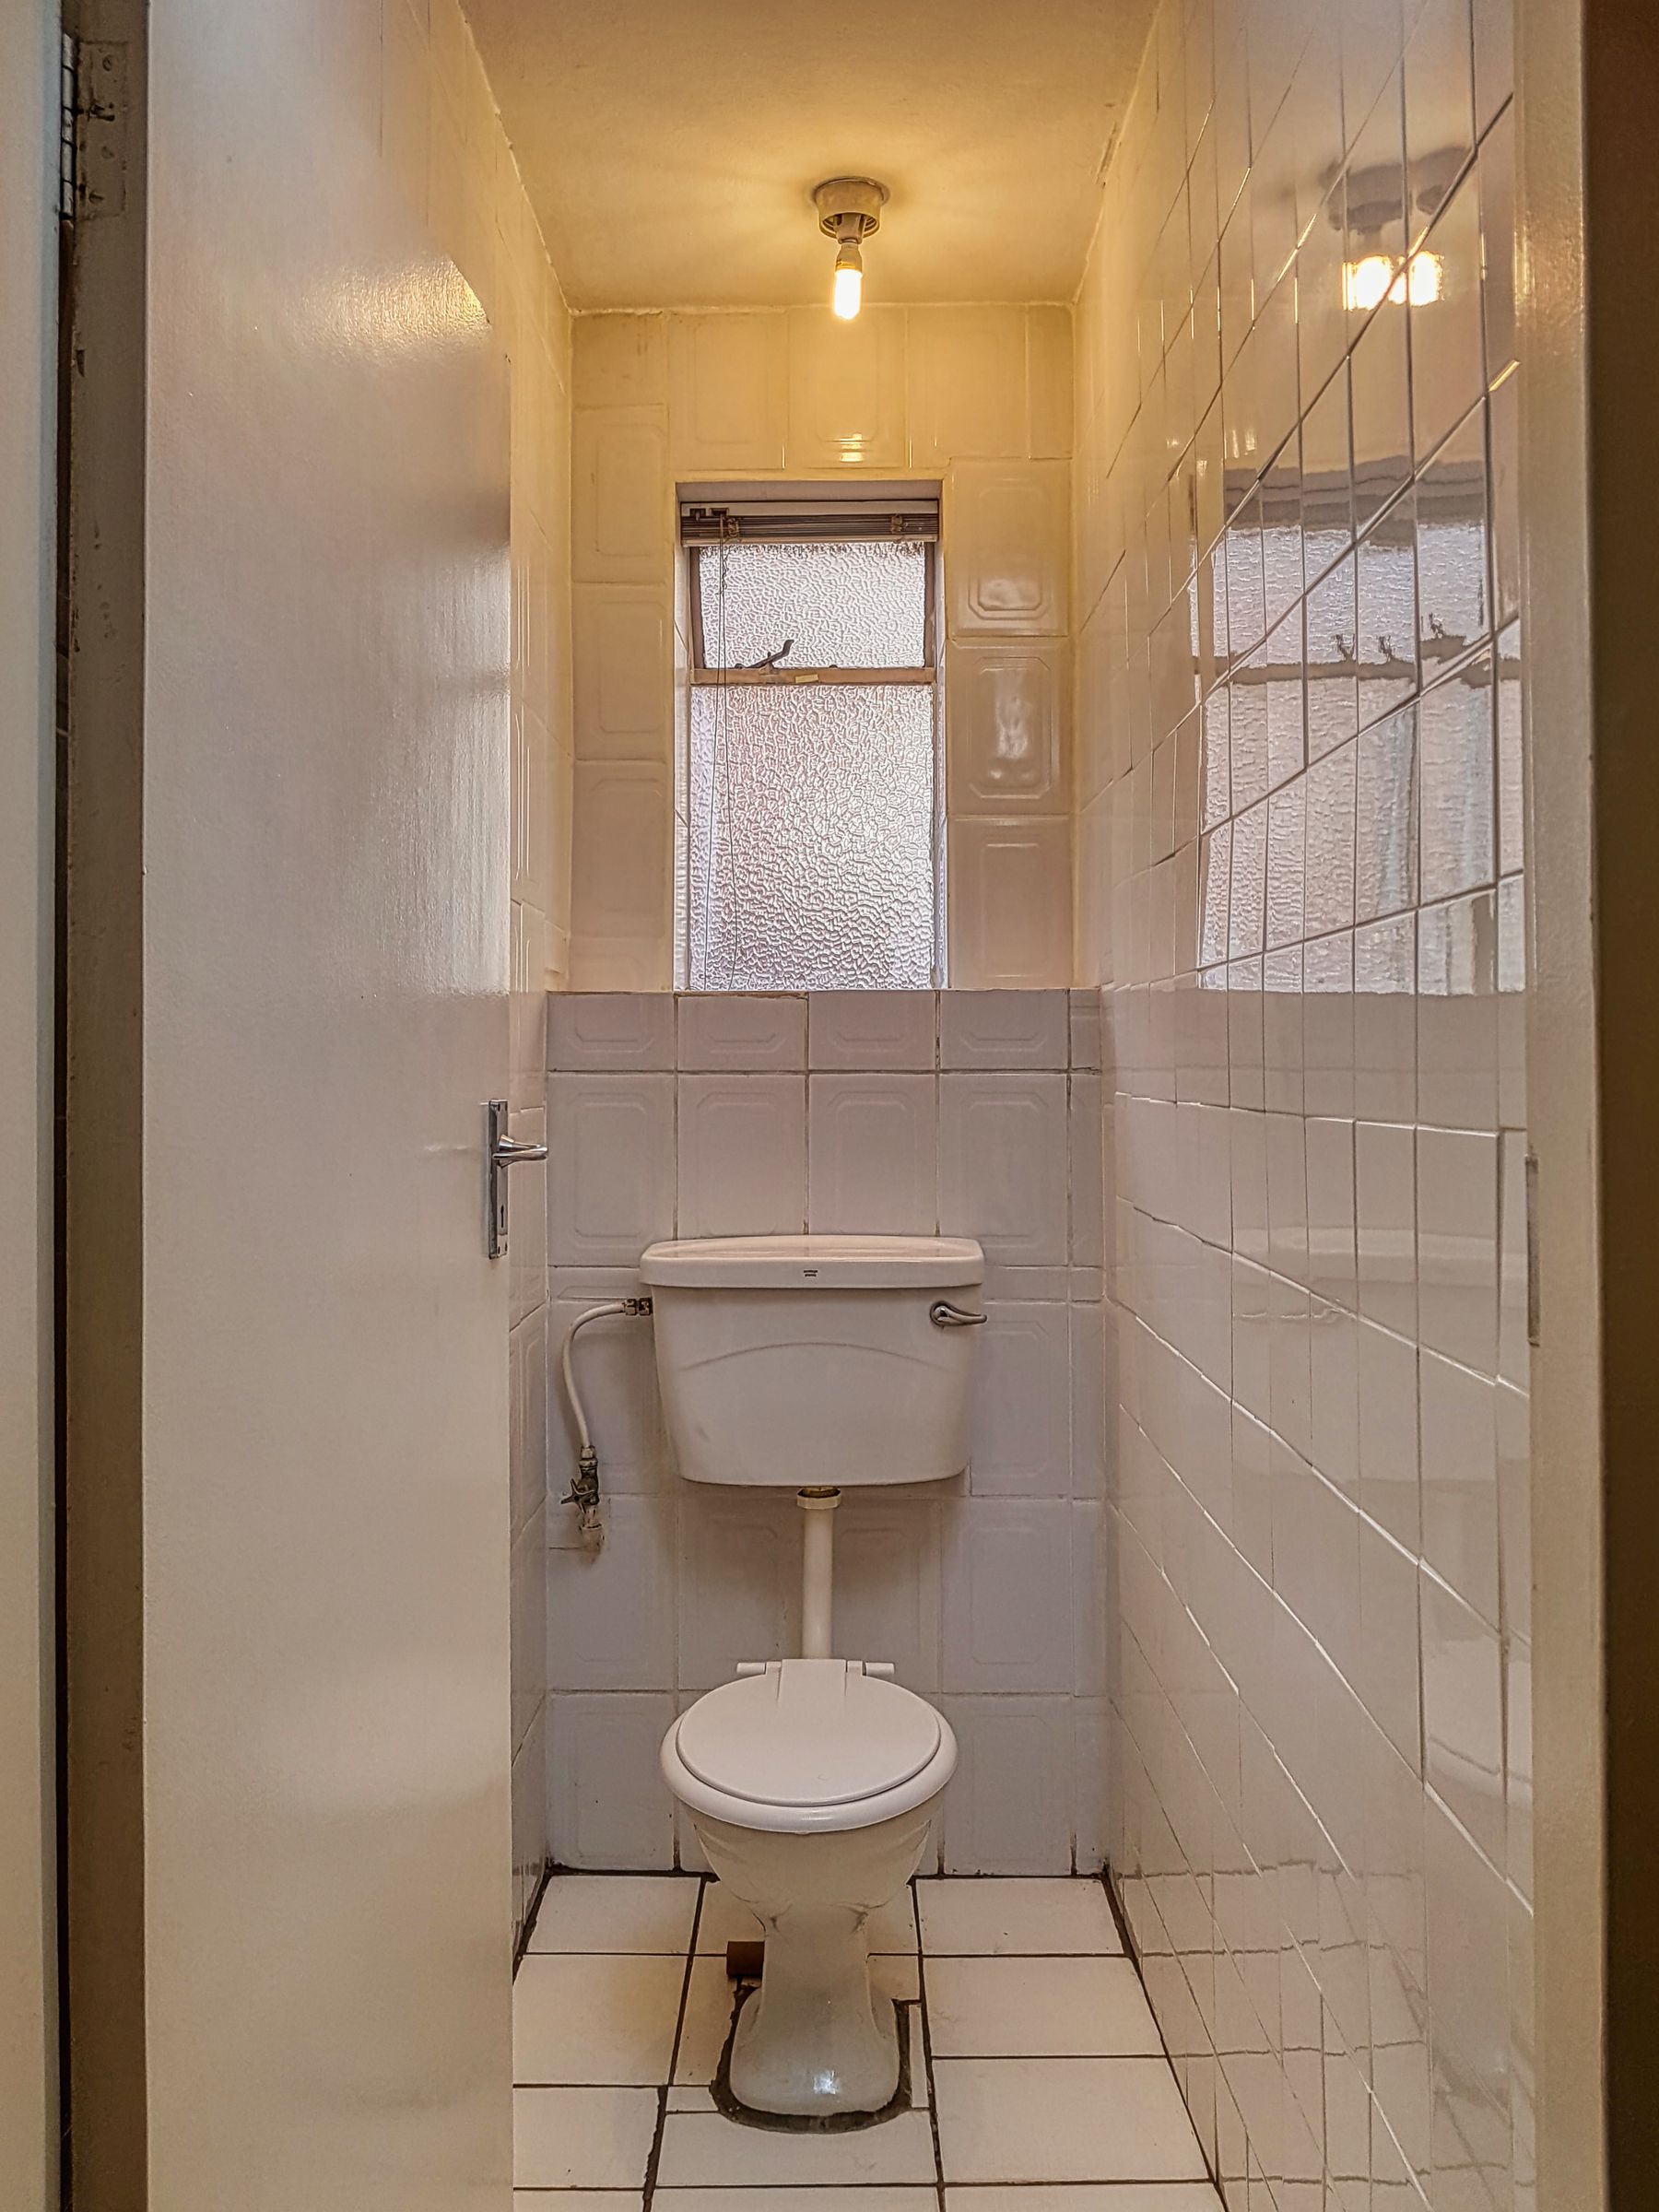
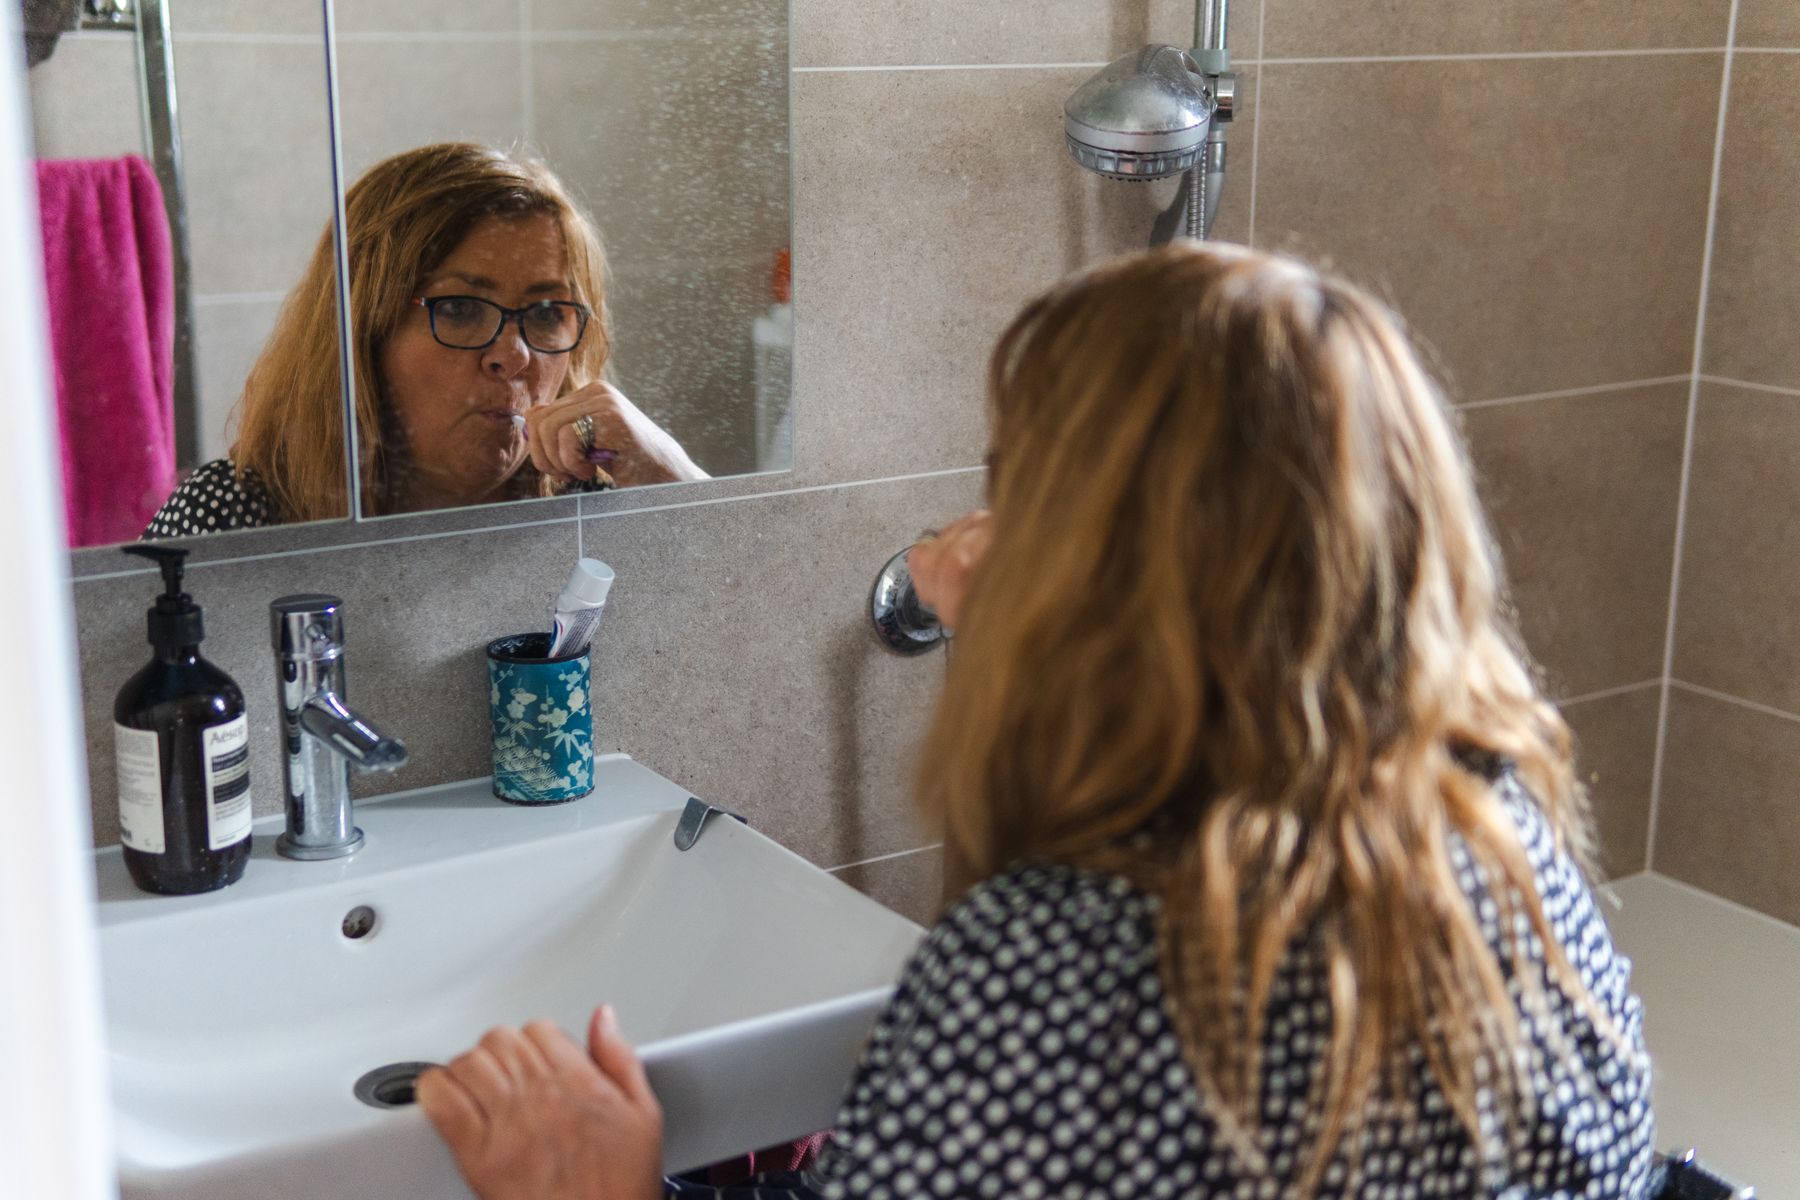
Design for Changing Bodies Without an Institutional Look
A bathroom can remain modern while supporting people with different strength, balance, vision and reach. Prioritize even light, lever controls, clear contrast at edges, reachable storage and enough room to approach the basin comfortably. Benches and rails can share the room's material and metal language. The most useful inclusive features are often invisible in photographs—wall reinforcement, logical control positions and fewer trip points—so make them part of the brief rather than a later adaptation.
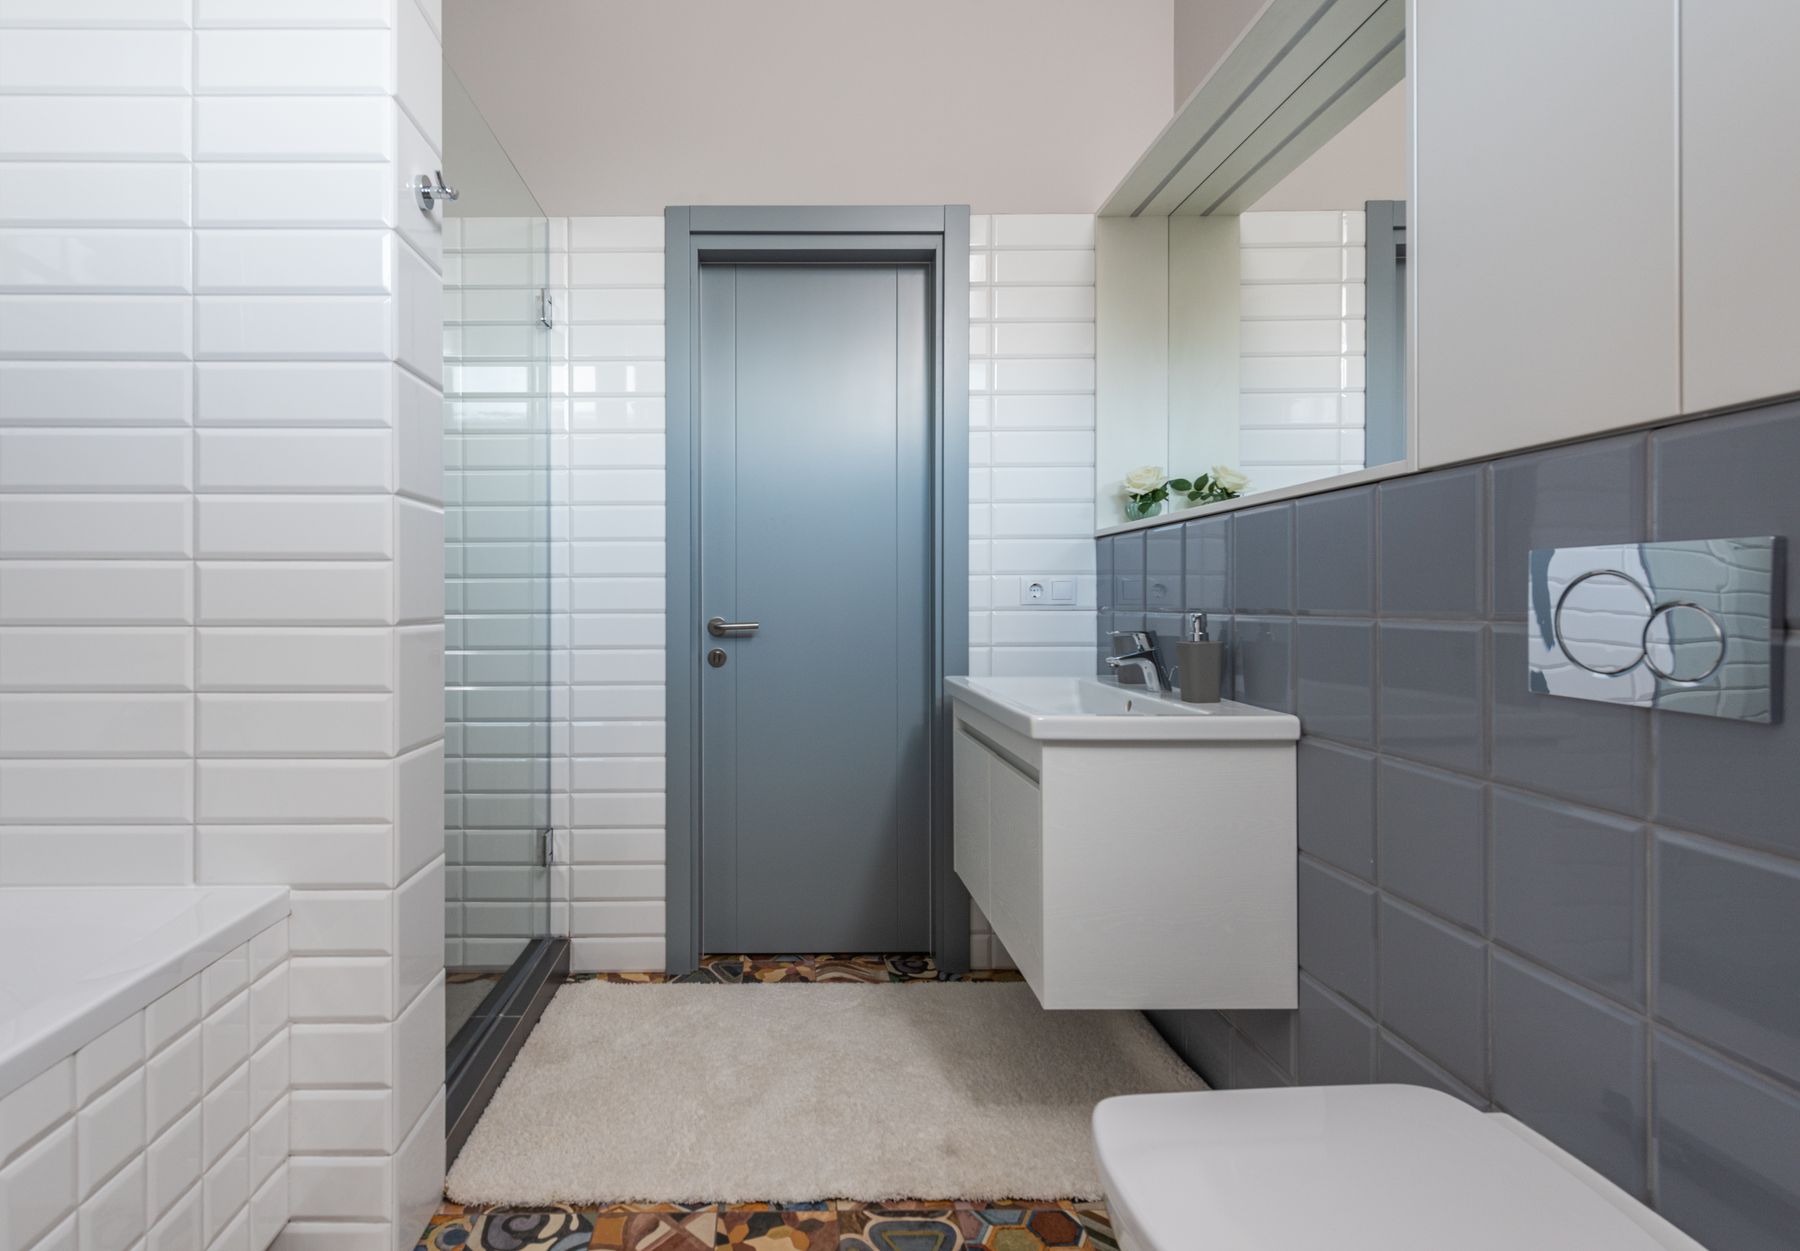
Keep Technology Quiet and Serviceable
Heated floors, demisting mirrors, leak sensors, digital shower controls and concealed cisterns can improve comfort, but only when their interfaces are simple and components remain accessible. Avoid building the room around novelty features that may age faster than the tile. Record model numbers, access panels and shutoffs, and provide a manual way to use essential functions where practical. Technology should reduce friction in the routine rather than announce itself from every surface.
Detail the Room for Cleaning and Repair
Flush surfaces and concealed systems look effortless because the difficult junctions were resolved early. Minimize ledges that trap water, leave enough space beside the toilet and bath for cleaning, choose grout and sealant colors that can be maintained, and keep traps, valves, lighting drivers and cisterns reachable. A material that photographs beautifully but stains, etches or requires constant specialist care may not belong in the hardest-working zone. Modern quality is visible in how calmly the room ages.